We’ve all seen those mesmerizing videos of fluffy, cloud-like coffee creations taking social media by storm. Whipped iced coffee – also known as Dalgona coffee – transforms your regular instant coffee into a luxurious café-style beverage that’s both Instagram-worthy and incredibly satisfying.
This viral Korean coffee trend requires just three simple ingredients and takes less than five minutes to make. The magic happens when you whip instant coffee, sugar, and hot water into a silky, caramel-colored foam that sits perfectly atop your choice of milk. It’s like having your own personal barista without leaving your kitchen.
What makes this recipe so addictive isn’t just its stunning appearance – it’s the perfect balance of rich coffee flavor and creamy texture that creates an unforgettable drinking experience. Whether you’re looking to impress guests or treat yourself to something special, this whipped iced coffee delivers café-quality results every single time.
Ingredients
Our whipped iced coffee recipe requires just a handful of simple ingredients that you likely already have in your kitchen. We’ve divided the ingredients into two categories to make preparation even easier.
For the Whipped Coffee
- 2 tablespoons instant coffee (regular or decaf)
- 2 tablespoons granulated sugar
- 2 tablespoons hot water
- Pinch of salt (optional, enhances flavor)
For the Iced Coffee Base
- 1 cup whole milk (or your preferred milk alternative)
- 1 cup ice cubes
- 2 tablespoons simple syrup or sugar (optional, for sweetness)
- 1 teaspoon vanilla extract (optional, for enhanced flavor)
Equipment Needed
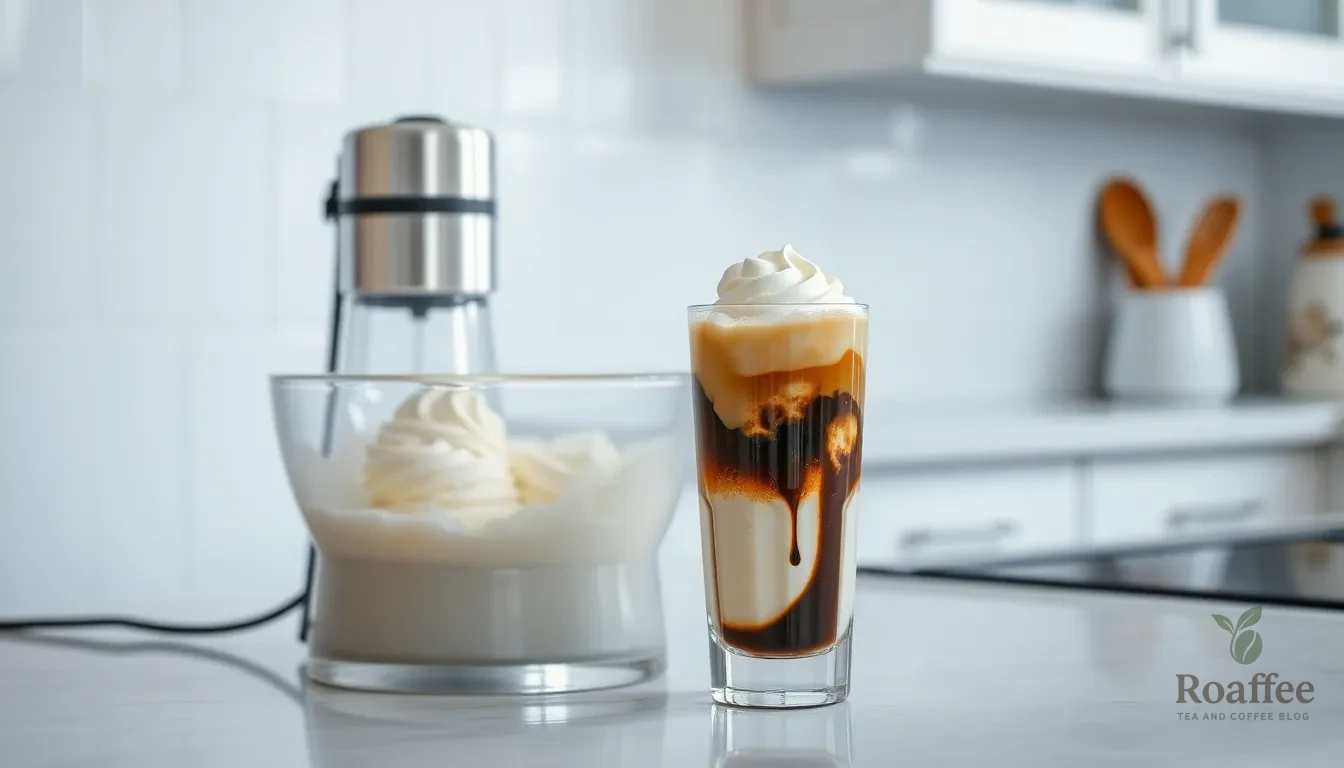
Creating the perfect whipped iced coffee requires exact tools to achieve that signature fluffy texture we all love. We recommend gathering these essential items before starting your coffee-making journey.
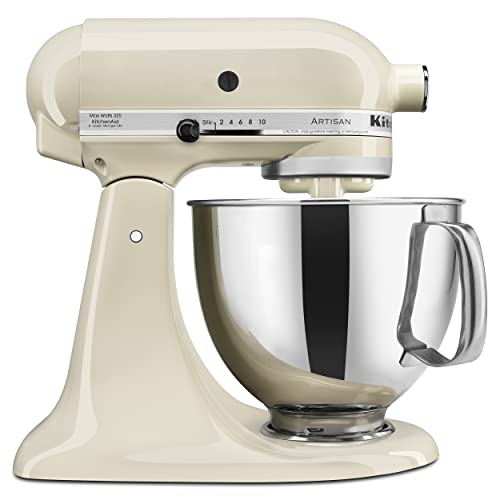
Electric frother, hand mixer, or stand mixer serves as our primary tool for whipping the coffee mixture. An electric mixer delivers the best results in 5 to 10 minutes, while manual methods take considerably longer and require more effort.
Mixing bowl becomes crucial for containing the whipping process. We suggest using a large bowl to prevent splatter during the vigorous mixing phase.
Glass for serving showcases the beautiful layered appearance of your whipped coffee creation. Clear glassware allows the contrast between the dark whipped coffee and light milk to shine through.
Spoon helps us carefully transfer the whipped coffee mixture onto the milk base. A regular tablespoon works perfectly for this gentle layering technique.
Kettle or microwave provides the hot water needed to dissolve the coffee and sugar mixture. Having one of these readily available speeds up the preparation process significantly.
| Equipment Type | Purpose | Time Impact |
|---|---|---|
| Electric Mixer | Whipping coffee mixture | 5-10 minutes |
| Hand Mixer | Alternative whipping method | 8-12 minutes |
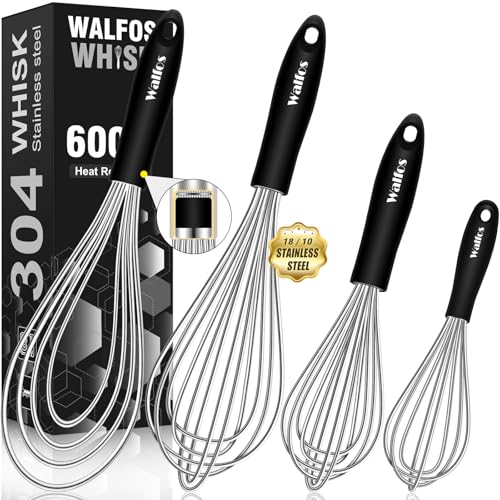
| Manual Whisk | Backup option | 15-20 minutes |
Optional measuring spoons and cups ensure accuracy in your ratios, though experienced coffee makers often eyeball the equal parts formula. These tools become especially helpful when scaling the recipe for multiple servings or when precision matters most for consistent results.
Instructions

Follow these simple steps to create your perfect whipped iced coffee. We’ll guide you through each stage to ensure the best results.
Prep the Coffee Base
Start by gathering your three essential ingredients in a clean mixing bowl. Combine 2 tablespoons instant coffee, 2 tablespoons granulated sugar, and 2 tablespoons boiling water. This 1:1:1 ratio creates the perfect balance for achieving maximum frothiness and flavor. The boiling water helps dissolve the coffee and sugar completely, creating the ideal base for whipping.
Make the Whipped Coffee
Using your electric mixer or hand mixer, whip the coffee mixture on high speed for 2 to 4 minutes. Continue whipping until the mixture transforms into a thick, creamy texture that forms stiff peaks resembling light mousse. Stop occasionally to scrape down the sides of the bowl to ensure even whipping throughout the process. The sugar plays a crucial role in helping the coffee maintain its fluffy, stable texture, so avoid reducing this ingredient for best results.
Assemble the Drink
Fill a tall glass about 3/4 full with cold milk of your choice, whether dairy or plant-based alternatives like soy, almond, or oat milk. Add a few ice cubes to the milk for that refreshing chill. Gently spoon the whipped coffee mixture on top of the milk and ice, creating beautiful layers. Stir vigorously with a spoon or straw to combine the coffee foam with the cold milk before enjoying your creation.
| Assembly Step | Method | Result |
|---|---|---|
| Fill glass | 3/4 cup cold milk + ice cubes | Chilled base |
| Top with foam | Spoon whipped coffee gently | Layered appearance |
| Final mix | Stir vigorously before drinking | Smooth, creamy beverage |
Directions for Perfect Results
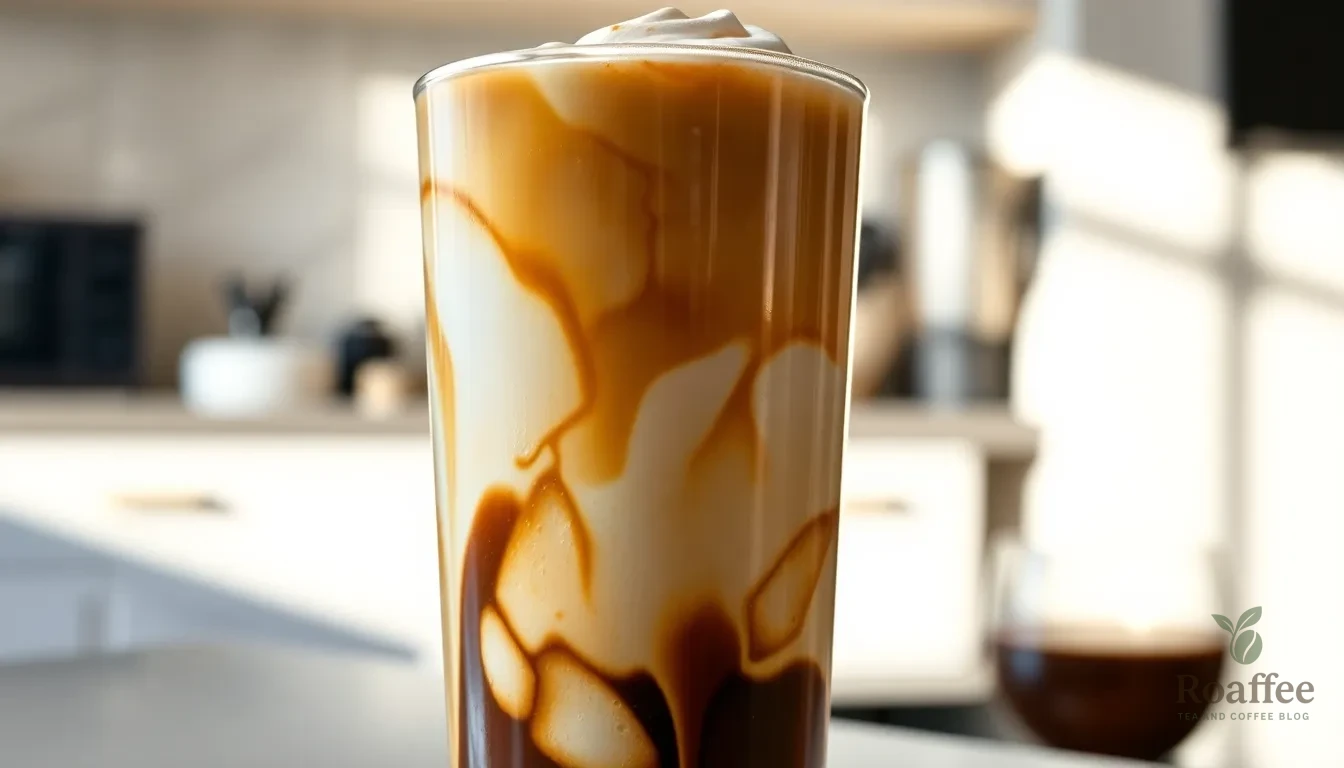
Now that we’ve covered the basics let’s jump into the techniques that will ensure your whipped iced coffee turns out perfectly every time. These expert tips will help you achieve that signature fluffy texture and stunning presentation.
Getting the Right Consistency
The secret to achieving the perfect whipped coffee lies in using hot water to dissolve the coffee and sugar properly. This allows the mixture to whip faster and develop that coveted fluffy texture. We recommend using a bowl instead of a mug or jar to allow air to circulate and incorporate effectively which is essential for creating the thick frothy consistency you’re after.
Whipping with an electric mixer produces faster and more consistent results compared to whisking by hand. Using a hand mixer or stand mixer on medium-high speed for 2-4 minutes will transform your mixture into a light airy foam that doubles in volume. The whipped coffee should form stiff peaks and have a creamy frothy texture that holds its shape when spooned.
| Whipping Method | Time Required | Consistency Quality |
|---|---|---|
| Electric Mixer | 2-4 minutes | Excellent (stiff peaks) |
| Hand Whisk | 8-10 minutes | Good (requires patience) |
Layering Technique
Creating the perfect visual presentation starts with proper layering. First add ice to your tall glass then pour the milk over the ice to create your base. This foundation ensures the temperature stays cold while providing the perfect backdrop for your whipped coffee topping.
Gently spoon the whipped coffee layer onto the milk’s surface without mixing initially. This technique creates a distinct two-layer effect that makes the drink visually striking. The fluffy coffee layer sits beautifully on top of the milk creating an Instagram-worthy presentation.
The drink maintains its layered appearance until you’re ready to enjoy it. Stir vigorously with a spoon or straw before drinking to combine the strong coffee layer with the milk and achieve the perfect balance of flavors throughout each sip.
Variations and Customizations

Once you’ve mastered the classic whipped iced coffee, we can explore countless ways to customize this versatile drink. The beauty of this recipe lies in its adaptability to different flavors, dietary needs, and sweetness preferences.
Flavor Additions
We love experimenting with unique flavor combinations that transform our basic whipped coffee into specialty café creations. The Honey Vanilla Dalgona Latte replaces traditional sugar with honey and adds 1/2 teaspoon vanilla for a naturally sweet and aromatic twist. For spice lovers, the Dirty Chai Dalgona Latte combines the comfort of chai tea brewed in steamed milk with our signature whipped coffee topping, finished with a sprinkle of cinnamon.
Our Whipped Hot Peppermint Mocha brings seasonal warmth by mixing hot chocolate and peppermint syrup with steamed milk before adding the coffee foam. For chocolate enthusiasts, we recommend adding 1 tablespoon of cocoa powder directly to the base recipe for a rich Chocolate Whipped Coffee variation.
Creative additions can include mint extract for refreshing notes, matcha powder for an earthy green tea blend, or turmeric for a golden milk twist. We’ve even tried incorporating chai spice mix or crushed Oreos into the whip for unexpected flavor combinations that surprise and delight.
Dairy-Free Options
Plant-based alternatives work beautifully in our whipped iced coffee without compromising taste or texture. Unsweetened almond milk provides a light, nutty base that complements the coffee’s bold flavor profile. Oat milk creates an incredibly creamy texture that mimics traditional dairy milk while adding subtle sweetness.
Homemade nut milks offer complete control over ingredients and sweetness levels. These non-dairy options work equally well served cold over ice or warmed for a cozy variation. The key is choosing unsweetened versions to maintain balance with our whipped coffee topping.
Sweetener Alternatives
We can easily swap regular granulated sugar for healthier or specialty sweeteners that add unique flavor dimensions. Honey not only provides natural sweetness but also contributes beneficial nutrients and floral notes that enhance the coffee’s complexity. Coconut sugar offers a subtle caramel undertone with a lower glycemic index than traditional sugar.
Maple syrup creates a breakfast-inspired version with rich, woody sweetness that pairs beautifully with coffee. Brown sugar adds molasses depth and creates a slightly different whip texture. For those following low-carb diets, stevia provides sugar-free sweetness without affecting the foam’s stability.
Erythritol works exceptionally well for keto-friendly versions, maintaining the signature fluffy texture while eliminating carbohydrates. Each sweetener alternative creates distinct flavor profiles while preserving the iconic frothy consistency that makes whipped iced coffee so appealing.
Make-Ahead Tips

Planning ahead transforms your whipped iced coffee experience from a last-minute treat to a convenient luxury. We recommend preparing the whipped coffee mixture up to 24 hours in advance and storing it in the refrigerator in an airtight container. The fluffy texture holds remarkably well when properly stored.
Refrigerated whipped coffee maintains its structure for extended periods though it may lose some volume over time. We suggest giving the mixture a brief 30-second whip with your electric mixer before serving to restore its original fluffiness. This quick touch-up brings back the signature peaks and creamy consistency that makes this drink so appealing.
Your choice of whipping method impacts make-ahead success significantly. Electric mixers create more stable foam that holds better overnight compared to hand-whisked versions. We’ve found that mixtures whipped with electric equipment maintain their texture for up to 2 days while hand-whisked versions are best used within 12 hours.
| Whipping Method | Storage Time | Texture Retention |
|---|---|---|
| Electric Mixer | 24-48 hours | Excellent |
| Hand Whisk | 12-24 hours | Good |
| Milk Frother | 18-36 hours | Very Good |
Sugar plays a crucial role in preserving the whipped texture during storage. We never recommend reducing the sugar content when making the mixture ahead of time as it provides structural stability to the foam. The sugar acts as a stabilizer that prevents the mixture from deflating in the refrigerator.
Batch preparation works beautifully for entertaining or busy mornings. We multiply the recipe by the number of servings needed and store portions in individual containers. This approach allows you to quickly assemble drinks without measuring ingredients each time.
Temperature control ensures optimal results when working with make-ahead mixtures. We bring the whipped coffee to room temperature for about 10 minutes before serving as this improves its ability to layer properly over the cold milk. Room temperature mixture spreads more easily and creates better visual contrast.
Fresh preparation of the milk base always yields superior results compared to pre-mixed versions. We prepare glasses with fresh ice and cold milk just before serving to maintain the drink’s temperature contrast and prevent dilution from melted ice.
Storage Instructions
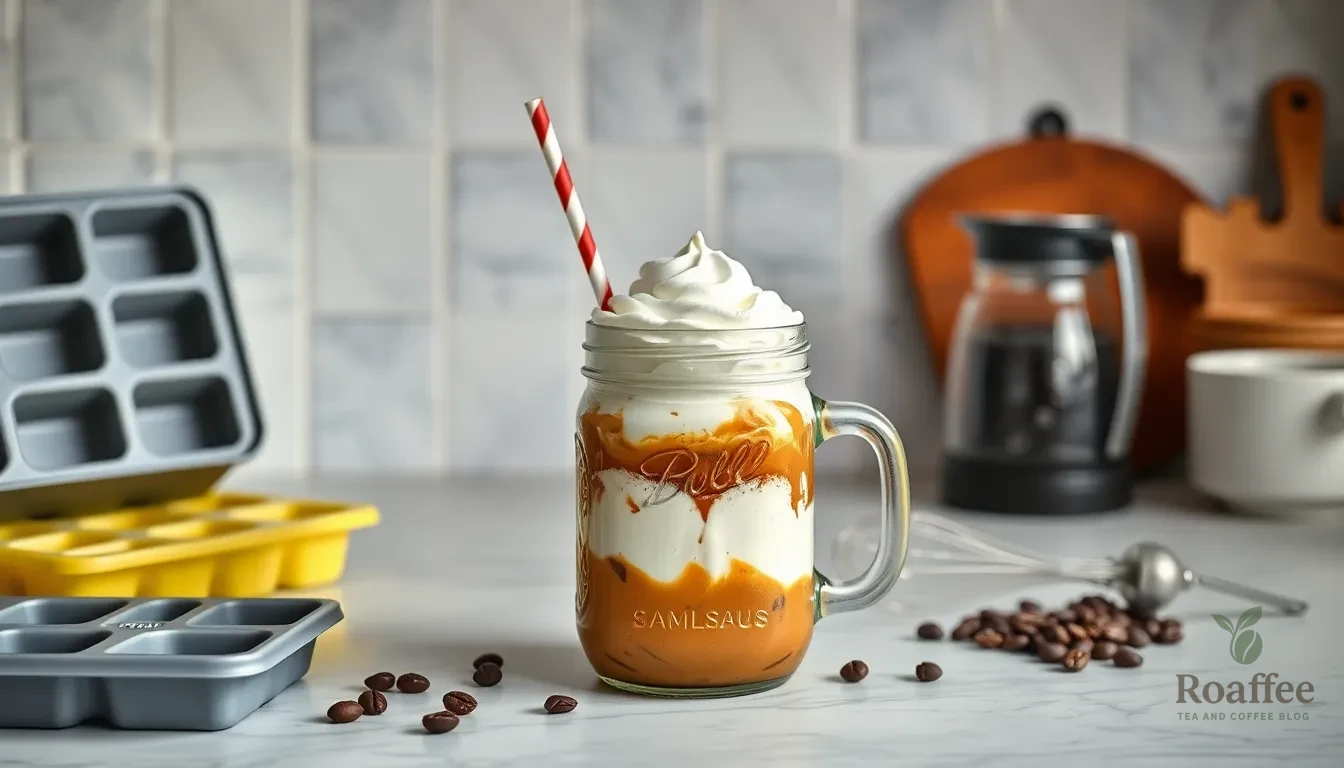
We can store our whipped iced coffee mixture to enjoy this delightful treat throughout the week. Proper storage techniques ensure we maintain the fluffy texture and rich flavor that makes this beverage so special.
Refrigerator Storage
Our whipped coffee foam stores beautifully in the refrigerator for up to 1 week when kept in an airtight container. The mixture maintains its best texture and peak fluffiness for approximately 1-2 days before gradually beginning to separate. We recommend using mason jars or sealed containers to prevent absorption of other refrigerator odors.
| Storage Method | Duration | Texture Quality |
|---|---|---|
| Refrigerator (airtight container) | Up to 1 week | Best for 1-2 days |
| Freezer (airtight container) | Up to 1 month | Maintains creaminess |
| Freezer (ice cube trays) | Up to 1 month | Convenient portions |
When separation occurs during storage, we simply need to give the mixture a quick stir or brief whip to restore its original consistency. The sugar content in our recipe helps stabilize the foam structure, making it easier to revive even after several days in storage.
Freezer Storage
We can extend our whipped coffee’s shelf life by freezing it for up to 1 month without compromising its creamy texture. Unlike regular coffee mixtures, our whipped coffee remains scoopable and never solidifies completely due to its unique composition. This makes frozen storage incredibly convenient for quick preparation.
For portion control, we recommend freezing the mixture in ice cube trays. Each cube provides the perfect amount for a single serving, allowing us to grab exactly what we need without thawing the entire batch. Transfer the frozen cubes to freezer bags after they solidify to maximize storage space.
Batch Preparation Tips
We suggest making larger batches during weekend prep sessions to streamline our coffee routine throughout the week. Store portions in individual containers for grab-and-go convenience. Remember to label containers with preparation dates to track freshness and ensure we use older batches first.
Before serving stored whipped coffee, we always stir well to redistribute any separated components. The mixture responds beautifully to gentle stirring and quickly returns to its original fluffy state, ready to crown our next glass of iced coffee.
Serving Suggestions

We recommend serving whipped iced coffee immediately after preparation to maintain its signature fluffy texture and visual appeal. A clear tall glass works best for showcasing the beautiful layered presentation while preventing splatter when stirring. Adding a straw makes it easy to mix the layers together and enjoy the full flavor profile.
Pairing this delightful coffee creation with complementary treats enhances the overall experience. Sweet treats like chocolate chip scones create an indulgent snack combination that balances the rich coffee flavor. The contrast between the creamy coffee and buttery pastries makes for a perfect afternoon treat.
For an extra touch of luxury, we suggest topping your whipped iced coffee with additional garnishes. A dollop of whipped cream adds richness while a sprinkle of cocoa powder provides visual appeal and extra chocolate notes. These simple additions transform your homemade drink into a café-worthy presentation.
Different milk alternatives offer unique flavor profiles that can enhance your serving experience. Soy milk provides a creamy base with subtle nutty undertones, while almond milk creates a lighter texture with a hint of sweetness. Oat milk delivers extra richness and pairs exceptionally well with the coffee’s bold flavor.
We find that serving temperature plays a crucial role in the overall enjoyment. Fill your glass generously with ice cubes to ensure the drink stays refreshingly cold throughout consumption. The contrast between the cold base and the room temperature whipped coffee creates an interesting temperature gradient that enhances the drinking experience.
For multiple servings, we recommend preparing individual glasses ahead of time with milk and ice. This allows you to quickly top each glass with whipped coffee when ready to serve. The layered presentation remains intact for several minutes, giving you time to prepare multiple drinks for guests.
| Serving Method | Best For | Preparation Time |
|---|---|---|
| Individual glasses | Single servings | 2-3 minutes |
| Batch preparation | Multiple guests | 5-8 minutes |
| Make-ahead base | Quick assembly | 1-2 minutes |
Troubleshooting Common Issues

Even with the simple three-ingredient formula, we sometimes encounter challenges when making whipped iced coffee. Understanding these common problems and their answers helps us achieve that perfect fluffy texture every time.
Foam Not Fluffing Properly
When our whipped coffee mixture refuses to become thick and fluffy, we need to examine our technique. The most common cause is insufficient whipping time or inadequate mixing motion. We should whip the mixture in continuous circular motions for at least 2-3 minutes using a hand mixer. Avoid using milk frothers as they tend to cause messy splattering without achieving the desired consistency.
| Problem | Cause | Solution |
|---|---|---|
| Foam not fluffing | Not whipping long enough or insufficient mixing motion | Whip in circular motion continuously for at least 2-3 minutes with a hand mixer |
| Mixture too strong | Too much coffee or not enough milk | Dilute with more milk; use at least a half cup of milk to balance strength |
| Mixture not lightening in color | Not enough sugar | Use equal parts instant coffee and sugar for perfect caramel color and texture |
| Messy splattering | Wrong bowl size or too powerful mixer | Use a bowl with high walls and smaller diameter; avoid overly powerful frothers |
| Foam too watery or weak | Insufficient instant coffee or sugar | Use recommended equal parts for instant coffee and sugar |
Achieving the Right Color and Texture
Our whipped coffee should transform into a light caramel color during the mixing process. If the mixture remains dark and fails to lighten, we likely need more sugar. The equal parts ratio of instant coffee to sugar is crucial for both the perfect caramel appearance and the proper texture development.
Managing Strength and Balance
Sometimes our finished drink tastes too strong or overpowering. This happens when we use too much coffee relative to the milk base. We can easily fix this by adding more milk to dilute the intensity. Using at least half a cup of milk ensures proper balance between the rich whipped coffee and the creamy base.
Preventing Messy Preparation
Splattering during the whipping process creates unnecessary cleanup and wastes our ingredients. We can prevent this by choosing the right bowl size and mixer power. A bowl with high walls and a smaller diameter contains the mixture better than wide, shallow bowls. Also, avoiding overly powerful frothers helps maintain control during the whipping process.
Strengthening Weak Foam
When our whipped coffee turns out watery or lacks body, the issue typically stems from incorrect ingredient ratios. We must use the recommended equal parts of instant coffee and sugar to achieve the proper foam structure. Skimping on either ingredient compromises the final texture and appearance of our whipped iced coffee.
Conclusion
We’ve shown you how to create this trending café-style drink that’s taken social media by storm. With just three simple ingredients and the right technique you can master this impressive beverage in minutes.
The beauty of whipped iced coffee lies in its versatility and visual appeal. Whether you’re experimenting with different flavors or accommodating dietary preferences this recipe adapts to your needs while maintaining its signature fluffy texture.
Now it’s time to grab your mixer and start whipping. Your perfect Instagram-worthy coffee creation awaits and we’re confident you’ll love every creamy sip of this delightful treat.
Frequently Asked Questions
What is whipped iced coffee?
Whipped iced coffee, also known as Dalgona coffee, is a trendy beverage featuring a fluffy coffee foam made from instant coffee, sugar, and hot water. This foam is served over cold milk and ice, creating a visually striking layered drink with a rich coffee flavor and creamy texture.
How long does it take to make whipped iced coffee?
The entire process takes under 5 minutes. Using an electric mixer, the whipping process takes 2-4 minutes to achieve the perfect fluffy texture with stiff peaks. Hand whisking takes longer, approximately 8-10 minutes, but still produces good results.
What ingredients do I need for whipped iced coffee?
You need 2 tablespoons each of instant coffee, granulated sugar, and hot water for the whipped foam. For the base, use 1 cup of milk, 1 cup of ice cubes, and optional ingredients like simple syrup for sweetness and vanilla extract for flavor enhancement.
Can I make whipped coffee ahead of time?
Yes, whipped coffee can be prepared up to 24 hours in advance and stored in the refrigerator in an airtight container. For longer storage, it can be refrigerated for up to one week or frozen for up to one month using ice cube trays for convenient single servings.
What equipment do I need to make whipped iced coffee?
Essential equipment includes an electric frother or mixer for efficient whipping, a mixing bowl, clear glasses for serving, and a spoon for layering. You’ll also need a kettle or microwave for heating water. An electric mixer produces better results than manual whisking.
Why won’t my whipped coffee foam properly?
Common issues include insufficient whipping time, incorrect ingredient ratios, or using lukewarm water instead of hot water. Ensure you whip for adequate time (2-4 minutes with electric mixer), use equal parts of all three ingredients, and use boiling water for maximum frothiness.
What milk alternatives work best for whipped iced coffee?
Unsweetened almond milk and oat milk are excellent dairy-free options that complement the coffee flavor well. Different milk alternatives will slightly affect the taste and texture, but the drink remains delicious. Whole milk provides the richest, creamiest base for the traditional version.
How do I create the perfect layered presentation?
Pour cold milk over ice first, then gently spoon the whipped coffee on top to create distinct layers. Use a clear tall glass to showcase the visual appeal. The layers maintain their separation until you’re ready to stir and enjoy the combined flavors.
Can I customize the flavor of whipped iced coffee?
Absolutely! Add honey and vanilla for a Honey Vanilla Dalgona Latte, chai tea for a Dirty Chai version, or cocoa powder for a chocolate twist. Seasonal variations include peppermint for winter or different sweetener alternatives like coconut sugar or stevia for unique flavor profiles.
How should I store leftover whipped coffee?
Store whipped coffee foam in an airtight container in the refrigerator for up to one week, with best texture maintained for 1-2 days. Before serving stored mixture, stir well to restore the fluffy consistency and separated components back to their original state.


