We’ve all been there – standing in front of the freezer aisle wondering why premium coffee ice cream costs so much when it’s basically just coffee and cream. The truth is, making your own coffee ice cream at home isn’t just more affordable – it’s incredibly rewarding and surprisingly simple.
There’s something magical about transforming your favorite coffee into a creamy frozen dessert that rivals any artisanal scoop shop. Whether you’re a coffee enthusiast looking to showcase that single-origin Ethiopian blend or someone who just wants to impress guests with a homemade treat, this recipe delivers rich coffee flavor with the perfect creamy texture.
The best part? You’ll control every ingredient that goes into your ice cream. No mysterious additives or artificial flavors – just pure coffee bliss that’s ready to enjoy in a few hours. Let’s turn your kitchen into your personal ice cream parlor.
Ingredients
Our homemade coffee ice cream requires just a handful of quality ingredients that you likely already have in your kitchen. These simple components work together to create a rich and creamy dessert that showcases the bold flavors of your favorite coffee.
For the Ice Cream Base
- 2 cups heavy cream
- 1 cup whole milk
- 3/4 cup granulated sugar
- 6 large egg yolks
- 1/4 teaspoon salt
- 1 teaspoon vanilla extract
For the Coffee Flavor
- 1/2 cup strong brewed coffee, cooled
- 2 tablespoons instant coffee or espresso powder
- 1 tablespoon coffee extract (optional for deeper flavor)
Optional Add-ins
- 1/2 cup chocolate chips or chunks
- 1/3 cup chopped toasted nuts
- 2 tablespoons caramel sauce, swirled in
- 1/4 cup crushed coffee beans for texture
- 2 tablespoons liqueur such as Kahlúa or Bailey’s
Equipment Needed
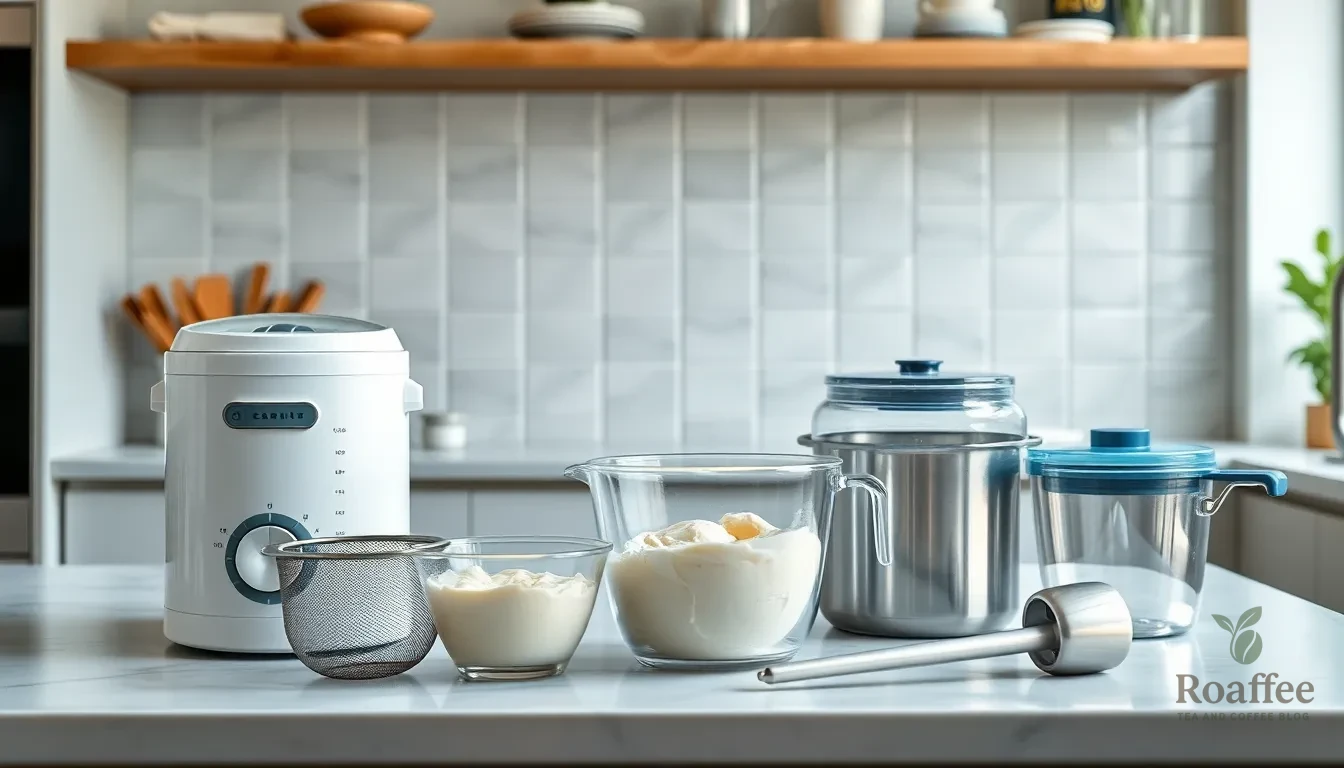
Creating our homemade coffee ice cream requires exact tools that ensure smooth preparation and perfect results. We’ve organized the essential equipment into categories to help you gather everything before starting this delicious project.
Essential Churning Equipment
Our traditional churned coffee ice cream depends on having the right machinery for optimal texture. An ice cream maker serves as the cornerstone of this process, churning our custard base into creamy perfection over 30-40 minutes. We recommend ensuring your ice cream maker bowl is frozen for at least 24 hours before use.
A fine mesh strainer becomes crucial for achieving silky smooth custard by removing any lumps or cooked egg particles. This tool separates amateur results from professional-quality ice cream that rivals store-bought versions.
Measuring and Mixing Tools
Precision matters when crafting our coffee ice cream base, making accurate measuring spoons and cups essential for consistent results. We use these tools to measure our heavy cream, sugar, and coffee components with exact proportions.
A glass batter bowl provides the perfect vessel for combining our custard ingredients while allowing us to monitor the mixture’s consistency. The transparent material helps us observe color changes as we incorporate our coffee elements.
Cooking Equipment
Our custard base requires gentle heating, making a 3-quart saucepan the ideal size for cooking without overflow. This capacity accommodates our cream and milk mixture while providing enough space for whisking without splashing.
We rely on a sturdy whisk to temper our egg yolks properly and prevent curdling during the custard-making process. The whisking action ensures our coffee flavor distributes evenly throughout the base.
Storage and Serving Tools
An ice cream storage container with an airtight seal preserves our finished product during the 4+ hour freezing period. We recommend using containers specifically designed for frozen desserts to prevent ice crystals from forming.
A quality ice cream scoop completes our equipment list, allowing us to serve perfect portions of our homemade coffee ice cream once it reaches the ideal consistency.
| Equipment Type | Item | Purpose |
|---|---|---|
| Churning | Ice cream maker | Creates smooth, creamy texture |
| Straining | Fine mesh strainer | Removes lumps from custard |
| Measuring | Measuring cups/spoons | Ensures accurate proportions |
| Mixing | Glass batter bowl | Combines ingredients visibly |
| Cooking | 3-quart saucepan | Heats custard base safely |
| Storage | Airtight container | Preserves ice cream quality |
| Serving | Ice cream scoop | Portions finished product |
Instructions
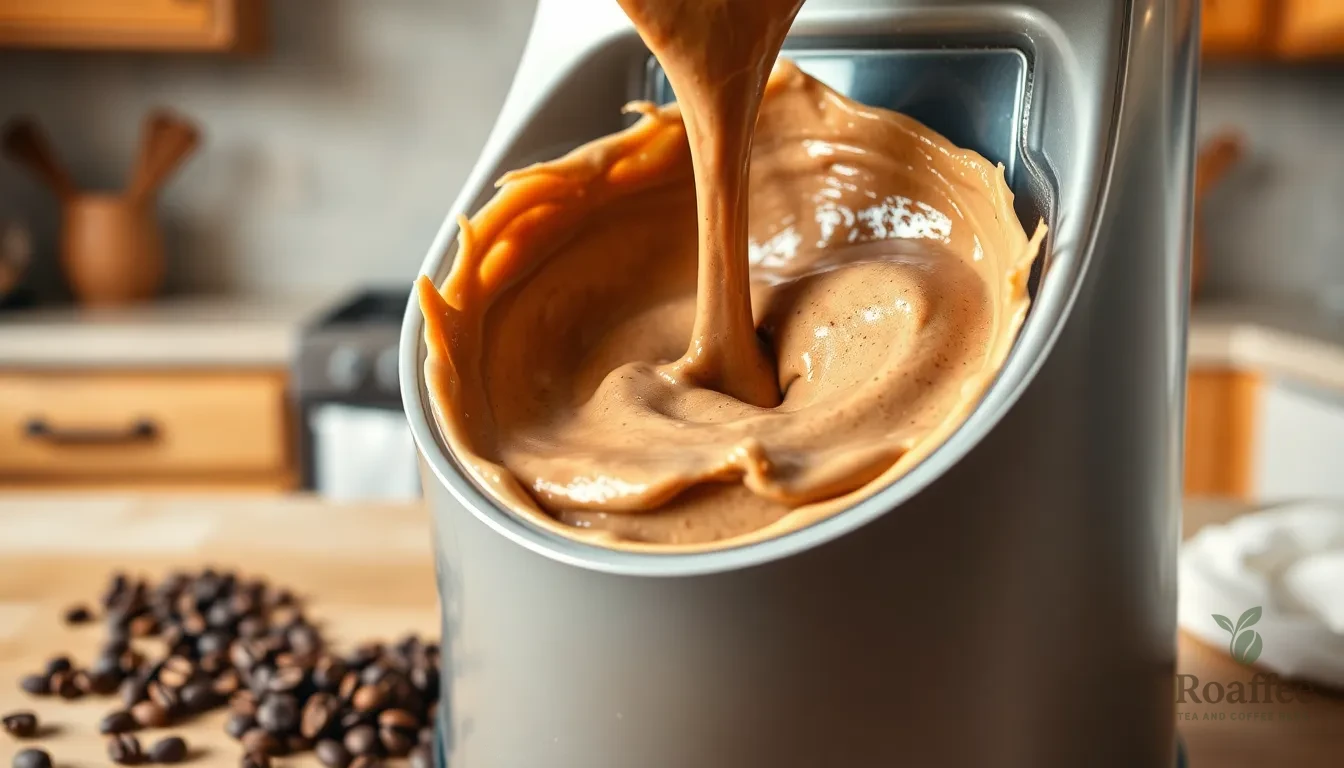
Now that we have our ingredients and equipment ready, let’s walk through the process of creating this rich and creamy coffee ice cream. These detailed steps will guide you through making a professional-quality custard base that delivers bold coffee flavor.
Prep the Coffee Base
Start by brewing your strong coffee and allowing it to cool completely. Dissolve the instant coffee or espresso powder in the cooled brewed coffee, stirring until no granules remain. This double coffee approach ensures we achieve that intense coffee flavor that makes homemade ice cream superior to store-bought versions. Set this coffee mixture aside while we prepare the dairy base.
Heat the Cream Mixture
Pour the heavy cream and whole milk into your 3-quart saucepan. Add the granulated sugar and salt, whisking gently to combine. Place the saucepan over medium heat and warm the mixture until it begins to steam and small bubbles form around the edges. Stir occasionally to dissolve the sugar completely. The mixture should reach about 170°F but avoid letting it boil.
Temper the Egg Yolks
While the cream mixture heats, separate your egg yolks into a medium bowl and whisk them until smooth. Once the cream mixture is hot, we need to temper the yolks to prevent scrambling. Remove the saucepan from heat and slowly pour about half a cup of the warm cream mixture into the egg yolks while whisking constantly. Continue whisking as you gradually add another half cup of the warm mixture.
Cook the Custard
Return the tempered egg yolk mixture to the saucepan with the remaining cream mixture. Place back over medium-low heat and stir constantly with a wooden spoon or heat-resistant spatula. Cook the custard until it thickens enough to coat the back of your spoon, which typically takes 5-8 minutes. The mixture should reach 170°F on an instant-read thermometer. Remove from heat and immediately stir in your prepared coffee mixture and vanilla extract.
Strain and Chill
Pour the hot custard through a fine mesh strainer into a clean bowl to remove any cooked egg bits and ensure silky smoothness. Press the mixture through the strainer with a spoon if needed. Cover the surface of the custard directly with plastic wrap to prevent a skin from forming. Refrigerate the custard for at least 4 hours or overnight until completely chilled. This chilling time allows the flavors to meld and develop.
Churn the Ice Cream
Pour the chilled custard base into your ice cream maker and churn according to the manufacturer’s instructions. Most machines require 20-40 minutes of churning until the mixture reaches a soft-serve consistency. During the last few minutes of churning, add any desired mix-ins like chocolate chips or chopped nuts. The ice cream should hold its shape when lifted with a spoon but still be soft enough to scoop easily.
Freeze Until Firm
Transfer the churned ice cream to an airtight container and smooth the surface with a spatula. Press plastic wrap directly onto the surface to prevent ice crystals from forming. Freeze for at least 4 hours or until the ice cream is firm enough to scoop properly. For easier scooping, let the ice cream sit at room temperature for 5-10 minutes before serving.
Make-Ahead Tips
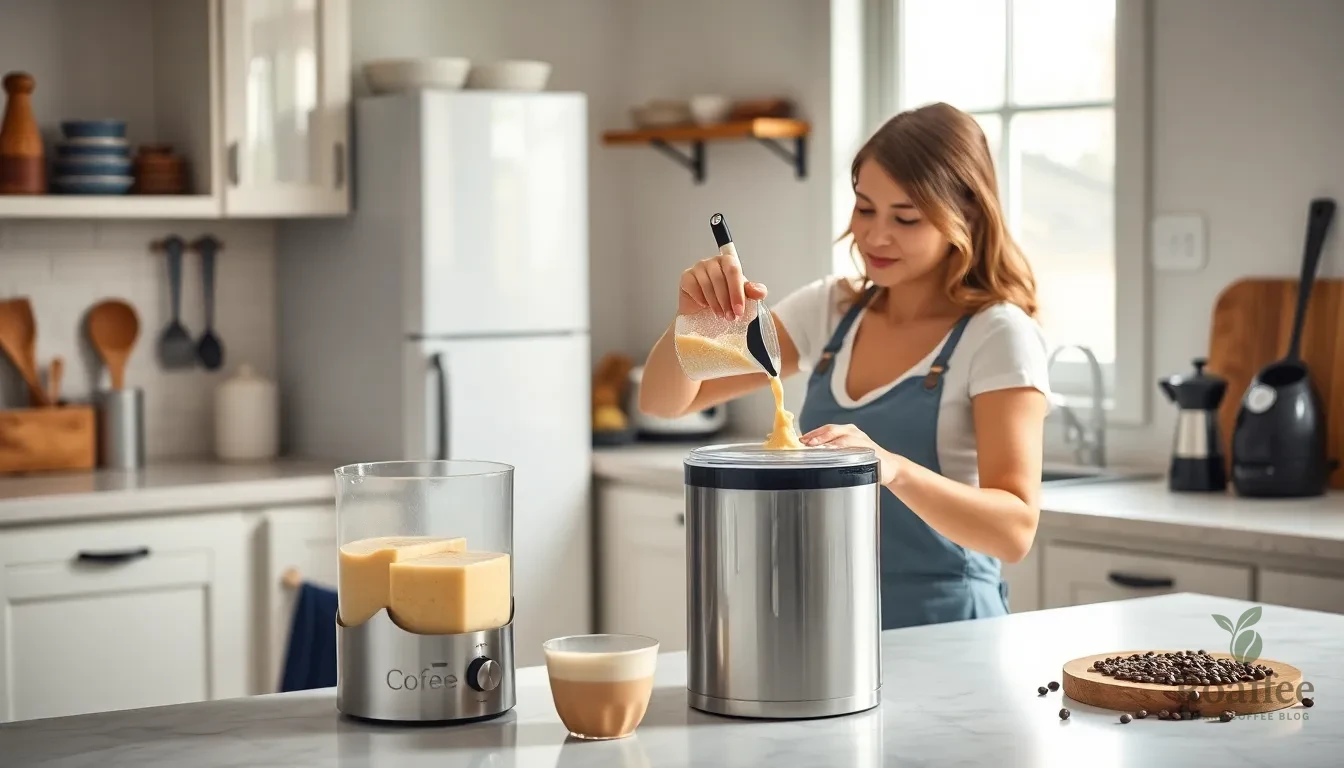
Planning ahead transforms your coffee ice cream making experience from rushed to relaxed. We recommend preparing the custard base one full day before you plan to churn it. This overnight chilling period allows the flavors to meld beautifully while ensuring the mixture reaches the optimal temperature for churning.
The custard can be made and chilled a day ahead without compromising quality. Store the strained custard in an airtight container in your refrigerator where it will stay fresh for up to 48 hours. This extra time actually enhances the coffee flavor intensity and creates a smoother final texture.
Churned ice cream can be stored in the freezer covered airtight for several days without losing creaminess. We suggest transferring your freshly churned ice cream to a freezer-safe container and pressing plastic wrap directly onto the surface before sealing with the lid. This prevents ice crystals from forming and maintains that silky texture we all love.
Use good-quality coffee or instant coffee to enhance bold coffee flavor throughout the storage period. The coffee notes will continue developing even after churning, so starting with premium ingredients ensures your make-ahead ice cream tastes exceptional days later.
For optimal serving consistency, remove your stored ice cream from the freezer about 5-10 minutes before scooping. This brief softening period makes serving effortless while preserving the rich creamy texture you worked so hard to achieve.
Storage Instructions
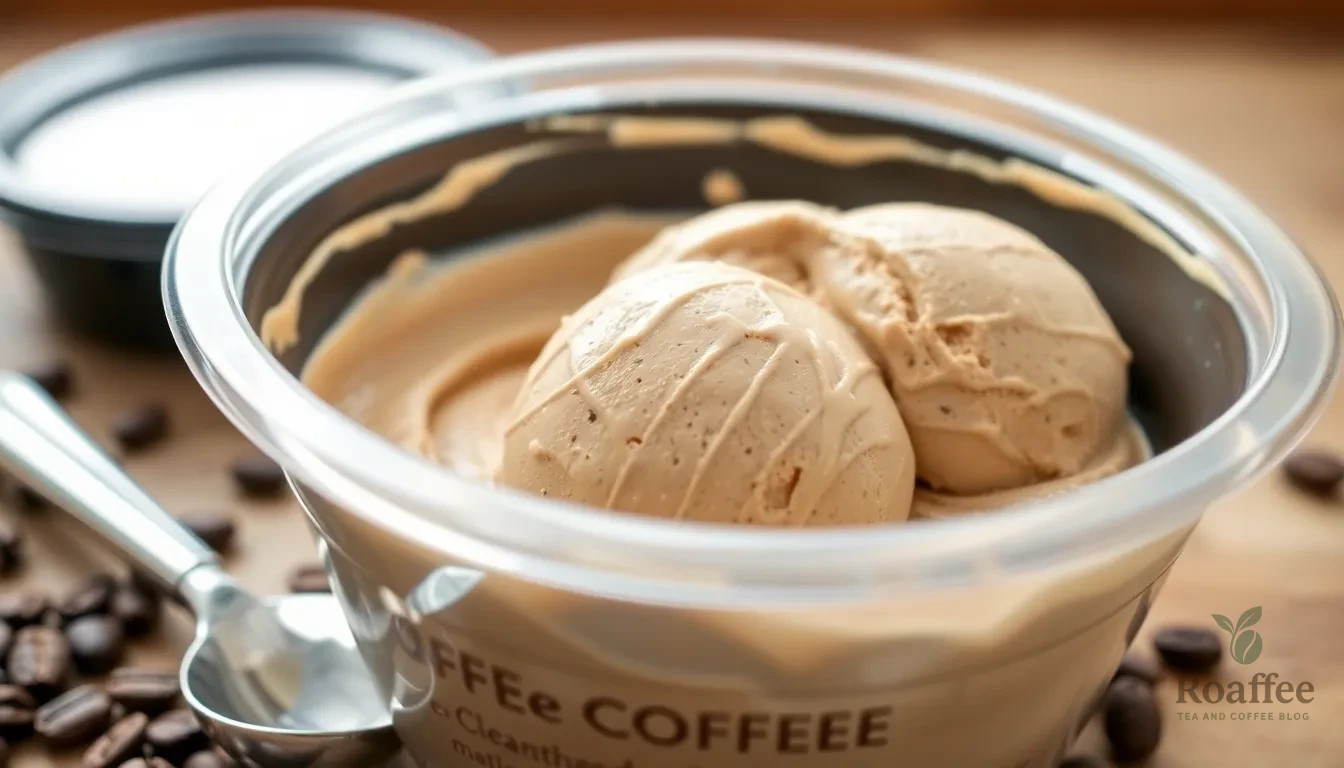
We recommend storing your finished coffee ice cream in an airtight container to maintain its quality and prevent freezer burn. The ideal storage temperature is 0°F (-18°C) or below to ensure optimal texture and flavor preservation.
Our homemade coffee ice cream maintains its best quality when consumed within 1-2 weeks of freezing. During this timeframe, you’ll experience the richest flavor and smoothest texture that we crafted during the churning process.
We advise against repeated thawing and refreezing cycles, as this process leads to ice crystallization and degraded texture. Each freeze-thaw cycle breaks down the delicate custard structure we carefully created, resulting in a grainy consistency.
| Storage Factor | Recommendation |
|---|---|
| Container Type | Airtight container |
| Temperature | 0°F (-18°C) or below |
| Optimal Consumption | 1-2 weeks |
| Texture Quality | Avoid repeated thaw/freeze cycles |
We suggest placing a piece of plastic wrap directly on the surface of the ice cream before sealing the container. This extra barrier prevents ice crystals from forming on the surface and maintains the creamy texture we achieved during preparation.
For serving, we recommend removing the ice cream from the freezer 5-10 minutes before scooping. This brief softening period allows for easier serving while preserving the integrity of our carefully crafted custard base.
Serving Suggestions
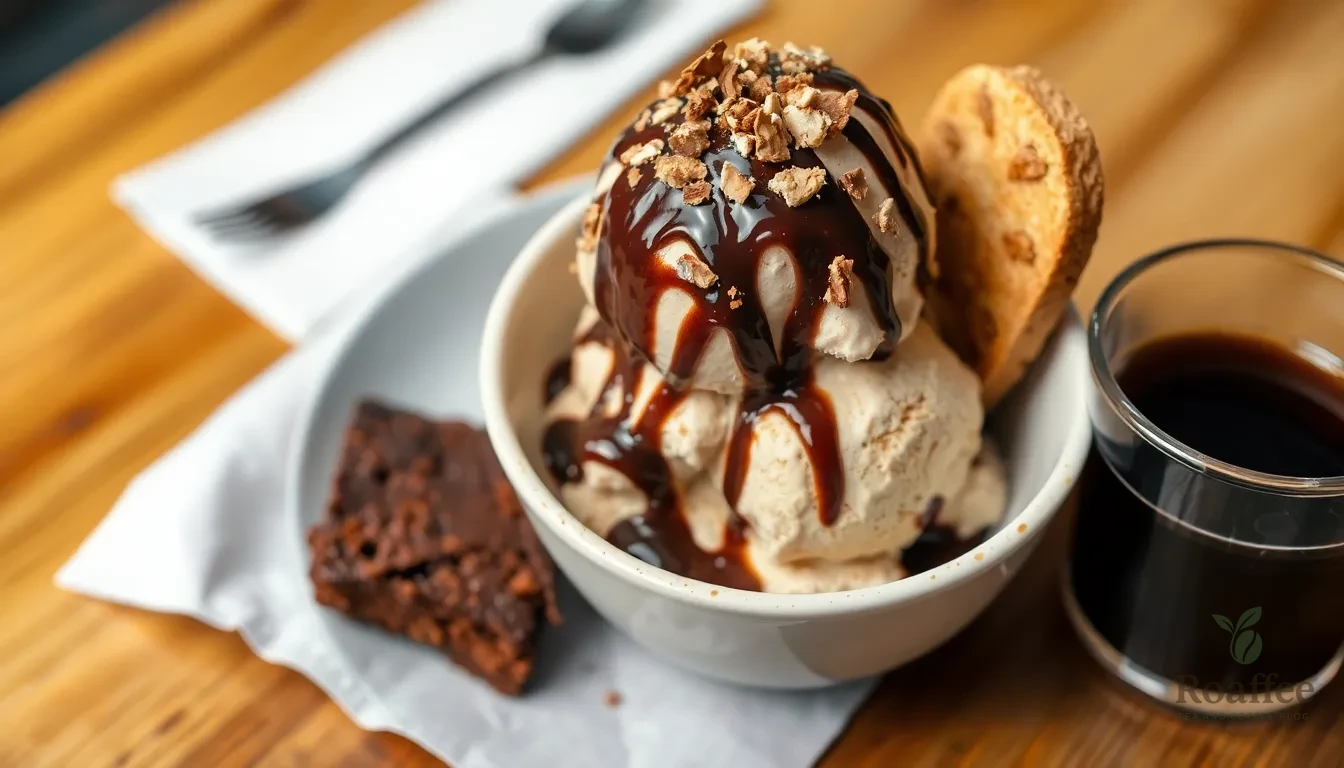
We love presenting our homemade coffee ice cream in ways that showcase its rich flavor and creamy texture. This dessert shines brightest when served at the perfect temperature, so we recommend removing it from the freezer 5-10 minutes before scooping to achieve that ideal consistency.
Classic Presentations
A simple scoop in a chilled bowl allows the coffee flavor to take center stage. We often serve it alongside warm desserts like brownies or apple pie, where the temperature contrast creates an exceptional dining experience. The cold, creamy ice cream perfectly balances the warmth of these baked goods.
Elegant Toppings and Sauces
Drizzling chocolate sauce over each scoop adds visual appeal and complements the coffee notes beautifully. Caramel sauce creates another layer of sweetness that pairs wonderfully with the bold coffee flavor. For texture contrast, we love sprinkling crushed biscotti on top, which adds a delightful crunch and enhances the Italian coffeehouse experience.
Creative Combinations
Transform your coffee ice cream into an affogato by pouring hot espresso over a scoop – this creates an instant gourmet dessert. We also enjoy creating coffee ice cream sundaes with whipped cream, chopped nuts, and a cherry on top for a classic American treat.
Beverage Pairings
Coffee ice cream floats made with cold brew or iced coffee create a refreshing summer treat. For adults, we recommend pairing scoops with coffee liqueur or serving alongside espresso for an authentic Italian gelato experience.
Storage and Serving Tips
| Serving Temperature | Scooping Time | Optimal Consistency |
|---|---|---|
| 0°F to 5°F | 5-10 minutes | Soft, creamy texture |
| Room temp (15 min) | Immediate | Slightly melted edges |
| Frozen solid | 10-15 minutes | Requires longer softening |
Use a quality ice cream scoop dipped in warm water between servings to create perfect, round portions. This technique prevents the ice cream from sticking and ensures each serving looks professional and appetizing.
Conclusion
We’ve shown you that creating restaurant-quality coffee ice cream at home isn’t just possible—it’s incredibly rewarding. With the right ingredients equipment and techniques you can create a dessert that’s perfectly customized to your taste preferences.
The beauty of homemade coffee ice cream lies in its versatility and control. You’ll know exactly what goes into every scoop while enjoying the creative freedom to experiment with different coffee strengths and exciting add-ins.
Now it’s time to put your ice cream maker to work and experience the satisfaction of creating this beloved frozen treat from scratch. Your kitchen is about to become the source of the creamiest most flavorful coffee ice cream you’ve ever tasted.
Frequently Asked Questions
What ingredients do I need to make homemade coffee ice cream?
You’ll need 2 cups heavy cream, 1 cup whole milk, 3/4 cup granulated sugar, 6 large egg yolks, 1/4 teaspoon salt, and 1 teaspoon vanilla extract for the base. For coffee flavor, use 1/2 cup strong brewed coffee (cooled), 2 tablespoons instant coffee or espresso powder, and optionally 1 tablespoon coffee extract for deeper flavor.
What equipment is essential for making coffee ice cream at home?
The key equipment includes an ice cream maker for churning, a fine mesh strainer for smooth texture, measuring cups and spoons for accuracy, a glass batter bowl for mixing, and a 3-quart saucepan for heating the custard. You’ll also need an airtight container for storage and a quality ice cream scoop for serving.
Can I prepare the coffee ice cream base ahead of time?
Yes, you can prepare the custard base up to 48 hours in advance. Store it in an airtight container in the refrigerator, which actually enhances flavor intensity and texture. The chilled custard will be at optimal temperature for churning and will result in better ice cream consistency.
How should I store homemade coffee ice cream?
Store the ice cream in an airtight container at 0°F (-18°C) or below. Place plastic wrap directly on the surface before sealing to prevent ice crystals. Consume within 1-2 weeks for best flavor and texture. Avoid repeated thawing and refreezing, which causes ice crystallization and grainy consistency.
What’s the best way to serve homemade coffee ice cream?
Remove the ice cream from the freezer 5-10 minutes before serving to achieve the perfect scooping consistency. Serve in chilled bowls, pair with warm desserts like brownies, or create elegant presentations with chocolate sauce, caramel, or crushed biscotti. Use a quality ice cream scoop dipped in warm water for perfect servings.
How long does it take to make coffee ice cream from start to finish?
The active preparation time is about 30-45 minutes, including brewing coffee, heating cream, tempering eggs, and cooking custard. However, you’ll need additional time for chilling the custard (at least 4 hours), churning (20-30 minutes), and final freezing (2-4 hours) before the ice cream is ready to serve.
