We’ve all been there – sipping our morning coffee and wishing it had that perfect sweet foam you get at fancy coffee shops. That velvety layer of sweetened foam transforms an ordinary cup into a luxurious experience that makes every sip feel like a treat.
The good news? Creating that dreamy sweet foam at home is easier than you might think. You don’t need expensive equipment or barista training to achieve café-quality results. With just a few simple ingredients and techniques we’ll share, you can elevate your daily coffee routine without very costly.
Sweet foam isn’t just about aesthetics – it’s about creating the perfect balance of sweetness and texture that complements your coffee’s natural flavors. Whether you prefer vanilla sweetness or want to experiment with different flavor profiles, we’ll show you how to master this game-changing technique that’ll make your home-brewed coffee rival any coffeehouse creation.
What Is Sweet Foam for Coffee
Sweet foam for coffee represents a delightful topping that combines the airy texture of traditional milk foam with added sweetness and flavor. This luxurious addition transforms ordinary coffee drinks into café-quality beverages that rival those from premium coffee shops.
The foam itself consists of milk or cream that has been whipped to create a light and airy consistency while incorporating sweetening agents during the foaming process. We achieve this by introducing sugar, syrups, or other sweeteners directly into the milk before or during the frothing process. The result creates a cloud-like topping that slowly dissolves into your coffee while providing bursts of sweetness with each sip.
Sweet foam differs from regular milk foam in several key ways. Traditional milk foam relies solely on the natural proteins and fats in milk to create structure and provides no additional sweetness. Our sweet foam version incorporates flavoring elements that enhance both taste and visual appeal. The sweeteners also help stabilize the foam structure, allowing it to maintain its texture longer than unsweetened versions.
Professional baristas often use specialized equipment to create sweet foam, but we can replicate these results using common kitchen tools. The process involves creating air bubbles in the milk while simultaneously dissolving sugar or other sweetening agents. This technique produces a stable foam that sits beautifully on top of coffee drinks and provides a balanced sweetness that complements rather than overpowers the coffee’s natural flavors.
The versatility of sweet foam allows for countless flavor combinations. We can incorporate vanilla extract, caramel syrup, cinnamon, or even seasonal spices to create customized versions that match our preferences. Each variation maintains the essential characteristics of lightness and sweetness while offering unique flavor profiles that enhance different coffee varieties.
Types of Sweet Foam

Sweet foam comes in countless flavor variations that transform your coffee experience. We’ll explore the most popular types that deliver café-quality results at home.
Vanilla Sweet Foam
Vanilla sweet foam serves as the perfect foundation for coffee lovers seeking a classic, creamy topping. We combine 3 tablespoons heavy whipping cream with 2 tablespoons milk and 1-2 tablespoons vanilla syrup or vanilla extract. The mixture requires thorough frothing using a handheld milk frother or jar shaking method until it doubles in volume and achieves a fluffy texture. This versatile foam pairs beautifully with iced coffee or cold brew, providing a subtle sweetness that complements rather than overwhelms the coffee’s natural flavors. Adding a pinch of salt creates salted vanilla sweet foam, which enhances the overall flavor profile with a sophisticated twist.
Cinnamon Sweet Foam
Cinnamon sweet foam builds upon the vanilla base recipe while introducing warm spice notes that complement coffee’s natural earthiness. We start with the vanilla sweet foam ingredients and incorporate cinnamon powder or cinnamon syrup into the cream mixture before frothing begins. The spice blends seamlessly during the frothing process, creating an aromatic foam that delivers mild warmth reminiscent of dirty chai flavors. This variation works exceptionally well with fall-inspired coffee drinks and adds seasonal appeal to your morning routine. The cinnamon’s natural oils distribute evenly throughout the foam, ensuring consistent flavor in every sip.
Caramel Sweet Foam
Caramel sweet foam transforms ordinary iced coffee into an indulgent treat with rich, buttery sweetness. We replace vanilla syrup with caramel syrup in the basic cream and milk mixture, maintaining the same proportions for optimal consistency. The frothing process incorporates the caramel thoroughly, creating a light foam that carries the distinctive flavor throughout its airy structure. This variation provides a luxurious topping that slowly dissolves into coffee, creating layers of sweetness that evolve with each sip. The caramel’s natural thickness helps stabilize the foam structure while delivering restaurant-quality flavor.
Chocolate Sweet Foam
Chocolate sweet foam satisfies those craving rich, cocoa-infused coffee experiences. We add chocolate syrup or cocoa powder to the standard cream and milk base, ensuring thorough incorporation during the frothing process. The chocolate elements blend seamlessly with the dairy components, creating a decadent foam that maintains its airy texture while delivering intense flavor. This variation transforms iced coffee or espresso drinks into dessert-like beverages without overwhelming sweetness. The cocoa’s natural properties help create a stable foam structure that holds its shape longer than plain varieties.
Equipment and Tools Needed
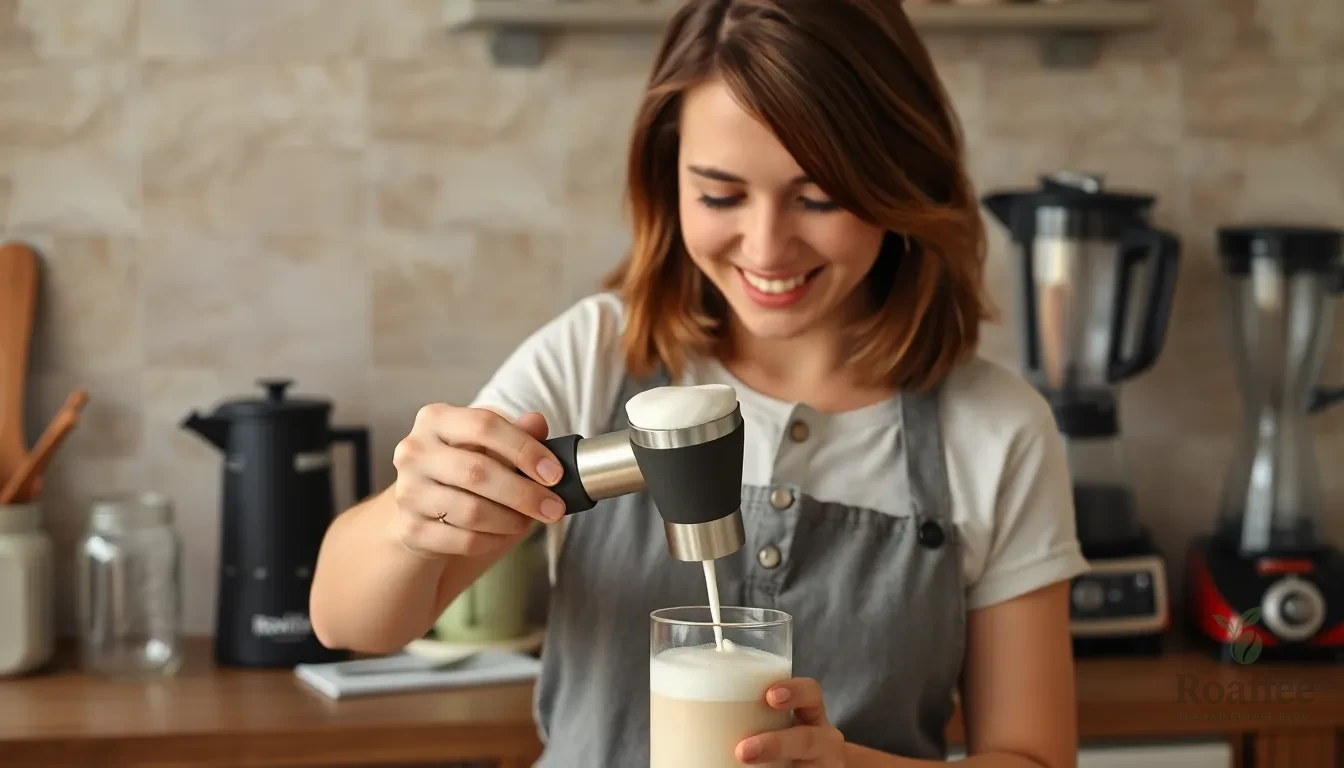
Creating perfect sweet foam at home requires minimal equipment that most of us already have in our kitchens. We can achieve professional results using common tools without investing in expensive barista equipment.
Essential Tools:
- Handheld milk frother – The most efficient option for creating consistent foam texture
- Mason jar with lid – Perfect for the shake method when a frother isn’t available
- French press – Excellent alternative using the plunger pumping technique
- High-powered blender – Ideal for preparing larger batches of sweet foam
Additional Equipment:
- Small mixing glass or container for combining ingredients
- Spoon for scooping foam onto coffee drinks
- Measuring spoons for precise ingredient ratios
The handheld milk frother stands out as our top recommendation because it produces the most reliable results in just 15-20 seconds of whipping. Mason jars work exceptionally well for those who prefer the shake method, requiring vigorous shaking until the mixture doubles in volume and resembles melted ice cream. French presses offer another excellent option by using the plunger mechanism to create frothy textures through repeated pumping motions.
We recommend avoiding steam wands or any heating methods since sweet foam should remain cold throughout the preparation process. High-powered blenders excel when preparing multiple servings at once, making them perfect for entertaining or meal prep situations.
Each tool produces slightly different foam characteristics, allowing us to choose based on our preferences and available equipment. The key lies in selecting tools that can incorporate air effectively while maintaining the mixture’s temperature and consistency.
Ingredients
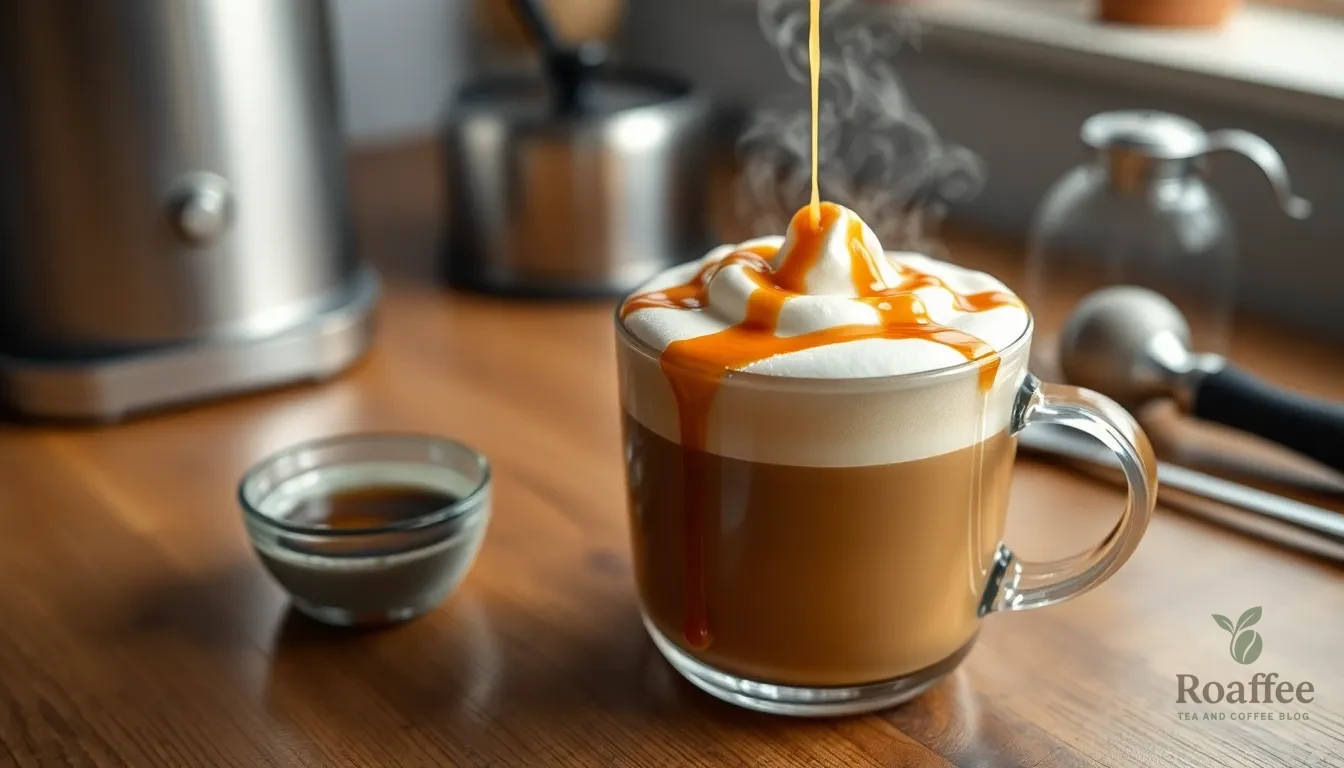
Creating barista-quality sweet foam requires just a few simple ingredients that you likely already have in your kitchen. We’ll break down the essential components and show you how to customize your foam with delicious flavor variations.
Basic Sweet Foam Ingredients
The foundation of perfect sweet foam starts with these three core ingredients:
- Heavy cream (2-3 tablespoons) – Provides the rich, creamy texture that makes foam luxurious and stable
- 2% milk (1 tablespoon) – Adds lightness and helps create the perfect airy consistency
- Vanilla syrup or simple syrup (1 tablespoon) – Delivers sweetness while stabilizing the foam structure
Alternative options include:
- Half-and-half instead of heavy cream for a lighter texture
- Powdered sugar as a sweetener substitute
- Heavy whipping cream for extra richness
Flavor Variations
Transform your basic sweet foam into exciting flavor combinations with these ingredient swaps:
Vanilla Sweet Cream Foam
- Replace vanilla syrup with vanilla bean paste for deeper vanilla notes
- Use pure vanilla extract (1/2 teaspoon) combined with simple syrup
Flavored Syrup Variations
- Caramel syrup creates indulgent caramel sweet foam
- Hazelnut syrup adds nutty complexity
- Seasonal flavored syrups like pumpkin spice or peppermint
Sugar Substitute Options
- Simple syrup for clean sweetness
- Powdered sugar for stability
- Sugar alternatives like stevia or monk fruit sweetener
- Homemade flavored syrups for unique taste profiles
- Cocoa powder mixed with sweetener for chocolate foam
- Cinnamon and brown sugar for warm spice notes
Instructions
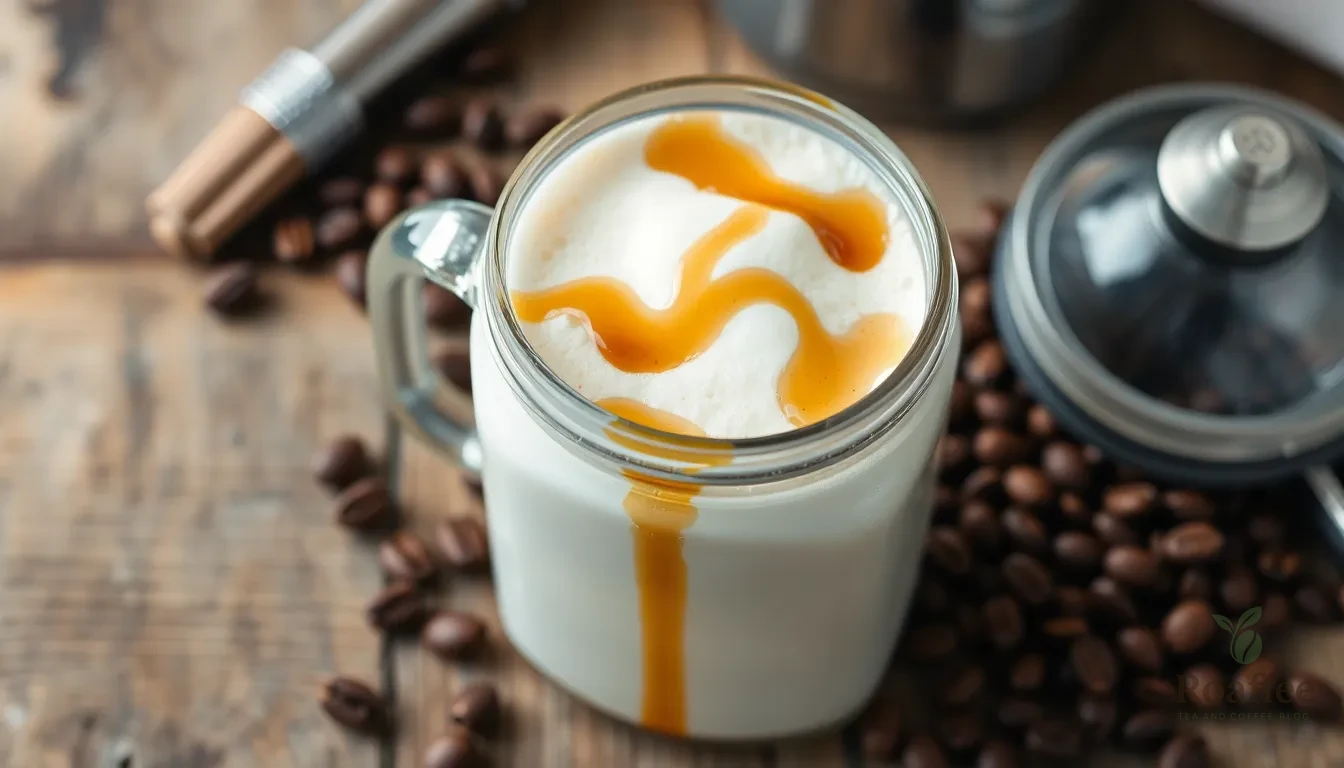
Now let’s walk through the step-by-step process to create that perfect sweet foam that will transform your coffee experience. We’ll break down each stage to ensure you achieve the ideal texture and sweetness every time.
Prep the Ingredients
We start by gathering our core ingredients in the proper ratios for optimal foam formation. Combine ¼ cup whole milk with 2 tablespoons heavy cream in your chosen container. Add ¼ teaspoon vanilla extract for that classic coffeehouse flavor. Include 1 tablespoon powdered sugar as our primary sweetener since it dissolves more easily than granulated sugar. Keep all ingredients cold before beginning the foaming process to achieve the best texture results.
Heat the Milk
We skip the heating step entirely for sweet foam since we’re creating a cold preparation. Cold milk and cream actually froth better than heated versions when making sweet foam. The cold temperature helps maintain the foam’s stability and prevents it from breaking down too quickly when poured over coffee. Room temperature ingredients can work but cold dairy products will give us superior volume and texture.
Add Sweeteners and Flavorings
We incorporate our sweetening agents directly into the milk mixture before foaming begins. Start with the recommended 1 tablespoon of powdered sugar and adjust to taste preferences. Vanilla extract blends seamlessly into the mixture while maple syrup or vanilla syrup can be substituted based on your flavor goals. Mix these ingredients gently with a spoon to distribute evenly before we begin the foaming process.
Create the Foam
We use our handheld milk frother to whip the mixture for 20-30 seconds until it thickens and increases in volume. Stop before the mixture becomes too stiff since we want creamy smoothness rather than peaked foam. The jar shaking method works as an alternative where we seal the container and shake vigorously until the mixture transforms into foam. An immersion blender can also create excellent results when pulsed in short bursts to avoid over-whipping.
Test for Consistency
We check that our foam maintains enough thickness to float on top of coffee without immediately sinking. The texture should be creamy and smooth with no separation occurring between the liquid and foam layers. If the foam sits for a few minutes before use we give it a quick whisk or shake to restore its original texture. The final product should coat the back of a spoon lightly while remaining pourable enough to create that perfect coffee shop experience.
Directions for Perfect Sweet Foam
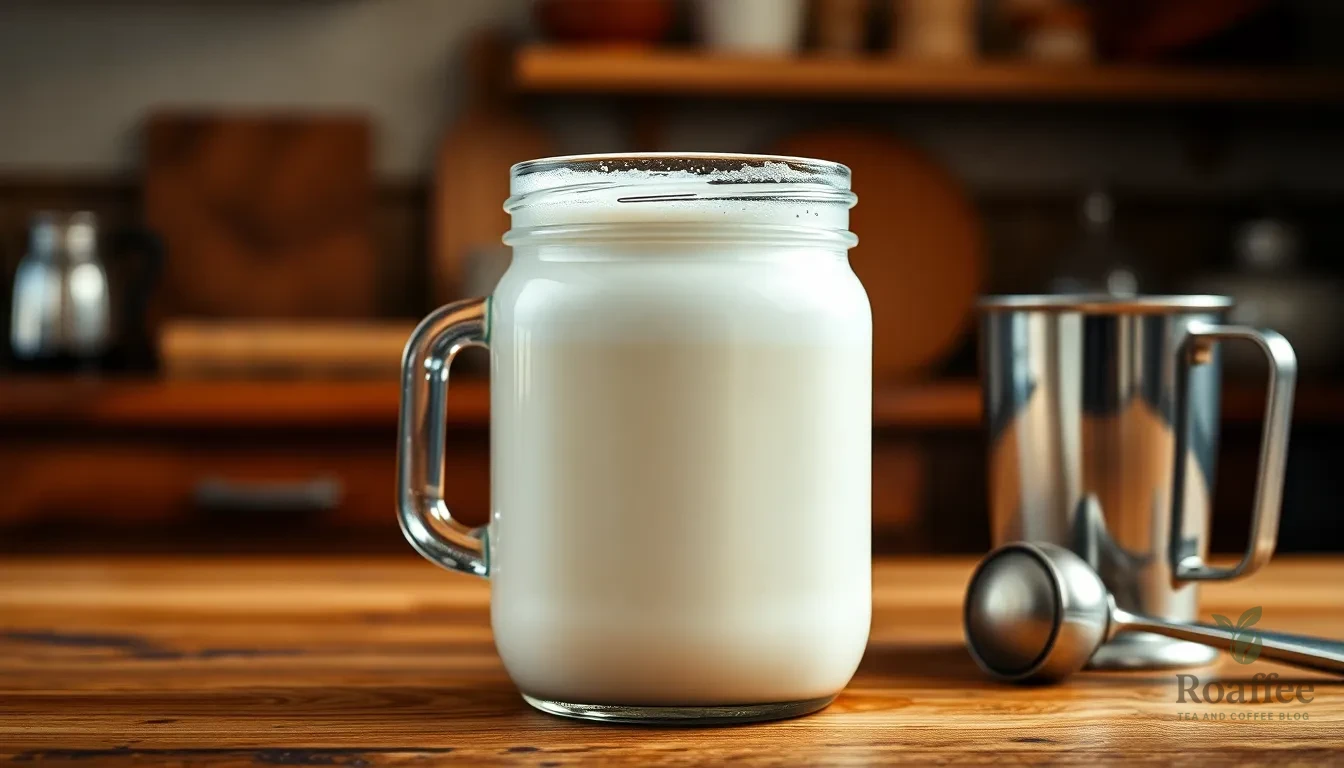
Now that we’ve gathered our ingredients and equipment, let’s walk through the essential techniques that will guarantee consistently perfect sweet foam every time. These exact methods ensure optimal texture and flavor in your homemade coffee creations.
Temperature Control Tips
We always use cold milk and cream for the best cold foam consistency. The cold temperature is crucial because it allows the proteins in the dairy to trap air more effectively and maintain stability throughout the frothing process.
Never heat your ingredients when making sweet foam. Unlike traditional steamed milk foam, cold foam relies on frothing milk without heat to retain that light and airy texture we’re aiming for. Room temperature ingredients will create weak foam that collapses quickly.
Keep your frothing container chilled in the refrigerator for 10-15 minutes before use. This extra step helps maintain the cold temperature throughout the frothing process and produces more stable foam that holds its shape longer.
Frothing Techniques
We recommend using an electric milk frother for the most consistent results. This tool provides steady agitation that creates uniform bubbles and smooth texture without requiring manual effort.
A handheld milk frother offers an affordable and effective alternative. While it requires more effort than electric versions, it gives you complete control over the frothing process and works excellently for small batches.
For DIY methods, use a jar with a tight-fitting lid and shake vigorously to create foam. Fill the jar only halfway with your mixture to allow room for expansion during shaking.
A French press works wonderfully by pumping the plunger to aerate the milk. Pour your mixture into the press and pump the plunger up and down repeatedly until thick foam forms on top.
Timing Guidelines
We froth for approximately 20-30 seconds with a frother until achieving thick, creamy foam. Watch carefully to avoid over-frothing, which creates stiff peaks that won’t blend smoothly into your coffee.
When using the jar method, shake vigorously for around 30 seconds until thick foam develops. The mixture should double in volume and feel substantially lighter when you lift the jar.
Pour the foam immediately over your iced coffee or cold brew for the best texture. Waiting too long allows the foam to separate and lose its creamy consistency.
Test your foam by spooning a small amount onto your coffee surface. Perfect sweet foam should float gracefully without immediately sinking, creating a distinct layer that gradually incorporates into the drink.
Serving and Storage

Once we’ve mastered the art of creating perfect sweet foam, we need to understand how to properly serve and store it for optimal results. The timing and technique of application can make all the difference in achieving that café-quality experience at home.
How to Top Your Coffee
We recommend spooning the sweet foam directly onto your coffee immediately after frothing for the best texture and visual appeal. The foam should sit gracefully on top of cold brew, iced coffee, or even hot coffee, creating distinct layers that slowly blend as you drink. For iced beverages, we pour the foam over the coffee in a gentle circular motion, allowing it to create a beautiful cloud-like topping that contrasts beautifully with the dark coffee beneath.
When serving over hot coffee, we work quickly since the heat can cause the foam to break down faster than with cold beverages. The key is to spoon the foam onto the coffee surface rather than pouring it, which helps maintain the foam’s structure and prevents immediate collapse. We find that the sweet foam enhances both the visual presentation and flavor profile, providing bursts of sweetness with each sip.
Storage Instructions
We can store leftover sweet cream mixture (before frothing) in a sealed container in the refrigerator for up to 5 days. This allows us to prepare larger batches of the base mixture and froth individual portions as needed throughout the week. The unfrothed mixture maintains its quality and flavor when properly stored in an airtight container.
But, we cannot store the actual foam itself, as it loses its texture and deflates within minutes of creation. If our foam sits too long before serving, we simply re-froth it briefly to restore the airy texture. We always prepare fresh foam for each coffee serving to ensure the best possible experience, as the foam’s light and fluffy characteristics are essential to the overall enjoyment of the drink.
Troubleshooting Common Issues
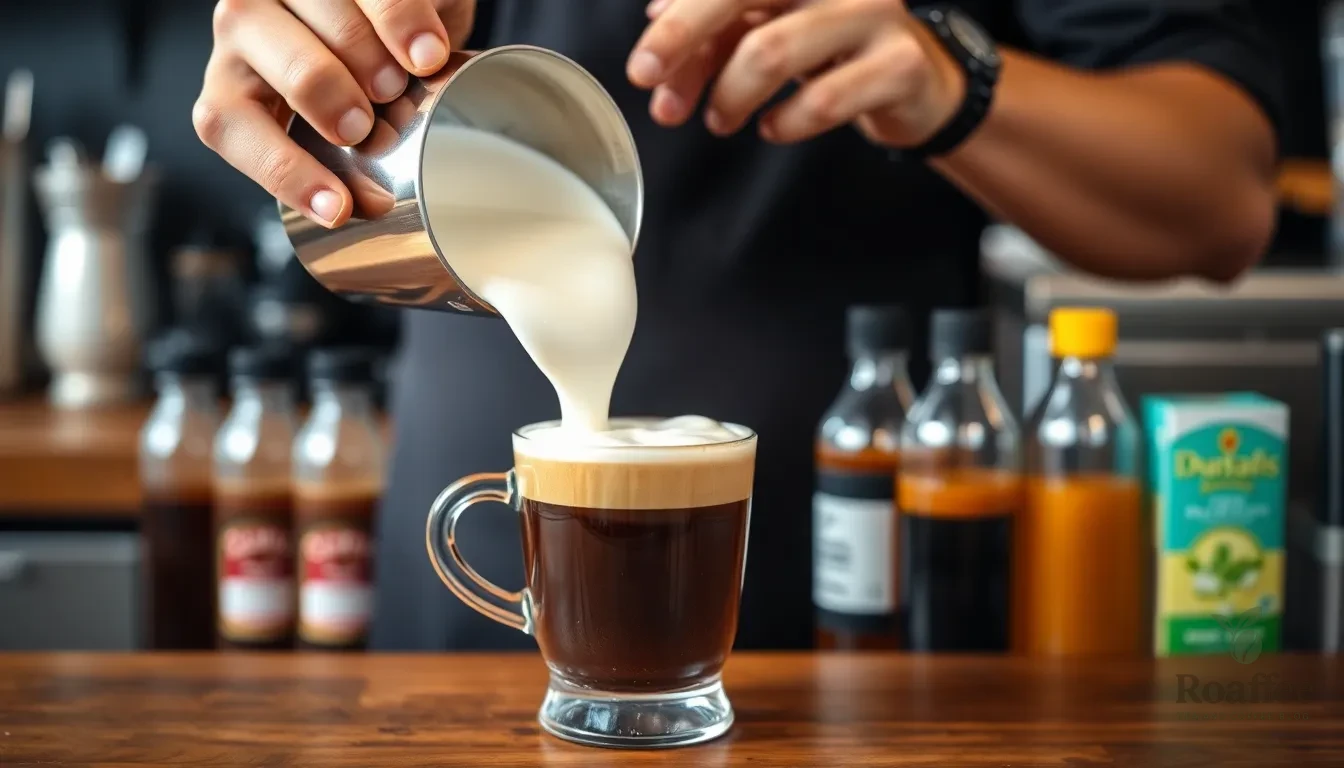
Even with the best intentions, creating perfect sweet foam can sometimes present challenges. Let’s address the most common problems you might encounter and provide practical answers to ensure your sweet foam turns out beautifully every time.
Foam Not Forming Properly
The most critical factor in foam formation is using the right fat content in your mixture. Heavy cream is essential for achieving that fluffy, stable foam texture we’re aiming for. Pure milk or low-fat milk alone simply won’t froth properly because they lack the necessary fat content to create and maintain foam structure.
Temperature also plays a crucial role in foam development. We always recommend using cold ingredients straight from the refrigerator, as cold liquids froth more effectively than room temperature ones. Make sure your heavy cream, milk, and any syrups are thoroughly chilled before beginning the frothing process.
Timing is everything when it comes to foam stability. Always froth your mixture immediately before serving, as foam loses its structure quickly once created. The longer you wait between frothing and serving, the more likely your foam will collapse or separate.
Foam Too Thin or Too Thick
Achieving the perfect foam consistency requires precise timing and technique. For optimal results, froth your mixture for 20-30 seconds using steady, consistent movements. Under-frothing for less than 20 seconds typically results in thin foam that won’t hold its shape or provide the desired texture.
Over-frothing presents the opposite problem, creating stiff peaks that lose their creamy, pourable consistency. When you froth for too long, the mixture becomes too dense and loses that light, airy quality that makes sweet foam so appealing.
Adjusting your milk-to-cream ratio can help fine-tune the foam’s thickness. If your foam consistently turns out too thick or heavy, try increasing the milk proportion slightly. Conversely, if the foam remains too thin, add a bit more heavy cream to provide additional structure and richness.
Flavor Balance Problems
Getting the sweetness just right requires careful attention to your vanilla syrup quantity. Start with the recommended ½ ounce and adjust according to your taste preferences. Remember that you can always add more syrup, but you can’t take it away once it’s mixed in.
Experimenting with different flavored syrups opens up endless possibilities for customization. Try substituting vanilla with caramel, pumpkin spice, or lavender syrups to create unique flavor profiles. Each syrup has different sweetness levels, so you may need to adjust quantities accordingly.
If your sweet foam turns out too sweet, reduce the syrup amount in your next batch or try creating unsweetened foam by omitting syrup entirely. Using cold brew coffee instead of regular iced coffee can also help balance flavors, as cold brew tends to be less bitter and provides a smoother base for your sweet foam creation.
Conclusion
Creating sweet foam at home isn’t just achievable—it’s surprisingly simple once you know the right techniques. We’ve shown you that with basic kitchen tools and cold ingredients you can transform your daily coffee routine into something truly special.
The key is remembering that consistency comes from practice. Don’t worry if your first attempts aren’t perfect—even professional baristas had to start somewhere. Focus on using cold heavy cream proper frothing techniques and fresh preparation for each serving.
Now it’s time to put these skills to work. Start with our basic vanilla recipe then experiment with different flavors to discover your personal favorites. Your morning coffee will never be the same again.
Frequently Asked Questions
What is sweet foam and how is it different from regular milk foam?
Sweet foam is a delightful coffee topping that combines the airy texture of traditional milk foam with added sweetness and flavor. Unlike regular milk foam, sweet foam incorporates sweetening agents like sugar or syrups and flavoring elements that enhance both taste and visual appeal while creating a cloud-like topping that dissolves into coffee.
What equipment do I need to make sweet foam at home?
You need minimal equipment that’s commonly found in most kitchens. Essential tools include a handheld milk frother (recommended), mason jar, French press, or high-powered blender. Each tool offers different methods for achieving consistent foam texture, with the handheld frother being the most efficient option for creating perfect sweet foam.
What ingredients are essential for making barista-quality sweet foam?
The essential ingredients include heavy cream, 2% milk, and vanilla syrup or simple syrup. Alternative options include half-and-half or powdered sugar for customization. You can also experiment with flavored syrups like caramel or hazelnut, vanilla bean paste, or homemade flavored syrups to create unique taste profiles.
Can I make different flavors of sweet foam?
Yes, sweet foam is highly versatile and allows for countless flavor combinations. Popular variations include vanilla (classic base), cinnamon (warm spice notes), caramel (indulgent treat), and chocolate (rich cocoa-infused). You can customize flavors by swapping syrups or adding spices to match your personal preferences while maintaining lightness and sweetness.
How long can I store sweet foam?
The leftover sweet cream mixture can be stored in the refrigerator for up to five days. However, the actual foam should be prepared fresh for each serving to ensure the best experience, as it loses its airy texture quickly. Always froth the mixture just before serving for optimal results.
Why isn’t my sweet foam holding its texture?
Common issues include using ingredients with insufficient fat content, warm temperatures, or incorrect frothing timing. Ensure you use heavy cream for stable foam, keep all ingredients cold, and froth for the appropriate time. You may need to adjust the milk-to-cream ratio or fine-tune sweetness levels with flavored syrups.
Should sweet foam be served hot or cold?
Sweet foam should remain cold and not be heated. For hot coffee, apply the foam quickly to prevent it from breaking down. For cold beverages, spoon the foam directly onto the coffee immediately after frothing to maintain texture and visual appeal for the best coffee experience.
