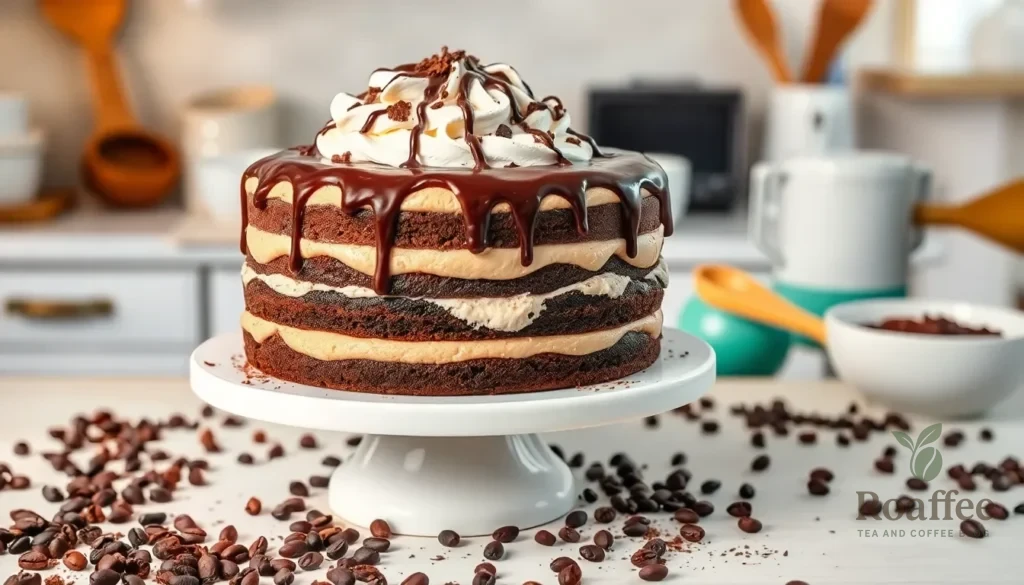
We’ve discovered the perfect dessert that combines two beloved treats into one irresistible creation: coffee ice cream cake. This show-stopping dessert brings together rich coffee flavors with creamy frozen layers that’ll make your taste buds dance with joy.
There’s something magical about the way coffee-infused ice cream pairs with tender cake layers and luscious frosting. Whether you’re hosting a summer gathering or celebrating a special occasion, this dessert delivers that perfect balance of caffeine kick and sweet indulgence that guests can’t resist.
What makes this recipe truly special is how it transforms simple ingredients into an elegant masterpiece that looks like it came straight from a high-end bakery. We’ll walk you through each step to create this stunning dessert that’s surprisingly achievable in your own kitchen, proving that restaurant-quality treats are well within your reach.
Ingredients
Creating this stunning coffee ice cream cake requires carefully selected ingredients that work together to deliver layers of rich flavor and creamy texture. We’ve organized the ingredients by component to make preparation seamless and efficient.
For the Coffee Ice Cream
- 2 cups heavy cream
- 1 cup whole milk
- 3/4 cup granulated sugar
- 6 large egg yolks
- 1/4 cup instant coffee granules
- 2 tablespoons coffee liqueur (optional)
- 1 teaspoon vanilla extract
- 1/4 teaspoon salt
For the Chocolate Cake Layers
- 1 3/4 cups all-purpose flour
- 2 cups granulated sugar
- 3/4 cup unsweetened cocoa powder
- 2 teaspoons baking soda
- 1 teaspoon baking powder
- 1 teaspoon salt
- 2 large eggs
- 1 cup buttermilk
- 1 cup hot coffee
- 1/2 cup vegetable oil
- 1 teaspoon vanilla extract
For the Whipped Cream Frosting
- 2 cups heavy cream
- 1/2 cup powdered sugar
- 1 teaspoon vanilla extract
- 1/4 teaspoon salt
For the Chocolate Ganache Drizzle
- 1/2 cup heavy cream
- 4 oz dark chocolate, finely chopped
- 1 tablespoon butter
- 1 tablespoon corn syrup
Equipment Needed
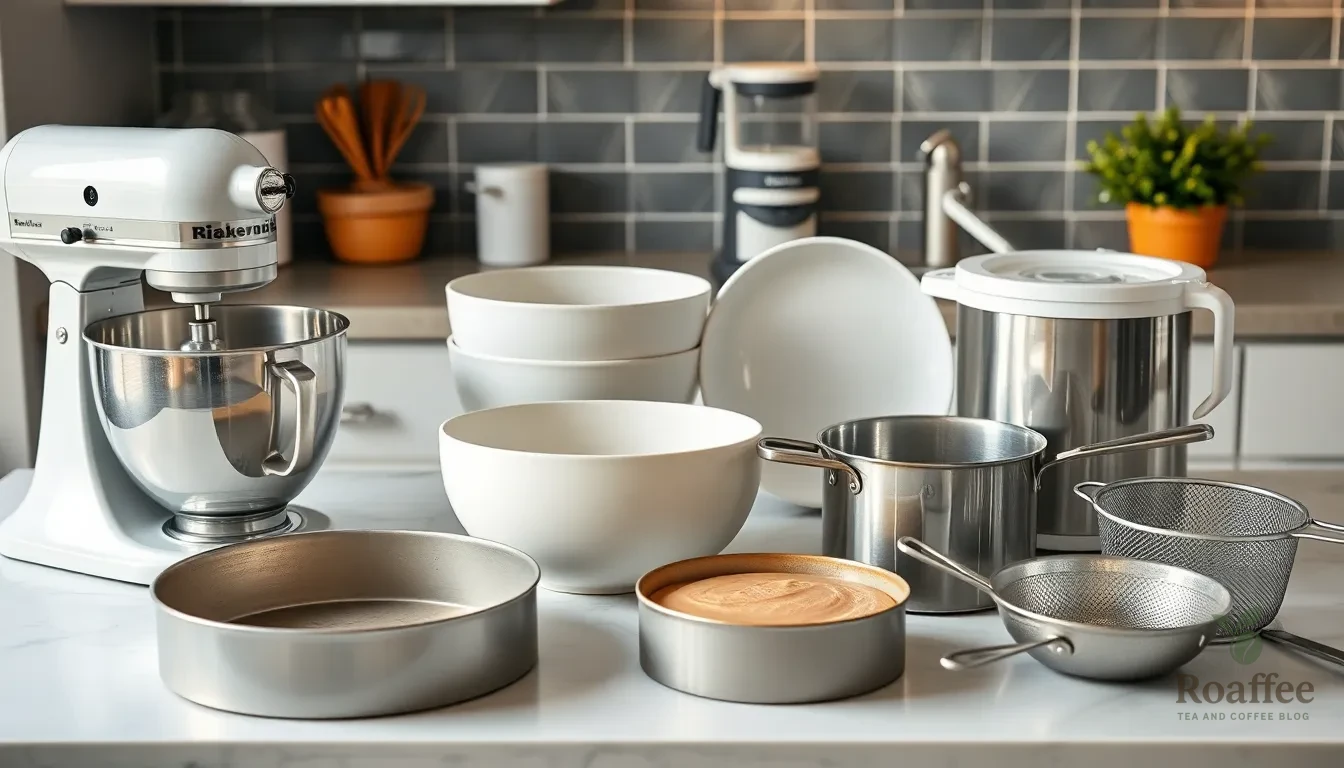
Creating our coffee ice cream cake requires exact equipment to achieve professional results. We recommend gathering all tools before beginning preparation to ensure smooth execution throughout the process.
Essential Baking Equipment:
- 2 round 9-inch cake pans for chocolate layers
- Electric mixer (stand or hand mixer) for whipping cream and mixing batter
- Large mixing bowls (at least 3 medium to large bowls)
- Wire cooling racks for cake layers
- Measuring cups and spoons for accurate ingredient portions
Ice Cream Making Tools:
- Ice cream maker (4-quart capacity minimum)
- Medium saucepan for heating cream mixture
- Fine-mesh strainer for smooth custard base
- Instant-read thermometer for monitoring custard temperature
- Whisk for combining ingredients
Assembly and Finishing Equipment:
- 9-inch springform pan for cake assembly
- Offset spatula for spreading layers evenly
- Rubber spatula for folding ingredients
- Plastic wrap for covering during freezing
- Small saucepan for preparing ganache
Storage and Serving Tools:
- Freezer-safe container for ice cream storage
- Sharp knife for clean cake slicing
- Serving plates and cake server
We suggest using a springform pan for easy removal once our cake sets completely. The removable bottom allows us to transfer the finished dessert without damaging the layers. Quality measuring tools ensure consistent results while proper mixing equipment creates the smooth textures essential for this elegant dessert.
Instructions
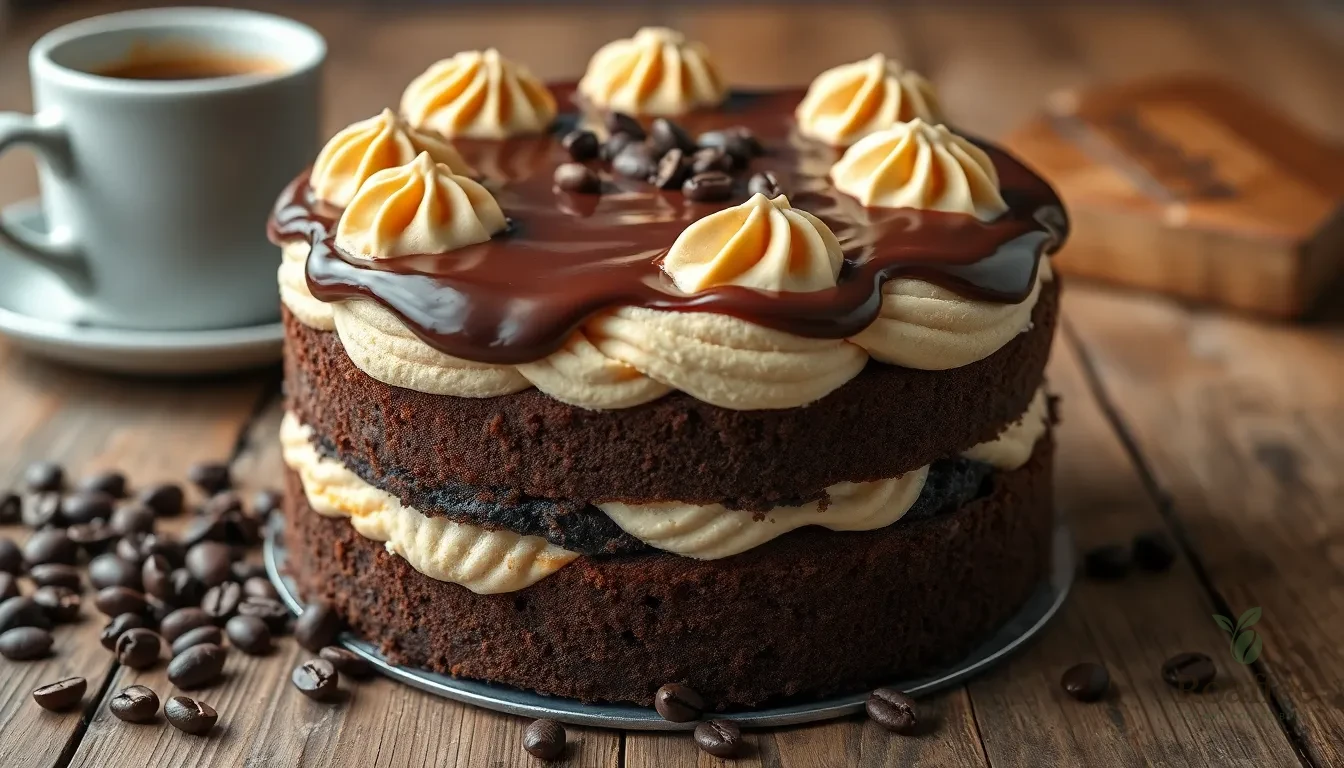
We’ll guide you through creating this stunning coffee ice cream cake step by step. Follow these detailed instructions to achieve professional results in your own kitchen.
Making the Coffee Ice Cream
We start by combining 1 cup heavy cream and 1 cup whole milk in a medium saucepan over medium heat. Heat the mixture until it just begins to simmer around the edges.
Whisk together 6 egg yolks and ¾ cup granulated sugar in a large bowl until the mixture becomes pale and thick. This process takes about 3 minutes of vigorous whisking.
We slowly pour the hot cream mixture into the egg yolk mixture while whisking constantly. This prevents the eggs from scrambling and creates a smooth base.
Return the entire mixture to the saucepan and cook over medium low heat. Stir constantly with a wooden spoon until the mixture coats the back of the spoon and reaches 170°F on an instant read thermometer.
Remove from heat and immediately stir in 2 tablespoons instant coffee granules until completely dissolved. Add 2 tablespoons coffee liqueur (if using) 1 teaspoon vanilla extract and a pinch of salt.
Strain the mixture through a fine mesh strainer into a clean bowl to remove any lumps. Press plastic wrap directly onto the surface of the custard to prevent a skin from forming and refrigerate for at least 4 hours or overnight.
We churn the chilled custard in an ice cream maker according to manufacturer instructions until it reaches a soft serve consistency. Transfer to an airtight container and freeze for at least 2 hours before assembling the cake.
Preparing the Chocolate Cake Layers
Preheat your oven to 350°F and grease two 9 inch round cake pans with butter. Line the bottoms with parchment paper and lightly dust with cocoa powder.
We sift together 1¾ cups all purpose flour ¾ cup cocoa powder 2 teaspoons baking soda 1 teaspoon baking powder and 1 teaspoon salt in a large bowl.
Beat 2 cups granulated sugar and 2 large eggs in a separate bowl using an electric mixer on medium speed for 2 minutes until well combined.
Mix in 1 cup buttermilk ½ cup vegetable oil and 2 teaspoons vanilla extract until smooth. The batter will appear slightly thick at this stage.
We gradually add the dry ingredients to the wet ingredients while mixing on low speed. Pour in 1 cup hot strong coffee slowly while continuing to mix until the batter becomes smooth and thin.
Divide the batter evenly between the prepared pans and smooth the tops with an offset spatula. Bake for 28 to 32 minutes until a toothpick inserted in the center comes out with just a few moist crumbs.
Cool the cakes in their pans for 10 minutes before turning them out onto wire racks to cool completely. This prevents the layers from breaking during assembly.
Making the Whipped Cream Frosting
We chill a large mixing bowl and beaters in the freezer for 15 minutes before beginning. This helps the cream whip faster and hold its shape better.
Pour 2 cups heavy cream into the chilled bowl and begin whipping on medium speed until soft peaks form. This typically takes 2 to 3 minutes.
Gradually add ½ cup powdered sugar 1 teaspoon vanilla extract and a pinch of salt while continuing to whip. Increase speed to medium high and whip until stiff peaks form.
Be careful not to overwhip the cream as it can quickly turn into butter. The frosting should hold its shape when the beaters are lifted but still appear smooth and creamy.
Use the whipped cream frosting immediately or cover and refrigerate for up to 2 hours before assembly.
Preparing the Chocolate Ganache
We heat ½ cup heavy cream in a small saucepan over medium heat until it just begins to simmer. Remove from heat immediately to prevent scorching.
Chop 4 ounces dark chocolate into small uniform pieces and place in a heatproof bowl. Pour the hot cream over the chocolate and let it sit undisturbed for 2 minutes.
Stir the mixture gently from the center outward using a rubber spatula until the chocolate completely melts and the ganache becomes smooth and glossy.
Add 1 tablespoon butter and 1 teaspoon corn syrup to the ganache and stir until fully incorporated. The butter adds richness while the corn syrup provides extra shine.
Let the ganache cool for 10 to 15 minutes until it reaches a drizzling consistency. The mixture should coat the back of a spoon but still flow easily when poured.
Directions for Assembly
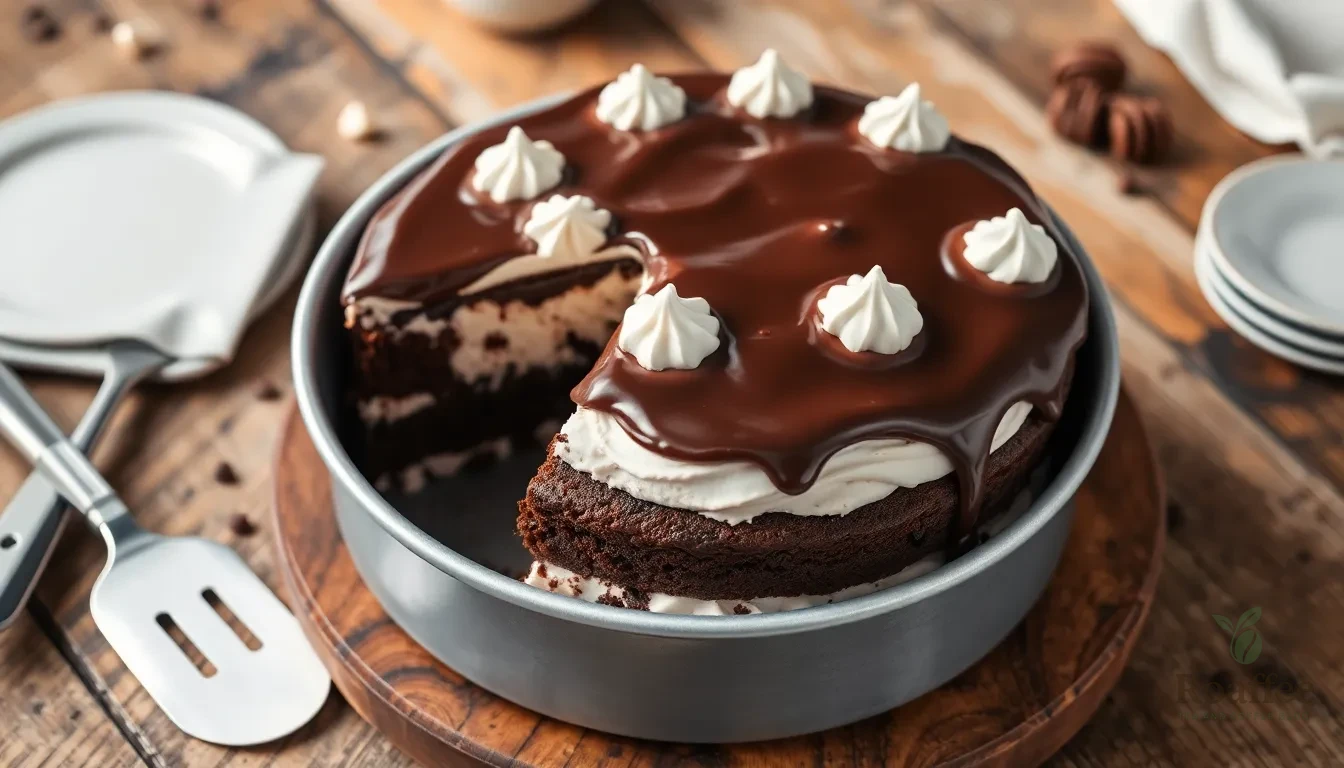
With all components prepared and chilled, we can now assemble our stunning coffee ice cream cake. The careful layering process creates distinct flavor profiles that complement each other beautifully.
Layering the Cake
We begin by lining our 9-inch springform pan with parchment paper for easy removal. Place one chocolate cake layer on the bottom of the pan, ensuring it fits snugly against the sides. Brush the cake surface with coffee liqueur or cooled coffee for added moisture and flavor enhancement.
Spread a thin layer of whipped cream frosting evenly across the cake using an offset spatula. This creates a barrier that prevents the ice cream from making the cake soggy. Add the second chocolate cake layer on top, pressing gently to secure it in place.
Adding the Ice Cream Layer
We scoop the coffee ice cream directly from the freezer while it maintains its firm consistency. Working quickly, spread the ice cream evenly over the top cake layer using a rubber spatula. Create a smooth surface by gently pressing and leveling the ice cream to eliminate air pockets.
The ice cream layer should reach nearly to the edges of the pan for complete coverage. Smooth the surface with long, even strokes to create a professional appearance. Cover the assembled cake with plastic wrap, pressing it directly onto the ice cream surface to prevent ice crystals from forming.
Final Frosting and Decoration
We remove the cake from the freezer after allowing it to set for at least 2 hours. Carefully release the springform pan sides and transfer the cake to a serving platter. Apply the remaining whipped cream frosting to the exposed sides and top edge, creating smooth, even coverage.
Our chocolate ganache should be at room temperature for optimal pouring consistency. Drizzle the ganache over the top of the cake, allowing it to naturally flow down the sides for an elegant finish. Use a spoon to create decorative patterns or keep the drizzle random for a rustic appearance.
Return the completed cake to the freezer for 30 minutes to set the ganache before serving. This final chilling period ensures clean slices and maintains the cake’s structural integrity.
Make-Ahead Instructions
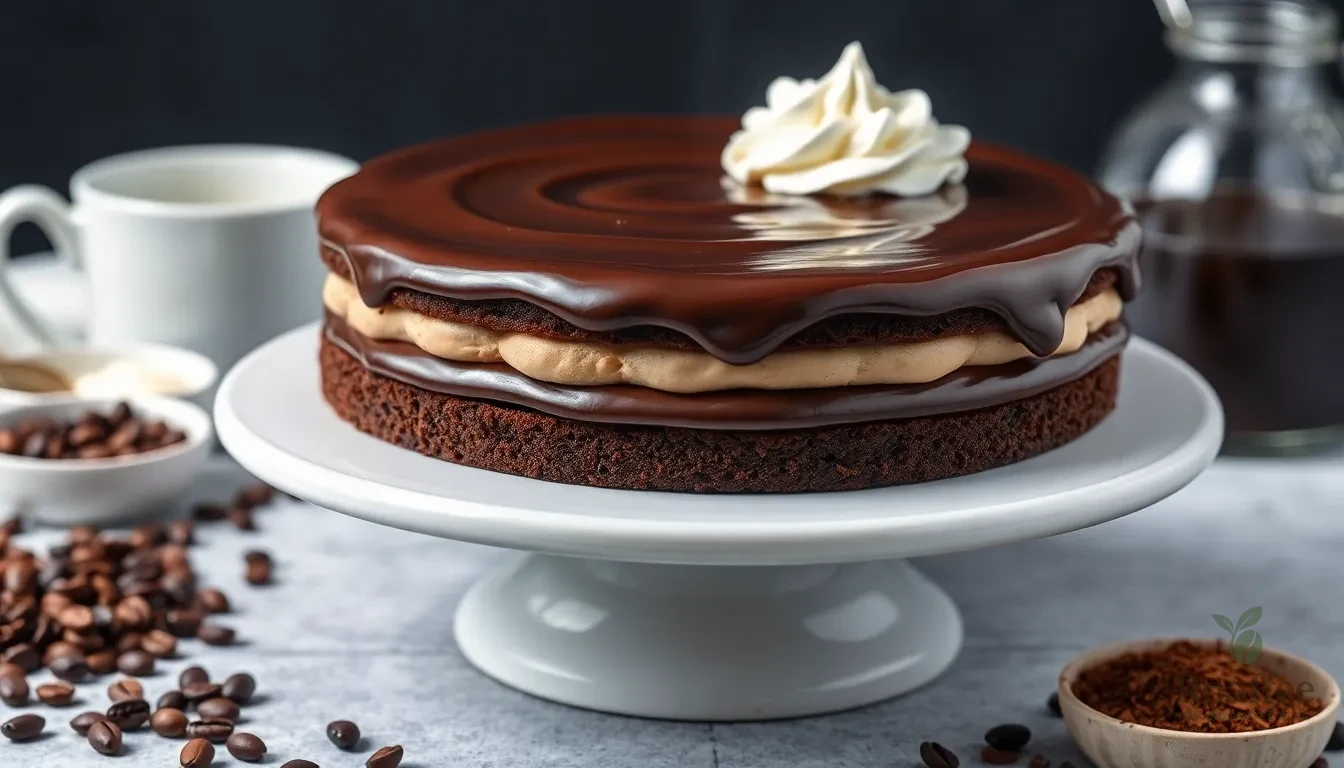
We can prepare this coffee ice cream cake up to one week in advance to reduce stress on the day of serving. The layered nature of this dessert actually benefits from advance preparation since the flavors meld together beautifully over time.
Coffee Ice Cream Preparation
Start by making the coffee ice cream up to 3 days ahead. Once churned transfer the ice cream to an airtight container and press plastic wrap directly onto the surface to prevent ice crystals from forming. Store in the coldest part of your freezer for optimal texture.
Chocolate Cake Layers
Bake the chocolate cake layers up to 2 days in advance. Allow the cakes to cool completely before wrapping each layer tightly in plastic wrap. Store wrapped layers at room temperature for same-day use or freeze for up to 1 month. Thaw frozen layers at room temperature for 2 hours before assembly.
Whipped Cream Frosting
Prepare the whipped cream frosting on the same day as assembly for best results. We recommend making it no more than 4 hours ahead since it maintains its peak stability during this timeframe. Store covered in the refrigerator until ready to use.
Chocolate Ganache
Make the chocolate ganache up to 1 week ahead and store it in the refrigerator. Gently reheat the ganache in 15-second intervals in the microwave stirring between each interval until it reaches drizzling consistency. Allow it to cool slightly before drizzling over the cake.
Complete Assembly Timeline
Assemble the entire cake 1 to 2 days before serving. This timeframe allows the ice cream to firm up properly while giving the coffee liqueur time to infuse the cake layers. Cover the assembled cake tightly with plastic wrap and store in the freezer.
Final Storage Notes
Remove the cake from the freezer 15 minutes before serving to allow for easier slicing. For longer storage keep the assembled cake frozen for up to 1 week maintaining its quality and texture throughout this period.
Storage Tips
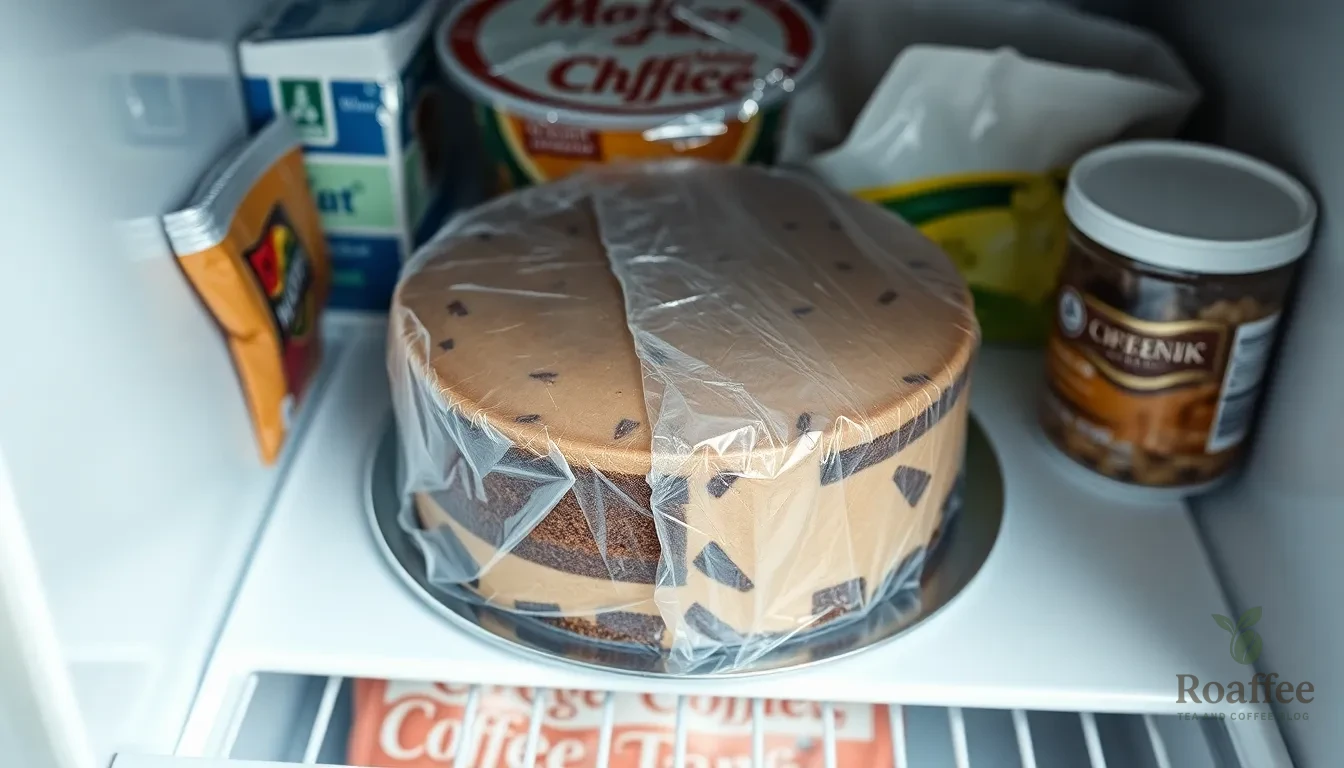
We recommend storing your coffee ice cream cake in the freezer to maintain its structure and prevent melting. Wrap the assembled cake tightly with plastic wrap and then cover with aluminum foil to prevent freezer burn and preserve optimal flavor.
Proper freezer storage extends the cake’s life up to one week while maintaining quality. Place the wrapped cake on a flat surface in your freezer where it won’t be disturbed or knocked over during storage.
Our testing shows that removing the cake from the freezer 15 minutes before serving creates the perfect texture for slicing. This brief thawing period allows the ice cream to soften slightly without compromising the cake’s structure.
Store leftover slices individually wrapped in plastic wrap for convenient single servings. Each wrapped slice stays fresh in the freezer for up to three days after the initial serving.
We suggest labeling your wrapped cake with the preparation date to track freshness. Temperature fluctuations can affect texture so avoid placing the cake near the freezer door where temperatures vary most.
Keep the cake away from strong-smelling freezer items since coffee ice cream readily absorbs surrounding odors. Store in the main freezer compartment rather than in door compartments for consistent temperature control.
Our experience indicates that properly stored coffee ice cream cake maintains its creamy texture and rich flavor profile throughout the recommended storage period. Always use clean utensils when serving to prevent contamination and extend the remaining cake’s shelf life.
Serving Suggestions
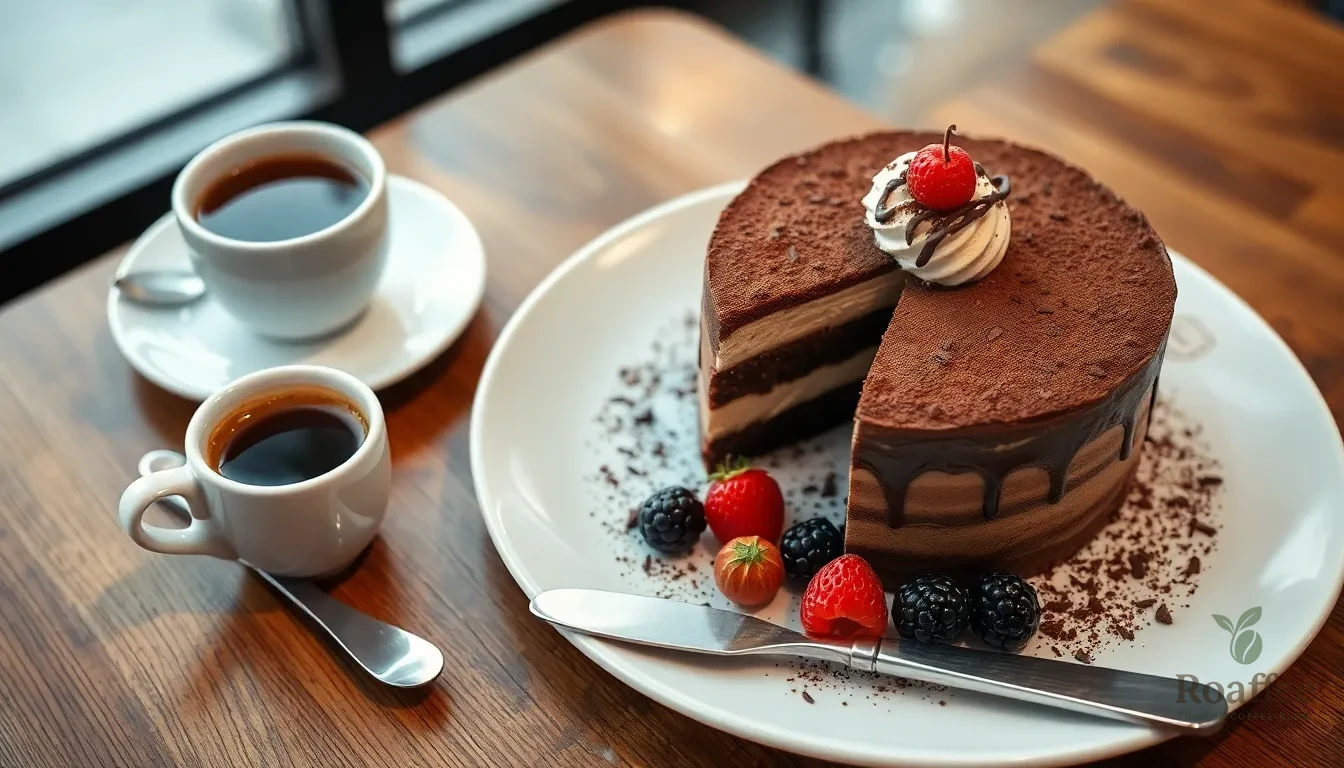
We recommend serving our coffee ice cream cake at the perfect temperature for optimal texture and flavor. Remove the cake from the freezer 15 minutes before serving to allow easier slicing while maintaining the ice cream’s creamy consistency.
Presentation Ideas
We suggest dusting the serving plate with cocoa powder or powdered sugar for an elegant presentation. Garnish each slice with a few coffee beans or chocolate shavings to enhance the visual appeal. Fresh berries like raspberries or strawberries provide a beautiful color contrast and complement the rich coffee flavors.
Beverage Pairings
We pair this dessert with hot espresso or strong coffee to intensify the coffee experience. For non-coffee drinkers we recommend serving with vanilla latte or cappuccino. Cold brew coffee creates an excellent contrast to the frozen dessert while maintaining the coffee theme.
Portion Recommendations
We cut the cake into 8 to 10 generous slices depending on the occasion. Use a sharp knife dipped in warm water between cuts for clean slices. Wipe the blade clean after each cut to maintain neat presentation.
Occasion Styling
We enhance dinner parties by serving individual portions on chilled dessert plates. For casual gatherings we recommend offering additional toppings like whipped cream or chocolate sauce on the side. Birthday celebrations benefit from adding sparkler candles placed directly into each slice for dramatic effect.
Complementary Desserts
We suggest serving alongside simple cookies like biscotti or shortbread to provide textural variety. Chocolate truffles or espresso beans make excellent accompaniments for coffee lovers. For larger gatherings we recommend preparing additional desserts like tiramisu or chocolate mousse to offer variety while maintaining the coffee theme.
Conclusion
This coffee ice cream cake recipe brings together the best of both worlds – the rich complexity of coffee with the indulgent sweetness of homemade ice cream and chocolate cake. We’ve shown you that creating this impressive dessert at home is entirely achievable with the right techniques and planning.
The beauty of this recipe lies in its make-ahead flexibility. You can prepare components days in advance and assemble when ready which makes it perfect for entertaining without last-minute stress.
Whether you’re celebrating a special occasion or simply treating yourself to something extraordinary this coffee ice cream cake delivers restaurant-quality results from your own kitchen. The combination of textures and flavors creates a memorable dessert that’ll have everyone asking for the recipe.
Frequently Asked Questions
What ingredients do I need for coffee ice cream cake?
You’ll need ingredients for four components: coffee ice cream (heavy cream, whole milk, sugar, egg yolks, instant coffee, vanilla), chocolate cake (flour, sugar, cocoa powder, eggs, buttermilk, hot coffee, oil), whipped cream frosting (heavy cream, powdered sugar, vanilla), and chocolate ganache (heavy cream, dark chocolate, butter, corn syrup).
What equipment is essential for making this cake?
Essential tools include 9-inch round cake pans, electric mixer, large mixing bowls, ice cream maker, saucepan, springform pan, offset spatula, wire cooling racks, measuring cups, fine-mesh strainer, thermometer, and whisk. Quality measuring tools and proper mixing equipment ensure smooth textures and consistent results.
Can I make coffee ice cream cake ahead of time?
Yes, this cake is perfect for make-ahead preparation. Coffee ice cream can be made 3 days ahead, cake layers 2 days ahead, and ganache up to 1 week ahead. Assemble the complete cake 1-2 days before serving to allow flavors to meld and ice cream to firm up properly.
How should I store the coffee ice cream cake?
Store the cake in the freezer, wrapped tightly in plastic wrap and aluminum foil to prevent freezer burn. It can be stored for up to one week while maintaining quality. Keep it away from strong-smelling items to avoid odor absorption and label with the preparation date.
How long before serving should I remove the cake from the freezer?
Remove the coffee ice cream cake from the freezer 15 minutes before serving. This allows it to reach the optimal temperature for easier slicing while maintaining the perfect texture and flavor balance between the ice cream and cake layers.
What are the best serving suggestions for coffee ice cream cake?
Dust the serving plate with cocoa powder or powdered sugar and garnish slices with coffee beans or chocolate shavings. Pair with hot espresso or strong coffee for coffee lovers, or offer alternatives for non-coffee drinkers. The cake works beautifully for special occasions and dinner parties.
