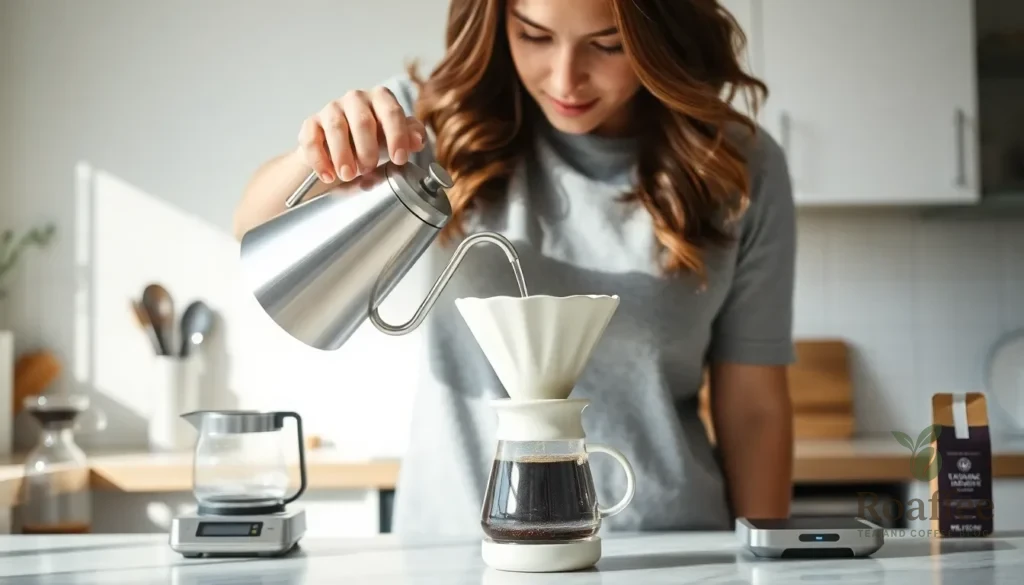
Nothing beats the ritual of making pour over coffee when you’re craving that perfect cup. This brewing method transforms simple coffee grounds into a rich aromatic experience that puts your morning routine on another level. We’ve mastered this technique over countless mornings and we’re excited to share our foolproof approach.
Pour over coffee isn’t just about the end result – it’s about the meditative process that connects you with every element of your brew. The gentle circular motions the steady pour and the intoxicating aroma create a sensory experience that instant coffee simply can’t match. You’ll taste the difference in every sip.
Whether you’re a coffee enthusiast looking to elevate your home brewing game or someone who wants to ditch expensive coffee shop visits we’ll guide you through each step. Our method delivers consistently smooth balanced coffee that rivals your favorite café. Let’s jump into the art of pour over brewing and transform your morning routine forever.
Equipment Needed
Before we begin our pour over coffee journey, we need to gather the essential tools that will transform our brewing experience. The right equipment ensures we extract the perfect flavors from our coffee beans while maintaining complete control over the process.
Coffee Dripper
We recommend investing in a quality pour over dripper as the foundation of our brewing setup. The V60, Chemex, or Kalita Wave are excellent choices that offer different brewing characteristics. Each dripper features unique design elements that affect water flow and extraction time. We prefer the V60 for its versatility and ability to highlight bright, complex flavors in our coffee.
Coffee Filters
Paper filters are crucial for achieving a clean, sediment-free cup of coffee. We must match our filter type to our exact dripper model for optimal results. Quality filters remove oils and fine particles while allowing the coffee’s pure flavors to shine through. We always keep extra filters on hand since running out mid-brew can derail our morning routine.
Gooseneck Kettle
A gooseneck kettle provides the precise water control we need for even extraction. The narrow, curved spout allows us to direct water flow exactly where we want it. We can maintain consistent pouring speed and create the perfect spiral pattern over our coffee grounds. Temperature control features help us achieve the ideal brewing temperature between 195°F and 205°F.
Coffee Grinder
Fresh grinding makes the difference between good coffee and exceptional coffee. We need a burr grinder that produces uniform particle size for consistent extraction. Blade grinders create uneven grounds that lead to over-extraction and bitter flavors. We grind our beans just before brewing to preserve the aromatic compounds that make our coffee taste amazing.
Digital Scale
Precision matters when we’re brewing pour over coffee. A digital scale accurate to 0.1 grams ensures we maintain the perfect coffee-to-water ratio every time. We measure both our coffee dose and water weight throughout the brewing process. This consistency eliminates guesswork and helps us replicate our best cups.
Timer
Timing controls extraction strength and prevents over-brewing our coffee. We use a timer to track our bloom time, total brew duration, and pouring intervals. Most pour over recipes require exact timing for optimal results. We can use a standalone timer, smartphone app, or many digital scales include built-in timing functions.
Ingredients
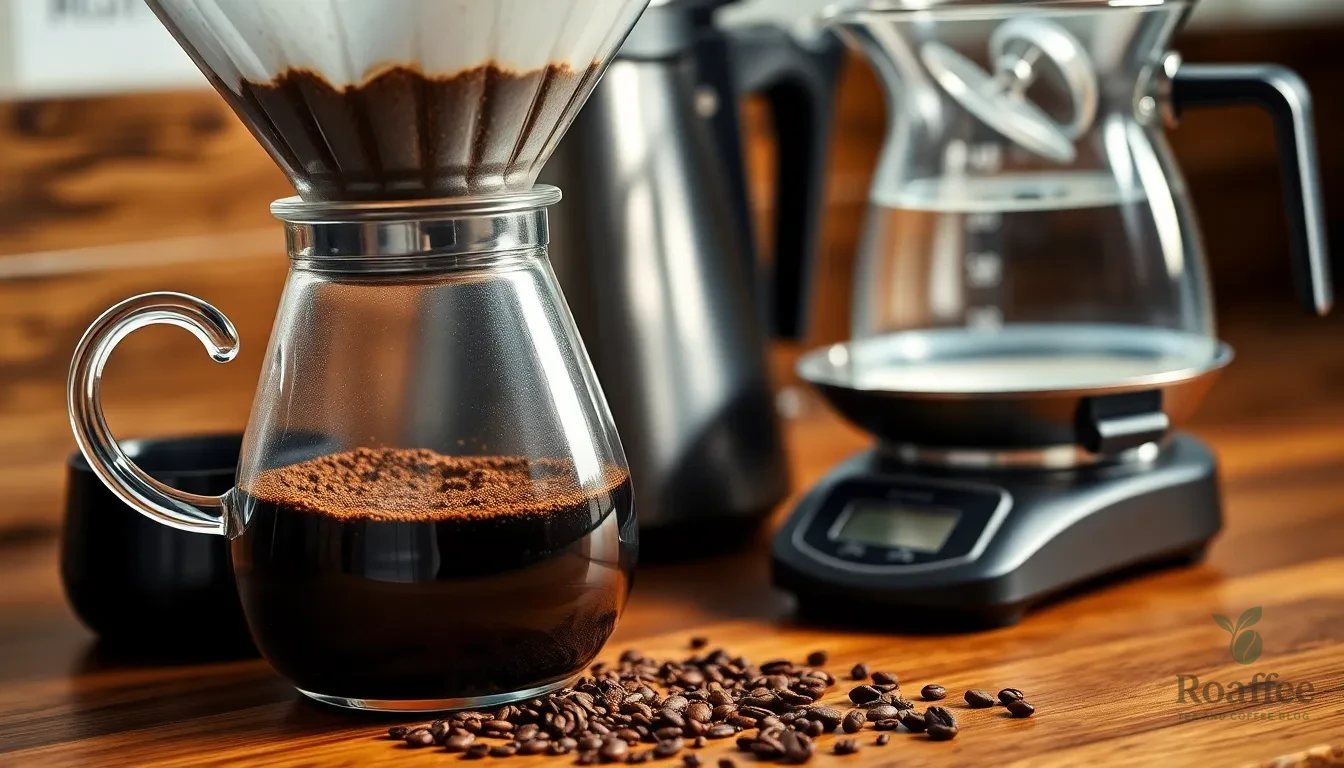
With our essential equipment assembled, we can now focus on the core ingredients that will transform into our perfect pour over coffee. The beauty of pour over brewing lies in its simplicity, requiring only two primary ingredients to create an exceptional cup.
For one serving:
- 25-30 grams freshly ground coffee beans (medium-fine grind, similar to sea salt texture)
- 400-450 grams filtered water (heated to 195-205°F)
Coffee Selection:
We recommend choosing high-quality, freshly roasted coffee beans that have been roasted within 2-4 weeks of brewing. Single-origin beans work exceptionally well for pour over methods, allowing us to taste the unique characteristics of each coffee region. Medium to light roasts showcase the most complex flavors in pour over brewing, though darker roasts can also produce excellent results when adjusted properly.
Water Quality:
Filtered water makes a important difference in our final cup quality. Tap water with high mineral content or chlorine can mask the delicate flavors we’re working to extract. The ideal water temperature sits between 195-205°F, which we can achieve by bringing water to a boil and letting it rest for 30-60 seconds.
Grind Consistency:
Fresh grinding immediately before brewing ensures maximum flavor extraction. Our coffee-to-water ratio of 1:15 to 1:16 provides the perfect balance for most taste preferences, though we can adjust this based on desired strength. The grind size should resemble coarse sea salt, allowing proper water flow while maximizing extraction during our brewing process.
Coffee Bean Selection
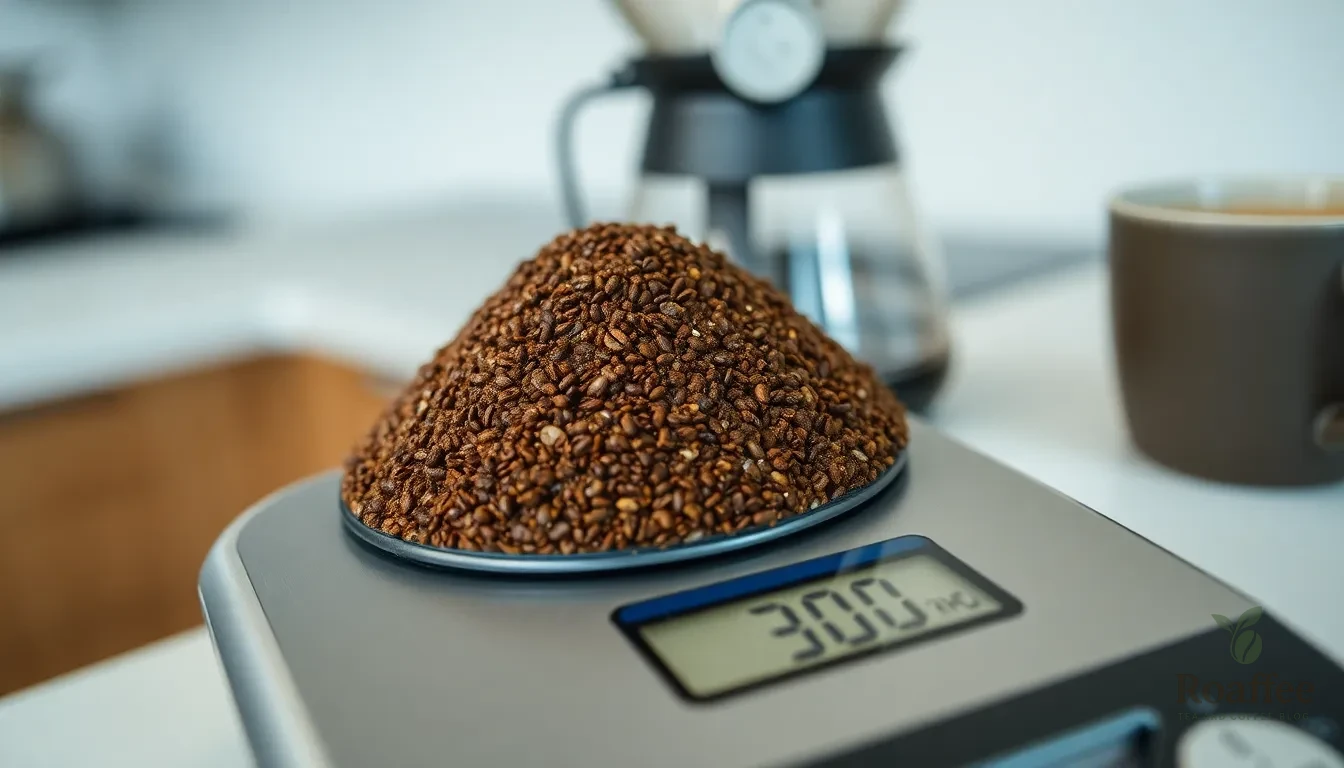
Selecting the right coffee beans forms the foundation of exceptional pour over coffee. Our choice of beans directly impacts the flavor profile and brewing success of our final cup.
Grind Size
We recommend grinding our coffee beans to a medium coarse consistency that resembles coarse sea salt or breadcrumbs. This grind size allows water to flow through the coffee bed at an optimal rate during the brewing process. If we grind too fine our coffee will over extract and taste bitter while a grind that’s too coarse will under extract and produce weak flavors.
Our burr grinder should produce uniform particles that ensure even extraction throughout the brewing process. We adjust the grind size based on our brewing time and taste preferences. A slightly finer grind works well for shorter brewing times while a coarser grind suits longer extraction periods.
Coffee-to-Water Ratio
We maintain a precise coffee-to-water ratio of 1:15 to 1:16 for consistently balanced pour over coffee. This translates to approximately 25-30 grams of coffee for every 400-450 grams of water we use in our brewing process.
| Ratio | Coffee (grams) | Water (grams) | Strength Level |
|---|---|---|---|
| 1:15 | 30 | 450 | Strong |
| 1:16 | 25 | 400 | Balanced |
| 1:17 | 24 | 408 | Mild |
We measure our coffee and water using a digital scale to ensure accuracy and repeatability. Starting with the 1:16 ratio provides an excellent baseline that we can adjust based on our taste preferences. Those who prefer stronger coffee can move toward a 1:15 ratio while those seeking a milder cup can experiment with 1:17 ratios.
Water Temperature and Quality
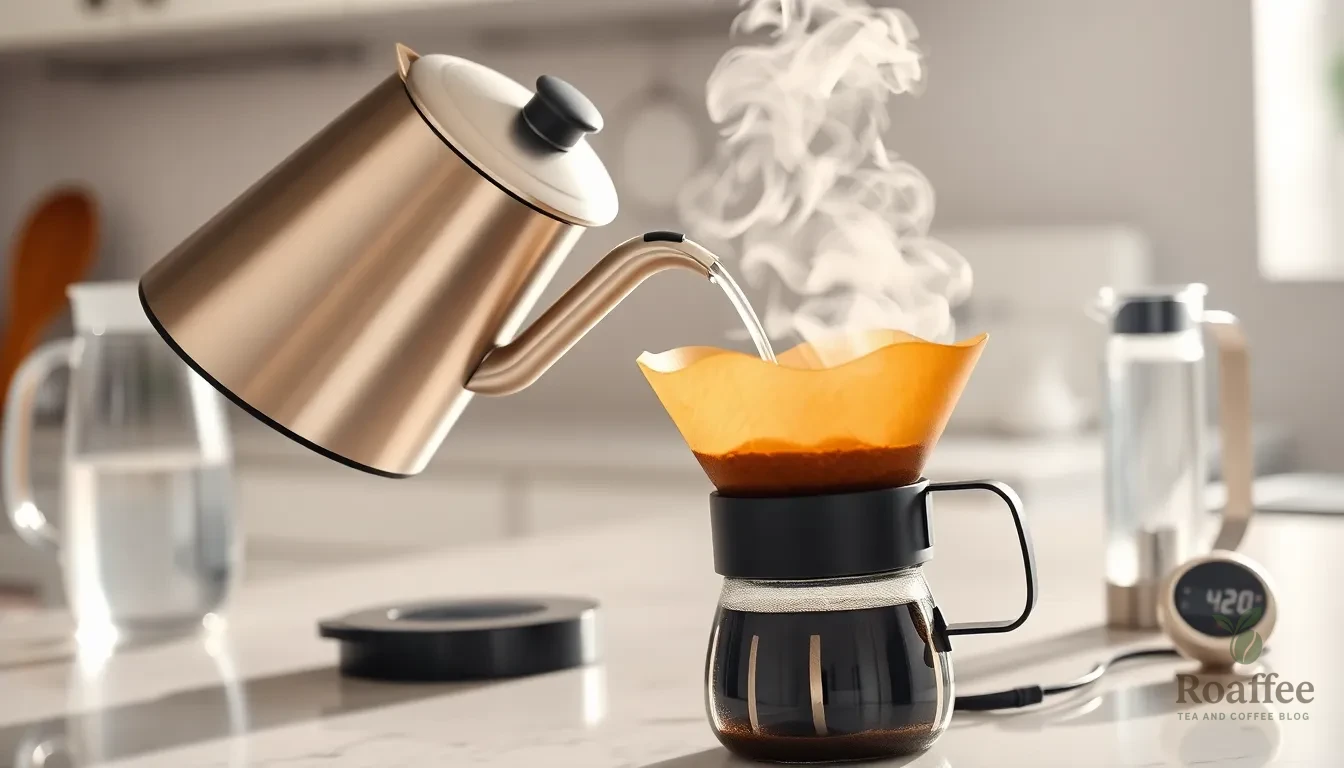
Water temperature serves as the foundation for extracting the perfect flavors from your coffee grounds. We recommend heating your water to the optimal range of 195-205°F for the best extraction results. This temperature range ensures we extract the desirable compounds while avoiding the bitter elements that emerge at higher temperatures.
Testing water temperature becomes effortless with a digital thermometer or temperature-controlled electric kettle. If you lack these tools, bring water to a boil and let it rest for 30-60 seconds to achieve the ideal brewing temperature. Water that’s too hot will over-extract your coffee, creating harsh and bitter flavors. Conversely, water below 195°F will under-extract, producing weak and sour notes.
| Temperature Range | Extraction Result | Taste Profile |
|---|---|---|
| 195-205°F | Optimal extraction | Balanced, smooth |
| Above 205°F | Over-extraction | Bitter, harsh |
| Below 195°F | Under-extraction | Weak, sour |
Water quality plays an equally crucial role in your pour over success. We strongly recommend using filtered water to eliminate chlorine, minerals, and other impurities that can mask delicate coffee flavors. Tap water often contains chemicals that interfere with proper extraction and leave unwanted tastes in your final cup.
The mineral content in your water affects extraction efficiency and flavor development. Soft water with minimal minerals may result in over-extraction, while hard water with excessive minerals can inhibit proper extraction. We suggest using water with a total dissolved solids (TDS) level between 150-300 ppm for optimal brewing conditions.
Fresh water delivers the best results for pour over brewing. We recommend using water within 24 hours of filtering or purchasing bottled water. Stagnant water loses oxygen content and develops flat flavors that transfer to your coffee. Always start with cold, fresh water when heating for your pour over to maintain the highest quality throughout the brewing process.
Instructions
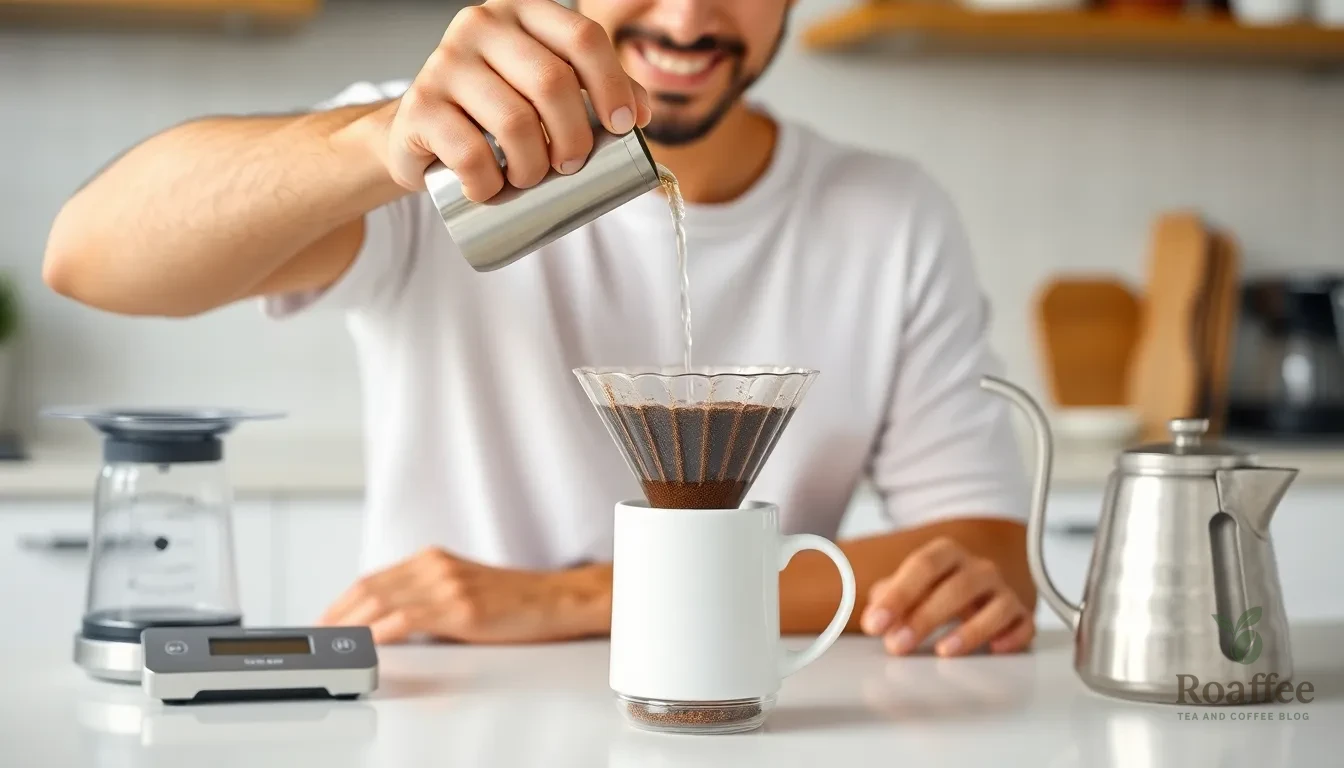
Follow these step-by-step instructions to brew the perfect pour over coffee at home. We’ll guide you through each phase of the brewing process to ensure optimal extraction and flavor.
Prep
Start by gathering all your equipment and ingredients on a clean workspace. Place your digital scale on a stable surface and ensure your timer is within easy reach. Set up your dripper directly over your coffee mug or carafe and position everything for smooth workflow during the brewing process.
Heat the Water
Fill your gooseneck kettle with 450-500 grams of filtered water and begin heating to 195-205°F. Use a digital thermometer to monitor temperature or bring water to a boil then let it rest for 30 seconds to reach optimal brewing temperature. Keep the kettle nearby on low heat to maintain temperature throughout the brewing process.
Grind the Coffee
Measure 25-30 grams of coffee beans using your digital scale. Grind the beans using your burr grinder set to medium coarse consistency resembling coarse sea salt. Complete the grinding just before brewing to preserve maximum flavor and aroma from the freshly ground coffee.
Set Up Your Dripper
Place your coffee dripper securely on top of your mug or carafe. Position the entire setup on your digital scale and zero out the weight. Ensure the dripper sits stable and level to prevent any wobbling during the pouring process.
Pre-wet the Filter
Insert a paper filter into your dripper and pour hot water evenly over the entire filter. This process removes papery taste and preheats your brewing vessel. Discard the rinse water and reset your scale to zero before proceeding to the next step.
Add Coffee Grounds
Pour your freshly ground coffee into the pre-wetted filter and gently shake the dripper to level the coffee bed. Create a small well in the center of the grounds using your finger or a spoon. This well helps ensure even saturation during the blooming phase.
Bloom the Coffee
Start your timer and pour twice the weight of water as coffee grounds in a circular motion from the center outward. Watch the coffee bloom and expand as CO2 escapes from the grounds. Allow this blooming phase to continue for 30-45 seconds before beginning the main pour.
First Pour
After the bloom phase pour water in slow circular motions starting from the center and spiraling outward. Keep the water level consistent and avoid pouring directly on the filter walls. Target reaching about 40% of your total water weight by the 1-minute mark.
Continue Pouring
Maintain steady circular pours every 30 seconds to keep the coffee bed saturated. Pour in controlled pulses rather than one continuous stream to ensure even extraction. Watch the coffee drip rate and adjust pour speed to maintain consistent brewing time.
Final Pour
Complete your final pour by the 2.5-minute mark reaching your target water weight of 400-450 grams. Allow the coffee to finish dripping completely which should take an additional 30-60 seconds. The total brewing time should fall between 3-4 minutes for optimal extraction.
Brewing Timeline
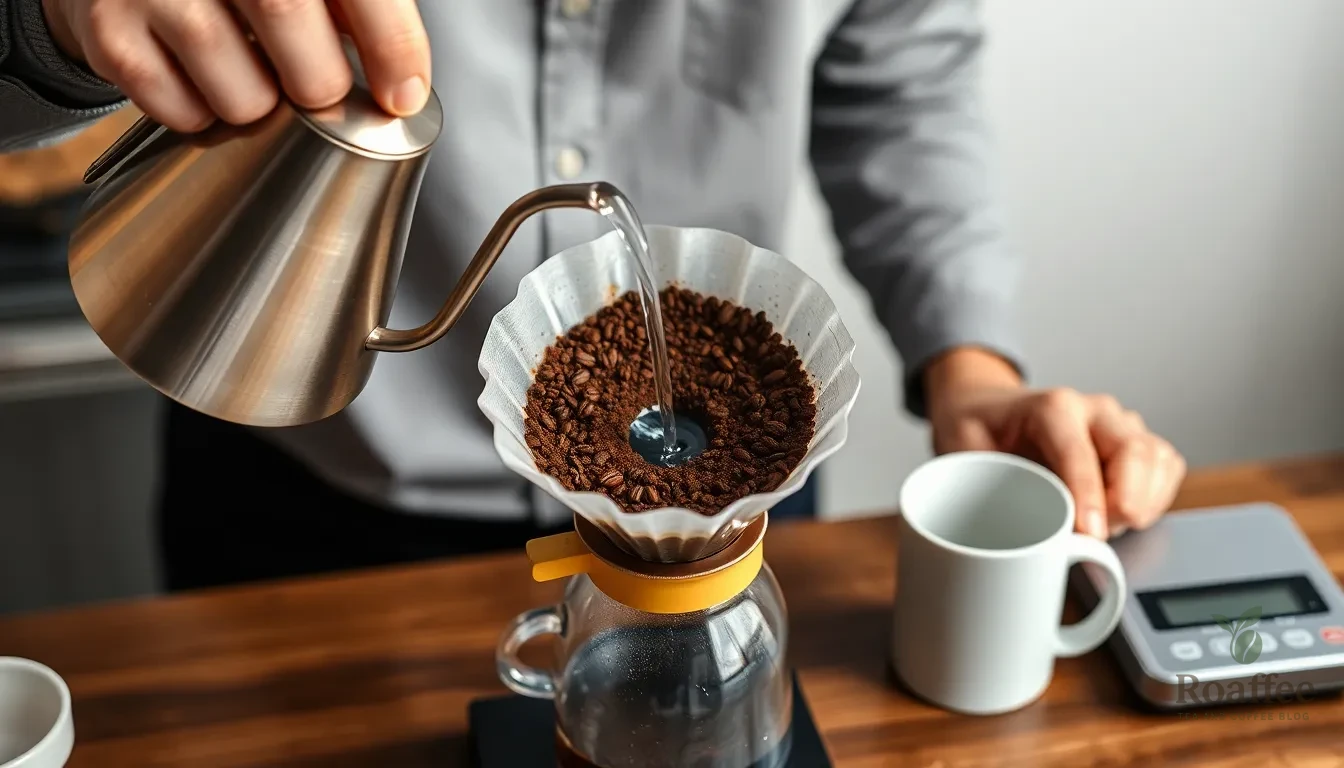
We recommend following a precise timeline to achieve optimal extraction and flavor balance in your pour over coffee. The entire brewing process should take between 3 to 4 minutes from start to finish.
Pre-Brew Phase (30 seconds)
We begin by positioning our dripper over the mug and placing the filter inside. The gooseneck kettle should be heated to 195-205°F while we grind our coffee beans to a medium coarse consistency. Our digital scale gets zeroed with the entire setup in place.
Bloom Stage (0:00 – 0:30)
We pour twice the weight of water compared to our coffee grounds in a gentle circular motion. This initial pour allows the coffee to release trapped CO2 gases and creates the foundation for even extraction. The grounds will expand and form a dome shape during this crucial 30-second window.
First Pour (0:30 – 1:30)
We continue with our primary pour using slow spiral motions from the center outward. The water level should reach about halfway up the coffee bed. This stage establishes the brewing momentum and begins the main extraction process.
Second Pour (1:30 – 2:30)
We maintain consistent pouring technique while adding the remaining water in controlled circles. The coffee bed should remain level throughout this phase. Our goal is to keep the water level steady without overflowing the dripper.
Final Drip Phase (2:30 – 4:00)
We allow the remaining water to drip through the coffee grounds completely. The total brewing time should not exceed 4 minutes to prevent over-extraction and bitter flavors.
| Timeline Stage | Duration | Action | Water Amount |
|---|---|---|---|
| Pre-Brew | 30 seconds | Setup and preparation | 0g |
| Bloom | 0:00 – 0:30 | Initial pour | 50-60g |
| First Pour | 0:30 – 1:30 | Primary extraction | 200-225g |
| Second Pour | 1:30 – 2:30 | Final water addition | 150-175g |
| Final Drip | 2:30 – 4:00 | Complete drainage | 0g |
The timing becomes second nature with practice and ensures consistent results every morning. We adjust our pouring speed based on how quickly the water drains to maintain this timeline.
Troubleshooting Common Issues
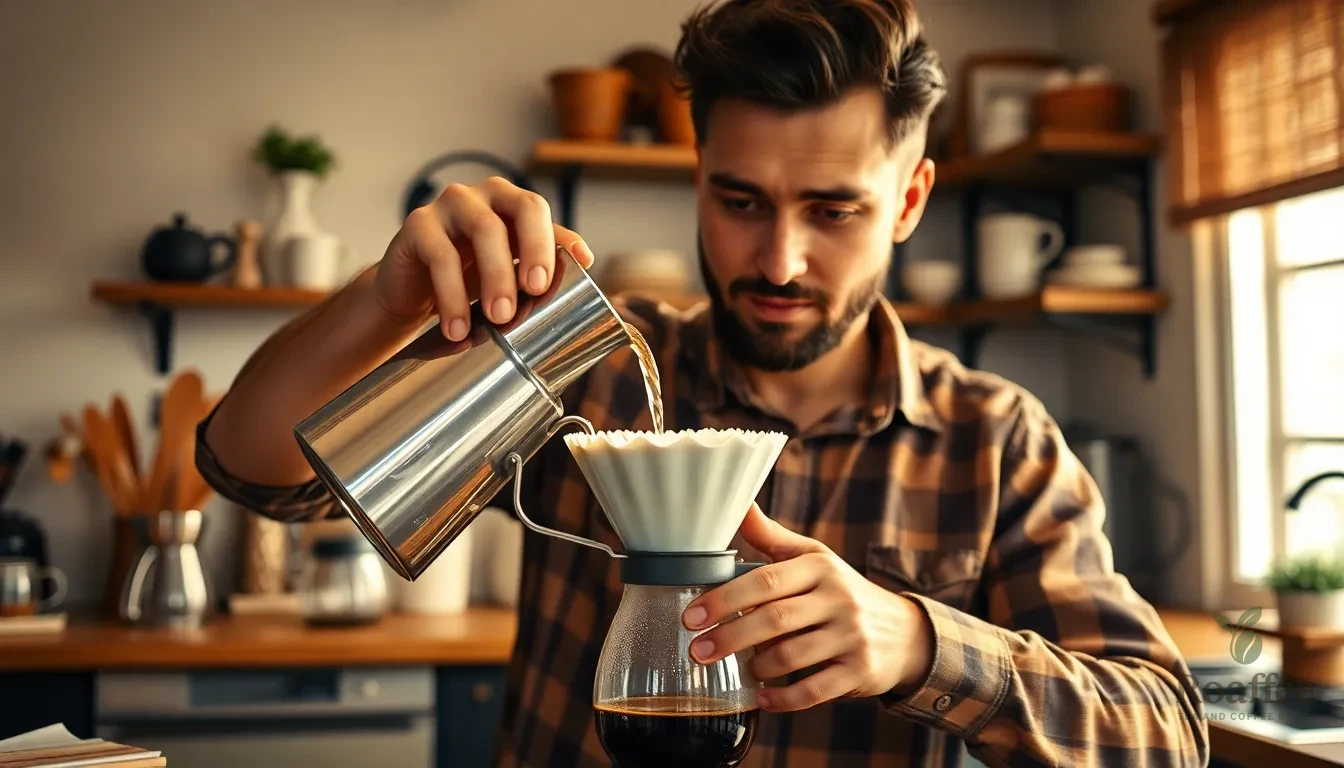
Even experienced coffee brewers encounter challenges with their pour over technique. We’ve identified the most common problems and their answers to help you achieve that perfect cup every time.
Coffee Tastes Bitter
Bitter coffee typically results from over-extraction or improper brewing parameters. We recommend checking your water temperature first since temperatures above 205°F can extract harsh compounds from the coffee grounds. Allow your water to cool for 30-45 seconds after boiling to reach the optimal 195-205°F range.
Your grind size may be too fine if bitterness persists. We suggest adjusting to a coarser grind resembling sea salt rather than table salt. This change allows water to flow through the grounds more quickly and prevents over-extraction.
Brewing time also affects bitterness levels. We find that total brew times exceeding 4 minutes often produce bitter flavors. Pour more quickly during each phase while maintaining steady control to reduce contact time between water and grounds.
Coffee Tastes Weak
Weak coffee signals under-extraction or insufficient coffee-to-water ratio. We recommend increasing your coffee amount before adjusting other variables. Try using 28-30 grams of coffee instead of 25 grams while maintaining the same water volume.
Your grind size might be too coarse if weakness continues. We suggest grinding finer until the particles resemble coarse breadcrumbs rather than sea salt. This adjustment increases surface area and allows for better extraction during brewing.
Water temperature below 195°F can also cause weak flavors. We use a thermometer to verify our water reaches the proper range since cooler water fails to extract the coffee’s full potential. Extend your bloom time to 45 seconds if you notice the coffee bed isn’t expanding properly during the initial pour.
Uneven Extraction
Uneven extraction creates inconsistent flavors and often appears as channeling or dry spots in your coffee bed. We start by ensuring our pour technique creates even saturation across all grounds. Pour in slow concentric circles from the center outward to avoid creating channels where water flows too quickly.
Your coffee bed should remain level throughout brewing. We tap the dripper gently after adding grounds to create an even surface before starting our pour. This simple step prevents water from pooling in low spots or rushing through high areas.
Grind consistency significantly impacts extraction evenness. We recommend investing in a quality burr grinder since blade grinders produce particles of varying sizes that extract at different rates. If you notice some grounds floating while others sink during blooming your grind likely contains too many fine particles mixed with coarse ones.
Storage and Make-Ahead Tips
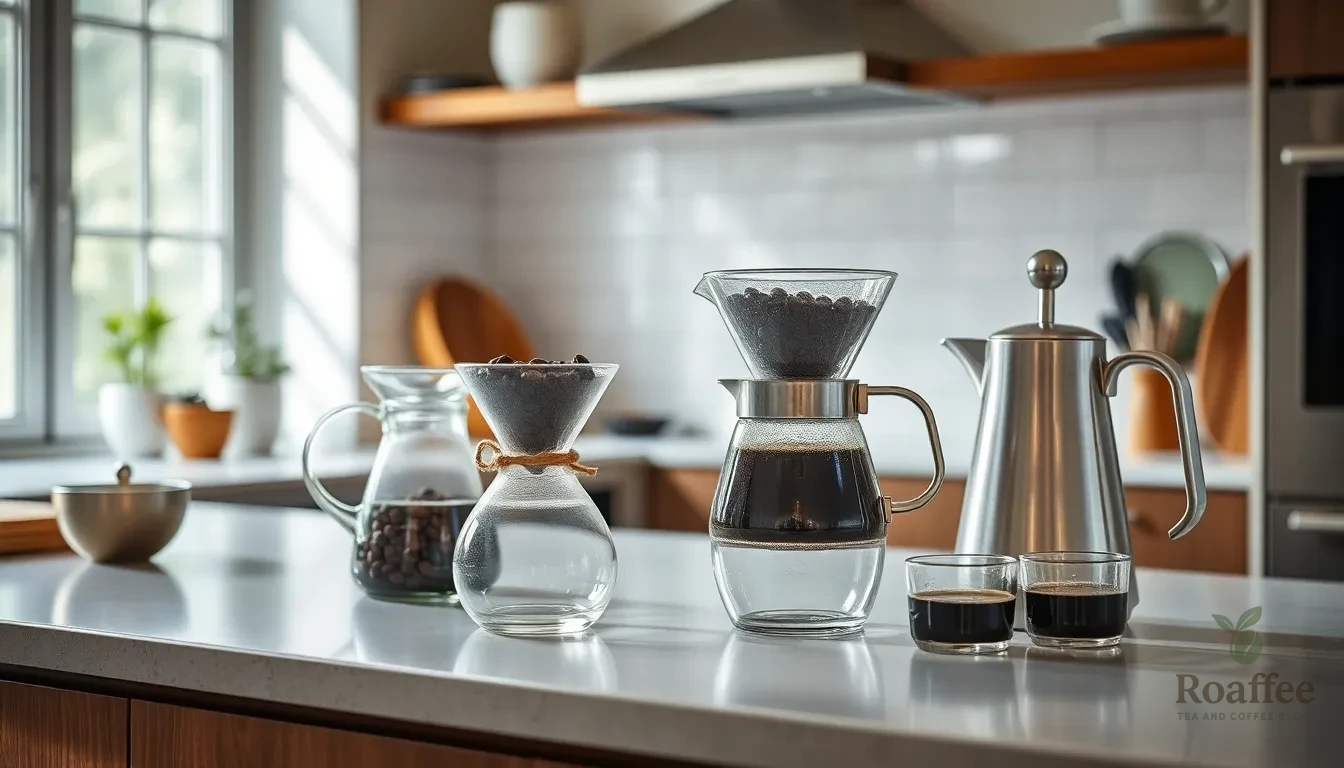
Proper storage techniques ensure we maintain the quality and freshness of our pour over coffee components. Fresh coffee beans remain the cornerstone of exceptional pour over brewing, so we store them in airtight containers away from light, heat, and moisture. Coffee beans stay fresh for 2-4 weeks after roasting when stored correctly in a cool, dark pantry.
We recommend purchasing coffee beans in smaller quantities to maintain peak freshness rather than buying in bulk. Ground coffee loses its flavor compounds rapidly, so we grind our beans immediately before brewing whenever possible. When we must grind ahead of time, we use the coffee within 24 hours for optimal flavor retention.
| Storage Method | Timeframe | Quality Level |
|---|---|---|
| Whole beans (airtight container) | 2-4 weeks | Excellent |
| Ground coffee (sealed container) | 24 hours | Good |
| Brewed coffee (refrigerated) | 2-3 days | Fair |
Water quality preparation saves us time during our morning brewing routine. We filter larger quantities of water and store it in clean, covered containers for up to 24 hours. This approach eliminates the need to filter water each morning while maintaining the quality necessary for excellent extraction.
Pre-measuring our coffee and water ratios streamlines the brewing process during busy mornings. We portion individual servings of coffee beans into small containers or bags, making it easy to grab the exact amount needed. Digital scales help us measure and record our preferred ratios for consistent results.
Equipment maintenance extends the life of our brewing tools and ensures consistent performance. We clean our dripper, filters, and gooseneck kettle after each use to prevent coffee oil buildup. Weekly deep cleaning with mild soap maintains optimal brewing conditions.
Paper filters store best in their original packaging, kept in a dry location away from strong odors. We avoid transferring filters to different containers, as this can introduce moisture or contaminants that affect coffee taste. Properly stored filters maintain their structural integrity for months.
Pre-heating our equipment saves precious minutes during morning preparation. We can warm our dripper, cup, and server with hot water while the brewing water reaches optimal temperature. This technique maintains consistent brewing temperatures throughout the entire process.
Serving Suggestions
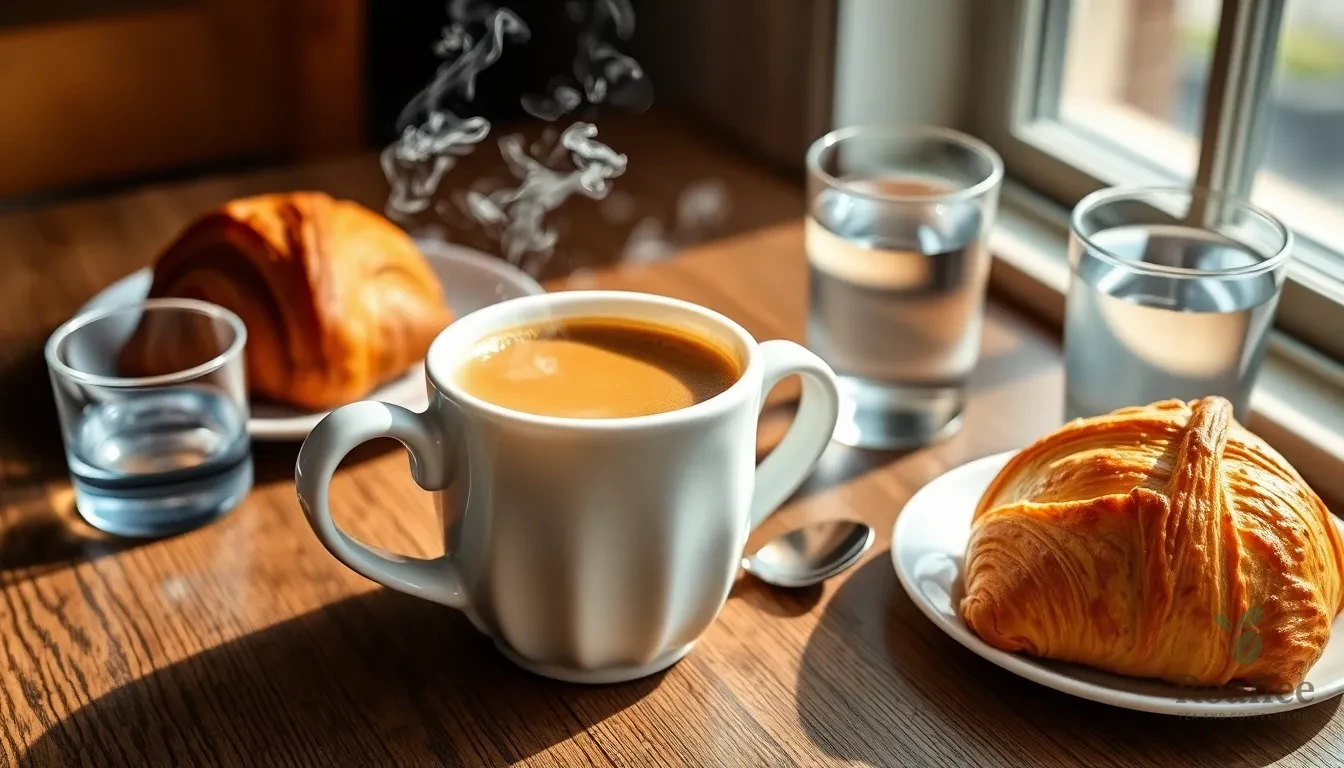
Fresh pour over coffee deserves thoughtful presentation that honors the careful brewing process we’ve just completed. We recommend serving this aromatic brew in pre-warmed ceramic or glass mugs to maintain optimal temperature and showcase the coffee’s beautiful clarity. The warmth of the cup enhances the overall sensory experience while preventing rapid cooling that can dull the complex flavors we’ve worked to extract.
Best Serving Temperature: Serve pour over coffee immediately after brewing while it maintains its ideal temperature range of 155-175°F. This temperature allows the full spectrum of flavors to shine while remaining comfortable for sipping. We find that letting the coffee cool slightly from brewing temperature brings out subtle notes that might otherwise be masked by excessive heat.
Timing Recommendations: Pour over coffee reaches its peak flavor profile within the first 10-15 minutes after brewing. We suggest serving within this window to capture the bright acidity and complex aromatics that define excellent pour over coffee. The flavor begins to flatten after 30 minutes as the coffee continues to cool and oxidize.
Complementary Accompaniments: We recommend pairing pour over coffee with light accompaniments that won’t compete with its delicate flavor profile. Buttery croissants or simple biscotti provide texture without overwhelming the coffee’s nuanced taste. Fresh fruit like berries or citrus segments can complement the natural acidity found in lighter roasts.
Presentation Enhancement: Consider serving pour over coffee alongside a small glass of sparkling water to cleanse the palate between sips. This practice allows us to fully appreciate the coffee’s evolving flavor profile as it cools. A small spoon for stirring helps distribute any remaining oils and ensures consistent flavor throughout the cup.
Multiple Serving Options: When brewing for guests we can prepare individual servings using the same ratios and technique. This approach ensures each person receives coffee at optimal freshness and temperature. Alternatively we can brew a larger batch using proportionally scaled measurements while maintaining our proven 1:16 coffee-to-water ratio for consistent results across multiple cups.
Conclusion
Mastering the pour over method transforms your daily coffee routine into a rewarding ritual that delivers consistently exceptional results. With the right equipment and technique we’ve outlined you’ll soon be brewing café-quality coffee that rivals your favorite coffee shop.
The beauty of pour over coffee lies in its simplicity and precision. Once you’ve practiced the timing and pouring technique a few times it becomes second nature. Remember that small adjustments to grind size water temperature or timing can help you fine-tune your brew to match your personal taste preferences.
We encourage you to experiment with different coffee origins and roast levels to discover your perfect cup. Each bean brings unique characteristics that shine through the clean extraction of pour over brewing making every morning an opportunity to explore new flavors.
Frequently Asked Questions
What equipment do I need for pour over coffee?
You’ll need a coffee dripper (V60, Chemex, or Kalita Wave), paper filters, a gooseneck kettle for precise pouring, a burr grinder for uniform grounds, a digital scale for accurate measurements, and a timer. These tools ensure consistent brewing and optimal flavor extraction for your pour over coffee.
What’s the ideal coffee-to-water ratio for pour over?
The recommended ratio is 1:15 to 1:16, meaning 25-30 grams of coffee to 400-450 grams of water. This ratio produces a balanced cup, but you can adjust based on your taste preferences. Use a digital scale for precise measurements to achieve consistent results.
What water temperature should I use for pour over coffee?
Heat your water to 195-205°F (90-96°C) for optimal extraction. This temperature range ensures balanced flavor without over-extraction that causes bitterness. Use a digital thermometer or temperature-controlled kettle for accuracy, or let boiling water sit for 30-60 seconds to reach the ideal range.
How long should the total brewing time be?
The entire pour over process should take 3-4 minutes from start to finish. This includes a 30-second bloom phase, followed by controlled pours. If your brew time is significantly longer or shorter, adjust your grind size accordingly for optimal extraction.
What grind size is best for pour over coffee?
Use a medium-coarse grind, similar to coarse sea salt or breadcrumbs. This size allows proper water flow through the coffee bed while ensuring adequate extraction. A burr grinder produces the most uniform particles, which is crucial for even extraction and consistent flavor.
How do I fix bitter pour over coffee?
Bitter coffee usually indicates over-extraction. Lower your water temperature, use a coarser grind, reduce brewing time, or decrease the coffee-to-water ratio. Also, ensure you’re not pouring too aggressively, which can lead to uneven extraction and bitter flavors.
How should I store coffee beans for pour over?
Store beans in an airtight container away from light, heat, and moisture. Coffee beans stay fresh for 2-4 weeks after roasting. Buy smaller quantities and grind just before brewing for maximum flavor. Avoid storing beans in the refrigerator or freezer as this can introduce moisture.
What type of water should I use for pour over coffee?
Use filtered water with a total dissolved solids (TDS) level between 150-300 ppm. Avoid distilled water as it lacks minerals needed for proper extraction. Fresh filtered water is essential – use it within 24 hours of filtering for the best flavor results.
Can I prepare pour over coffee components ahead of time?
Yes, you can pre-filter water and store it in clean containers for up to 24 hours. Pre-measure your coffee and water ratios for busy mornings. However, always grind coffee beans just before brewing for optimal freshness and flavor extraction.
What’s the best serving temperature for pour over coffee?
Serve pour over coffee at 155-175°F in pre-warmed ceramic or glass mugs. This temperature range provides the best flavor experience. Serve within 10-15 minutes after brewing to capture the coffee’s peak flavor profile before it begins to deteriorate.
