We’ve all been there – staring at our coffee frother wondering how to transform ordinary coffee into that perfect café-quality drink we crave. Whether you’re a morning coffee enthusiast or someone who enjoys an afternoon pick-me-up, mastering the art of coffee frothing can elevate your entire coffee experience from mundane to magnificent.
A good frother isn’t just a kitchen gadget – it’s your ticket to creating barista-level beverages right in your own home. From creamy cappuccinos to silky lattes, we’ll show you exactly how to unlock your frother’s full potential and create those Instagram-worthy drinks that’ll make your friends jealous.
The best part? Once you learn these simple techniques, you’ll never have to overpay for fancy coffee shop drinks again. We’re about to share the secrets that’ll transform you from a coffee novice into a home barista who creates perfect frothy masterpieces every single time.
What You’ll Need
Before we jump into the frothing techniques, let’s gather everything necessary for creating perfectly textured milk foam. Having the right tools and ingredients on hand will set you up for success in your coffee frothing journey.
Equipment
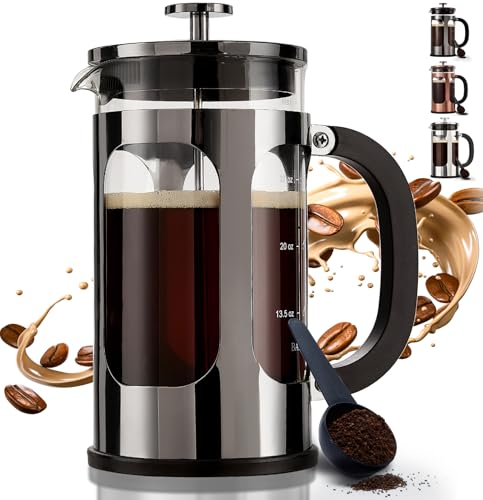
We recommend starting with a quality milk frother as your primary tool. Handheld electric frothers offer the most control and create consistent results for beginners. French press coffee makers work surprisingly well as manual frothers when you need an alternative option. Steam wand espresso machines provide professional-grade results if you own one already.
A medium-sized frothing pitcher helps contain the milk during the process and prevents messy countertops. Measuring cups ensure you use the correct milk quantities for optimal foam production. Kitchen thermometer helps monitor milk temperature for perfect texture every time.
Clean kitchen towels keep your workspace tidy during the frothing process. Long-handled spoons assist with gentle stirring when needed between frothing sessions.
Ingredients
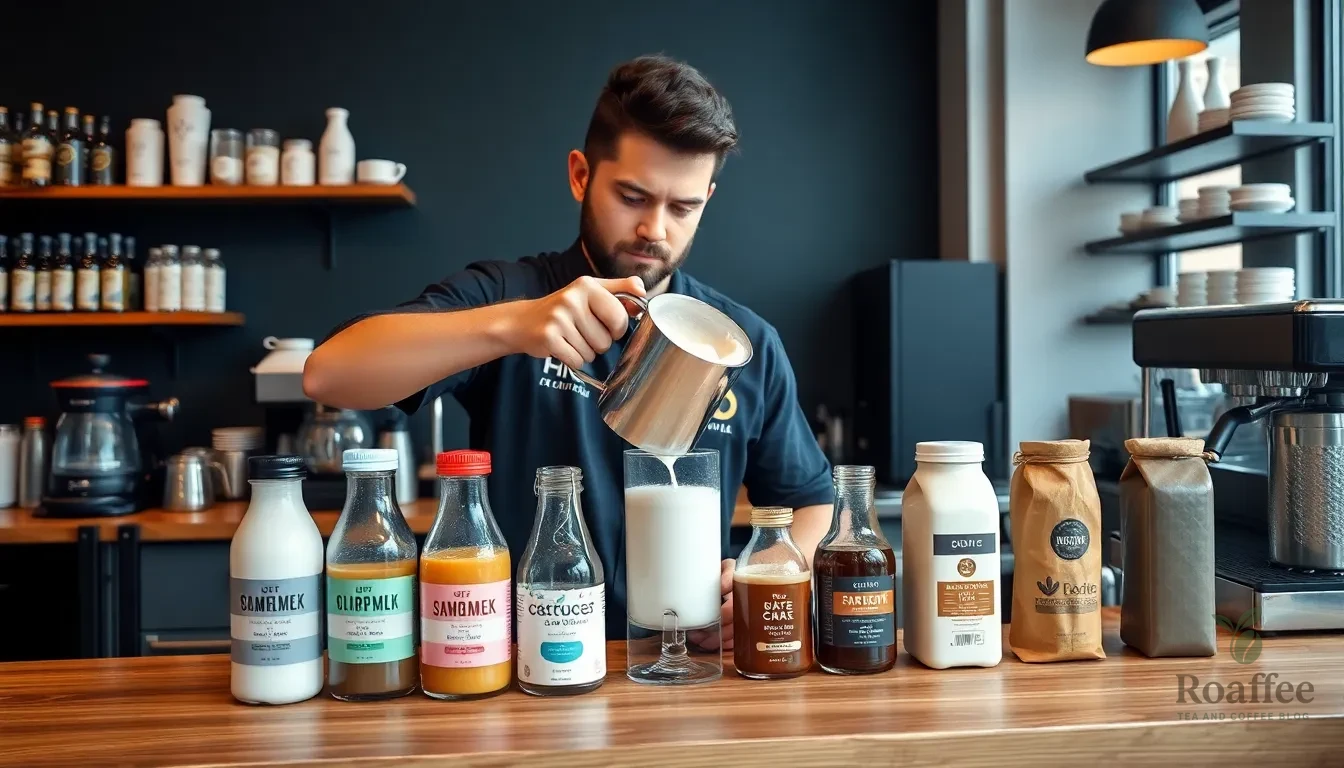
Whole milk produces the richest and most stable foam due to its higher fat content. 2% milk creates lighter foam while still maintaining decent texture and taste. Oat milk and almond milk work well for dairy-free alternatives, though they require slightly different techniques.
Fresh coffee forms the foundation of your drink, whether espresso shots or strong brewed coffee. Vanilla extract adds aromatic depth to your frothed milk when desired. Cinnamon or cocoa powder provide finishing touches that complement the creamy texture.
Granulated sugar or honey can be added to the milk before frothing for sweetened foam. Cold milk straight from the refrigerator creates the best starting temperature for optimal foam development.
How to Prepare Your Coffee Base

We start with brewing our coffee using any preferred method before adding frothed milk. The key lies in getting the coffee strength and volume just right to create the perfect foundation for our frothy beverage.
Pour coffee into your favorite mug, filling it about halfway. This crucial step ensures we have enough space for the frothed milk while maintaining the ideal coffee to milk ratio. We recommend using freshly brewed coffee at its optimal temperature for the best flavor extraction.
Strong espresso shots work exceptionally well as our base, though regular drip coffee, French press, or pour-over methods deliver excellent results too. We suggest brewing our coffee slightly stronger than usual since the milk will dilute the final drink.
Our coffee base should be hot but not scalding when we add the frothed milk. If we brew our coffee first and it cools while we froth the milk, we can always reheat it gently. The temperature balance between hot coffee and warm frothed milk creates the ideal drinking experience.
For those preferring cold beverages, we can use room temperature or chilled coffee as our base. Cold brew concentrate works particularly well for iced frothy coffee drinks, providing a smooth foundation that pairs beautifully with cold frothed milk.
We always taste our coffee base before adding milk to ensure it meets our flavor preferences. This step allows us to adjust the strength or add sweeteners directly to the coffee if needed, creating a more balanced final drink.
Using an Electric Milk Frother

Electric milk frothers offer the most convenient and consistent way to create café-quality frothed milk at home. These automated devices handle both heating and frothing simultaneously, making them perfect for beginners and coffee enthusiasts alike.
Step-by-Step Instructions
Fill the frother with milk or a milk/creamer blend up to the indicated fill line inside the device. Most electric frothers have clear markings to prevent overfilling, which could cause spillage during operation.
Select the frothing setting that matches your desired coffee drink. Dense foam works perfectly for cappuccinos, while light foam creates the ideal texture for lattes. Choose the warming only option when you want hot milk without foam, or select cold foam for refreshing iced coffee beverages.
Start the frother and allow it to complete its cycle automatically. The device typically runs for 1-2 minutes before beeping or signaling completion. Resist the urge to open the lid during operation, as this can disrupt the frothing process.
Pour the milk into your prepared coffee by tilting the frother and letting the liquid flow first. Use a spoon to hold back the foam initially, then carefully spoon the desired amount of foam on top of your drink.
Enjoy your coffee drink immediately while the milk maintains its optimal temperature and foam structure.
Tips for Perfect Foam
Use cold or slightly warmed milk for the best frothing results. Cold milk produces creamier foam and allows the electric frother to work more effectively during the heating and frothing process.
Add syrups or spices like vanilla or cinnamon before starting the frothing cycle. This technique ensures even distribution of flavors throughout the milk rather than just on the surface.
Clean the frother promptly after each use to maintain optimal performance. Look for models with dishwasher-safe parts to simplify the cleaning process and prevent milk residue buildup.
Monitor the fill line carefully to avoid overfilling, which can cause the milk to overflow during the frothing process. Most electric frothers work best when filled to about two-thirds capacity.
Using a Manual Milk Frother

Manual handheld milk frothers offer an affordable and convenient way to create café-quality foam at home. These battery-operated devices require a bit more technique than electric frothers but deliver excellent results with proper execution.
Step-by-Step Instructions
Pour the Milk
We start by pouring about half a cup of cold or slightly warmed milk into a tall container. Fill the container only about 1/3 full to allow room for the milk to expand during frothing.
Submerge the Frother
Insert the frother whisk fully into the milk without touching the container bottom. This positioning ensures optimal aeration without creating unnecessary turbulence.
Turn On and Froth
Turn on the frother and move it in an up-and-down or circular motion while keeping the whisk submerged. This movement creates a vortex that aerates the milk evenly. Froth for the appropriate time based on your desired foam density:
| Foam Type | Frothing Time | Result |
|---|---|---|
| Light foam | 15-20 seconds | Airy, delicate texture |
| Thick foam | 30-45 seconds | Dense, creamy consistency |
Check Volume and Texture
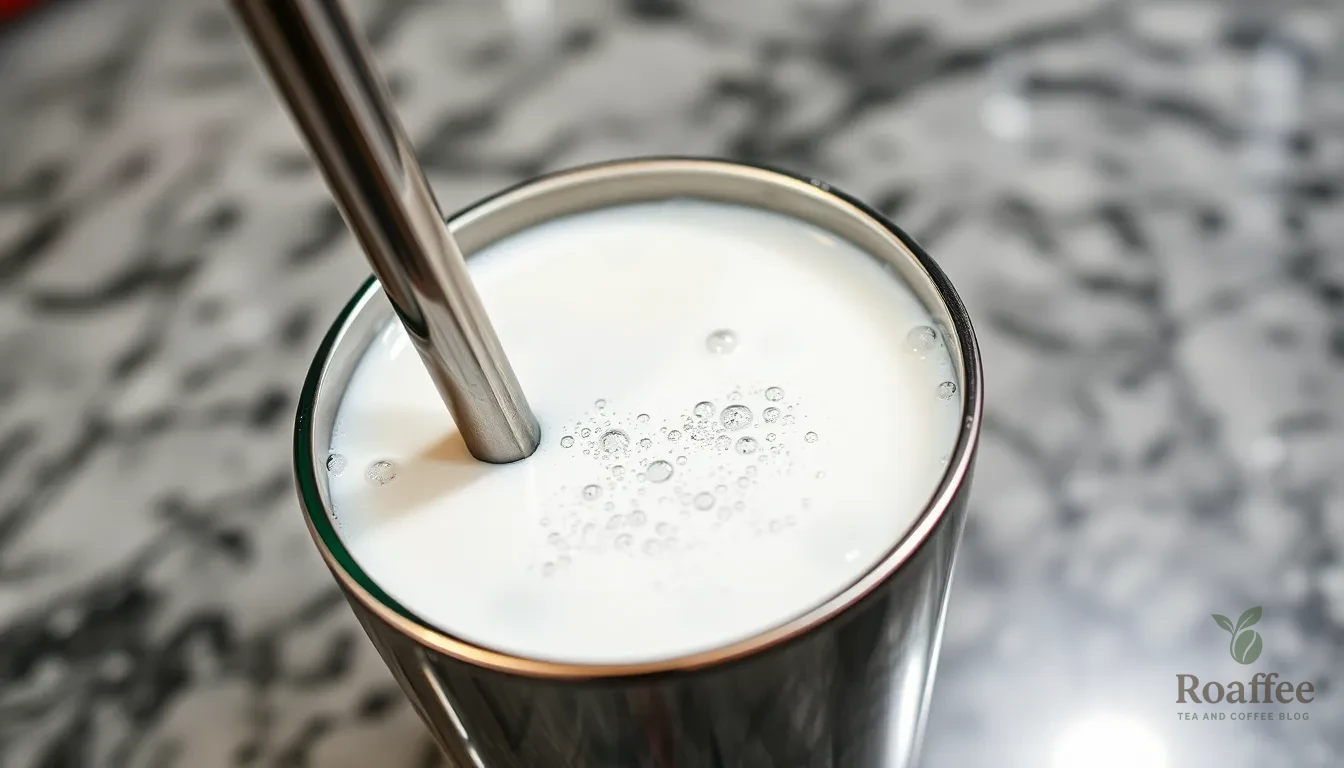
The milk should roughly double in volume and develop a silky texture with soft peaks forming on the whisk. Avoid over-frothing to prevent excessively thick foam that won’t pour smoothly.
Remove Large Bubbles
Tap the container gently on a flat surface to remove any large bubbles. Swirl the milk afterward to smooth the texture and create a more uniform consistency.
Serve
Pour the frothed milk into your coffee using a spoon to hold back foam initially. Pour the warm milk first then top with the desired amount of foam for proper layering.
Technique Tips
Temperature Matters
Use cold or slightly warmed milk rather than hot to ensure stable foam. Fats and proteins retain better structure when not preheated which creates longer-lasting foam.
Milk Selection
Full-fat milk froths the richest but low-fat or plant-based milks can also be frothed with slightly different results. Each milk type requires minor adjustments to technique and timing.
Troubleshooting
If froth isn’t forming well check that milk temperature is correct and batteries in the frother are fully charged. These two factors most commonly affect frothing performance.
Practice Makes Perfect
It may take a few tries to perfect your technique so don’t get discouraged. Each attempt teaches you more about timing and movement patterns that work best with your exact frother.
Using a French Press as a Frother

Your French press doubles as an excellent milk frother when you don’t have specialized equipment. We’ll show you how to transform this common brewing tool into a powerful frothing device that creates café-quality foam.
Step-by-Step Instructions
Heat the Milk: Warm your milk gently to about 155-165°F (55-62°C) on the stovetop or in the microwave. Stir occasionally while heating to avoid skin formation or overheating which can spoil the texture.
Pour Milk into French Press: Pour the warmed milk into the French press filling it no more than one-third full to allow room for frothing. This prevents spillage and ensures efficient air incorporation.
Froth the Milk: Place the plunger on top and move it up and down vigorously for about 20-30 seconds. This action forces air into the milk creating a thick creamy froth.
Let it Settle: After plunging wait a few seconds for the foam to stabilize. The foam will naturally separate from the liquid milk during this brief resting period.
Serve: Pour the frothed milk over your brewed coffee or espresso. Use a spoon to hold back the foam when pouring the liquid milk first then add the foam on top.
Best Practices
Use fresh cold milk for optimal frothing results. Full-fat milk creates a richer creamier froth compared to lower-fat alternatives.
Don’t overfill the French press to avoid spillage and inefficient frothing. The one-third rule ensures proper air circulation during the frothing process.
Clean the French press immediately after use to prevent milk residue buildup. This maintains the equipment’s functionality and prevents unwanted flavors in future coffee brewing.
Monitor the milk temperature carefully as overheating can break down proteins and prevent proper foam formation. The ideal temperature range of 155-165°F produces the best texture and stability.
Assembling Your Frothed Coffee

Now that we’ve mastered the art of frothing milk with various techniques, it’s time to bring everything together for the perfect coffee drink. The assembly process requires careful attention to preserve both the coffee’s flavor and the milk’s texture.
Pouring Techniques
We start by brewing our coffee as usual and filling our favorite mug about halfway with the hot coffee. This ratio maintains the ideal balance between coffee strength and milk creaminess. Pour the frothed milk carefully using a spoon to hold back the thick foam while we first pour the warm milk underneath into the coffee. The liquid milk should flow smoothly into the coffee base, creating a harmonious blend of flavors.
Once we’ve poured the liquid milk, we spoon the remaining foam on top of our coffee to complete the drink. Hold your pouring pitcher comfortably with arms relaxed and elbows down, pouring directly in front of you for better control. Start pouring slowly to preserve the coffee crema, then increase pour speed to let the foam bloom and fill the cup surface.
We gently tap the container on a flat surface and swirl the milk before pouring to remove large bubbles and smooth the texture. This technique ensures our frothed milk has the silky consistency that makes café-quality drinks so appealing.
Creating Latte Art
Control the placement of the pitcher spout close to the cup for precise designs when attempting latte art. The key lies in manipulating the flow and foam interaction with the espresso crema to create beautiful patterns. We position the pitcher spout just above the coffee surface and pour steadily to establish our canvas.
Vary pouring speed and position to create different latte art patterns such as hearts or rosettas. Start with simple designs like hearts by pouring milk into the center of the cup, then drawing through the foam with a toothpick or the pitcher spout. We can create rosetta patterns by gently wiggling the pitcher from side to side while moving it across the cup surface.
The foam’s stability depends on proper frothing technique, so ensure we’ve achieved the right texture before attempting artistic designs. Practice these movements with water first to develop muscle memory before working with actual milk and coffee.
Troubleshooting Common Issues

Even experienced coffee enthusiasts encounter frothing challenges from time to time. We’ve identified the most common problems and their answers to help you achieve consistently perfect foam.
Foam Too Thick or Thin
Over-frothing creates the most frequent issue we see with home baristas. When we froth milk for too long, excess air creates large bubbles that make the foam unstable and overly thick. The texture becomes dense and difficult to pour smoothly into your coffee.
Under-frothing produces the opposite problem where thin foam lacks the creamy consistency we desire. We recommend frothing until the milk volume doubles, which typically takes 30-45 seconds with handheld frothers. The key lies in monitoring the texture rather than timing alone.
Large bubbles indicate over-frothing, while insufficient volume suggests we need to continue the process. We can fix overly thick foam by tapping the container gently on a flat surface to break down large bubbles, then swirling to create a smoother texture.
For consistently thin foam, we suggest adjusting our frothing technique by moving the frother more vigorously or ensuring the whisk stays fully immersed in the milk. The circular motion creates a vortex that incorporates air evenly throughout the milk.
Temperature Problems
Starting with cold milk provides the foundation for successful frothing. We always begin with refrigerated milk because cold temperatures allow proteins and fats to create more stable foam structures. Room temperature or warm milk breaks down these essential components before we even begin frothing.
Overheating presents another common challenge that diminishes foam quality. We maintain the ideal temperature range between 140°F to 155°F (60°C to 68°C) for optimal warm foam. Boiling milk above these temperatures destroys the proteins needed for stable froth formation.
| Temperature Issue | Cause | Solution |
|---|---|---|
| Unstable foam | Starting with warm milk | Always use cold milk from refrigerator |
| Poor foam quality | Overheating above 155°F | Monitor temperature with thermometer |
| Weak froth | Boiled milk | Heat gently, avoid boiling |
We recommend using a kitchen thermometer to monitor milk temperature accurately. If our milk becomes too hot during the frothing process, we can let it cool slightly before attempting to froth again. The proteins in overheated milk cannot recover, so we need fresh cold milk for the best results.
For handheld frothers, we can check battery levels if frothing seems weak or incomplete. Low battery power reduces the frother’s effectiveness and creates inconsistent results that appear similar to temperature-related issues.
Cleaning and Maintenance

Proper cleaning and maintenance of your coffee frother ensures optimal performance and extends its lifespan. We’ll guide you through essential daily cleaning practices and deeper maintenance routines that keep your frother functioning like new.
Daily Cleaning
After each use we recommend rinsing and wiping your frother immediately to prevent milk residue buildup. This simple step prevents bacteria growth and maintains the quality of your coffee drinks.
For steam wands we suggest purging with steam and wiping off the tip after every frothing session. The immediate cleaning prevents milk proteins from hardening on the wand surface which can affect future frothing performance.
Electric frothers require gentle cleaning with warm water and a soft cloth to remove any milk residue from the container and heating elements. We always ensure the frother is unplugged before cleaning to maintain safety.
Handheld frothers need their whisk attachments rinsed thoroughly under running water to remove all milk particles. A quick rinse prevents the buildup of sticky residue that can affect the frother’s motor performance.
Deep Cleaning
Every 5 to 7 days we perform a more thorough cleaning routine to maintain optimal frother performance. This deeper maintenance prevents long term buildup and ensures consistent frothing results.
For steam wands we soak the tip in a vinegar and hot water solution when clogs develop. The acidic solution dissolves mineral deposits that can block the steam holes and affect milk texture.
We use a dedicated steam wand brush or clean toothbrush to scrub around the nozzle and joints where milk residue commonly accumulates. This targeted cleaning removes stubborn buildup that daily wiping might miss.
After cleaning we run steam through the wand again to purge any cleaning solution and ensure no residual taste affects future drinks. The final purge step is crucial for maintaining coffee flavor integrity.
Electric frothers with heating plates require monthly descaling using food safe descaler to remove mineral buildup. We avoid soaking the entire wand and only soak the tip to prevent damage to electrical components.
For all frother types we use mild fragrance free dish soap and soft microfiber towels during deep cleaning sessions. These gentle materials clean effectively without scratching surfaces or leaving chemical residues that could affect milk taste.
Variations and Flavor Ideas

Now that we’ve mastered the fundamental frothing techniques, let’s explore creative ways to customize our coffee drinks with exciting flavors and milk alternatives.
Flavored Syrups
Adding flavored syrups transforms ordinary frothed coffee into gourmet café creations. We recommend incorporating syrups before frothing to ensure thorough flavor integration throughout the milk. Popular flavor combinations include vanilla for a classic sweet touch, caramel for rich indulgence, and hazelnut for nutty complexity.
Premium syrup brands deliver consistent quality and authentic flavors:
| Brand | Specialty | Available Options |
|---|---|---|
| Torani | Wide variety | 150+ flavors including sugar-free |
| Monin | Premium quality | Classic and seasonal flavors |
| Ghirardelli | Rich chocolate base | Zero sugar and low-calorie options |
Start with one pump or half a teaspoon of syrup per serving and adjust according to taste preferences. Sugar-free and low-calorie alternatives allow us to enjoy flavored drinks without compromising dietary goals. Seasonal syrups like pumpkin spice or peppermint create festive variations that mirror coffeehouse offerings.
Alternative Milk Options
Plant-based milk alternatives open exciting possibilities for dairy-free frothing while offering unique flavor profiles. Each milk type behaves differently during frothing, creating distinct textures and tastes that complement various coffee styles.
Oat milk stands out as our top recommendation for plant-based frothing. Its natural creaminess and protein content produce stable foam that rivals traditional dairy milk. The mild, slightly sweet flavor enhances coffee without overwhelming its natural taste.
Almond milk creates lighter foam with a subtle nutty undertone. Choose unsweetened varieties to control sweetness levels, and select brands specifically formulated for barista use when available.
Soy milk froths reliably due to its protein content, producing dense, creamy foam. Original formulations work better than vanilla-flavored versions for maintaining coffee’s authentic taste.
Coconut milk offers tropical notes but requires careful technique due to its unique fat composition. Full-fat canned coconut milk diluted with water creates better frothing results than carton versions.
Different milk types require slight adjustments to our frothing technique. Plant-based milks often need gentler handling and shorter frothing times to prevent separation. We suggest experimenting with various brands within each milk type, as formulations vary significantly between manufacturers.
Conclusion
Mastering the art of coffee frothing opens up endless possibilities for creating barista-quality drinks from the comfort of your kitchen. Whether you’re using an electric frother handheld device or repurposing a French press we’ve shown you that professional-looking foam is achievable with any budget.
The key to success lies in understanding your equipment maintaining proper milk temperature and practicing your technique. Remember that different milk types require slight adjustments but each offers unique flavors and textures worth exploring.
With regular cleaning and maintenance your frother will serve you well for years to come. Now it’s time to put these skills into practice and start enjoying café-quality beverages that rival your favorite coffee shop – all while saving money and impressing friends with your newfound expertise.
Frequently Asked Questions
What equipment do I need to start frothing milk at home?
You’ll need a quality milk frother (handheld electric frother for beginners), a frothing pitcher, measuring cups, kitchen thermometer, clean towels, and long-handled spoons. For advanced users, a French press or steam wand espresso machine works well. These basic tools will help you create café-quality frothed milk drinks at home.
Which type of milk creates the best foam for coffee drinks?
Whole milk produces the richest and most stable foam due to its higher fat content. However, 2% milk also works well with slight adjustments. For dairy-free options, oat milk and almond milk can be used, though they may require different frothing techniques to achieve optimal texture and consistency.
How do I properly prepare my coffee base before adding frothed milk?
Brew your coffee using your preferred method, but make it slightly stronger than usual since milk will dilute the final drink. Fill your mug halfway with hot (not scalding) coffee to maintain the ideal coffee-to-milk ratio. For cold beverages, use room temperature or chilled coffee like cold brew concentrate.
What’s the correct technique for using a handheld electric frother?
Fill your frothing container to the indicated line with cold milk, select the appropriate frothing setting, and activate the frother. Monitor the fill line to prevent overflow. Add any flavorings before frothing for better integration. Clean the frother promptly after use to maintain optimal performance and prevent milk residue buildup.
How can I use a French press to froth milk?
Heat milk to 140-160°F, then pour it into a clean French press (fill no more than halfway). Plunge vigorously for 10-15 seconds until the milk volume doubles. Use fresh, cold milk for best results and clean the press immediately after use to maintain its functionality and prevent bacterial growth.
What’s the proper way to pour frothed milk into coffee?
Start by pouring the liquid milk first, holding back the foam with a spoon. Then gently spoon the foam on top, or pour in a steady stream from a height of 3-4 inches. This technique preserves both the coffee’s flavor and the milk’s texture while creating an attractive layered appearance.
How do I troubleshoot common frothing problems?
If foam is too thick, you’ve over-frothed; reduce frothing time. If foam is too thin, increase frothing duration until milk volume doubles. Always start with cold milk and maintain temperature between 140-160°F. Use a kitchen thermometer to monitor temperature and ensure you’re not overheating the milk, which can affect foam quality.
How often should I clean my milk frother?
Clean your frother immediately after each use by rinsing with warm water and wiping dry. For deeper cleaning, perform a thorough maintenance routine every 5-7 days. Soak steam wand tips in vinegar and hot water to dissolve mineral deposits, and use a dedicated brush for stubborn buildup.
What milk alternatives work best for frothing?
Oat milk froths exceptionally well and creates creamy foam similar to dairy milk. Almond milk works but produces lighter foam. Soy milk froths well but may have a distinct flavor. Coconut milk creates rich foam but with a tropical taste. Experiment with different brands to find your preferred results.
Can I add flavors to my frothed milk drinks?
Yes! Add flavored syrups like vanilla, caramel, or hazelnut before frothing for thorough flavor integration. You can also incorporate spices like cinnamon or cocoa powder. Sweeteners like sugar or honey should be added to the milk before frothing to ensure proper dissolution and even distribution throughout the drink.


