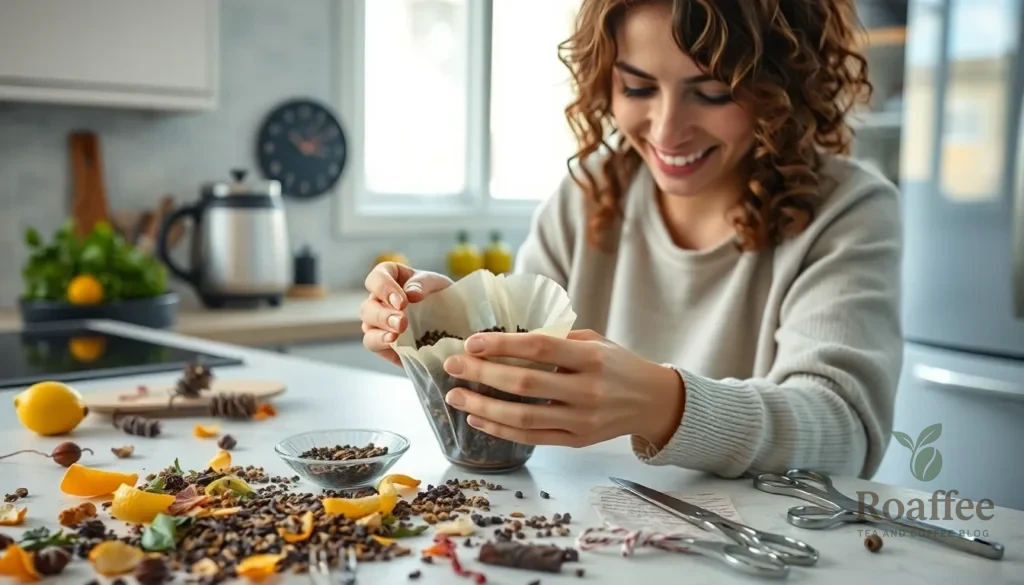
We’re about to transform your tea-drinking experience with something surprisingly simple yet revolutionary. Making your own tea bags at home isn’t just a money-saving hack – it’s your ticket to completely customizing every cup of tea you brew.
Gone are the days of settling for store-bought blends that don’t quite hit the mark. When you create your own tea bags, you’re in complete control of the ingredients, strength, and flavor profile. Whether you’re dealing with loose leaf tea that’s too messy for daily use or you want to create personalized herbal blends, homemade tea bags solve it all.
The best part? You don’t need fancy equipment or special skills. With just a few basic materials and our foolproof method, you’ll be creating professional-quality tea bags in minutes. We’ll show you exactly how to make tea bags that rival expensive store-bought versions while giving you the freedom to experiment with any tea combination your heart desires.
Essential Materials and Equipment
Creating your own tea bags requires just a few simple materials that you likely already have at home. Let’s explore the essential items needed to transform loose tea into convenient homemade tea bags.
Tea Bag Papers or Filters
The foundation of any tea bag lies in selecting the right filter material. We recommend using unbleached coffee filters as they provide excellent filtration while allowing proper water flow through your tea blends. Food-grade cheesecloth offers another excellent option with its fine weave that prevents tea particles from escaping while maintaining optimal steeping conditions.
Paper tea filters designed specifically for loose leaf tea provide the most professional results. These filters come in various sizes and shapes including round, square, and rectangular options. Empty tea bags made from natural fibers like hemp or cotton deliver superior flavor extraction compared to synthetic alternatives.
Heat-sealable tea filter bags eliminate the need for sewing and create airtight seals that preserve freshness. These specialized filters work particularly well for delicate teas that require precise brewing temperatures.
Sewing Supplies
Basic sewing materials transform your filter materials into functional tea bags. We need a sharp needle that can easily pierce through your chosen filter material without creating excessive holes. Cotton thread works best for sewing tea bags as it withstands hot water without breaking down or affecting taste.
Embroidery floss provides a stronger alternative for heavy-duty tea blends or frequent use. Natural cotton string creates the perfect length for dangling your tea bag while steeping. Scissors should be sharp enough to cut clean edges on your filter material.
A thimble protects your finger during the sewing process and helps push the needle through thicker materials. Small safety pins can temporarily hold your tea bag shape while you work on the permanent closure.
Tools for Sealing
Modern sealing methods offer quick alternatives to traditional sewing techniques. A clothes iron set to medium heat can seal heat-sealable tea bags in seconds. Place parchment paper between the iron and the bag to prevent sticking.
Hair straighteners work exceptionally well for sealing small tea bags due to their precise temperature control and narrow heating elements. Mini heat sealers designed for food storage bags provide consistent results for multiple tea bag production.
Double-sided tape offers a no-heat sealing option that works well with paper filters. Food-grade adhesive strips ensure safe contact with your tea while maintaining a secure seal. Small binder clips can temporarily seal tea bags for immediate use before applying permanent closure methods.
Ingredients
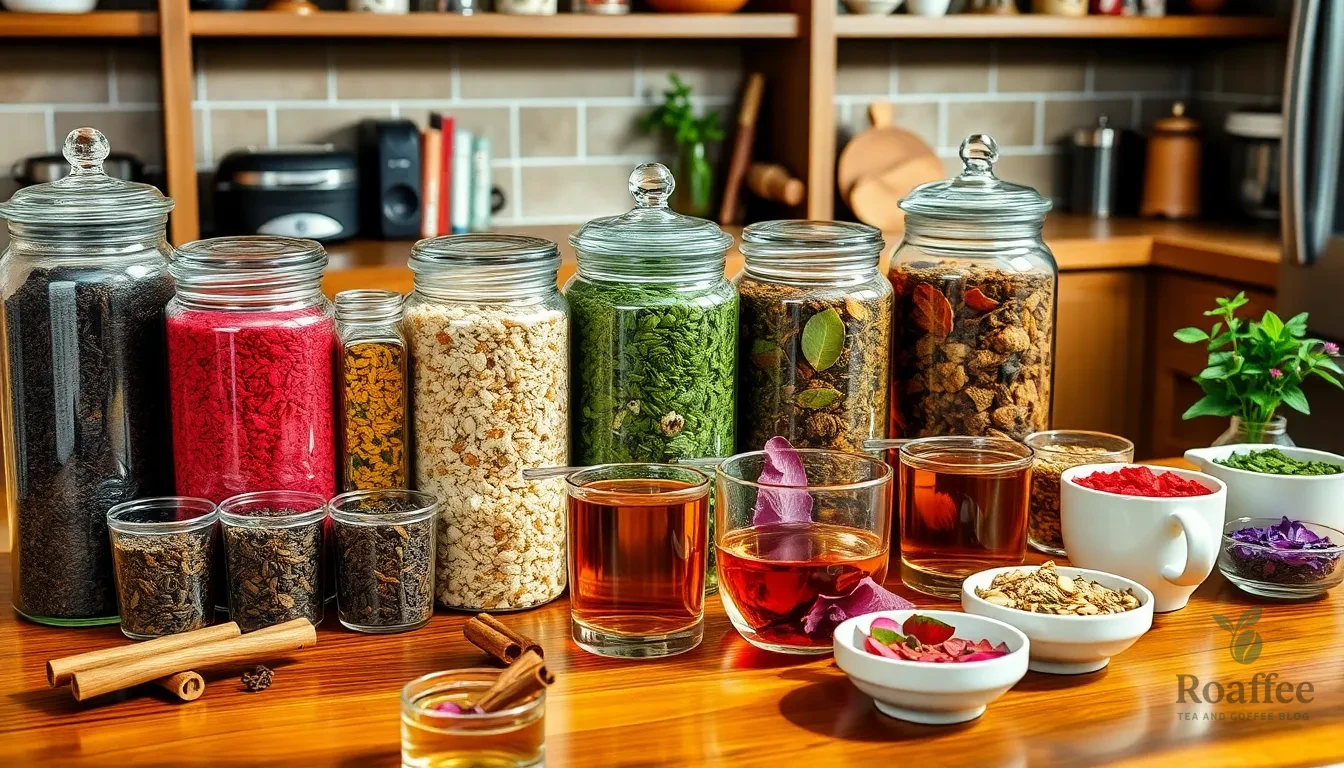
Creating your own tea bags starts with selecting the right base ingredients and optional flavor enhancements. We’ll guide you through the essential components needed to create personalized tea blends that suit your taste preferences.
Loose Tea Selection
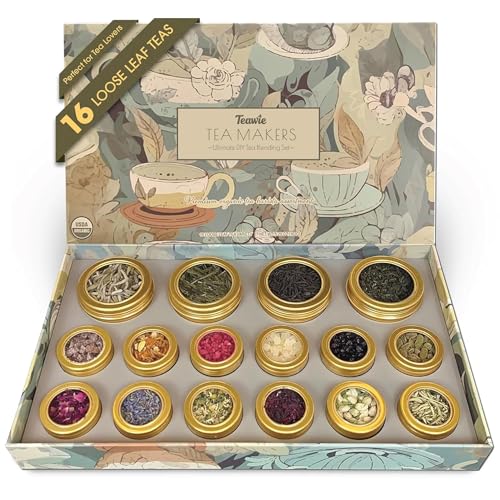
The foundation of any great homemade tea bag begins with quality loose leaf tea. We recommend choosing from these popular varieties based on your flavor preferences:
- Black tea leaves – Robust and full-bodied, perfect for morning blends
- Green tea leaves – Light and refreshing with subtle grassy notes
- White tea leaves – Delicate and naturally sweet with minimal processing
- Oolong tea leaves – Complex flavor profile balancing black and green tea characteristics
- Herbal tea leaves – Caffeine-free options like chamomile, peppermint, or rooibos
Each tea bag requires approximately 1 to 1.5 teaspoons of loose leaf tea. This measurement ensures proper strength and flavor extraction during steeping. Store your loose tea in airtight containers away from light and moisture to maintain freshness and potency.
Optional Flavor Additions
Customize your tea bags with these flavor enhancers to create unique blends that reflect your personal taste. We suggest starting with small quantities to test combinations before committing to larger batches:
- Cinnamon sticks – Add warmth and natural sweetness (use 0.5 teaspoons ground)
- Pumpkin spice blend – Perfect for autumn-inspired tea combinations
- Dried herbs – Fresh or dried basil, mint, or lavender for aromatic complexity
- Citrus peels – Dried orange, lemon, or lime zest for bright, zesty notes
- Whole spices – Cardamom pods, cloves, or star anise for exotic flavor profiles
- Dried fruit pieces – Apple, berries, or mango for natural sweetness
- Flower petals – Rose petals, jasmine, or hibiscus for visual appeal and subtle floral notes
Use approximately 0.5 teaspoons of flavor additions per tea bag to avoid overpowering the base tea. These optional ingredients allow you to experiment with seasonal flavors and create signature blends that cannot be found in commercial tea bags.
Instructions
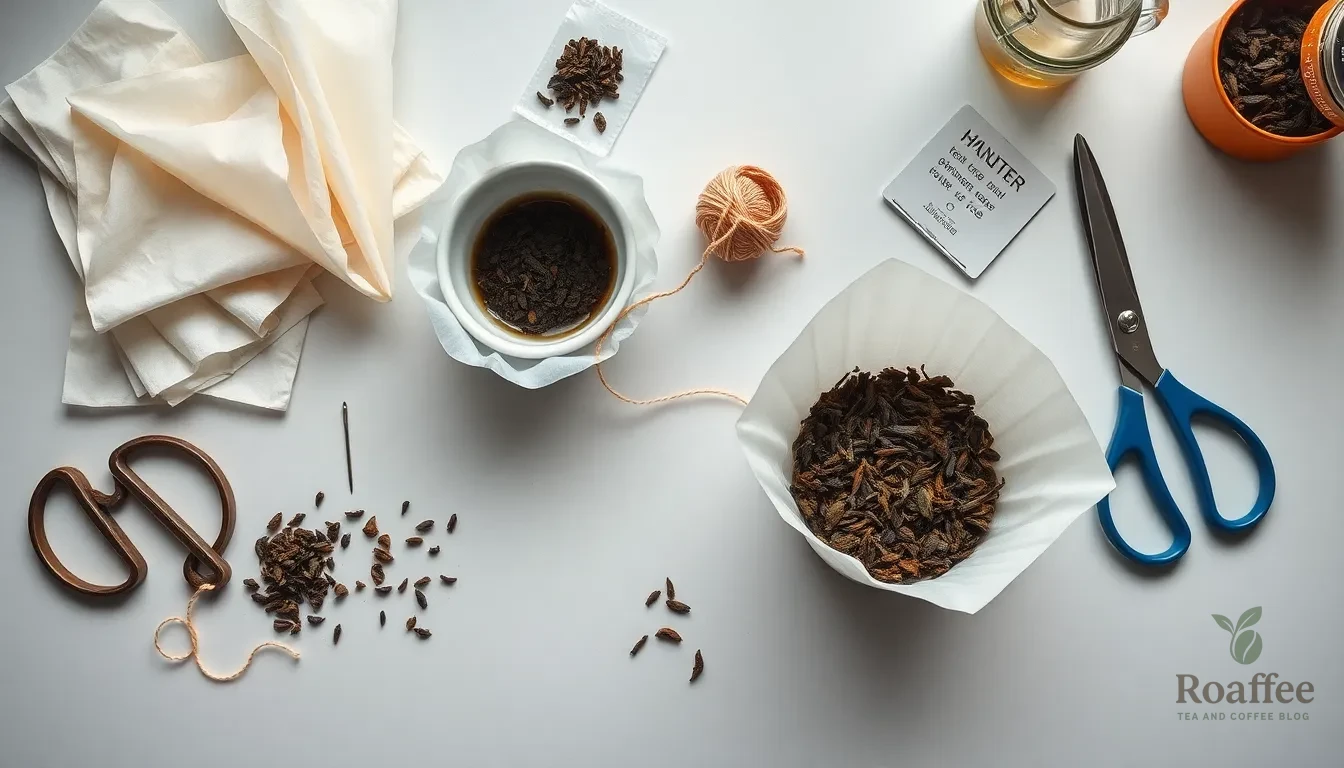
Follow these straightforward steps to create professional-quality tea bags that rival any store-bought version. We’ll guide you through each phase of the process with precision and clarity.
Prepare Your Workspace
Set up a clean and organized workspace before beginning your tea bag creation process. We recommend gathering all necessary materials in one location: unbleached coffee filters or food-grade cheesecloth, loose tea leaves, sharp scissors, string or embroidery thread, and a needle with cotton thread. Also, collect a stapler and optionally cardstock or paper tags for labeling your finished tea bags.
Arrange these materials on a flat surface with adequate lighting to ensure precise cutting and stitching. Keep a small bowl nearby to hold your measured tea portions and another container for any tea scraps or trimmings.
Measure the Tea
Portion your loose tea leaves carefully using 1 to 2 teaspoons per tea bag depending on your desired strength preference. We suggest starting with 1 teaspoon for lighter teas like white or green varieties and increasing to 2 teaspoons for robust black teas or herbal blends.
Add complementary spices such as pumpkin spice, cinnamon, or cardamom at this stage if creating flavored blends. Measure these additions conservatively, using approximately 1/4 teaspoon of spices per tea bag to avoid overwhelming the base tea flavor.
Cut the Tea Bag Material
Transform your coffee filters into perfectly sized tea bag pouches by cutting them into rectangles or squares. Remove any ridged edges from the filters to create smooth, even pieces that will seal properly during the assembly process.
Size your cut pieces according to the amount of tea you plan to use, typically creating rectangles approximately 3 by 4 inches for standard tea portions. We recommend cutting several pieces at once to streamline your tea bag production process.
Fill the Tea Bags
Place your measured tea portion in the center of each cut filter piece, leaving adequate space around the edges for proper sealing. Fold the filter material carefully to enclose the tea, creating a neat pouch that prevents spillage during the sealing process.
Position the tea mixture away from the edges you plan to seal, ensuring the loose leaves won’t interfere with creating a tight closure. We suggest gently shaking the filled pouch to distribute the tea evenly before proceeding to the sealing step.
Seal the Tea Bags
Secure your tea bags using either stitching or stapling methods for reliable closure. Stitch three sides of the pouch closed if you haven’t filled it yet, then add your tea mixture and complete the final seam. Alternatively, fill the pouch first and staple the opening closed for a quicker assembly method.
Attach a 3 to 4 inch piece of thread to one corner of the sealed tea bag, securing it with a staple or careful stitching. Fold the attachment point neatly and add a small cardstock tag to the free end of the string for easy identification and removal during steeping.
Different Methods for Making Tea Bags
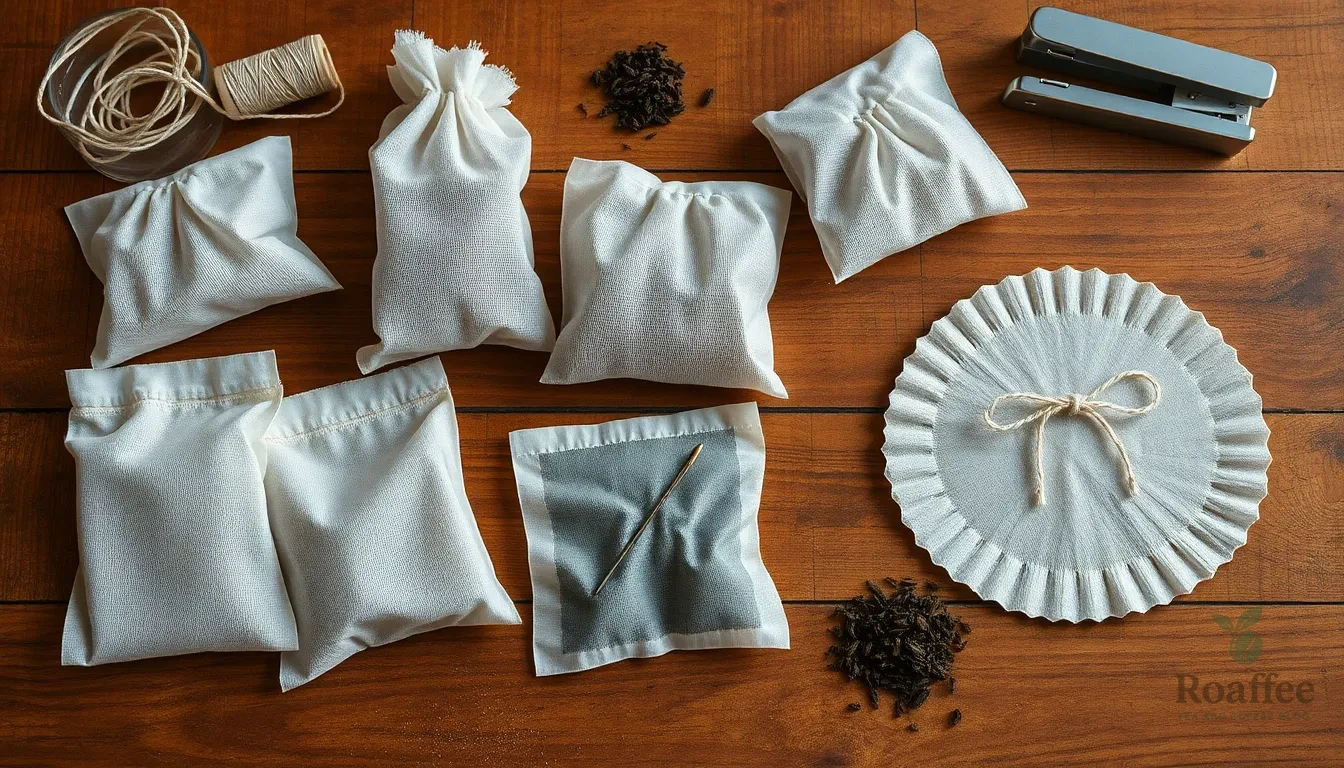
We can create homemade tea bags using several effective techniques that range from traditional hand-sewn methods to modern sealing approaches. Each method offers unique advantages depending on your available materials and desired level of craftsmanship.
Sewn Tea Bags
We recommend using clean white gauze or cheesecloth without any film coating for this traditional method. Place approximately 1 teaspoon of loose tea leaves onto a circle or square piece of gauze material. Hand sew around the tea leaves while leaving adequate space for expansion during steeping. Cut out the completed tea bag while maintaining a small edge for durability.
Attach a string and tea label using thread or small stitches to complete the bag. This method works exceptionally well for teas that don’t expand significantly in hot water. We find sewn tea bags provide excellent control over the steeping process and offer a charming handmade appearance.
Heat-Sealed Tea Bags
Commercial tea manufacturers typically use heat sealing on filter paper or food-safe materials for mass production. Heat sealing creates tight bonds along the edges without requiring stitching or staples. This process binds the material securely through controlled temperature application.
We should note that heat sealing requires specialized machinery and materials that make it rarely practical for home use. The commercial method produces consistently sealed bags but remains less accessible for DIY tea bag creation compared to other techniques.
Stapled Tea Bags
We can easily create stapled tea bags using coffee filters or folded filter paper as the primary material. Cut the filter into a rectangular shape and fold it to create a pocket for the tea. Fill the pocket with 1 to 2 teaspoons of loose tea leaves depending on desired strength.
Fold the open edges and staple them closed while attaching a string before or after the stapling process. Attach a paper tag to the string using glue, stitching, or an additional staple. Some variations involve sewing the edges instead of stapling using either a sewing machine or hand stitching techniques.
| Method | Materials Needed | Difficulty Level | Best For |
|---|---|---|---|
| Sewn | Gauze, thread, needle | Moderate | Traditional appearance, durable bags |
| Heat-Sealed | Special equipment, filter paper | High | Commercial production |
| Stapled | Coffee filters, stapler, string | Easy | Quick DIY projects, beginners |
We find the stapled method most accessible for home tea bag creation since it requires minimal equipment and produces reliable results quickly.
Storage and Preservation
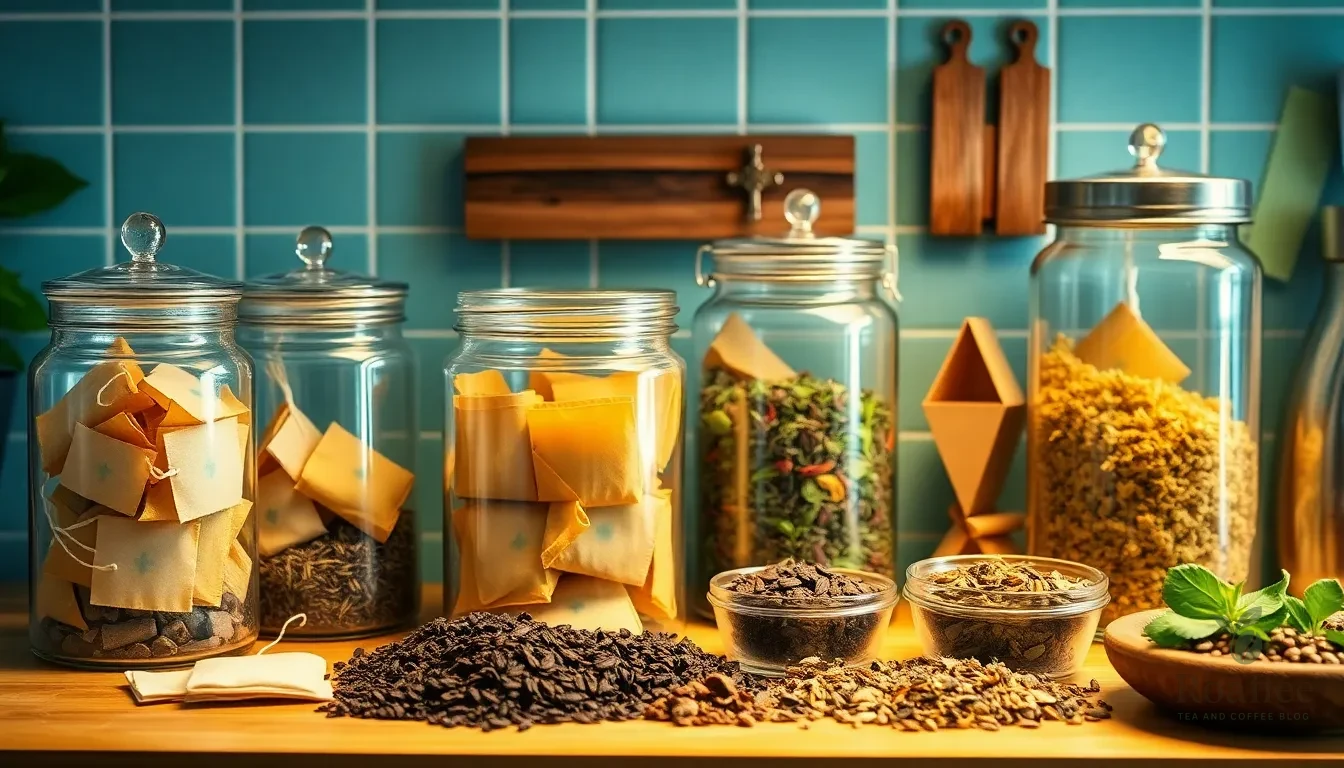
Once we create our handmade tea bags, protecting their quality and freshness becomes essential for maintaining the perfect flavor in every cup. Proper storage techniques extend the life of our tea bags while preserving their aromatic compounds and taste profiles.
Proper Storage Containers
We recommend using airtight containers made of glass, metal, or ceramic to protect our tea bags from air, moisture, and unwanted odors. These materials prevent contamination and maintain the integrity of our carefully crafted blends. Plastic containers should be avoided since they retain odors and may leach chemicals into our tea over time.
Dark or opaque containers work best for blocking light exposure, which can degrade tea quality and diminish flavor compounds. Glass mason jars with tight-fitting lids provide excellent visibility while offering superior protection. Metal tins create an ideal environment for long-term storage, especially when we need to store multiple varieties of our homemade tea bags.
We should ensure our storage containers are completely dry before adding tea bags to prevent moisture buildup. Clean containers thoroughly between uses to eliminate any residual flavors that might transfer to our fresh tea blends.
Labeling Your Tea Bags
Clear labeling helps us track the freshness and batch details of our homemade tea bags effectively. We should include the tea type, packaging date, and any special ingredients or flavor additions on each label. This information allows us to manage rotation properly and use the oldest bags first.
Detailed labels prevent confusion when we create multiple tea varieties or experimental blends. We can include brewing instructions, steeping times, and personal notes about flavor profiles directly on the labels. Waterproof labels work best since they resist moisture and remain legible throughout the storage period.
Creating a simple numbering system for our tea bag batches helps us maintain consistency in our blends. We can reference our recipe notes easily when we want to recreate successful combinations or adjust flavors in future batches.
Shelf Life Considerations
We should store our tea bags in cool, dark, and dry locations with stable temperatures between 60°F to 77°F (15°C to 25°C). Heat sources and direct sunlight must be avoided to prevent degradation of essential oils and flavor compounds. Humidity levels should remain low since moisture promotes mold growth and bacterial development.
Sealing our tea bags tightly minimizes oxygen exposure, which causes oxidation and leads to flavor loss over time. We need to protect our tea from strong odors since tea readily absorbs surrounding smells that can alter its intended taste profile.
Our properly stored homemade tea bags typically maintain their quality for 6 months to 2 years, depending on the tea type and storage conditions. The following storage timeline helps us track freshness:
| Tea Type | Optimal Storage Period | Maximum Storage Period |
|---|---|---|
| Black Tea | 12-18 months | 2 years |
| Green Tea | 6-12 months | 18 months |
| White Tea | 12-24 months | 2+ years |
| Oolong Tea | 18-24 months | 2+ years |
| Herbal Tea | 6-12 months | 18 months |
We should regularly inspect our stored tea bags for signs of moisture, mold, or off odors. Any tea bags showing these signs should be discarded immediately to prevent contamination of our entire collection.
Tips for Success
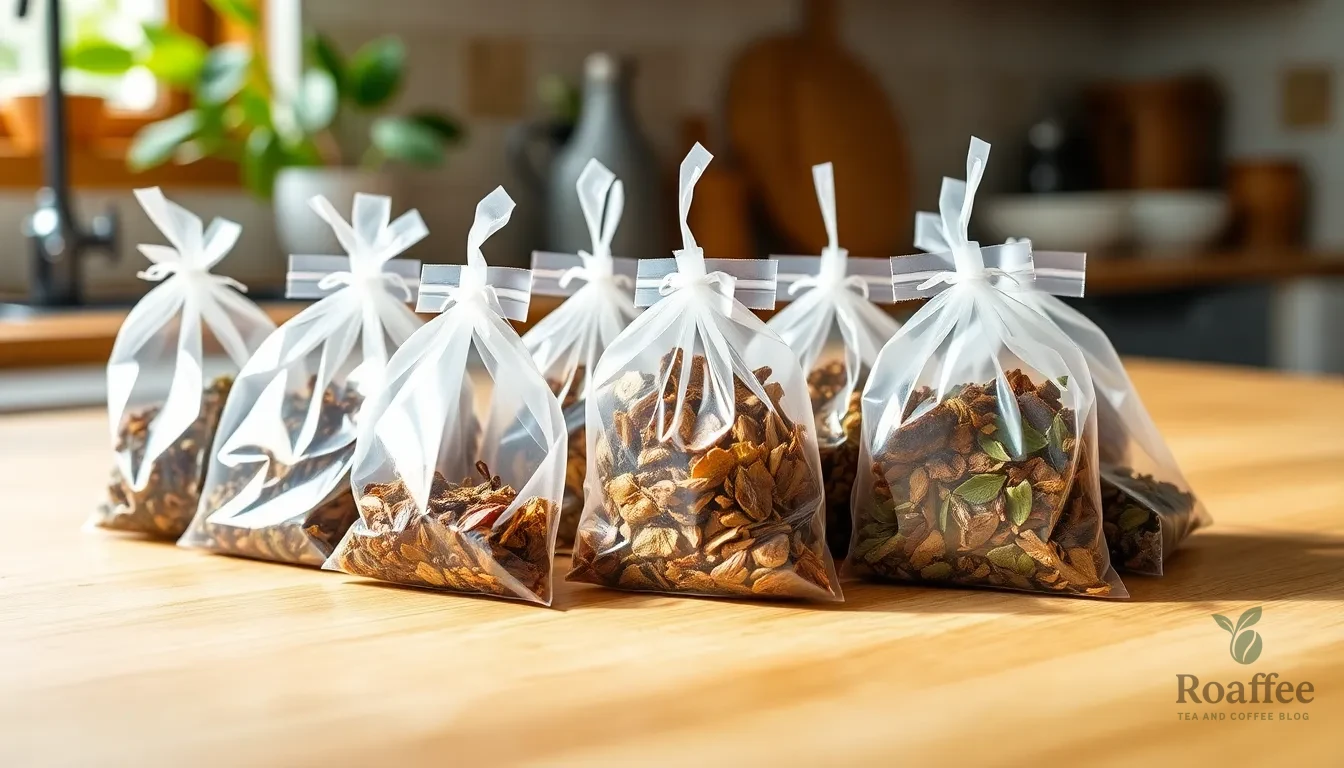
Creating professional tea bags at home requires attention to detail and proper technique. We’ll share essential tips that ensure your homemade tea bags deliver consistent flavor and quality every time.
Choosing the Right Tea Quantities
Getting the tea quantity right makes the difference between a perfect cup and a disappointing brew. We recommend using 1.5 to 3 grams of tea per bag depending on your preferred strength and the tea variety you’re using.
Different tea types require exact measurements for optimal extraction. Black teas typically need 2 to 3 grams per bag for a robust flavor while green and white teas work best with 1.5 to 2 grams to prevent bitterness. Herbal teas often require slightly more at 2.5 to 3 grams since they’re naturally caffeine-free and can handle stronger concentrations.
Overfilling your tea bags creates uneven brewing and wastes precious tea leaves. The excess tea doesn’t have room to expand properly during steeping which results in weak extraction even though using more product. Underfilling produces weak flavor that lacks the depth and complexity your tea deserves.
We suggest weighing your tea portions initially to develop a feel for the right amount. Once you’ve made several batches you’ll be able to estimate quantities by sight and achieve consistent results every time.
Avoiding Common Mistakes
Poor sealing ranks as the most common mistake when making tea bags at home. Inadequate sealing allows tea leaves to escape during brewing which creates a messy cup and reduces flavor strength. We recommend testing your sealing method on empty bags first to ensure reliability.
Temperature control during brewing prevents another frequent error that ruins perfectly good tea. Black tea requires water between 200-212°F and steeps for 3-5 minutes while green tea needs cooler water at 175-185°F for just 2-3 minutes. Oversteeping any tea variety produces bitter compounds that overpower the delicate flavors you worked to preserve.
Using stale or improperly processed tea leaves undermines all your careful preparation work. Fresh tea leaves should feel crisp and release fragrant aromas when lightly crushed. We store our tea in airtight containers away from light and heat to maintain peak freshness before bag filling.
Machine calibration issues affect consistency if you decide to scale up production. Even simple tools like measuring spoons need regular checking to ensure accuracy. Clean your equipment thoroughly between different tea types to prevent flavor contamination that muddles your carefully crafted blends.
Quality Control Testing
Weight accuracy testing ensures every tea bag delivers the same strength and flavor profile. We weigh random samples from each batch to verify consistency and adjust our measuring technique if needed. This simple step prevents customer complaints and maintains your reputation for quality.
Seal integrity testing protects your tea from contamination and preserves freshness during storage. Gently tug on each sealed edge to check for weak spots that might fail during shipping or brewing. A properly sealed bag should feel secure without tearing under normal handling pressure.
Sensory evaluation provides the ultimate quality check for your homemade tea bags. We brew test samples from each batch to evaluate taste, aroma, and color consistency. This hands-on approach catches issues that mechanical testing might miss and ensures your final product meets expectations.
| Quality Test | Frequency | Acceptable Range |
|---|---|---|
| Weight Accuracy | Every 10 bags | ±0.2 grams |
| Seal Integrity | Every 5 bags | No leakage |
| Sensory Evaluation | Per batch | Consistent flavor profile |
Storage condition monitoring prevents quality degradation after production. We check our storage areas regularly for proper temperature, humidity, and light protection. These environmental factors directly impact tea freshness and can render perfect tea bags unusable if neglected.
Conclusion
Making your own tea bags transforms an ordinary daily ritual into something truly special. We’ve shown you that with basic materials and simple techniques you can create professional-quality tea bags that rival any store-bought option.
The freedom to customize your blends means you’ll never settle for mediocre tea again. Whether you prefer the traditional sewn method or the quick stapled approach each technique delivers consistent results when you follow proper storage and quality control practices.
Start with small batches to perfect your technique and discover your favorite flavor combinations. Once you experience the satisfaction of brewing your own handcrafted tea bags you’ll wonder why you waited so long to begin this rewarding journey.
Frequently Asked Questions
What materials do I need to make tea bags at home?
You’ll need unbleached coffee filters or food-grade cheesecloth for the bag material, loose leaf tea (1-1.5 teaspoons per bag), basic sewing supplies (needle, cotton thread, scissors), and optional sealing tools like a clothes iron or hair straightener. For professional results, consider using paper tea filters designed for loose leaf tea or natural fiber tea bags.
How much tea should I put in each homemade tea bag?
Use 1 to 1.5 teaspoons of loose leaf tea per tea bag for optimal flavor extraction. This measurement ensures proper steeping without overpacking the bag, which can restrict water flow and affect taste quality. For consistency, consider weighing your tea portions rather than relying solely on volume measurements.
What are the different methods for sealing homemade tea bags?
There are three main sealing methods: sewn (using needle and thread for a handmade appearance), heat-sealed (using an iron or hair straightener), and stapled (the most accessible DIY method). The stapled method requires minimal equipment and produces reliable results quickly, making it ideal for beginners.
How should I store homemade tea bags to maintain freshness?
Store your homemade tea bags in airtight containers made of glass, metal, or ceramic to prevent contamination and maintain flavor integrity. Avoid plastic containers, label each batch with tea type and packaging date, and keep them in a cool, dry place away from direct sunlight.
Can I add flavor enhancements to my homemade tea bags?
Yes! You can customize your tea bags with spices (cinnamon, cardamom), dried herbs (mint, chamomile), citrus peels, dried fruit pieces, or flower petals like lavender or rose. Start with small quantities when experimenting to avoid overpowering the base tea flavor and create unique blends that match your taste preferences.
How long do homemade tea bags last?
The shelf life depends on the tea type and storage conditions. Generally, black and green teas maintain quality for 12-18 months, while herbal teas last 6-12 months when stored properly. Regularly inspect your stored tea bags for signs of spoilage, moisture, or loss of aroma, and use older batches first.
Do I need special equipment to make tea bags at home?
No special equipment is required! You can create professional-quality tea bags using common household items like coffee filters, thread, scissors, and a needle. For quicker sealing, a clothes iron or hair straightener works well. The process is designed to be accessible without requiring specialized tea-making equipment.
