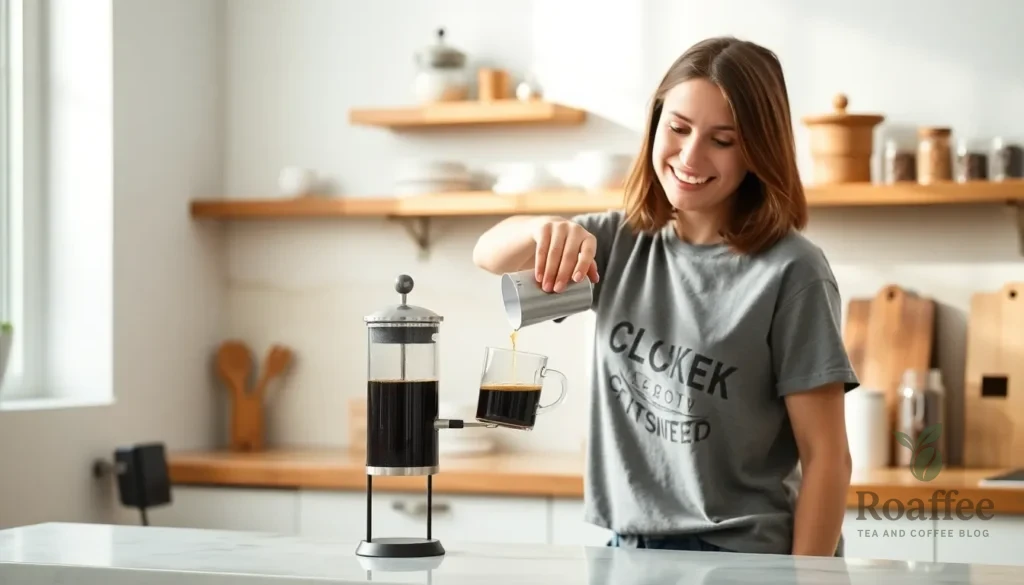
There’s nothing quite like the rich aroma of freshly brewed coffee filling your kitchen on a quiet morning. We’ve all experienced that moment when we take our first sip of perfectly crafted homemade coffee and realize it’s better than anything we could buy at a café. Making exceptional coffee at home isn’t just about saving money – it’s about taking control of every element that goes into your cup.
The secret to outstanding homemade coffee lies in understanding a few key principles that coffee shops don’t want you to know. From selecting the right beans to mastering water temperature and timing we’ll guide you through each step of the process. Whether you’re using a simple drip maker or a French press the fundamentals remain the same.
Ready to transform your morning routine? Let’s jump into the art of brewing coffee that’ll make your taste buds dance and your wallet thank you.
Equipment Needed
Success in brewing exceptional coffee at home starts with having the right tools in your kitchen. We’ll break down the essential equipment you need and helpful additions that can elevate your coffee brewing game.
Essential Coffee Making Tools
Every great cup of coffee begins with these fundamental tools that form the foundation of your home brewing setup:
Coffee Grinder
A quality burr grinder ensures consistent particle size for even extraction. We recommend investing in a burr grinder over blade grinders since they produce uniform grounds that lead to balanced flavor extraction.
Measuring Tools
Digital kitchen scale provides precise measurements for both coffee and water ratios. A standard coffee scoop serves as a backup measuring tool when you need quick portioning.
Brewing Device
Choose from several reliable brewing methods based on your preferences:
- French press for full-bodied coffee with minimal equipment
- Pour-over dripper for clean and bright flavors
- Drip coffee maker for convenient daily brewing
- AeroPress for versatile brewing styles
Water Kettle
A reliable kettle heats water to the proper temperature range. Electric kettles with temperature control offer precision while stovetop kettles provide traditional simplicity.
Coffee Filters
Paper filters remove oils and sediment for cleaner cups. Permanent metal filters allow oils through for fuller body coffee.
Serving Vessel
A thermal carafe or insulated mug keeps your coffee at optimal drinking temperature.
Optional Equipment for Better Results
These additional tools can enhance your brewing precision and coffee quality:
Thermometer
Water temperature thermometer ensures you hit the ideal 195-205°F brewing range. Digital instant-read thermometers provide quick and accurate readings.
Timer
A brewing timer helps you maintain consistent extraction times. Most smartphones have built-in timers that work perfectly for coffee brewing.
Gooseneck Kettle
This specialized kettle offers superior pouring control for pour-over methods. The narrow spout allows for precise water flow and even saturation of coffee grounds.
Coffee Storage Container
Airtight containers preserve bean freshness by protecting against air and moisture. Look for containers with CO2 valve systems for optimal bean storage.
Water Filtration System
A water filter improves taste by removing chlorine and impurities. Better water quality directly translates to better coffee flavor.
Ingredients
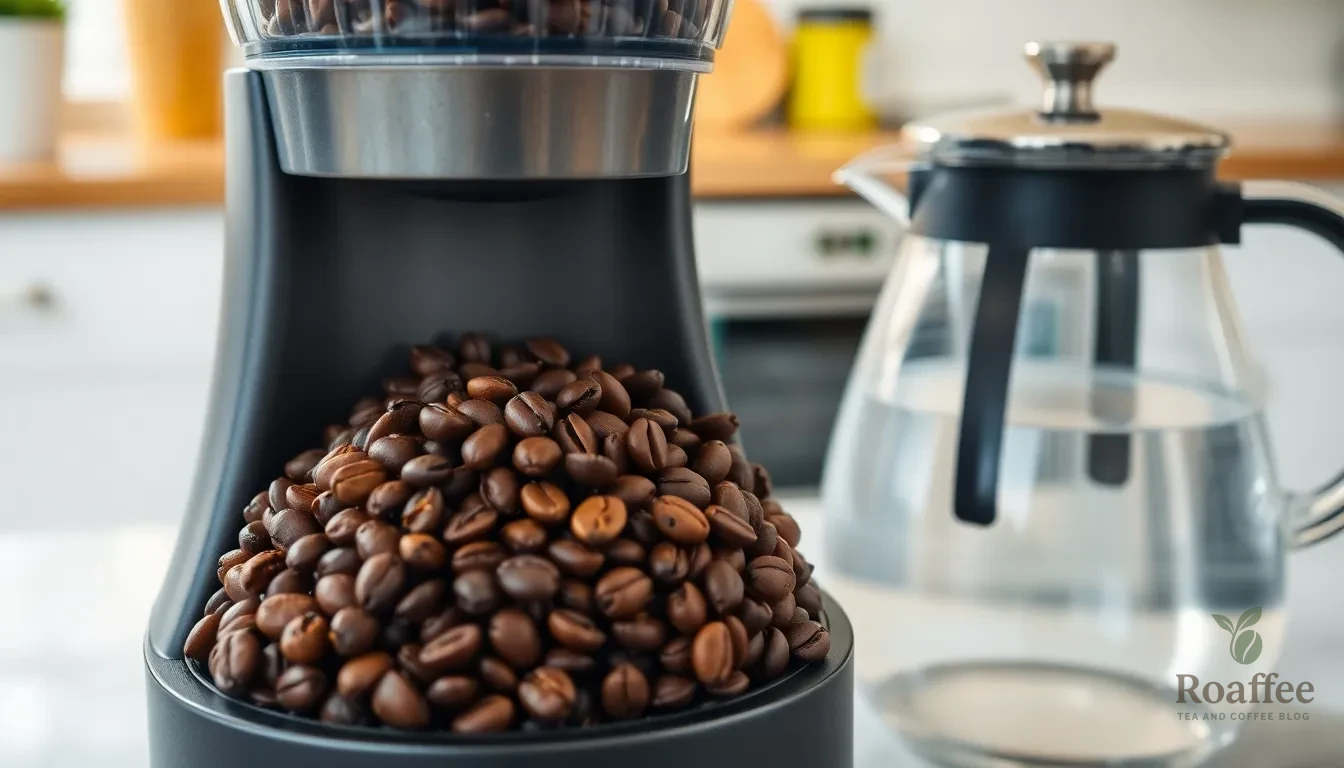
Creating exceptional homemade coffee begins with selecting the right ingredients. Quality beans and proper water form the foundation of every great cup we brew.
Coffee Beans Selection
We recommend starting with quality, fresh coffee beans as they are crucial for developing rich flavor profiles. Beans from regions like Guatemala or Ethiopia offer particularly complex and satisfying taste experiences that elevate our daily coffee ritual.
The grind size depends entirely on our chosen brewing method. For AeroPress brewing, we use a medium-fine grind that extracts flavors efficiently. Pour-over methods work best with a medium-fine to slightly finer grind than table salt, allowing optimal water flow and extraction.
Precise measurement ensures consistent results every time we brew. We follow a standard ratio of 1 gram of coffee to 16 ml of water, which translates to approximately 32g of coffee for 500ml of water when brewing two cups.
Water Quality Requirements
We always use filtered water with low mineral content to achieve the best possible taste. Minerals in unfiltered water can significantly affect extraction and alter the final flavor profile of our coffee.
Tap water requires filtration before use, and we avoid re-boiling water to prevent degrading its quality. After bringing water to a boil, we let it cool for about 30 seconds before pouring to reach the optimal temperature range.
| Water Specifications | Optimal Range |
|---|---|
| Temperature | 195°F to 205°F (90-96°C) |
| pH Level | ~7 (neutral) |
| Mineral Content | Low |
Lower temperatures extract fewer flavor notes from our beans, while higher temperatures within this range yield richer extraction. We aim for neutral pH water around 7 to optimize coffee taste and ensure balanced flavor development throughout the brewing process.
Preparation
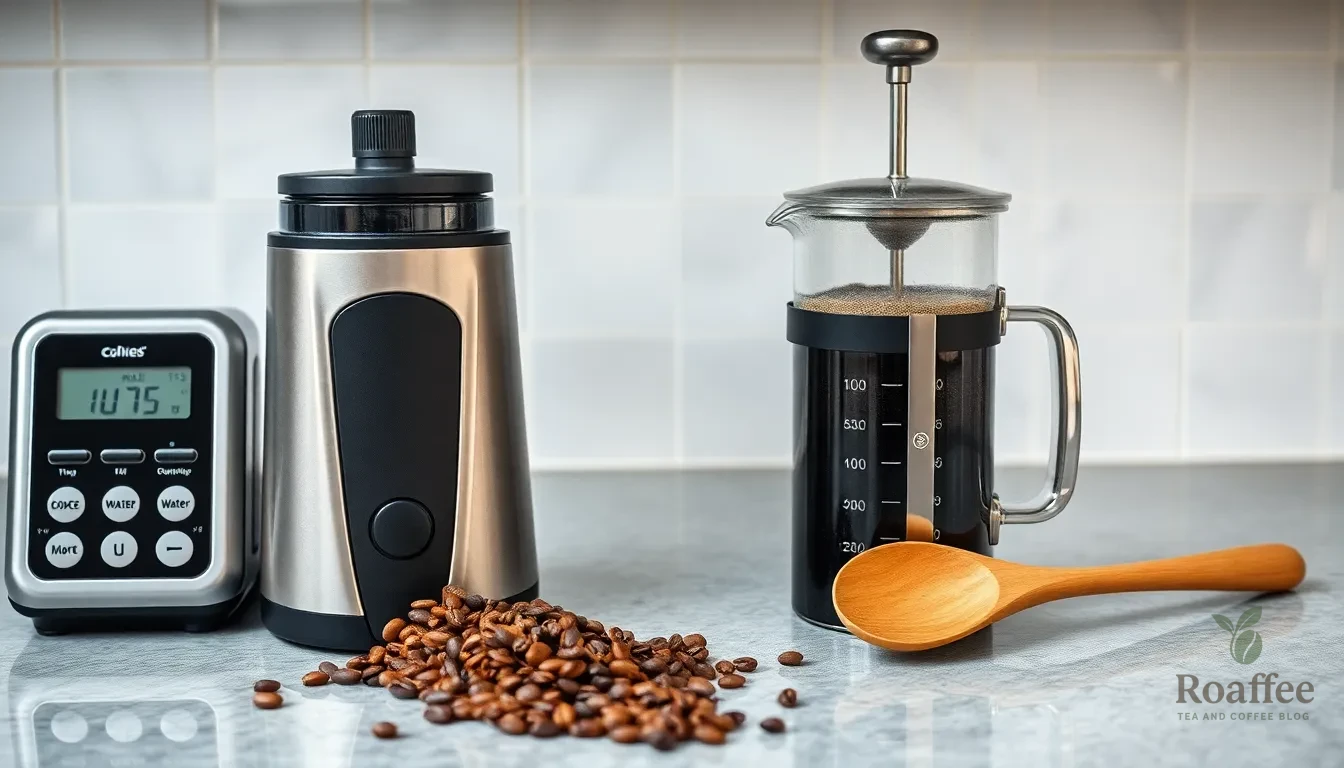
We begin our brewing journey by preparing the foundational elements that will transform our quality ingredients into exceptional coffee. Proper preparation involves precise grinding and accurate measuring to ensure consistent results every time.
Grinding Your Coffee Beans
We always use whole beans and grind them fresh just before brewing for the best flavor. Grinding immediately before brewing helps preserve coffee’s aroma and taste rather than allowing these essential qualities to dissipate over time.
We choose the grind size according to our brewing method for optimal extraction. For French press brewing we use a coarse grind that resembles sea salt texture. Pour-over methods require a medium to medium-fine grind similar to table salt or kosher salt consistency.
We measure our coffee beans first then grind and brew immediately to preserve freshness. This sequence ensures we capture the full flavor potential of our carefully selected beans.
Measuring Coffee and Water Ratios
We rely on precise measurements to achieve consistent brewing results every time. The ideal coffee-to-water ratio is about 1:18 (1 gram coffee to 18 grams water) for a balanced cup though this can range from 1:15 to 1:18 depending on taste preferences and brewing method.
We use a kitchen scale to weigh coffee and water for accuracy rather than relying on volume measurements. For example to brew 10 ounces (283 grams) of coffee at a 1:17 ratio we use about 16.5 grams of coffee beans (283 ÷ 17 = 16.5).
| Coffee Amount | Water Amount | Ratio | Final Brew Volume |
|---|---|---|---|
| 16.5g | 283g | 1:17 | 10 oz |
| 20g | 360g | 1:18 | 12.7 oz |
| 25g | 450g | 1:18 | 15.9 oz |
We heat water to about 205°F (just off boiling) for optimal extraction. For methods like French press we start by rinsing the press with hot water to warm it and then discard the rinse water before brewing.
Instructions
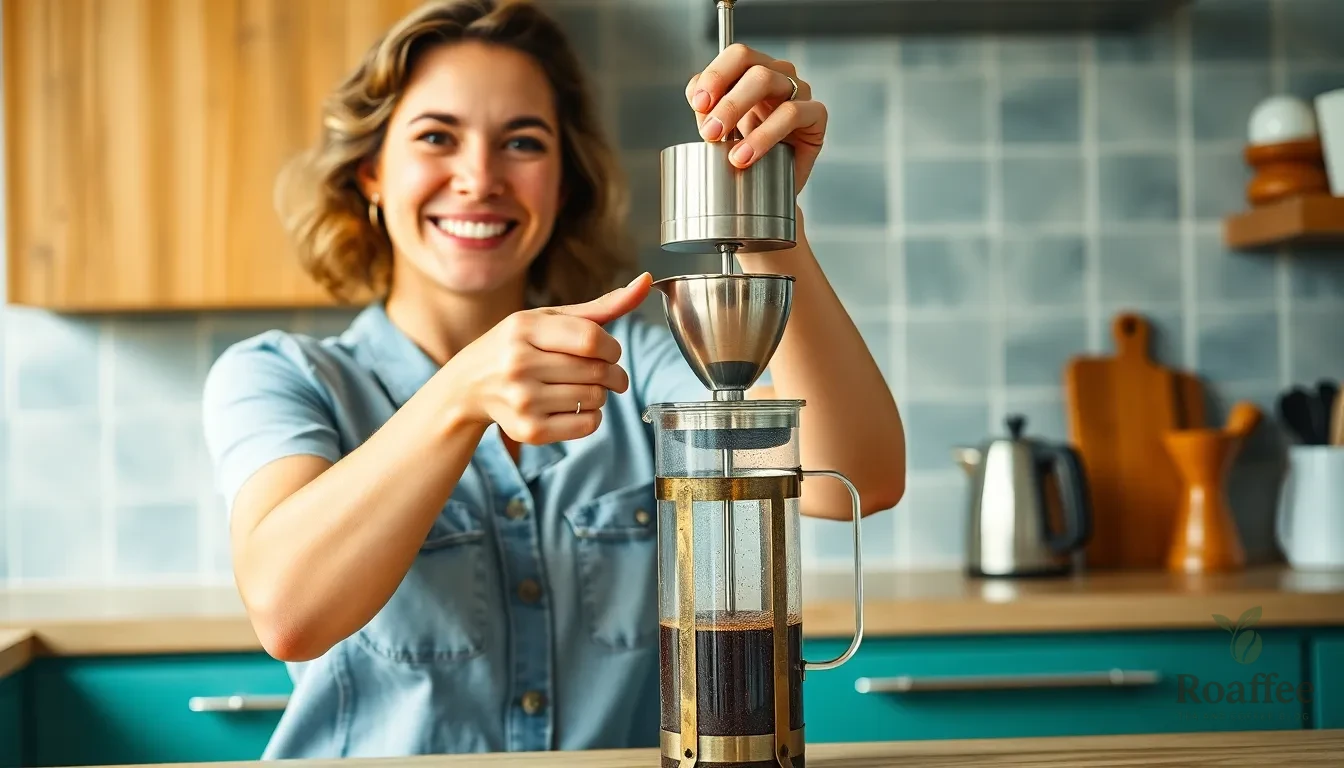
Now that we have our freshly ground coffee and heated water ready, let’s explore four proven brewing methods that will transform your ingredients into exceptional homemade coffee. Each technique offers unique characteristics that cater to different taste preferences and brewing styles.
French Press Method
We start by adding our coarsely ground coffee to the French press using a ratio of about 1:16 coffee to water. Pour the hot water (around 205°F) over the grounds in a slow, steady stream to ensure even saturation. Give the mixture a gentle stir with a wooden spoon to eliminate any dry pockets and promote uniform extraction.
Allow the coffee to steep for 4 to 5 minutes, though we can extend this to 8 minutes for a fuller, more robust extraction. The extended contact time between grounds and water creates the French press’s signature full-bodied character. After steeping, press the metal mesh plunger down slowly and steadily to separate the grounds from the brewed coffee.
This immersion method retains the coffee’s natural oils and fine particles, producing a rich, intense flavor profile that showcases the bean’s inherent characteristics. The result is a strong, full-bodied cup with notable depth and complexity.
Pour Over Method
We begin by placing a paper filter in our pour-over cone and positioning it over our carafe or cup. Add the medium-fine ground coffee to the filter, creating a small well in the center of the grounds. Heat water to 200°F to 205°F for optimal extraction temperature.
Start with a bloom pour by adding twice the weight of water as coffee grounds, allowing the coffee to degas for 30 seconds. Continue pouring hot water in slow, controlled circles from the center outward, maintaining a steady flow rate. Use a gooseneck kettle for precise water control and even saturation.
The total brew time should range from 3 to 4 minutes, with water passing through the grounds and dripping into the vessel below. This method produces a clean, bright cup with excellent flavor clarity and minimal sediment. The paper filter removes oils and fine particles, resulting in a crisp, well-defined taste profile.
Drip Coffee Method
We load our drip coffee maker with a paper or reusable filter and add medium-ground coffee to the filter basket. Fill the water reservoir with cold, filtered water according to our desired coffee-to-water ratio. The machine will heat the water to the appropriate temperature automatically.
Press the brew button and allow the machine to complete its cycle, which typically takes 5 to 6 minutes for a full pot. The heated water drips slowly over the coffee grounds, extracting flavors through gravity-fed brewing. This method excels at producing multiple cups simultaneously with minimal hands-on involvement.
Drip coffee makers deliver consistent, balanced results with excellent convenience for daily brewing routines. The automated process maintains steady water temperature and flow rate, producing a well-rounded cup that appeals to a wide range of taste preferences.
Espresso Method
We begin by dosing finely ground coffee into the portafilter basket, using approximately 18 to 20 grams for a double shot. Level the grounds and tamp with firm, even pressure to create a uniform surface for water extraction. The tamp should be level and consistent to ensure proper water flow.
Lock the portafilter into the espresso machine and start the extraction immediately. The machine forces hot water through the compressed coffee grounds at 9 bars of pressure for 25 to 30 seconds. Monitor the extraction flow, which should resemble warm honey dripping from the portafilter spouts.
A properly extracted espresso shot will feature a rich, golden crema layer on top and deliver intense, concentrated flavors in a small volume. The high pressure extraction creates a syrupy body and complex flavor profile that serves as the foundation for milk-based drinks like lattes and cappuccinos.
| Brewing Method | Grind Size | Brewing Time | Water Temperature | Flavor Profile |
|---|---|---|---|---|
| French Press | Coarse | 4-8 minutes | 205°F | Full-bodied, rich |
| Pour Over | Medium-fine | 3-4 minutes | 200-205°F | Clean, bright |
| Drip Coffee | Medium | 5-6 minutes | Automatic | Balanced, smooth |
| Espresso | Fine | 25-30 seconds | 200°F | Concentrated, intense |
Brewing Tips for Perfect Coffee
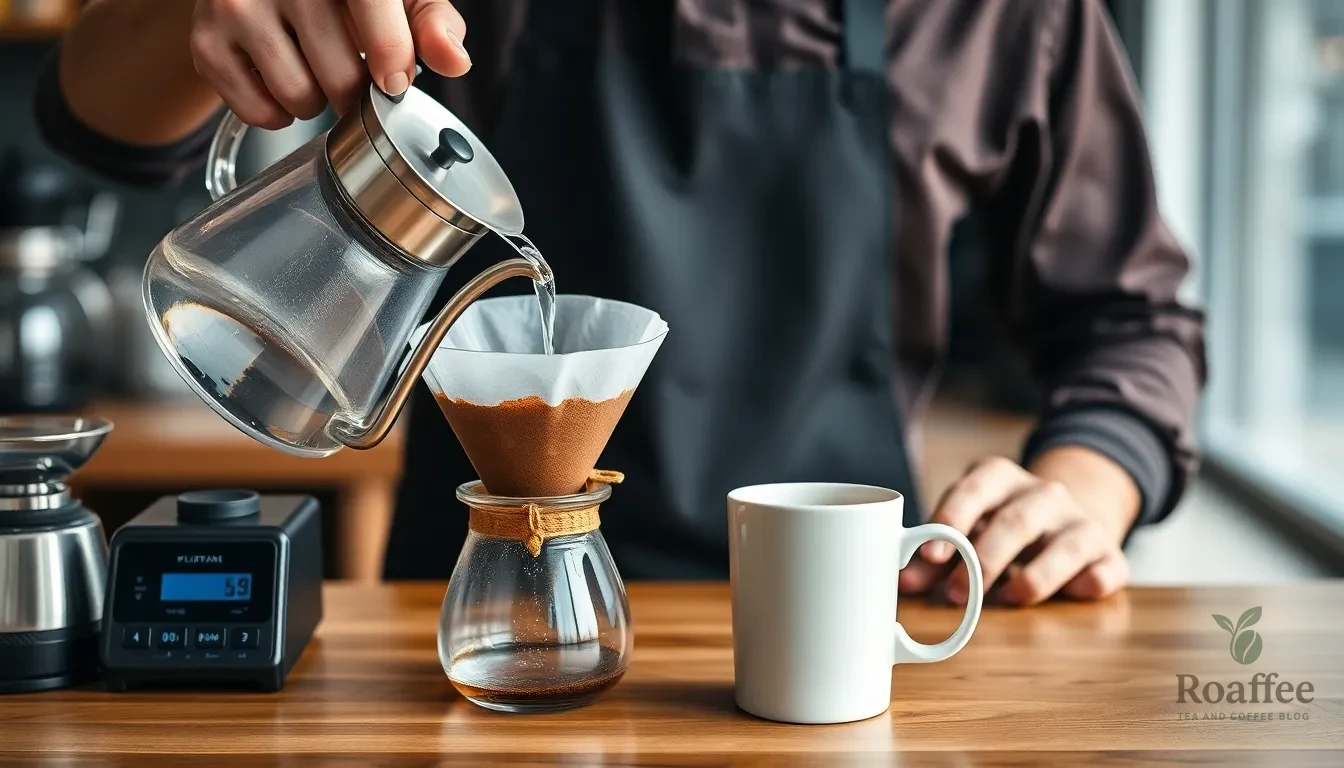
Now that we’ve mastered the basic brewing methods, let’s jump into the essential techniques that will elevate your homemade coffee to professional standards. These fundamental principles will help you extract the perfect balance of flavors from your carefully selected beans.
Water Temperature Guidelines
Temperature control stands as one of the most critical factors in brewing exceptional coffee. We recommend maintaining water temperature between 195°F and 205°F (90°C to 96°C) for optimal flavor extraction. This exact range allows us to balance acidity, sweetness, and bitterness while avoiding common brewing mistakes.
Water below 195°F will under-extract your coffee, resulting in flat and underwhelming flavors. Conversely, temperatures above 205°F extract excessive bitterness and can mask the subtle notes we worked so hard to preserve. If you don’t have a thermometer handy, we suggest letting boiled water cool for 30 to 60 seconds before pouring.
Different brewing methods benefit from slight temperature variations within this range. Pour-over methods work best at the higher end around 200°F to 205°F, while French press brewing can use temperatures closer to 195°F to 200°F for gentler extraction.
Timing Your Brew
Proper timing ensures we extract the right amount of flavor compounds without over-extracting bitter elements. Each brewing method requires exact timing for optimal results:
| Brewing Method | Recommended Time | Notes |
|---|---|---|
| Pour-over | 1-3 minutes | Depends on grind size and pour technique |
| French press | 4-5 minutes | Full immersion time before pressing |
| Drip coffee | 5-6 minutes | Automatic timing with proper machine |
| Espresso | 25-30 seconds | High-pressure extraction |
Pour-over brewing typically takes 1 to 3 minutes, with timing heavily dependent on your grind size and pouring technique. French press requires 4 to 5 minutes of immersion before pressing down the plunger. Rushing this process leads to under-extraction and sour notes, while extending beyond recommended times creates bitter, over-extracted coffee.
Extraction Techniques
Mastering extraction techniques allows us to control how water interacts with coffee grounds. Grind size serves as our primary tool for regulating extraction speed and flavor development. We use finer grinds for pour-over methods and coarser grinds for French press to match the brewing time and method.
Pour-over techniques require even, controlled pouring to fully saturate all grounds. We start with a small amount of water to bloom the coffee for 30 seconds, then continue with slow, circular pours. This method ensures uniform extraction and prevents channeling, where water finds easy paths through the coffee bed.
Full-immersion methods like French press allow grounds to steep thoroughly before filtering. We avoid pressing the plunger too quickly, as this can agitate the grounds and create muddy flavors. Instead, we press slowly and steadily for clean separation.
Temperature maintenance during extraction prevents flavor loss. We preheat all equipment, including brewing devices and filters, to avoid heat loss during the brewing process. Using insulated mugs and serving vessels helps maintain optimal drinking temperature throughout our coffee experience.
Serving Suggestions
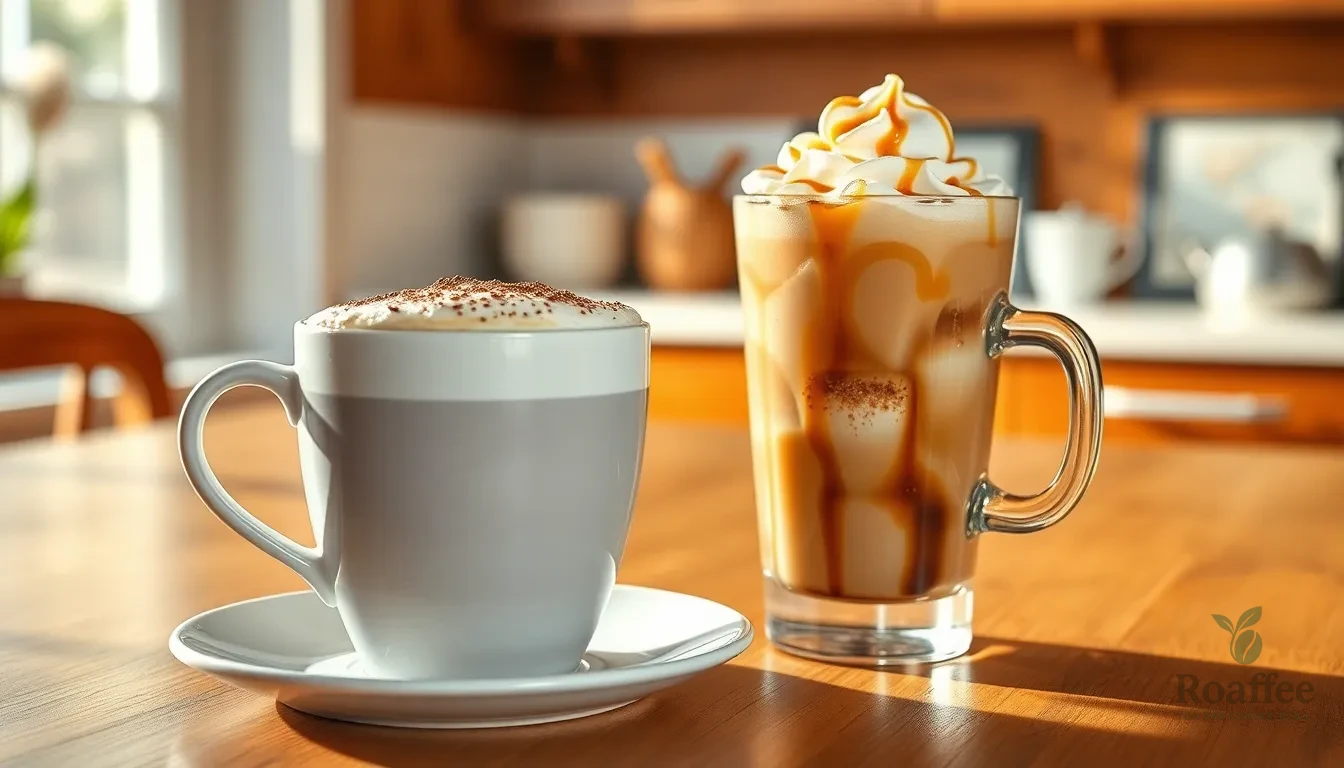
Once you’ve mastered the brewing techniques we covered, the way you serve your homemade coffee can significantly enhance the overall experience. We’ll explore both hot and iced serving options to help you create café-quality presentations at home.
Hot Coffee Preparations
We recommend serving hot coffee immediately after brewing to preserve the frothy texture and aromatic qualities. Pour your freshly brewed coffee into a warmed cup to maintain optimal temperature throughout your drinking experience.
For our café-style beaten coffee, we suggest creating a beautiful layered presentation by pouring the frothy milk in stages. First, add one-third to half of the frothy milk to your coffee cup and stir gently to blend the flavors. Then, pour the remaining milk and froth on top to create an appealing visual contrast.
Enhance your hot coffee presentation with aromatic garnishes that complement the rich flavors. Sprinkle ground cinnamon or cocoa powder on top of the froth for both visual appeal and enhanced taste. These simple additions transform your homemade coffee into a café-worthy beverage.
Iced Coffee Variations
We find that iced coffee requires exact techniques to maintain flavor integrity while achieving the perfect temperature. Start by brewing your coffee stronger than usual using any of our recommended methods, as the ice will naturally dilute the concentrate.
Add sweeteners or flavor enhancers while the coffee remains hot for better dissolution and flavor distribution. Sugar, condensed milk, or flavored syrups integrate more effectively in warm coffee before chilling.
For our recommended cold brew concentrate method, we use these precise measurements:
| Ingredient | Measurement |
|---|---|
| Ground coffee | 1 lb |
| Cold water | 8 quarts |
| Steeping time | 12-24 hours |
| Serving ratio | 2/3 glass coffee concentrate |
| Milk addition | Splash of half-and-half |
| Sweetener | 2-3 tablespoons condensed milk |
We suggest using coffee ice cubes instead of regular ice to prevent dilution as they melt. Simply freeze leftover coffee in ice cube trays and use them to chill your iced coffee without compromising flavor strength.
Customize your iced coffee with various milk alternatives such as whole milk, oat milk, or half-and-half according to your dietary preferences. Popular flavor additions include vanilla extract, caramel syrup, or a dash of cinnamon for seasonal appeal.
Storage and Make-Ahead Tips
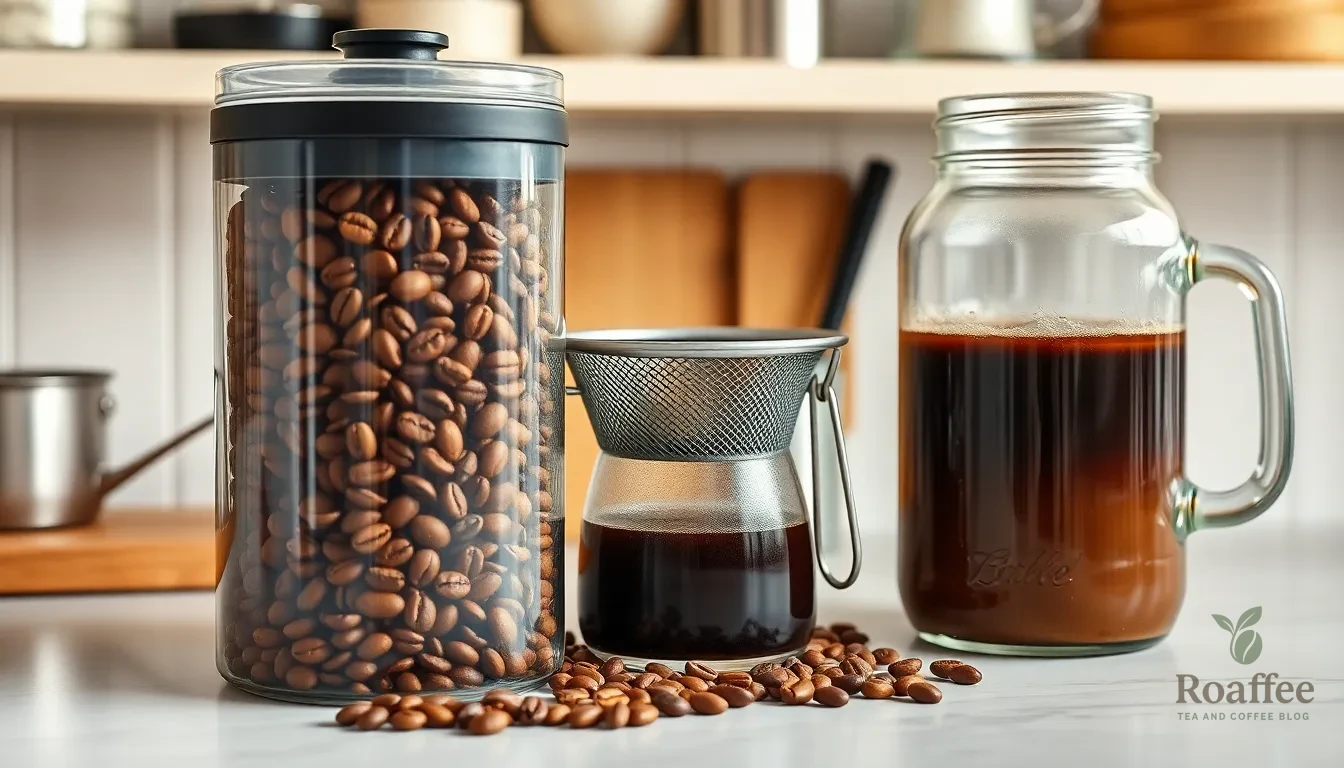
Proper storage techniques and advance preparation methods can significantly extend the life of your coffee while maintaining its exceptional flavor profile. We’ll show you how to preserve your beans’ freshness and create convenient coffee answers for busy mornings.
Storing Coffee Beans
We recommend transferring your coffee beans from their original packaging into an opaque, airtight container immediately after opening. Clear containers allow light to penetrate and degrade the coffee’s flavor compounds over time.
Room temperature storage works best for maintaining optimal freshness. Coffee beans lose their quality when exposed to air, moisture, heat, and light – the four primary enemies of great coffee flavor.
| Storage Method | Duration | Quality |
|---|---|---|
| Whole beans (properly stored) | Up to 6 months | Excellent |
| Ground coffee | 2-3 weeks after opening | Good |
| Refrigerator storage | Not recommended | Poor (unless highly airtight) |
| Freezer storage | Viable in small portions | Acceptable |
Ground coffee deteriorates much faster than whole beans due to increased surface area exposure. We always grind our beans fresh just before brewing to capture the maximum flavor potential.
Refrigerator storage should be avoided unless you have a highly airtight container. Moisture and food odors in the fridge can significantly degrade your coffee’s flavor profile. Freezing remains a debated topic but can work effectively when done in small sealed portions without frequent thawing cycles.
Preparing Coffee for Later
Cold brew concentrate offers the most convenient make-ahead option for coffee lovers. We can prepare this concentrate by mixing coarsely ground coffee with cold water in a large container and steeping for 12-24 hours.
The filtering process requires careful attention to achieve a clear liquid. We strain the brew through a fine mesh strainer lined with cheesecloth or paper towels to remove all grounds completely.
Homemade coffee concentrate maintains excellent quality when stored in the refrigerator under tight cover. This concentrate stays fresh for approximately 3 weeks to a month without losing its rich flavor characteristics.
When ready to serve we simply dispense the desired amount over ice for refreshing iced coffee. The concentrate can also be heated gently for a hot coffee option that rivals freshly brewed cups.
For immediate serving we pour the cold brew concentrate over ice and dilute with water, milk, or cream to taste. This method provides consistent flavor strength and allows for easy customization based on individual preferences.
Troubleshooting Common Issues
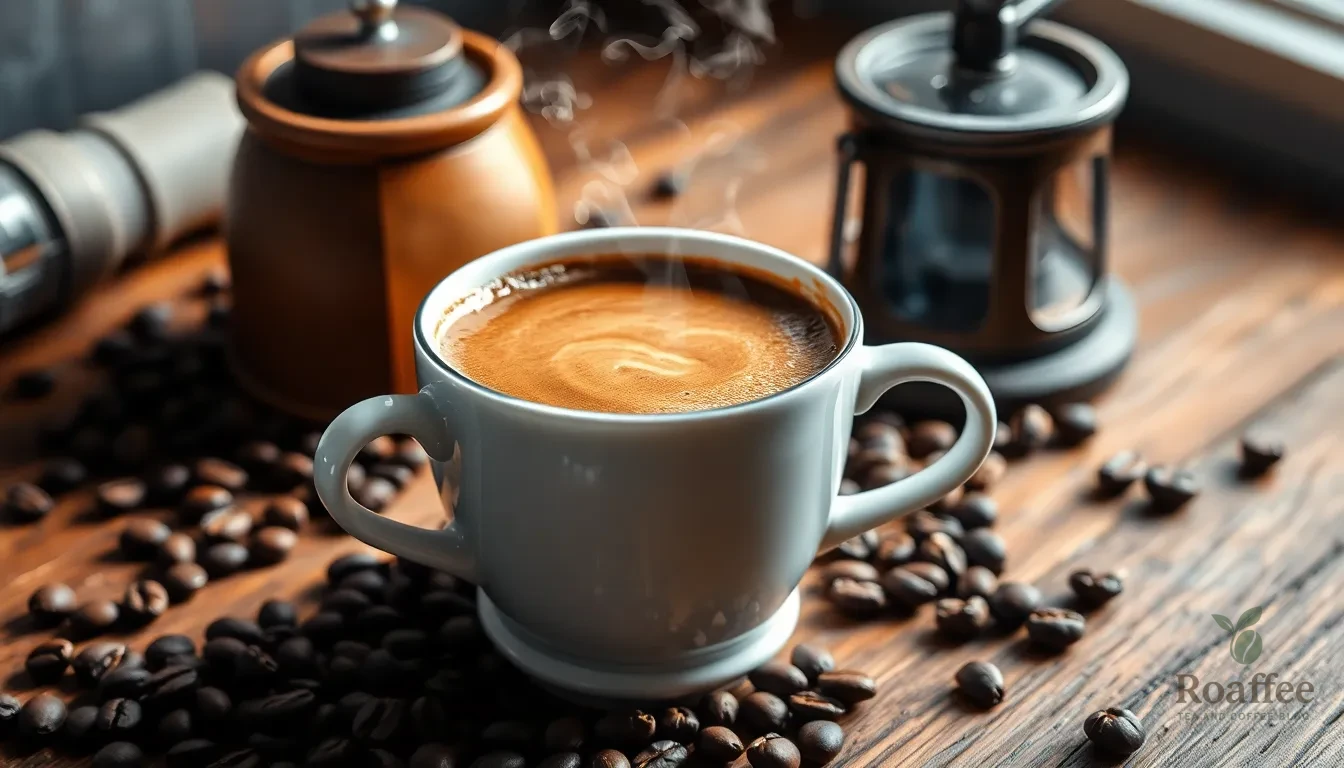
Even experienced home brewers encounter occasional brewing mishaps that can compromise their coffee’s flavor. We’ll address the most common problems and provide practical answers to help you achieve consistently delicious results.
Fixing Bitter Coffee
Bitter coffee typically results from over-extraction caused by several brewing variables working against you. Water temperature exceeding 205°F extracts harsh compounds that create unpleasant bitterness in your cup.
Immediate Answers:
- Lower your water temperature to 195°F to prevent over-extraction
- Reduce brewing time by 30-60 seconds from your current duration
- Switch to a coarser grind size to slow extraction
- Dilute your finished coffee slightly to test if concentration is the culprit
Long-term Adjustments:
- Avoid over-roasted beans that exhibit burnt flavor notes
- Clean your brewing equipment thoroughly to remove oil buildup
- Use filtered water to eliminate chlorine and mineral interference
Addressing Weak Coffee
Weak coffee stems from under-extraction where insufficient flavor compounds dissolve into your brew. This commonly occurs when brewing conditions don’t allow proper extraction to take place.
Immediate Answers:
- Increase your coffee dose by adding 1-2 extra grams per cup
- Use a finer grind size to increase surface area for extraction
- Ensure water temperature reaches the optimal 195°F to 205°F range
- Extend brewing time moderately within your method’s guidelines
Brewing Method Adjustments:
| Method | Grind Adjustment | Time Extension | Coffee Ratio |
|---|---|---|---|
| French Press | Medium-coarse to medium | Add 1-2 minutes | Increase by 10-15% |
| Pour Over | Medium to medium-fine | Slower pour rate | Add 2-3 grams |
| Drip Coffee | Medium-fine | Pre-infusion setting | Increase grounds |
- Take detailed notes on each adjustment to track improvements
- Make one change at a time to identify which variable creates the best results
- Store your coffee beans in an airtight container away from light and heat to maintain freshness
Conclusion
We’ve covered everything you need to transform your morning routine with exceptional homemade coffee. From selecting quality beans to mastering brewing techniques you now have the knowledge to create café-quality drinks in your own kitchen.
Remember that great coffee comes down to fresh ingredients precise measurements and consistent technique. Whether you prefer the bold richness of French press or the clean brightness of pour-over each method offers its own unique rewards.
Start with one brewing method that appeals to you most and practice until you’ve perfected your technique. Keep notes track your adjustments and don’t be afraid to experiment with different beans and ratios.
Your journey to better coffee begins with your very next cup. With these skills and techniques you’ll never have to settle for mediocre coffee again.
Frequently Asked Questions
What equipment do I need to start brewing coffee at home?
Essential equipment includes a quality burr grinder for consistent grounds, measuring tools (scale and measuring cups), a brewing device (French press, pour-over dripper, or drip coffee maker), a reliable water kettle, appropriate coffee filters, and a serving vessel. Optional tools like thermometers, timers, gooseneck kettles, and water filtration systems can further improve your brewing precision and coffee quality.
What’s the ideal coffee-to-water ratio for home brewing?
The standard coffee-to-water ratio is 1 gram of coffee to 16-18 ml of water, or approximately 1:16 to 1:18. For a balanced cup, use about 1:18 ratio. This translates to roughly 2 tablespoons of coffee per 6 ounces of water. You can adjust this ratio based on your taste preferences for stronger or milder coffee.
What water temperature should I use for brewing coffee?
The optimal water temperature for brewing coffee is between 195°F to 205°F (90°C to 96°C). Water that’s too hot (above 205°F) can over-extract the coffee, resulting in bitter flavors, while water that’s too cool (below 195°F) may under-extract, producing weak or sour coffee. Let boiling water sit for 30 seconds to reach the ideal temperature.
How long should I brew coffee using different methods?
Brewing times vary by method: French press requires 4-8 minutes of steeping, pour-over takes 3-4 minutes of controlled pouring, drip coffee makers typically brew for 4-6 minutes automatically, and espresso extraction takes 25-30 seconds. Proper timing prevents over-extraction (bitter taste) or under-extraction (weak, sour flavors).
How should I store coffee beans to maintain freshness?
Store coffee beans in an opaque, airtight container at room temperature, away from air, moisture, heat, and light. Whole beans stay fresh for 2-3 weeks after opening, while ground coffee deteriorates faster and should be used within 1-2 weeks. Never store coffee in the refrigerator or freezer, as moisture can damage the beans.
Why does my coffee taste bitter and how can I fix it?
Bitter coffee usually results from over-extraction caused by water that’s too hot (above 205°F), brewing for too long, or using too fine a grind. To fix bitter coffee, lower your water temperature, reduce brewing time, use a coarser grind, or decrease your coffee dose. Also ensure your equipment is clean, as residue can contribute to bitterness.
What’s the difference between the four main brewing methods?
French press creates a strong, full-bodied cup using coarse grounds steeped for 4-8 minutes. Pour-over produces a clean, bright cup with excellent clarity using medium-fine grounds. Drip coffee makers yield balanced, smooth coffee with minimal effort using medium grounds. Espresso creates concentrated shots with intense flavors using finely ground coffee and high pressure.
Can I make coffee ahead of time?
Yes, cold brew concentrate is perfect for advance preparation. Steep coarsely ground coffee in cold water for 12-24 hours, then strain. This concentrate can be stored in the refrigerator for up to two weeks and diluted with water or milk as needed. You can also brew regular coffee and store it in a thermal carafe for a few hours.
