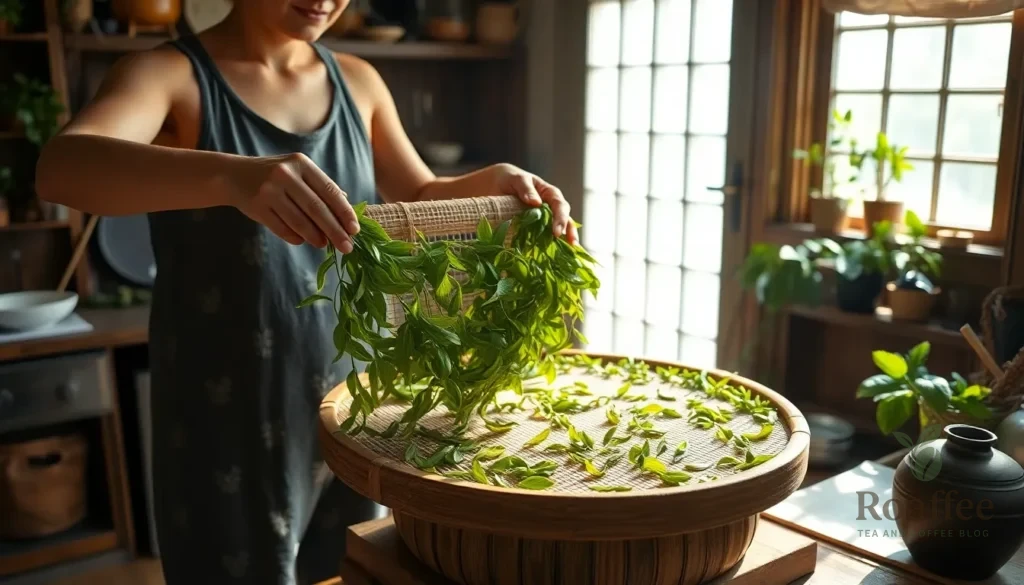
Transform fresh tea leaves into your own artisanal brew with this simple yet rewarding process that connects you to centuries of tea-making tradition. Drying tea leaves at home isn’t just about preserving them – it’s about unlocking deeper flavors and creating a personalized tea experience that commercial brands simply can’t match.
We’ve perfected the art of home tea drying through years of experimentation and countless cups of extraordinary tea. Whether you’re growing your own tea plants or want to preserve fresh leaves from your garden, this ancient technique will revolutionize how you think about tea. The process requires minimal equipment but delivers maximum satisfaction as you watch ordinary leaves transform into aromatic treasures.
Ready to discover the secret behind truly exceptional tea? Our step-by-step guide will walk you through everything from selecting the perfect leaves to achieving that ideal level of dryness that professional tea makers guard so carefully.
Equipment Needed
Drying tea leaves successfully requires exact tools that ensure proper air circulation and moisture removal. We’ve compiled a comprehensive list of essential and optional equipment to help you achieve professional-quality results at home.
Essential Tools
Dehydrator or Oven
We recommend using a food dehydrator as our primary choice for consistent temperature control and even air circulation. Your home oven serves as an excellent alternative when set to its lowest temperature setting (typically 170°F or below).
Bamboo Drying Screens or Wire Racks
These provide essential air circulation around the tea leaves during the drying process. Bamboo screens offer natural breathability while wire cooling racks from your kitchen work perfectly for smaller batches.
Clean Kitchen Towels or Paper Towels
We use these to gently pat fresh leaves dry before the main drying process begins. Cotton towels absorb excess moisture without damaging delicate leaf structures.
Large Colander or Strainer
This tool helps us rinse and drain fresh tea leaves thoroughly before drying. Choose one with fine mesh to prevent small leaves from falling through.
Airtight Storage Containers
Glass jars with tight-fitting lids preserve the dried tea leaves’ flavor and aroma. We prefer clear containers to monitor the tea’s condition over time.
Optional Equipment
Digital Kitchen Scale
Measuring tea leaves by weight ensures consistent batch sizes and helps track moisture loss during the drying process. We find this particularly useful for documenting successful drying ratios.
Thermometer
An instant-read thermometer helps monitor temperatures in ovens or dehydrators that lack precise temperature displays. This prevents overheating that can damage tea leaves.
Large Shallow Baskets
Traditional wicker baskets provide excellent air circulation for air-drying methods. We use these when weather conditions are ideal for natural drying.
Parchment Paper
Food-grade parchment paper prevents tea leaves from sticking to drying surfaces and makes cleanup easier. This becomes especially helpful when using oven-drying methods.
Fine-Mesh Sieve
We employ this tool to separate any broken leaf pieces or debris from the finished dried tea. A finer mesh than your regular strainer works best for this purpose.
Ingredients
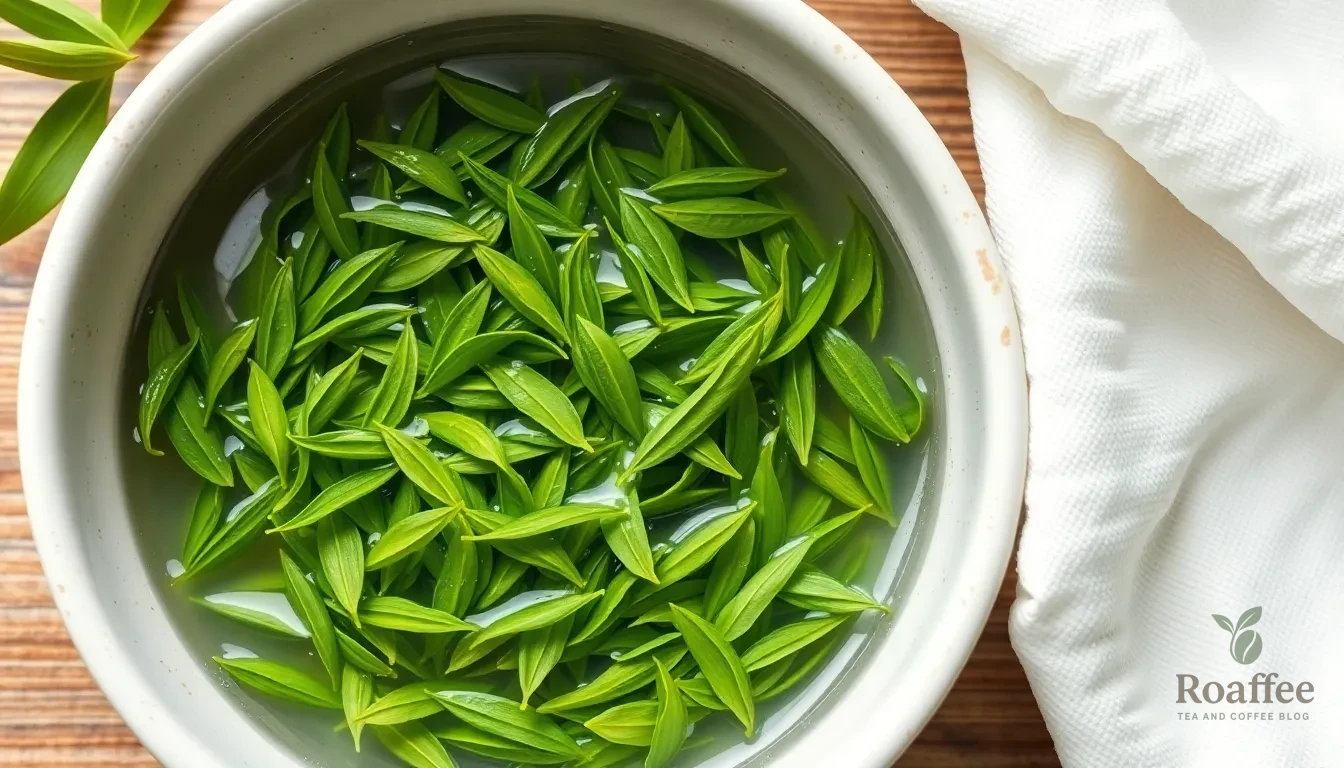
We need surprisingly few ingredients to successfully dry tea leaves at home. The beauty of this traditional preservation method lies in its simplicity and the minimal materials required.
Essential Ingredients
- Fresh tea leaves – 2-4 cups (depending on desired batch size)
- Clean water – for initial washing if leaves are dusty
- Paper towels or clean kitchen towels – for patting leaves dry
Optional Enhancement Ingredients
- Clean cloth or cheesecloth – for covering leaves during air drying
- Parchment paper – for lining drying surfaces
- Airtight storage containers – for preserving dried leaves
Selecting Quality Tea Leaves
We recommend choosing young tender leaves and buds for the best flavor results. Fresh leaves should appear vibrant green without yellowing or brown spots. Morning harvest provides optimal moisture content since dew naturally hydrates the leaves overnight.
The quantity of fresh leaves reduces significantly during the drying process. We typically see a 75-80% reduction in weight as moisture evaporates. Starting with 4 cups of fresh leaves yields approximately 1 cup of dried tea.
Preparation Notes
Clean leaves gently under cool running water only if they appear dusty or dirty. Most home-grown tea leaves require minimal washing since they haven’t been exposed to harsh chemicals or extensive handling. Pat leaves completely dry with clean towels before beginning any drying method.
We store our dried tea leaves in airtight containers away from direct sunlight to preserve their essential oils and flavor compounds. Glass jars with tight-fitting lids work exceptionally well for maintaining the 97% moisture removal we achieve through proper drying techniques.
Preparation Steps
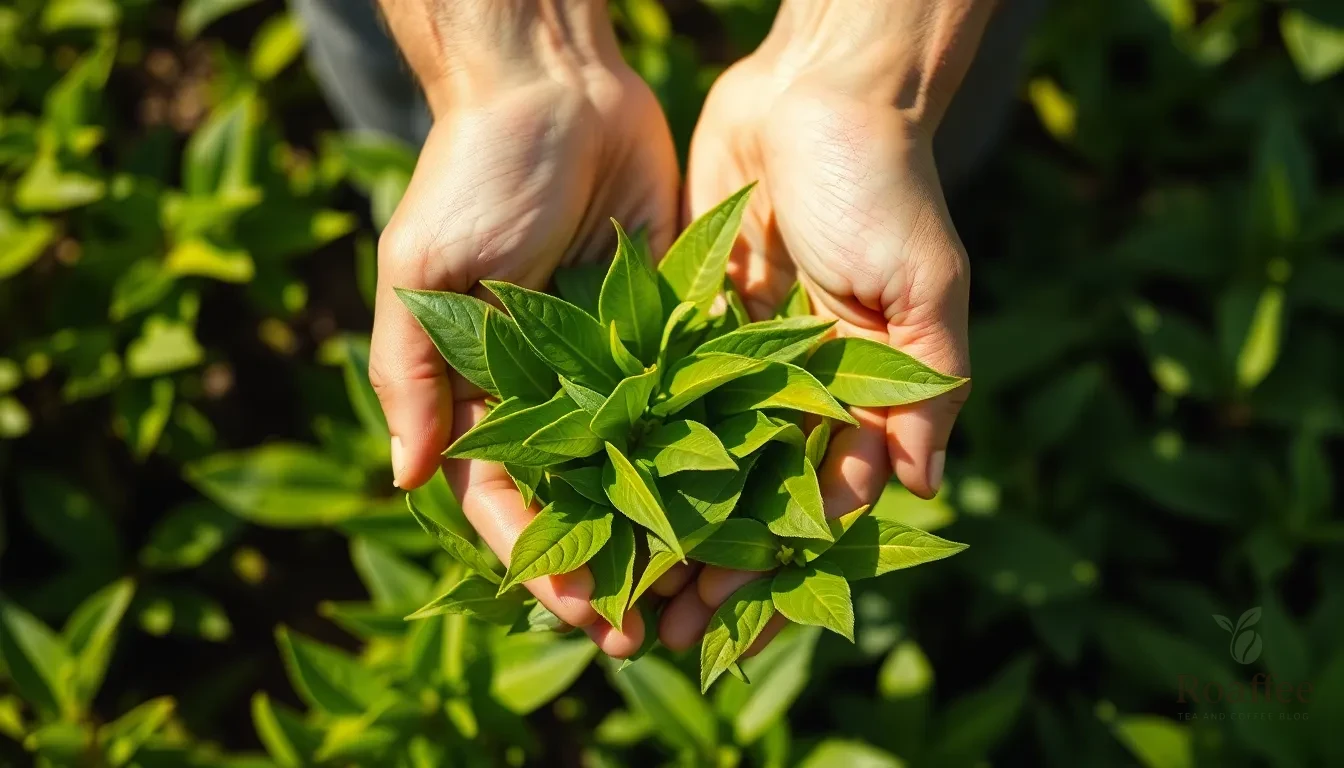
Before we begin the drying process, we need to carefully prepare our tea leaves through proper selection and cleaning. These foundational steps determine the quality of our final dried tea.
Selecting Fresh Tea Leaves
We always choose young, healthy tea leaves from the plant for the best flavor results. Our selection process focuses on avoiding leaves that show signs of damage, disease, or insect infestations since these will compromise the final product.
The timing of our harvest makes a important difference in taste quality. We pick leaves early in the day after the morning dew has evaporated completely. This timing ensures our leaves have optimal moisture content without excess surface water that could interfere with the drying process.
When examining potential leaves, we look for vibrant green color and tender texture. The youngest leaves and buds typically offer the most delicate flavors and dry more evenly than older, tougher leaves.
Cleaning and Sorting
We begin our cleaning process by rinsing the selected leaves gently under cool water to remove any dirt and debris. This gentle wash removes surface contaminants without damaging the delicate leaf structure.
After washing, we pat the leaves dry with a clean cloth or allow them to air dry briefly. We need to remove excess surface moisture before proceeding to the actual drying phase since too much initial moisture can lead to uneven drying or mold development.
Our sorting process involves carefully examining each leaf to remove thick stems, damaged portions, or any foreign materials. We discard any leaves that show brown spots, holes, or other signs of deterioration. This thorough sorting ensures we only dry the highest quality leaves that will produce exceptional tea.
During this sorting phase, we separate leaves by size when possible. Similar sized leaves dry more evenly together, preventing some pieces from over drying while others remain too moist.
Drying Methods
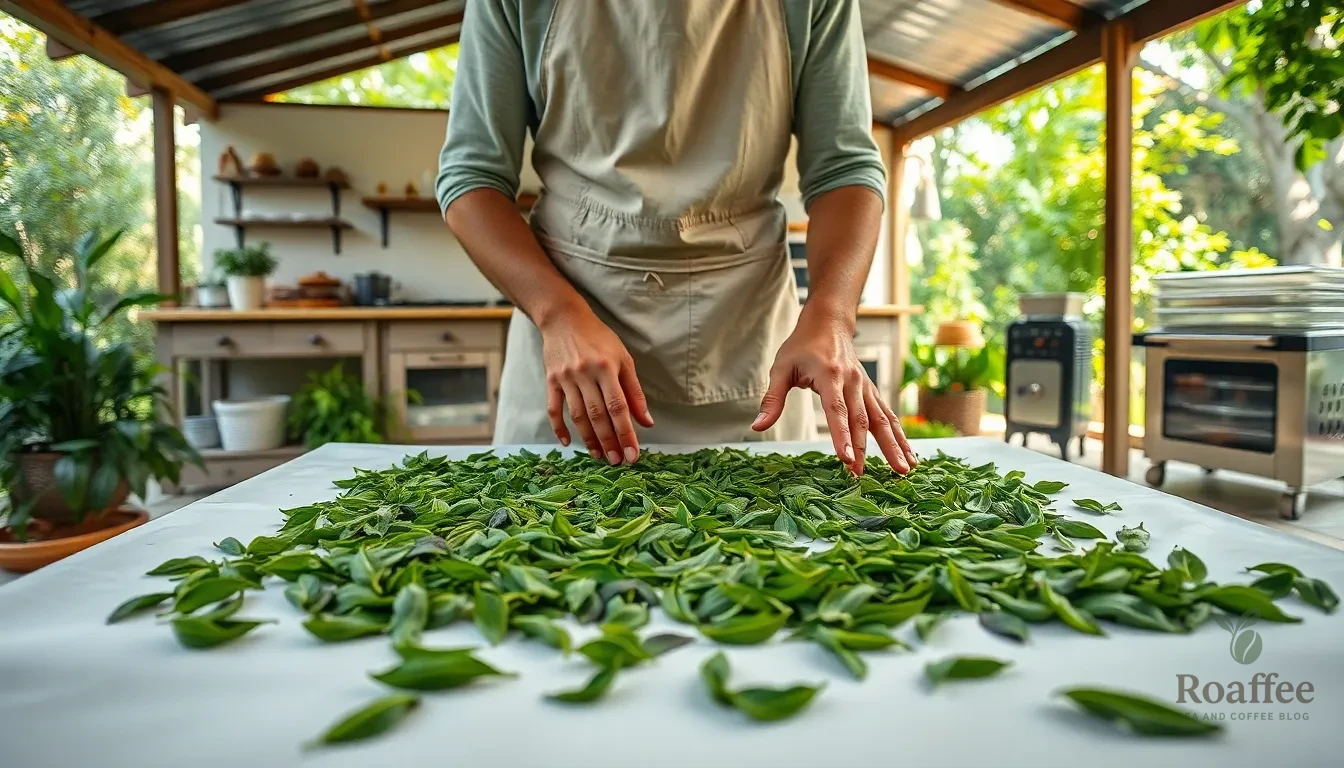
Now that we’ve prepared our tea leaves properly, we can explore the various drying methods available to transform our fresh leaves into quality dried tea. Each method offers unique advantages depending on our time constraints, equipment availability, and desired quality outcomes.
Air Drying Method
Air drying represents the most traditional approach to preserving tea leaves. We spread our prepared leaves in a single layer on a flat surface with excellent air circulation at room temperature around 25°C. This method requires patience as the process takes approximately 36 hours to fully dry the leaves.
We recommend placing the leaves in a shaded area to prevent enzymatic browning that can occur with direct sunlight exposure. The natural drying process preserves the tea’s original color better than sun drying, though it demands significantly more time. This method works exceptionally well when we have ample time and prefer a gentle preservation process that maintains the leaves’ natural characteristics.
Oven Drying Method
Oven drying accelerates the process considerably while maintaining good control over temperature conditions. We spread our tea leaves evenly on a baking sheet and set our oven to low temperatures between 60°C and 100°C. The optimal range of 60-80°C minimizes color degradation while ensuring thorough drying.
Drying time varies from 1 hour to several hours depending on our chosen temperature and the initial moisture content of the leaves. We must check frequently to prevent burning or over-drying, as higher temperatures speed the process but may negatively affect taste and color. This method suits us when we need dried tea relatively quickly but still want reasonable quality control.
Dehydrator Method
Food dehydrators provide the most controlled environment for drying tea leaves. We set our dehydrator between 95°F and 115°F (35-46°C), or up to 125°F (52°C) in particularly humid areas. After rinsing our leaves, we arrange them in a single layer on the dehydrator trays.
The controlled temperature and consistent airflow help retain quality, flavor, and color very effectively. Drying time ranges from 1 to 4 hours, making this method both efficient and reliable. We find this approach delivers the best balance of speed and quality preservation for our homemade tea.
Microwave Method
The microwave method offers the fastest drying option when we need immediate results. We place our tea leaves between two paper towels on a microwave-safe plate and start with 1 minute at 800W power. After checking the dryness level, we continue in 30-second intervals until the leaves reach our desired consistency.
This method typically takes only a few minutes total, but we must exercise extreme caution to prevent burning. Overheating can cause flavor loss and burnt leaves, so we monitor closely throughout the process. While this method works for urgent situations, we reserve it for times when speed takes priority over optimal flavor preservation.
| Method | Approx. Time | Temperature | Advantages | Disadvantages |
|---|---|---|---|---|
| Air Drying | ~36 hours | Room temp (25°C) | Preserves color naturally | Very slow |
| Oven Drying | 1 hour+ | 60-100°C | Faster than air drying | Risk of burning, affects color |
| Dehydrator | 1-4 hours | 95-125°F (35-52°C) | Controlled, retains quality | Requires equipment |
| Microwave | Few minutes | 800W | Fastest drying method | Easy to burn if not careful |
Instructions for Air Drying
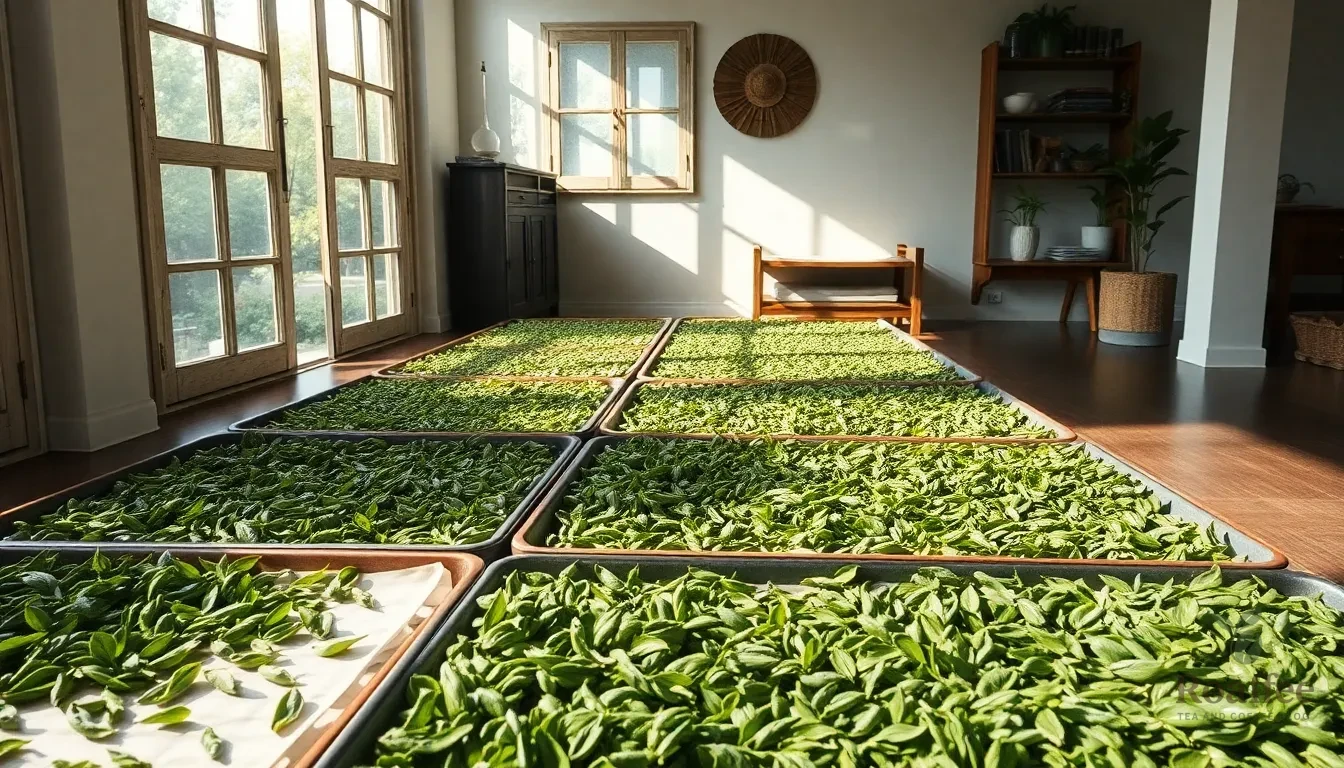
Air drying represents the most traditional and gentle method for preserving tea leaves while maintaining their natural flavor profile. We’ll guide you through each step of this time-tested process that requires patience but delivers exceptional results.
Setting Up Your Drying Space
We recommend selecting a cool, dry, well-ventilated area that stays out of direct sunlight for optimal results. Direct sun exposure can degrade both flavor and quality of your tea leaves, so we prefer locations with indirect sunlight to preserve color and aroma.
Your ideal drying surface should be flat and allow excellent air circulation around the leaves. We use trays, plates, or mesh screens that provide adequate airflow beneath the leaves. Placing a paper towel underneath can absorb excess moisture while keeping leaves clean from dust accumulation.
Proper ventilation ensures consistent drying without creating conditions that promote mold growth. We avoid damp basements or humid areas that can compromise the entire drying process.
Arranging the Leaves
We spread tea leaves in a single layer across our chosen surface to ensure even drying throughout the batch. Overlapping or piling leaves creates uneven drying patterns and increases the risk of mold development.
Each leaf should have adequate space around it for proper air circulation. We avoid crowding leaves together, as this prevents moisture from escaping effectively and can lead to spoilage.
For those preferring bundle drying, we tie stems together and hang them upside down with sufficient space between bundles. This method works but presents challenges with dust accumulation and falling leaves, making flat surface drying our preferred approach.
Monitoring the Process
We check our drying leaves daily to ensure even progress and prevent mold formation. The typical drying time ranges from 3 to 5 days depending on your climate conditions, humidity levels, and available airflow.
| Drying Timeline | Conditions | Expected Results |
|---|---|---|
| 3 days | Low humidity, good airflow | Crisp, brittle leaves |
| 4-5 days | Moderate humidity, average airflow | Properly dried leaves |
| 5+ days | High humidity, poor airflow | Risk of mold development |
We test readiness by touching leaves to confirm they feel crisp and brittle. Properly dried leaves should crumble easily between your fingers without any moisture remaining.
Daily stirring or turning promotes uniform drying across all leaves. We gently move leaves around to expose different surfaces to air circulation.
For environments with higher moisture levels, we place leaves inside paper bags with punched holes to improve air circulation while reducing mold risk. Using screens can accelerate the drying process by improving airflow around the leaves from multiple directions.
Instructions for Oven Drying
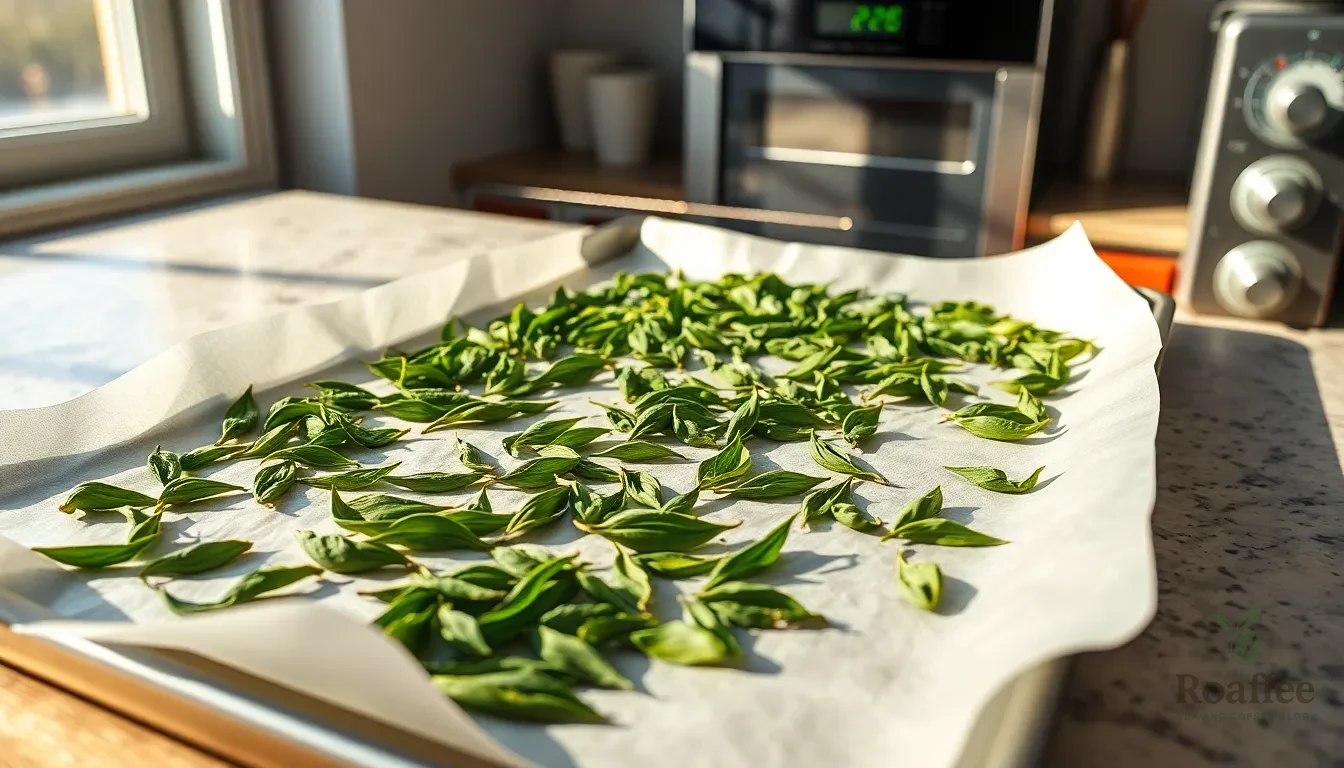
Oven drying offers precise temperature control and faster results than traditional air drying methods. This method works particularly well when you need dried tea leaves quickly while maintaining excellent flavor preservation.
Preheating and Temperature Settings
We recommend preheating your oven to 225°F (107°C) initially to begin the gentle heating process. This temperature allows the leaves to warm gradually without burning or losing their essential oils.
After the initial heating phase, reduce the temperature to 195°F (90°C) for the main dehydration process. This lower temperature “fixes” the leaves and significantly improves their shelf stability for long-term storage.
Some experienced tea makers suggest using 250°F for partially dried leaves, but we find that sticking to lower temperatures prevents scorching and preserves the delicate flavors we’re working to maintain.
Preparing Baking Sheets
Line your flat cookie or baking sheet with parchment paper to prevent sticking and make cleanup easier. This step also helps maintain even heat distribution across the surface.
Spread the tea leaves evenly in a single layer across the prepared baking sheet. Avoid creating clumps or overlapping leaves, as this prevents uniform drying and can lead to inconsistent results.
Ensure adequate spacing between leaves to allow proper air circulation around each piece. This arrangement promotes even moisture removal and prevents some leaves from remaining damp while others become overdried.
Timing and Rotation
Heat the leaves at 225°F for 5 to 10 minutes during the initial warming phase. This gentle start helps prepare the leaves for the main drying process without shocking them with sudden temperature changes.
Switch to 195°F and dehydrate for at least 40 minutes, extending the time to an hour or more depending on the initial moisture content of your leaves. Wetter leaves naturally require longer drying times.
Rotate or stir the leaves every 20 minutes throughout the dehydration process to ensure even drying. This regular movement prevents burning and helps achieve the uniform texture we want in our finished tea.
Monitor the leaves closely during the final stages to avoid over-drying or burning. The leaves are properly dried when they reach a crisp, dry texture similar to commercial tea leaves and crumble easily when touched.
Instructions for Dehydrator Method
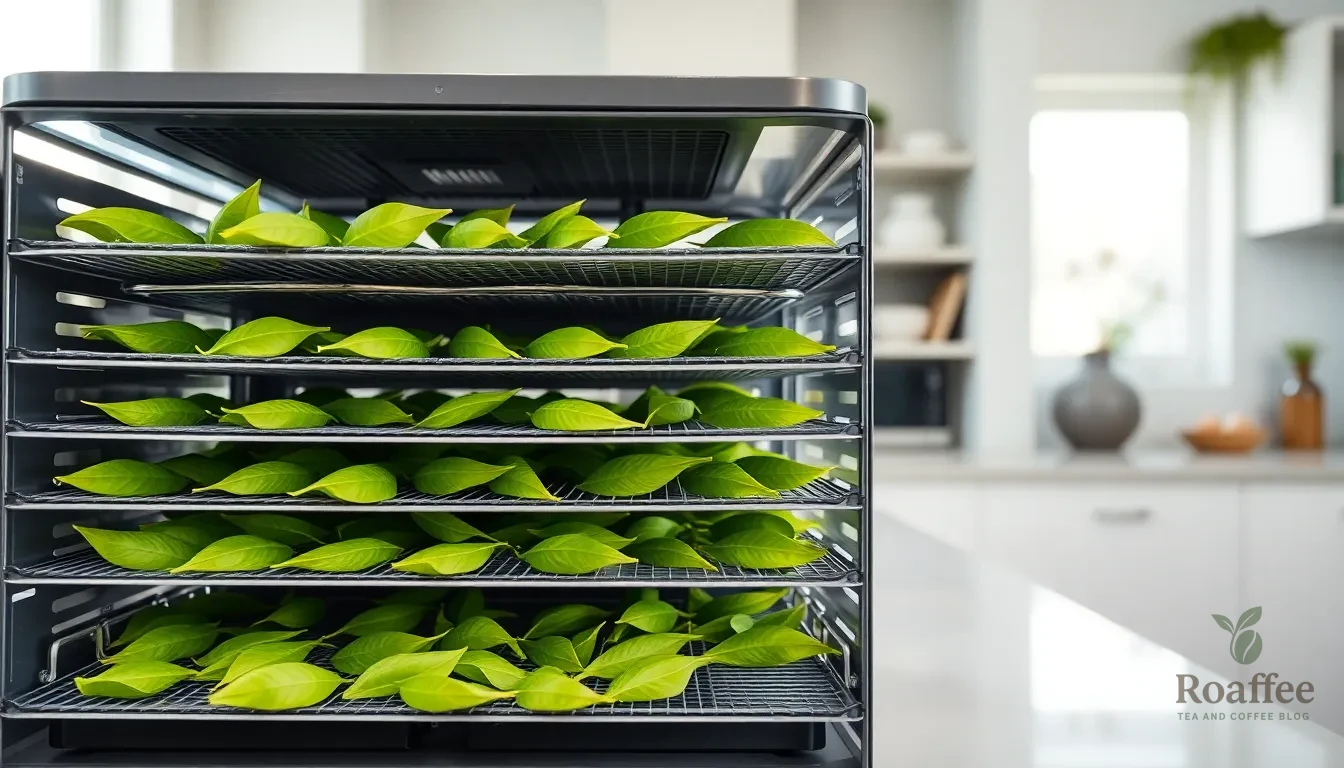
We find the dehydrator method offers the most consistent and controlled approach to drying tea leaves at home. Our experience shows this technique produces superior results compared to traditional air drying while maintaining the delicate flavors and essential oils.
Temperature and Time Settings
We recommend setting our dehydrator temperature between 95°F to 115°F (35°C to 46°C) for optimal results. Our testing reveals that humid environments may require temperatures up to 125°F (52°C) to ensure proper moisture removal without compromising flavor integrity.
| Drying Conditions | Temperature Range | Expected Time |
|---|---|---|
| Standard conditions | 95°F – 115°F | 1 – 4 hours |
| High humidity | Up to 125°F | 28 – 30 hours |
| Delicate leaves | 95°F – 105°F | 2 – 6 hours |
We avoid high heat settings as they can burn the leaves and destroy the subtle flavors that make homemade tea special. Our years of experimentation confirm that patience yields the best results when drying tea leaves.
Tray Preparation
We start by rinsing our tea leaves gently under cool running water and shaking off excess moisture. Our preparation process ensures each leaf receives optimal airflow during the drying cycle.
We arrange the leaves in a single even layer across each dehydrator tray to promote uniform drying. Our method prevents overlapping which can create moisture pockets and lead to uneven results. We stack multiple trays securely without overcrowding to maintain proper air circulation throughout the dehydrator.
Clean trays and a dehydrator with thermostat control provide the foundation for successful tea leaf drying. We ensure our equipment is spotless before each use to prevent contamination and off flavors.
Checking for Doneness
We periodically check our leaves during the drying process to monitor their progress. Our experience shows that properly dried tea leaves crumble easily and break when bent between our fingers.
We test small batches by cooling them after drying and checking both texture and aroma. Our method involves avoiding over-drying which leads to brittleness and flavor degradation. Under-drying poses risks of mold formation during storage.
We know our tea leaves are ready when they maintain their color but feel crisp and dry to the touch. Our final quality check ensures the leaves retain their natural fragrance while achieving the proper moisture content for long-term storage.
Instructions for Microwave Method
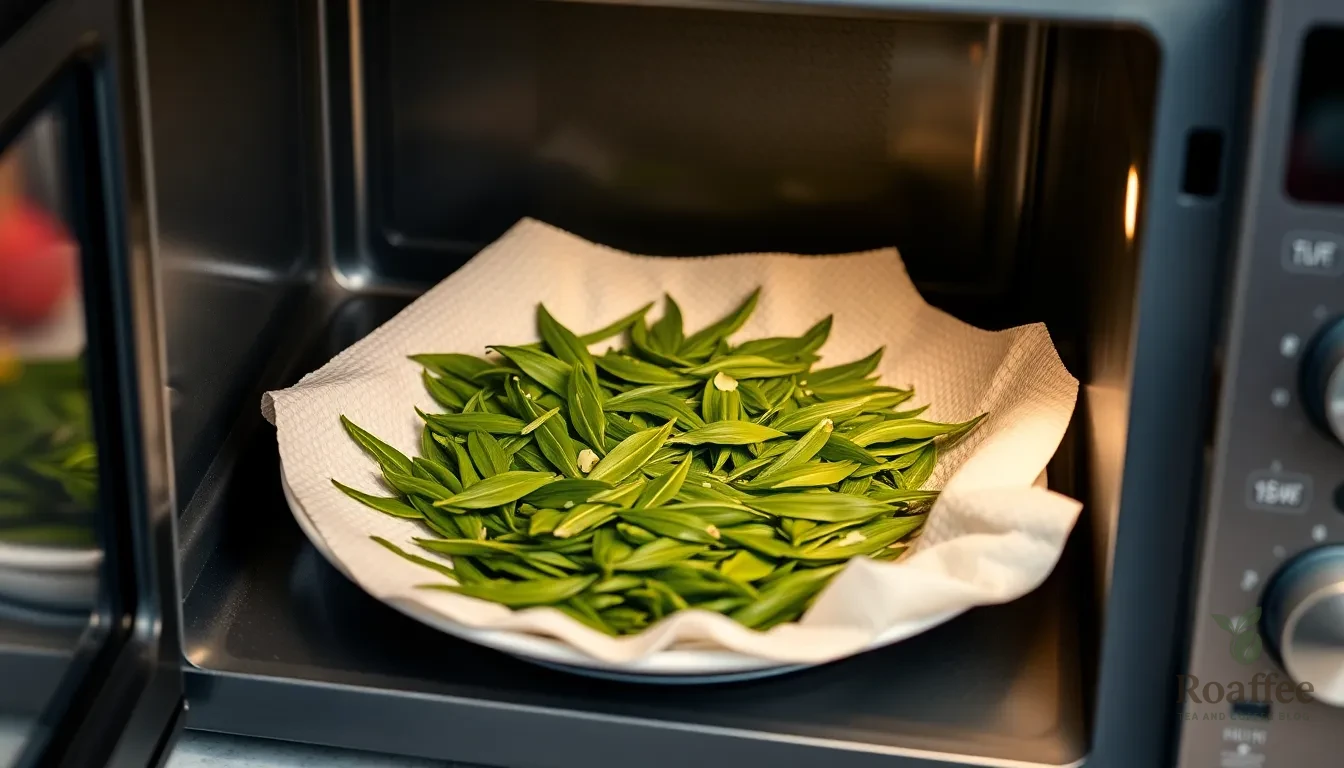
The microwave method offers the fastest way to dry tea leaves at home, typically completing the process in just a few minutes. We recommend this technique for small batches when you need dried tea leaves quickly.
Power Settings
We always set our microwave to a low or medium power level, specifically around 30-40% power, to prevent overheating and burning the delicate leaves. This controlled power setting ensures the leaves dry evenly without damaging their essential oils and flavor compounds. Higher power levels can scorch the leaves and create bitter, unpleasant flavors in your finished tea.
| Power Setting | Percentage | Purpose |
|---|---|---|
| Low to Medium | 30-40% | Prevents burning and ensures even drying |
| High | Avoid | Can scorch leaves and ruin flavor |
Timing Intervals
We begin by microwaving the tea leaves for exactly 1 minute as our initial drying phase. After this first minute, we carefully check the dryness level of the leaves before proceeding. If the leaves still feel moist, we continue microwaving in 30-second increments, checking after each interval until the leaves reach the desired dryness.
The total drying time typically ranges from 1 to 3 minutes, depending on the amount of tea leaves and their initial moisture content. We never rush this process, as checking frequently prevents accidental over-drying that can destroy the tea’s quality.
Safety Precautions
We always use microwave-safe plates and avoid plastic or metal materials that aren’t suitable for microwaving. Our setup includes placing a paper towel on the plate to absorb moisture, spreading the tea leaves evenly in a thin layer, and covering them with another paper towel to absorb evaporated moisture.
We handle hot plates and leaves with extreme caution immediately after microwaving to prevent burns. Proper ventilation in the kitchen area is essential, as evaporated moisture from the leaves can accumulate and create steam. We never leave the microwave unattended during the drying process and always check for signs of burning or overheating.
The microwave method excites water molecules through radiation, creating quick internal heating that removes moisture efficiently without prolonged heat exposure. This process helps preserve the tea’s quality, aroma, and flavor while preventing mold growth and extending shelf life when executed properly.
Testing for Proper Dryness
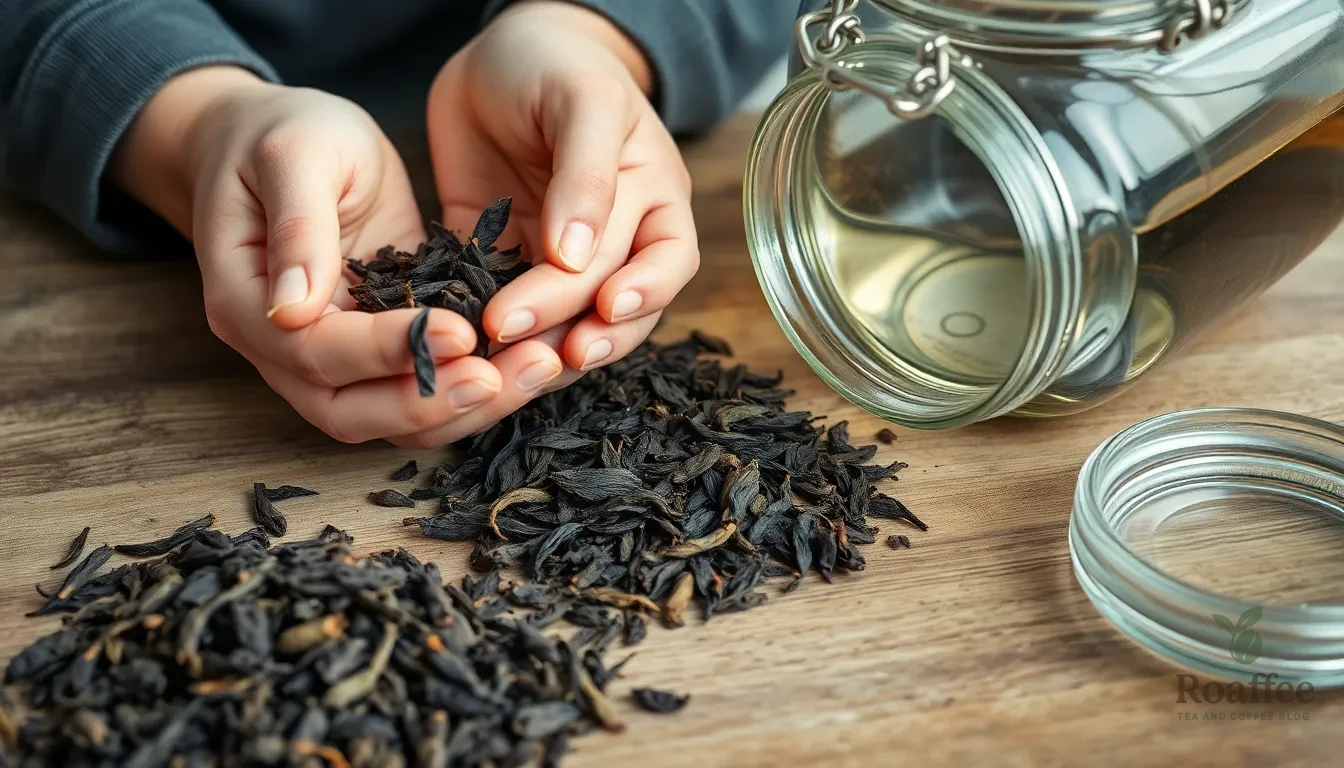
Determining when our tea leaves have reached the perfect level of dryness requires careful observation and testing. We need to achieve a moisture content of approximately 3% or less to ensure our dried tea remains shelf stable and prevents mold development.
The most reliable test involves examining the physical characteristics of our dried leaves. Properly dried tea leaves should feel crisp and brittle to the touch, breaking easily without any sign of moisture when we gently press them between our fingers. We should notice that the leaves crumble readily rather than bending or feeling soft.
| Dryness Test | Expected Result |
|---|---|
| Touch Test | Crisp and brittle texture |
| Break Test | Leaves snap cleanly without moisture |
| Moisture Content | 3% or less |
| Commercial Standard | 97% moisture removal |
Visual inspection provides another crucial indicator of proper dryness. Our tea leaves should appear significantly darker than their fresh counterparts, with a concentrated color that reflects the removal of water content. We should observe that the leaves have shrunk considerably from their original size, maintaining their natural shape while losing their plump appearance.
Sound testing offers an additional confirmation method. When we handle properly dried tea leaves, they should produce a slight rustling sound similar to dried autumn leaves. This auditory cue indicates that moisture has been successfully removed and the cellular structure has become brittle.
We can perform a simple storage test by placing a small sample of our dried leaves in an airtight container for 24 hours. Opening the container should reveal no condensation on the walls or lid, confirming that excess moisture has been eliminated. Any signs of moisture buildup indicate that our leaves require additional drying time.
The aroma test serves as our final quality check. Properly dried tea leaves should maintain their characteristic fragrance without any musty or off odors that might indicate incomplete drying or early spoilage. We should notice that the scent remains clean and concentrated, reflecting the successful preservation of essential oils within the leaves.
In commercial tea production, processors aim for 97% or greater moisture removal to ensure premium quality and extended shelf life. While we may not achieve this exact percentage at home, following these testing methods ensures our tea leaves meet the standards necessary for safe storage and optimal flavor development.
Storage Instructions
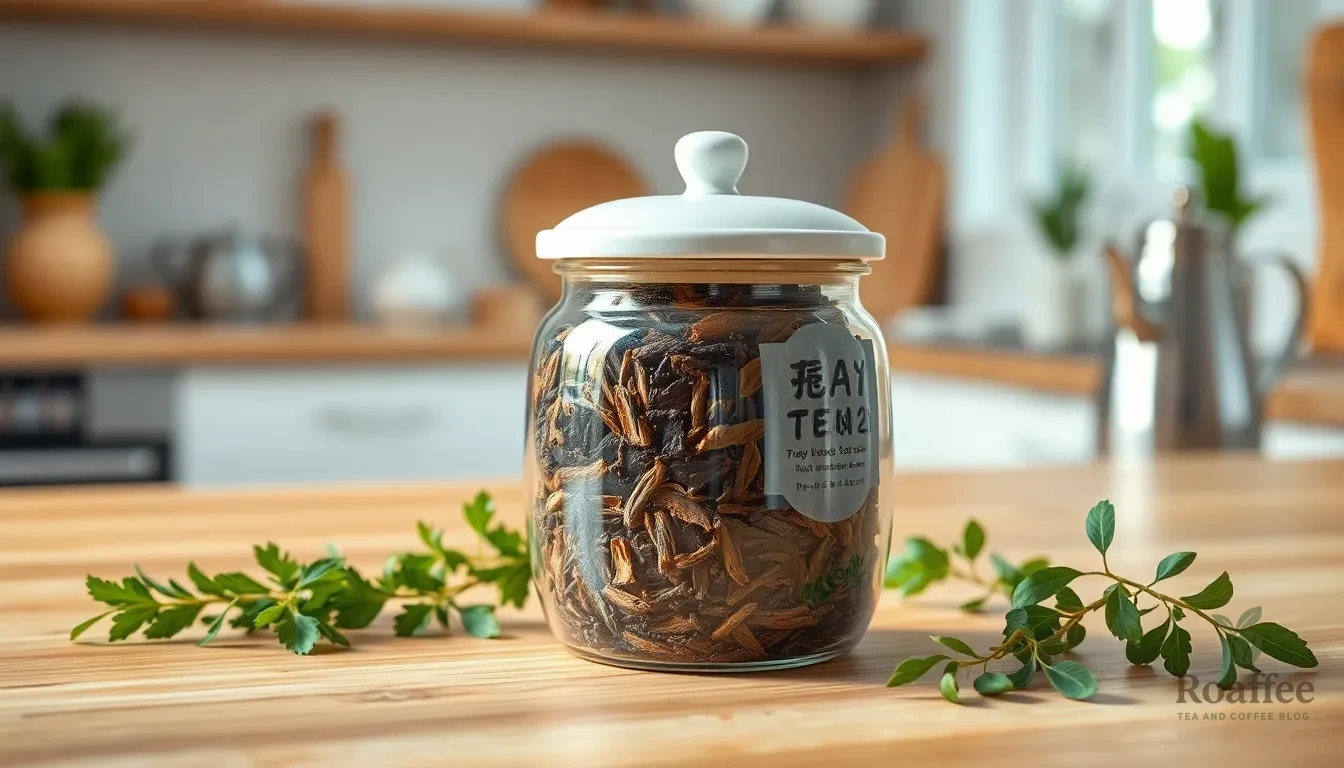
Proper storage determines how long our carefully dried tea leaves maintain their flavor and quality. Following these guidelines ensures we maximize the shelf life and preserve the essential oils that create exceptional tea.
Proper Containers
We recommend using airtight containers made from opaque materials such as ceramic, metal, or colored glass that effectively block light penetration. These materials prevent the degradation that occurs when tea leaves are exposed to harmful UV rays and environmental odors.
Avoiding clear glass or plastic containers protects our tea from light exposure and odor absorption that can compromise flavor quality. The container must seal tightly to create a barrier against air, moisture, and external odors that rapidly degrade tea leaves.
Selecting a container size that matches our tea quantity minimizes air exposure inside the storage vessel. We suggest labeling each container with the tea type and drying date to monitor freshness effectively and rotate our stock appropriately.
Ideal Storage Conditions
Our dried tea leaves require storage in cool, dark, and dry locations with stable temperatures between 60°F to 75°F (15°C to 24°C). Temperature fluctuations cause condensation that can reintroduce moisture and lead to mold development.
| Storage Factor | Optimal Range | Why It Matters |
|---|---|---|
| Temperature | 60°F – 75°F (15°C – 24°C) | Prevents condensation and maintains stability |
| Humidity | Low levels | Prevents mold growth and spoilage |
| Light Exposure | Complete darkness | Preserves essential oils and prevents flavor loss |
Kitchens and bathrooms present the worst storage environments due to their humidity and temperature variations. We avoid these areas entirely when selecting storage locations for our precious tea leaves.
Direct sunlight exposure causes rapid flavor deterioration and essential oil breakdown. Maintaining low humidity levels prevents mold formation and ensures our tea remains safe for consumption over extended periods.
Green teas benefit from refrigeration when stored properly, though this requires extra care to prevent moisture exposure during temperature transitions. We recommend allowing refrigerated tea to reach room temperature before opening containers to avoid condensation formation.
Troubleshooting Tips
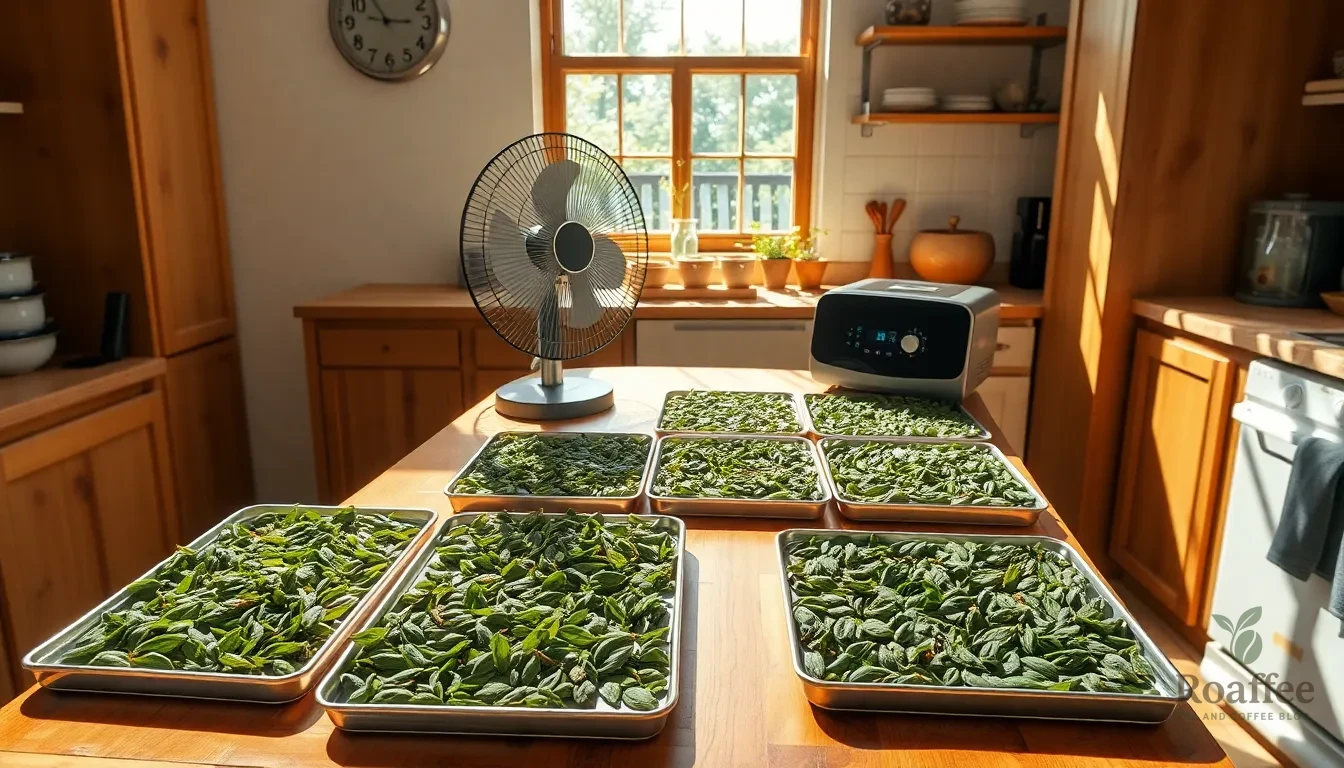
Even experienced tea enthusiasts encounter challenges when drying leaves at home. We’ve compiled the most common issues and their proven answers to help you achieve perfect results every time.
Common Problems
Leaves that remain partially dry after the expected drying time often indicate high humidity or insufficient airflow in your drying environment. We frequently see this issue when tea makers attempt air drying in basements or poorly ventilated spaces.
Mold or mildew development on leaves typically occurs when we crowd too many leaves together or fail to provide adequate air circulation. Dense bundles of hanging leaves create the perfect environment for unwanted fungal growth.
Brown or burnt leaves result from excessive heat exposure or direct sunlight during the drying process. We notice this problem most often when people rush the drying process with temperatures above 110°F or place leaves in sunny windows.
Dust and debris contamination happens when we dry leaves on open plates or surfaces without proper protection. Kitchen environments expose leaves to cooking particles and household dust that affect the final tea quality.
Extended drying times beyond our recommended timeframes usually stem from overly humid climates or insufficient heat application. Some regions require additional drying assistance to achieve the target 3% moisture content.
Answers
| Problem | Primary Cause | Our Recommended Solution |
|---|---|---|
| Leaves not fully dry | High humidity or poor airflow | Use a dehydrator or relocate to a dry, well-ventilated area |
| Mold or mildew growth | Dense packing or stagnant air | Space leaves properly and increase airflow circulation |
| Brown or burnt leaves | Excessive heat or direct sun | Maintain temperatures below 110°F and avoid direct sunlight |
| Dust contamination | Open surface drying | Use screens or mesh drying racks for protection |
| Slow drying progress | Humid climate or low heat | Switch to dehydrator method or combine air drying with controlled heat |
Switch to dehydrator drying when high humidity prevents proper air drying results. We recommend setting temperatures between 95°F to 110°F for consistent moisture removal without damaging delicate leaf structures.
Improve air circulation by spacing leaves at least half an inch apart on drying surfaces. We suggest using fans to increase airflow in still environments or switching to hanging methods with individual leaf placement.
Lower your drying temperature immediately if leaves show signs of browning or burning. We always test a small batch first to determine the optimal temperature for your exact leaf type and equipment.
Protect leaves from contamination by using clean mesh screens or cheesecloth covers during the drying process. We keep dedicated drying equipment separate from regular kitchen tools to prevent cross-contamination.
Combine multiple drying methods when dealing with challenging humidity conditions. We often start with air drying and finish with a brief dehydrator session to ensure complete moisture removal and prevent spoilage.
Strip leaves from stems after drying to improve texture and extend storage life. We find this final step eliminates potential moisture pockets that could lead to mold development during storage.
Monitor your tea leaves daily during the drying process to catch problems early. We recommend keeping a drying log to track environmental conditions and identify patterns that lead to successful results.
Make-Ahead Instructions
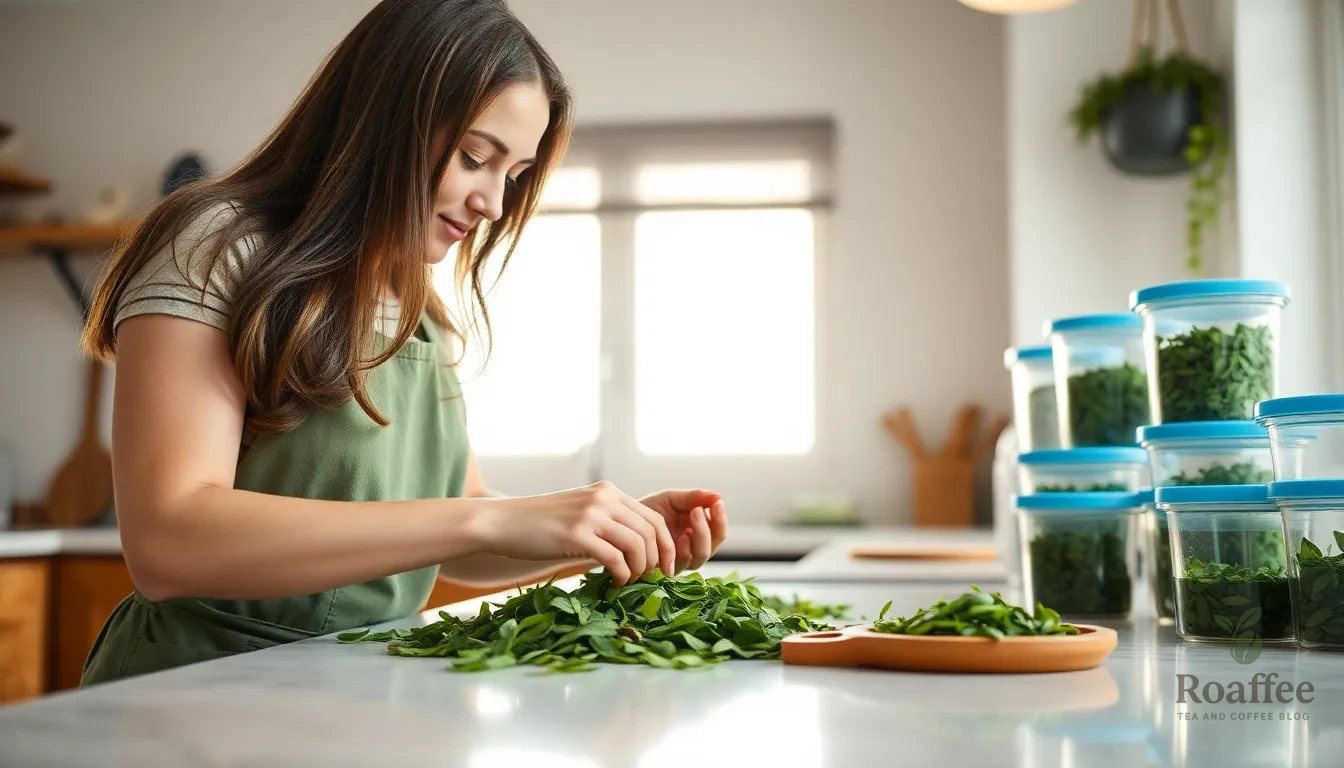
Preparing tea leaves for drying can be done well in advance to streamline your tea-making process and ensure consistent results. We recommend harvesting your tea leaves during the early morning hours when moisture content is optimal for the best flavor development.
Pre-Harvest Planning: Schedule your tea leaf collection 2-3 days before you plan to begin the drying process. This allows time for proper sorting and cleaning without rushing through the preparation steps. Young tender leaves and buds can be harvested up to 24 hours before drying begins if stored properly in the refrigerator.
Advance Preparation Steps: Clean and sort your tea leaves the evening before drying to save time on processing day. Remove any damaged or inferior leaves during this initial sorting phase. Pat leaves completely dry with clean kitchen towels and store them in a breathable container lined with paper towels in the refrigerator overnight.
Equipment Setup: Prepare your drying equipment and workspace 24 hours ahead of time. Clean dehydrator trays thoroughly and ensure your oven thermometer is calibrated if using the oven method. Set up your designated drying area with proper ventilation and protection from direct sunlight for air drying methods.
Batch Processing: We suggest processing larger quantities of tea leaves at once to maximize efficiency. Fresh leaves can be prepared and divided into smaller batches for different drying methods. Label each batch with the harvest date and intended drying method for better organization.
Storage Preparation: Sterilize your storage containers and labels up to one week before drying begins. This advance preparation ensures your dried tea leaves can be immediately transferred to proper storage once the drying process is complete. Having everything ready prevents exposure to moisture or contaminants during the critical post-drying period.
Weather Considerations: Monitor weather patterns 3-5 days in advance when planning air drying methods. Avoid harvesting during high humidity periods or when rain is forecasted within the drying timeframe. Indoor drying methods like dehydrators or ovens provide more flexibility for advance planning regardless of weather conditions.
Conclusion
Drying your own tea leaves at home opens up a industry of possibilities that we’ve only begun to explore. The techniques we’ve shared give you the foundation to create exceptional teas that reflect your personal taste and preferences.
Remember that perfecting this create takes practice. Don’t be discouraged if your first attempts don’t turn out exactly as expected – each batch teaches you something new about the process and helps refine your technique.
The journey from fresh leaf to perfectly dried tea is deeply satisfying. Whether you’re using the traditional air-drying method or the quick microwave technique we’ve covered you’re now equipped with the knowledge to produce high-quality results.
We encourage you to experiment with different drying methods and storage approaches to discover what works best for your exact environment and goals. Your homemade dried tea leaves will reward you with flavors and aromas that simply can’t be found in commercial products.
Frequently Asked Questions
What equipment do I need to dry tea leaves at home?
Essential equipment includes a food dehydrator or oven, bamboo drying screens or wire racks, clean kitchen towels, and airtight storage containers. Optional items include a digital kitchen scale, thermometer, and fine-mesh sieve. A food dehydrator provides the most consistent temperature control, while an oven set to low temperature works as an alternative.
How long does it take to dry tea leaves?
Drying time varies by method: air drying takes about 36 hours, oven drying requires 1+ hours, dehydrator method takes 1-4 hours, and microwave drying completes in just a few minutes. The exact time depends on humidity levels, leaf thickness, and your chosen drying method.
What type of tea leaves should I use for drying?
Choose young, tender leaves and buds that are vibrant green and free from blemishes or damage. Harvest in the morning for optimal moisture content. Avoid wilted, yellowing, or damaged leaves as they won’t produce quality dried tea. Fresh, healthy leaves yield the best flavor and aroma.
How much dried tea will fresh leaves produce?
Fresh tea leaves typically reduce by 75-80% in weight during drying. This means 4 cups of fresh leaves will yield approximately 1 cup of dried tea. The significant weight reduction is due to moisture removal, which concentrates the tea’s flavors and extends shelf life.
What temperature should I use for drying tea leaves?
For oven drying, start at 225°F (107°C), then reduce to 195°F (90°C). Dehydrators work best at 95°F to 115°F (35°C to 46°C). Microwave drying should use 30-40% power to prevent burning. Temperature control is crucial for preserving the tea’s delicate flavors and preventing over-drying.
How do I know when tea leaves are properly dried?
Properly dried tea leaves should feel crisp and brittle, snap cleanly when bent, and have a moisture content of 3% or less. They should appear darker and shrunk compared to fresh leaves, make a slight rustling sound when handled, and maintain their characteristic fragrance.
How should I store dried tea leaves?
Store dried tea in airtight containers made from opaque materials like ceramic, metal, or colored glass. Keep containers in cool, dark, dry locations with stable temperatures between 60°F to 75°F (15°C to 24°C). Avoid kitchens or bathrooms due to humidity fluctuations that can cause mold growth.
What are common problems when drying tea leaves?
Common issues include partially dry leaves, mold growth, and contamination. These problems typically result from high humidity, poor airflow, or excessive heat. Solutions include using a dehydrator, improving air circulation, monitoring closely, and protecting leaves from dust during the drying process.
Can I prepare tea leaves in advance for drying?
Yes, harvest leaves in early morning 2-3 days before drying. Clean and sort leaves the evening before, prepare your drying equipment and workspace ahead of time, and monitor weather conditions to avoid high humidity during air drying. This preparation ensures consistent, quality results.
Do I need to wash tea leaves before drying?
Only wash tea leaves if necessary, and do so gently. If you must rinse them, pat completely dry with clean towels before beginning the drying process. Excess moisture can lead to mold growth and uneven drying, so ensure leaves are thoroughly dry before starting any drying method.

