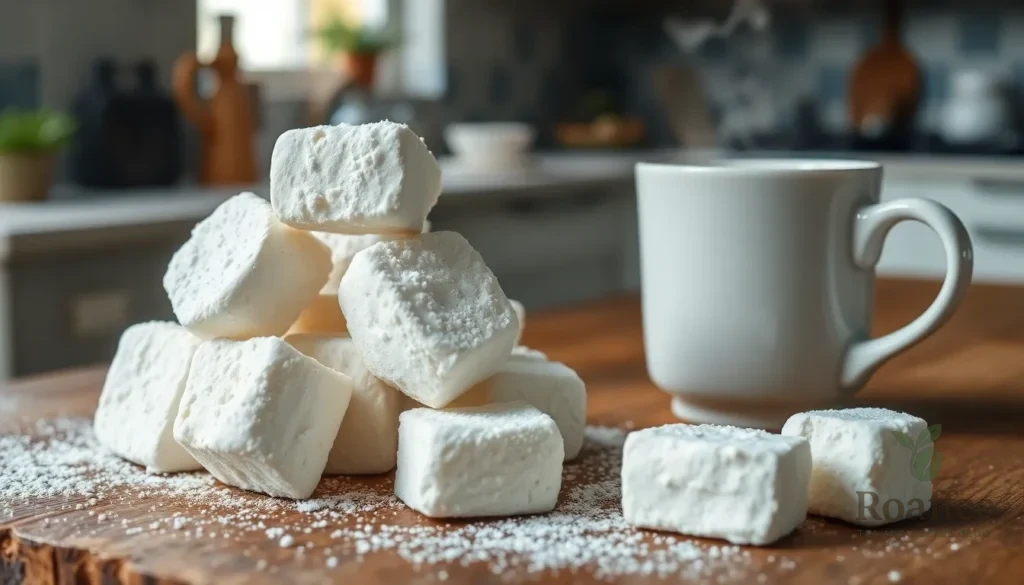
We’ve all experienced that moment when coffee meets dessert magic – and nothing delivers that perfect combination quite like homemade coffee marshmallows. These pillowy-soft treats capture the rich essence of your favorite brew while delivering that melt-in-your-mouth sweetness we all crave.
Making coffee marshmallows at home isn’t just incredibly rewarding – it’s surprisingly simple too. With just a few pantry staples and some quality coffee or espresso, you’ll create gourmet marshmallows that rival anything you’d find in specialty shops. The deep coffee flavor pairs beautifully with the light airy texture that makes marshmallows so irresistible.
Whether you’re planning to elevate your hot chocolate game or searching for the perfect homemade gift for coffee lovers, these coffee marshmallows deliver every time. They’re also fantastic for s’mores with a sophisticated twist that’ll have everyone asking for your secret recipe.
Ingredients
We’ve carefully selected these ingredients to create the perfect balance of rich coffee flavor and fluffy marshmallow texture. Each component plays a crucial role in achieving that distinctive coffee taste while maintaining the classic marshmallow consistency.
For the Coffee Marshmallows
- 3 packets (0.25 oz each) unflavored gelatin
- 1/2 cup cold strong brewed coffee or espresso
- 1/2 cup granulated sugar (divided)
- 1/3 cup light corn syrup
- 1/4 cup water
- 1/4 teaspoon salt
- 1 teaspoon vanilla extract
- 1 tablespoon instant coffee powder or espresso powder
- Cooking spray or butter for greasing
For Dusting
- 1/2 cup powdered sugar
- 1/4 cup cornstarch
- 1 tablespoon cocoa powder (optional for extra coffee flavor)
Equipment Needed
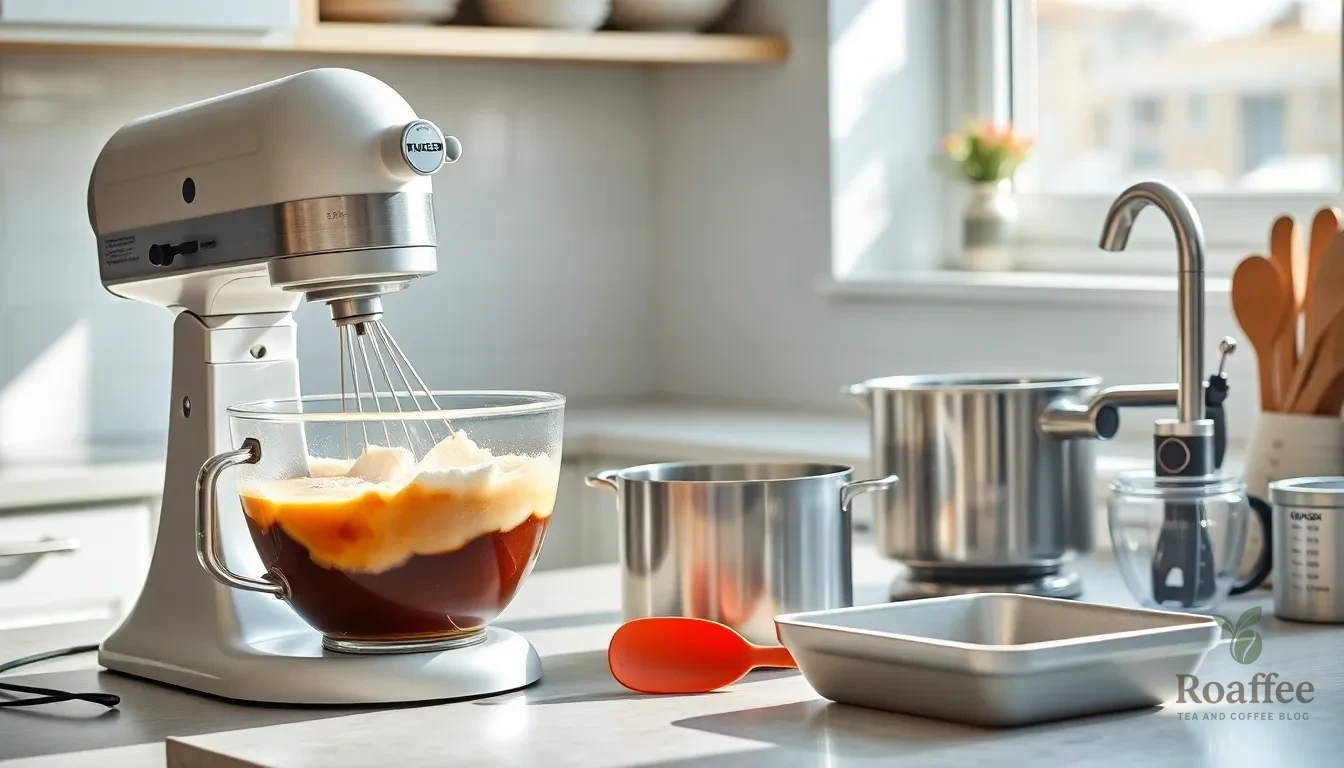
Creating perfect coffee marshmallows requires exact equipment to achieve the ideal fluffy texture and rich coffee flavor. We’ve compiled a comprehensive list of essential tools that will ensure your marshmallow-making process runs smoothly.
Stand Mixer with Whisk Attachment serves as our most crucial piece of equipment. This powerful appliance whips the marshmallow mixture to the perfect consistency during the 10-minute mixing process. Hand mixers can substitute if needed, though they may require slightly longer mixing times.
Saucepan handles the sugar syrup preparation where we combine coffee, sugar, corn syrup, and salt. Medium-sized saucepans work best for even heat distribution and easy pouring.
Candy Thermometer or Digital Thermometer ensures accuracy when heating our sugar mixture to the critical 240°F soft ball stage. Temperature precision makes the difference between perfectly set marshmallows and sticky failures.
8×8 or 9×13 Inch Pan provides the setting space for our marshmallow mixture. Pan size determines thickness, with 8×8 pans creating thicker marshmallows and 9×13 pans producing thinner ones.
Silicone Spatula helps us scrape every bit of marshmallow mixture from the bowl and smooth the surface in the pan. Heat-resistant spatulas work best since we handle warm mixtures.
Measuring Cups and Spoons ensure accurate ingredient proportions. Precise measurements are essential for achieving the perfect balance between coffee flavor and marshmallow texture.
Aluminum Foil offers optional pan lining that makes removal easier. We recommend spraying the foil with neutral oil for effortless marshmallow release.
Additional helpful tools include a neutral oil for greasing and a mixture of powdered sugar and cornstarch for dusting. These finishing touches prevent sticking and add professional presentation to our homemade coffee marshmallows.
Instructions
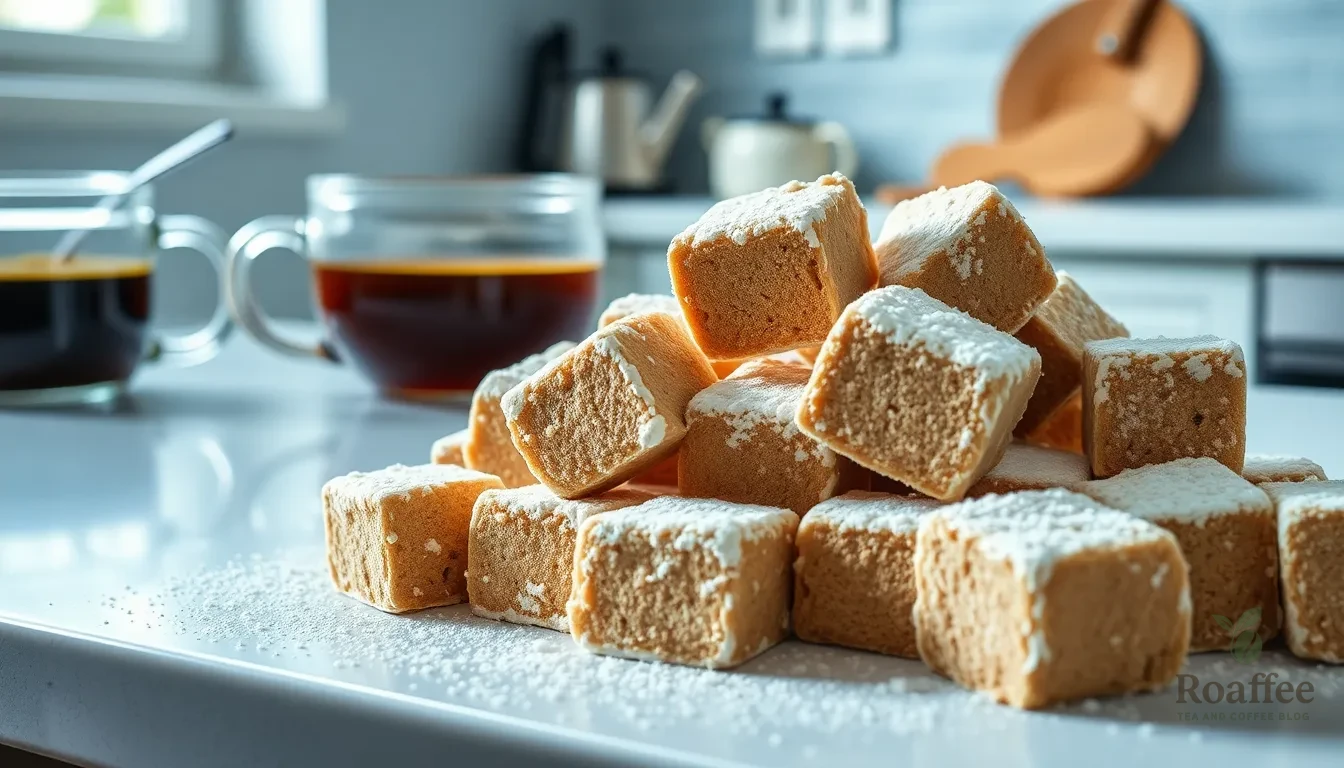
We’ll guide you through each step of creating these delightful coffee marshmallows with precision and ease. Follow these detailed instructions to achieve perfectly fluffy results every time.
Prep the Pan and Gelatin
Line an 8×8 pan with foil or parchment paper and spray thoroughly with cooking spray. This preparation ensures easy removal once our marshmallows set completely.
In the bowl of a stand mixer fitted with a whisk attachment, combine 3 packets of unflavored gelatin with 1 cup of cooled brewed coffee. Let this mixture sit undisturbed to bloom properly. For enhanced coffee flavor, dissolve 1 tablespoon of instant espresso powder into the hot brewed coffee before cooling to room temperature.
Make the Coffee Syrup
Combine the remaining 1 cup of brewed coffee, 1.5 cups of granulated sugar, and 1/2 cup of light corn syrup in a medium saucepan. Cover the saucepan and heat over medium-high heat for approximately 5 minutes.
Remove the cover and attach a candy thermometer to the pot. Continue heating without excessive stirring until the mixture reaches exactly 240°F, which indicates the soft-ball stage. This temperature ensures our marshmallows achieve the perfect texture.
Whip the Marshmallow Base
Start the stand mixer on low speed and carefully pour the hot coffee sugar syrup into the bloomed gelatin mixture. Gradual pouring prevents dangerous splattering and ensures proper incorporation.
Increase the mixer speed progressively to high and whip continuously for about 10 minutes. The mixture should become thick, fluffy, and triple in volume during this process. Add a pinch of salt or vanilla extract during the final minute of whipping if desired.
Pour and Set
Pour the marshmallow mixture evenly into the prepared pan using a silicone spatula. Spread the mixture to reach all corners and create a uniform thickness.
Allow the marshmallows to set uncovered at room temperature for 4 hours until completely firm. Dust a clean surface with a mixture of powdered sugar and cornstarch, then turn the marshmallow slab out onto this surface. Cut into squares or desired shapes and dust all sides with the sugar mixture to prevent sticking.
Directions for Cutting and Storing
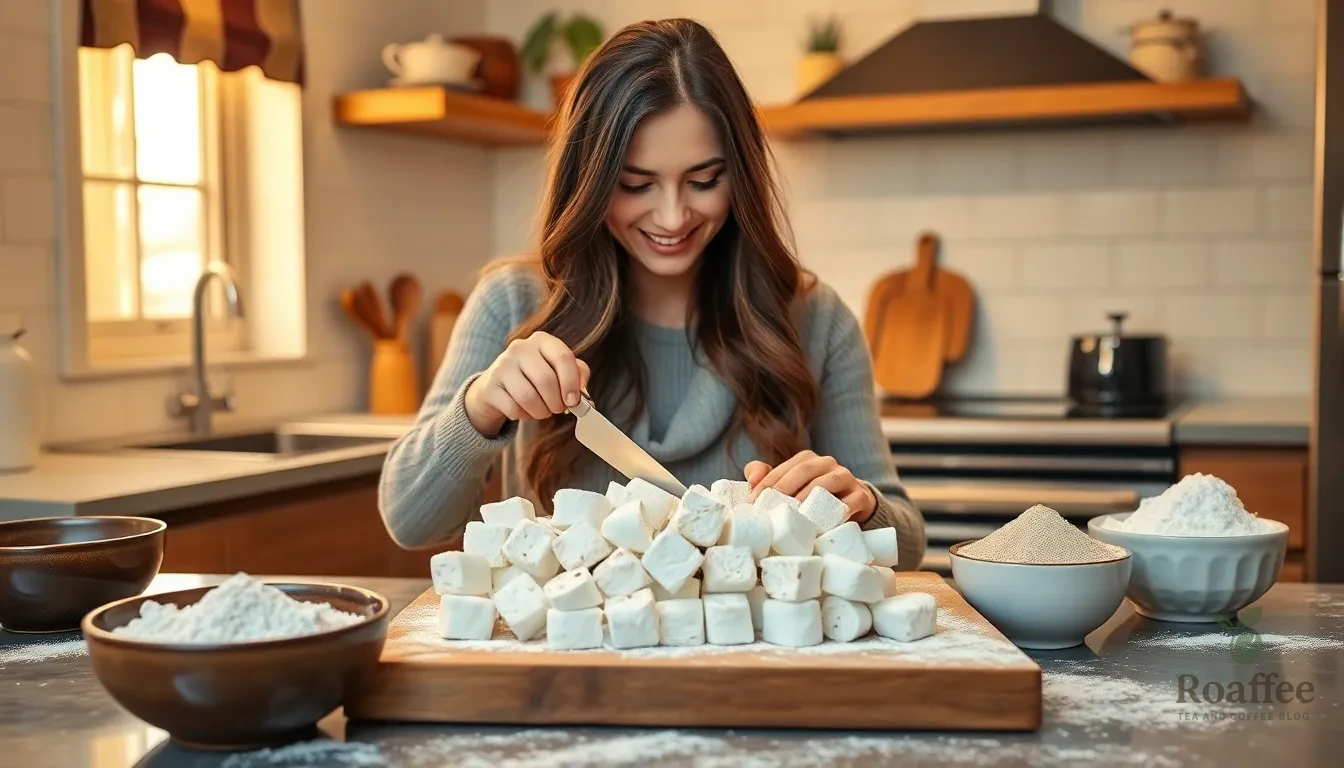
After our coffee marshmallows have set for 4 hours, we need to carefully cut and store them to maintain their perfect texture. Proper handling ensures we get clean edges and prevents sticking.
Cutting the Marshmallows
We start by preparing our workspace with a generous dusting of the powdered sugar, cornstarch, and cocoa powder mixture. The combination prevents our marshmallows from sticking to surfaces during the cutting process.
Our next step involves loosening the marshmallows from the pan by running a sharp knife around all edges. We then invert the pan onto our dusted surface and carefully peel the marshmallows away from the pan bottom.
A sharp knife dusted with our powder mixture creates the cleanest cuts. We slice the marshmallows into 1.5-inch squares or our desired size, maintaining consistent dimensions for professional presentation.
Between cuts, we re-coat the knife with dusting mix or run it under hot water and dry thoroughly. This technique prevents the marshmallows from sticking to the blade and ensures smooth, clean edges.
Rolling each cut marshmallow in the dusting mixture completes our preparation process. The coating prevents individual pieces from sticking together during storage.
Storage Instructions
Our finished coffee marshmallows require proper storage to maintain their fluffy texture and rich flavor. We layer them between sheets of parchment or wax paper dusted with our powder mixture in an airtight container.
Room temperature storage in a cool, dry place keeps our marshmallows at peak quality. We avoid refrigeration as moisture can compromise their texture and make them sticky.
| Storage Method | Duration | Temperature | Notes |
|---|---|---|---|
| Airtight container | Up to 2 weeks | Room temperature | Layer with dusted parchment |
| With mix-ins/chocolate coating | Shorter shelf life | Room temperature | Check for freshness more frequently |
| Freezing | Not recommended | N/A | Causes toughening and texture loss |
Freezing our coffee marshmallows is not recommended as frozen marshmallows tend to toughen and lose their signature softness. Marshmallows with added mix-ins or chocolate coatings have a shorter shelf life and should be consumed within the first week for optimal quality.
Serving Suggestions
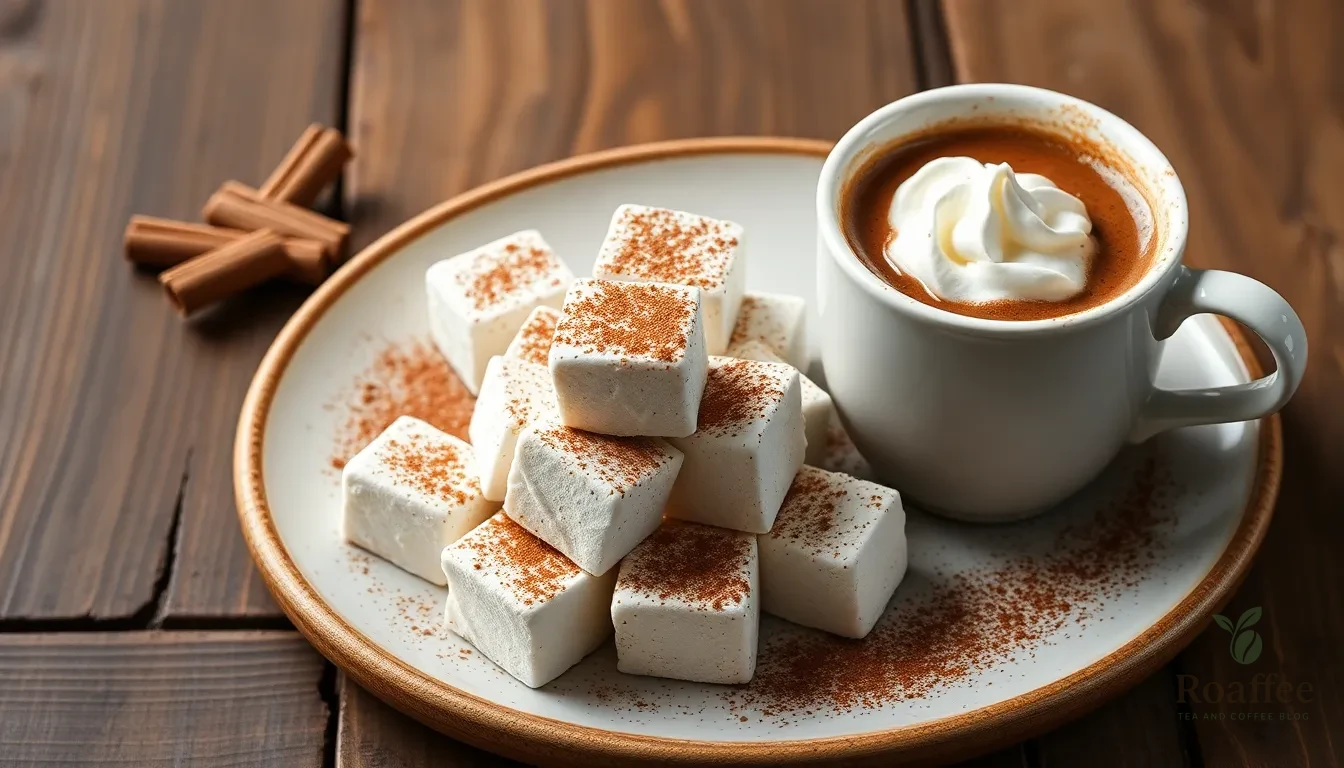
Our coffee marshmallows transform ordinary beverages and desserts into extraordinary treats that showcase their rich, aromatic flavor. We love floating these fluffy delights on top of hot chocolate, where they slowly melt to create a creamy coffee-infused layer that enhances every sip. The marshmallows add both visual appeal and complex flavor to coffee drinks, making them perfect for special occasions or cozy evenings at home.
We recommend using these marshmallows as a sophisticated topping for custards and puddings, where their light texture provides a delightful contrast to rich, creamy desserts. The coffee flavor complements vanilla or chocolate custards beautifully, creating a café-inspired dessert experience. For an elevated presentation, we suggest dusting the marshmallows with a light coating of cocoa powder before serving to intensify the coffee notes.
S’mores enthusiasts will appreciate how our coffee marshmallows revolutionize this classic campfire treat. The coffee flavor pairs exceptionally well with dark chocolate and graham crackers, creating a grown-up version of the beloved dessert. We find that toasting these marshmallows over an open flame brings out their caramelized sweetness while maintaining the coffee essence.
For special occasions, we enjoy coating our coffee marshmallows with melted chocolate to create an indulgent confection that rivals expensive artisanal chocolates. This combination works particularly well for gift-giving, as the chocolate coating helps preserve freshness while adding another layer of rich flavor. Dark chocolate complements the coffee notes most effectively, though milk chocolate creates a sweeter, more accessible treat.
We also suggest serving these marshmallows as standalone treats for coffee lovers who appreciate unique confections. Their soft, pillowy texture and aromatic coffee flavor make them perfect for afternoon tea service or as an unexpected dessert course. The marshmallows can be cut into elegant shapes for formal presentations or kept as rustic squares for casual entertaining.
| Serving Option | Yield | Best Pairing |
|---|---|---|
| Hot Chocolate Topping | 25-100 pieces | Dark cocoa powder |
| S’mores Upgrade | 25-100 pieces | Dark chocolate squares |
| Chocolate Coated | 25-100 pieces | Melted dark chocolate |
| Custard Topping | 25-100 pieces | Vanilla or coffee custard |
Make-Ahead Tips
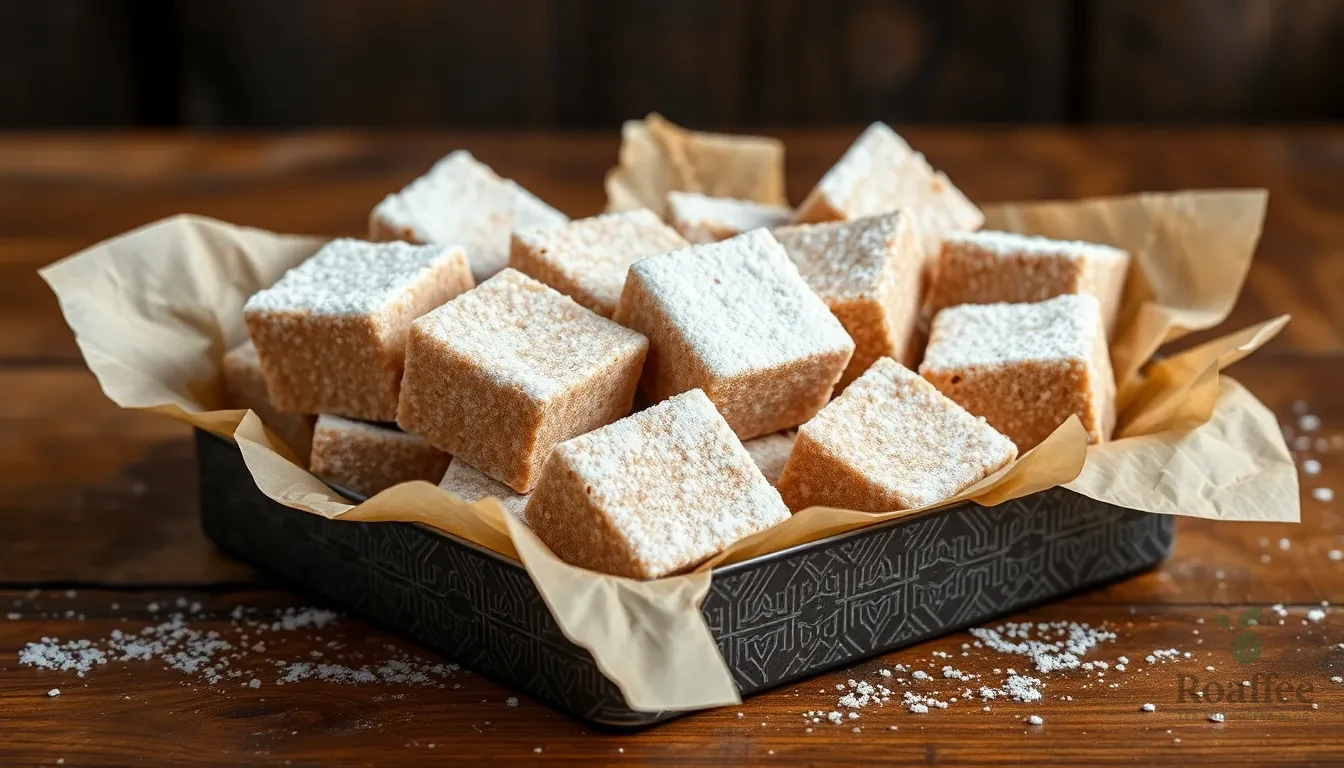
We love preparing coffee marshmallows ahead of time for special occasions or simply to have on hand for impromptu treats. These delightful confections store beautifully when properly prepared and can maintain their fluffy texture for weeks.
Storage Timeline and Freshness
Coffee marshmallows can be made ahead and stored in an airtight container for up to 3 weeks at room temperature. Plain coffee marshmallows without additional mix-ins or chocolate coatings maintain their peak quality throughout this entire period. Those with chocolate coatings or other additions should be consumed within the first week for optimal taste and texture.
| Storage Method | Duration | Quality Notes |
|---|---|---|
| Room Temperature (Plain) | 3 weeks | Best texture maintained |
| Room Temperature (Chocolate Coated) | 1 week | Consume early for best experience |
| Refrigeration | Not recommended | Compromises texture |
| Freezing | Not recommended | Affects quality |
Preparation Strategy
We recommend using parchment paper and dusting mixtures in pans during the initial preparation to prevent sticking issues later. This simple step makes removal and cutting significantly easier after the setting period. Line your pan completely with parchment paper before dusting with the powdered sugar and cornstarch mixture.
Post-Cutting Care
After cutting your marshmallows into squares, immediately toss them in the sugar-cornstarch dust mixture to keep them from sticking together during storage. This coating acts as a protective barrier and maintains the marshmallows’ individual shapes. We find that generous dusting prevents clumping and preserves the professional appearance of each piece.
Gifting Preparation
Package marshmallows well to maintain freshness when preparing them as gifts. Layer the dusted marshmallows between sheets of parchment paper in decorative tins or boxes. This method prevents moisture absorption and keeps each marshmallow perfectly shaped for presentation. We suggest adding extra dusting mixture to gift containers to maintain freshness during transport.
Troubleshooting Common Issues
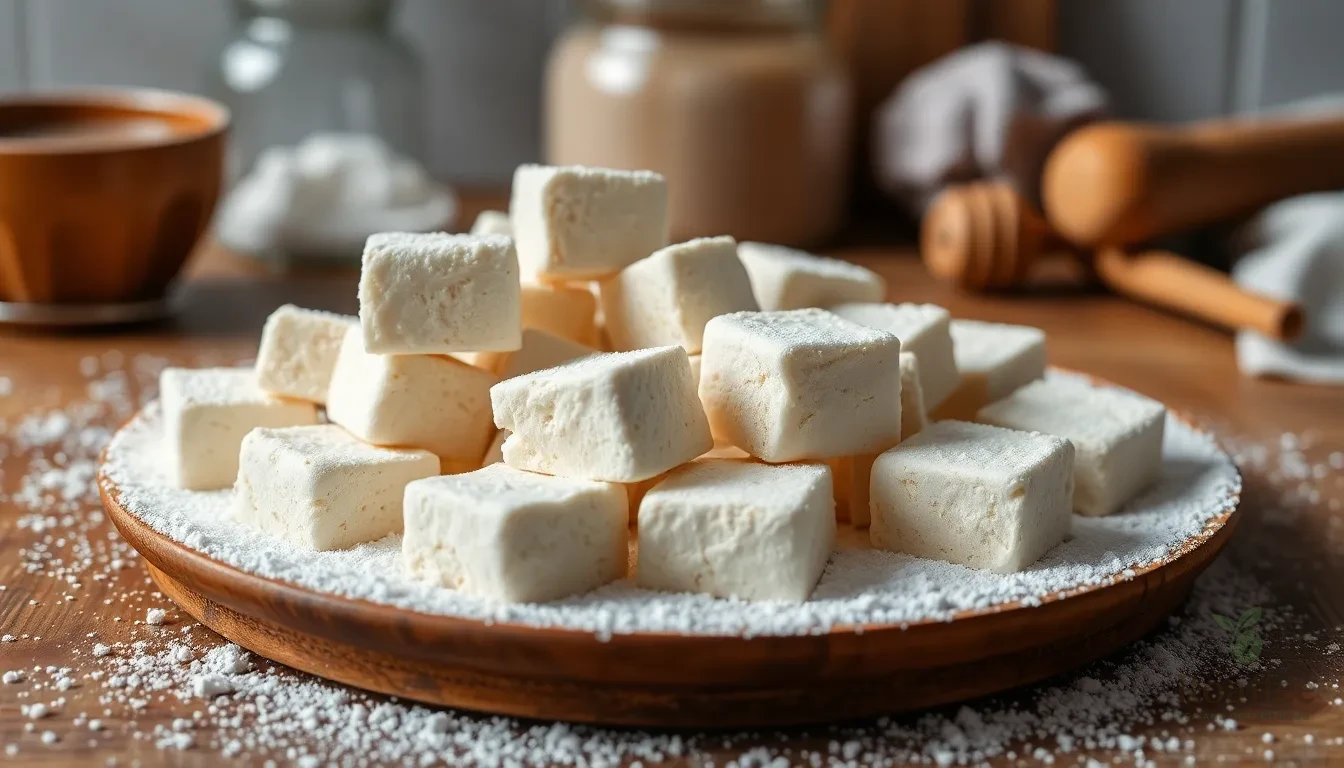
Even experienced bakers encounter challenges when making coffee marshmallows. We’ve identified the most common problems and their answers to help you achieve perfect results every time.
Inadequate Mixing Problems
Uneven texture often results from insufficient mixing during the whipping process. Our mixing equipment must be properly calibrated and operated at the correct speed to achieve a homogeneous marshmallow batter. We recommend whipping the mixture on medium-high speed for the full duration specified in the recipe. The mixture should appear glossy and hold its shape when the whisk is lifted.
Gelatin Setting Failures
Overheating gelatin breaks down its gelling ability and leads to marshmallows that refuse to set properly. We must use correct temperature controls and monitor heat carefully during the mixing process to prevent this issue. The gelatin mixture should never exceed 160°F when combining with the hot sugar syrup. Allow the sugar syrup to cool slightly before adding it to the bloomed gelatin if your candy thermometer reads above 250°F.
Temperature Control Issues
Low room temperatures during the setting process can cause weak marshmallow texture. We need to maintain appropriate room temperature since gelation depends heavily on environmental conditions. The ideal setting temperature ranges between 68°F and 72°F. Avoid placing the pan in drafty areas or near air conditioning vents during the 4-hour setting period.
Sugar Stage Accuracy Problems
Using a candy thermometer helps us reach the precise softball stage temperature of 240°F for proper sugar consistency. Overheating or underheating the sugar syrup significantly affects the final texture of our marshmallows. We recommend calibrating your candy thermometer in boiling water before use to ensure accuracy. The syrup should form a soft ball when dropped into cold water at the correct temperature.
Coating and Storage Challenges
Freshly cut marshmallows require immediate coating in our powdered sugar and cornstarch mixture to prevent sticking. We must toss each piece thoroughly in the dusting mixture before storage. Store the finished marshmallows in an airtight container at room temperature to maintain their texture. Refrigeration causes condensation and makes the marshmallows sticky and unpleasant to eat.
| Issue | Cause | Solution | Prevention |
|---|---|---|---|
| Uneven texture | Inadequate mixing | Whip on medium-high speed | Calibrate equipment properly |
| Won’t set | Overheated gelatin | Monitor temperatures carefully | Keep gelatin mixture under 160°F |
| Weak texture | Low room temperature | Maintain 68-72°F setting environment | Avoid drafty areas |
| Wrong consistency | Incorrect sugar temperature | Use calibrated candy thermometer | Test syrup in cold water |
| Sticky marshmallows | Insufficient coating | Toss immediately in dusting mixture | Coat thoroughly before storage |
This recipe yields approximately 100 marshmallows when using a 9×13 inch pan. We can adjust the instant coffee quantity to customize the flavor intensity according to our preferences.
Conclusion
We’ve shared everything you need to create these delightful coffee marshmallows that’ll elevate your hot beverages and impress your friends. With proper storage techniques and our troubleshooting tips you’re well-equipped to achieve perfect results every time.
These homemade treats offer endless possibilities for customization and make thoughtful gifts for fellow coffee lovers. The three-week storage life gives you plenty of time to enjoy them or prepare them ahead for special occasions.
Whether you’re adding them to hot chocolate crafting gourmet s’mores or simply enjoying them as a sweet treat we’re confident you’ll love the rich coffee flavor and fluffy texture. Happy marshmallow making!
Frequently Asked Questions
How long do homemade coffee marshmallows last?
Plain coffee marshmallows can be stored at room temperature for up to 3 weeks when properly stored in an airtight container. However, chocolate-coated marshmallows should be consumed within one week for the best taste and texture. Always store them layered between parchment paper with dusting mixture.
What equipment do I need to make coffee marshmallows?
You’ll need a stand mixer with whisk attachment, saucepan, candy thermometer, 8×8 or 9×13 inch pan, silicone spatula, measuring cups and spoons, and aluminum foil. The stand mixer is essential for achieving the proper fluffy texture that makes marshmallows light and airy.
Can I adjust the coffee flavor intensity?
Yes, you can customize the coffee flavor by adjusting the amount of instant coffee or using different coffee strengths. Start with the recipe amount and gradually increase to taste. You can also use espresso instead of regular coffee for a more intense flavor profile.
Why shouldn’t I refrigerate coffee marshmallows?
Refrigeration can compromise the marshmallows’ texture and quality, making them lose their characteristic fluffy consistency. Store them at room temperature in an airtight container instead. Freezing is also not recommended as it can damage the delicate marshmallow structure.
How do I prevent marshmallows from sticking during cutting?
Dust your workspace, knife, and hands with a mixture of powdered sugar, cornstarch, and optional cocoa powder. Use a sharp knife for clean cuts and roll each marshmallow in the dusting mixture immediately after cutting to prevent sticking during storage.
What’s the best way to gift coffee marshmallows?
Package them in decorative tins with extra dusting mixture to preserve freshness during transport. Layer them between sheets of dusted parchment paper and include storage instructions. This makes them perfect for coffee enthusiasts and special occasions.
How many marshmallows does this recipe make?
The recipe yields approximately 100 marshmallows when using a 9×13 inch pan. The exact number may vary depending on the size you cut them and the pan dimensions used for setting the marshmallow mixture.

