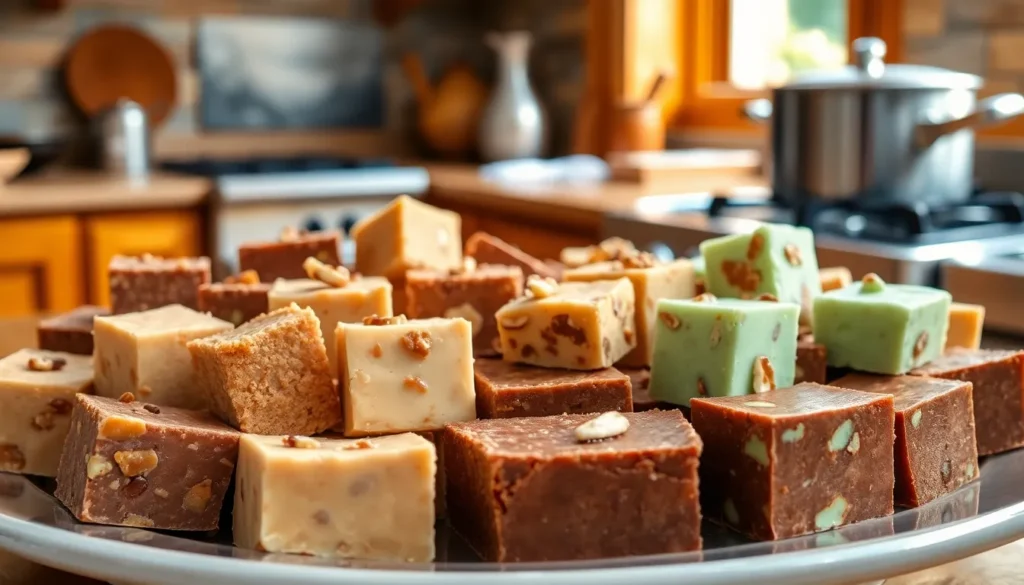
Nothing beats the rich, creamy indulgence of homemade fudge that melts perfectly on your tongue. We’ve all experienced that moment when a piece of perfectly crafted fudge transforms an ordinary day into something special – whether it’s classic chocolate, decadent peanut butter, or adventurous flavor combinations that surprise and delight.
Creating restaurant-quality fudge at home isn’t as challenging as you might think. With the right recipes and techniques, we can help you master this beloved confection and impress family and friends with professional-level results. From traditional favorites to innovative twists, the perfect fudge recipe combines simple ingredients with precise timing.
We’ve gathered the most foolproof and delicious fudge recipes that guarantee smooth, creamy texture every single time. These tried-and-tested formulas will turn your kitchen into a candy shop and give you the confidence to create memorable treats for any occasion.
Classic Chocolate Fudge Recipe
Classic chocolate fudge remains the gold standard for homemade confection lovers. We’ll show you how this timeless recipe delivers that perfect balance of rich chocolate flavor and velvety smooth texture.
Traditional Three-Ingredient Method
Sugar forms the foundation of this foolproof chocolate fudge recipe. We combine 3 cups granulated sugar with 3/4 cup whole milk in a heavy-bottomed saucepan. Heat the mixture over medium flame while stirring constantly until it reaches 234°F on a candy thermometer.
Butter adds richness once you remove the pan from heat. We immediately stir in 1/2 cup unsalted butter until it melts completely into the hot sugar mixture. This creates the creamy base that makes our fudge irresistibly smooth.
Chocolate completes the magic when we add 12 ounces of high-quality chocolate chips or chopped chocolate. Stir vigorously for 2-3 minutes until the chocolate melts and the mixture becomes glossy. Pour into a greased 8×8 inch pan and let cool for 2 hours before cutting.
Tips for Perfect Texture and Consistency
Temperature control prevents grainy fudge every single time. We recommend using a candy thermometer to ensure the sugar mixture reaches exactly 234°F (soft ball stage). Going beyond 240°F creates hard, crumbly fudge that won’t achieve that creamy consistency we’re after.
Stirring technique matters for achieving professional results. We beat the fudge mixture vigorously for exactly 60 seconds after adding chocolate. Over-mixing causes sugar crystals to form while under-mixing leaves streaky, uneven texture.
Cooling environment affects final texture significantly. We place our fudge pan in a cool, dry area away from direct sunlight or heat sources. Refrigeration speeds the process but can create condensation that makes cutting difficult.
Pan preparation ensures easy removal without breaking your perfect squares. We line our 8×8 inch pan with parchment paper and lightly grease the paper with butter. This double protection lets us lift the entire fudge block out for clean, professional-looking cuts.
Peanut Butter Fudge Recipe
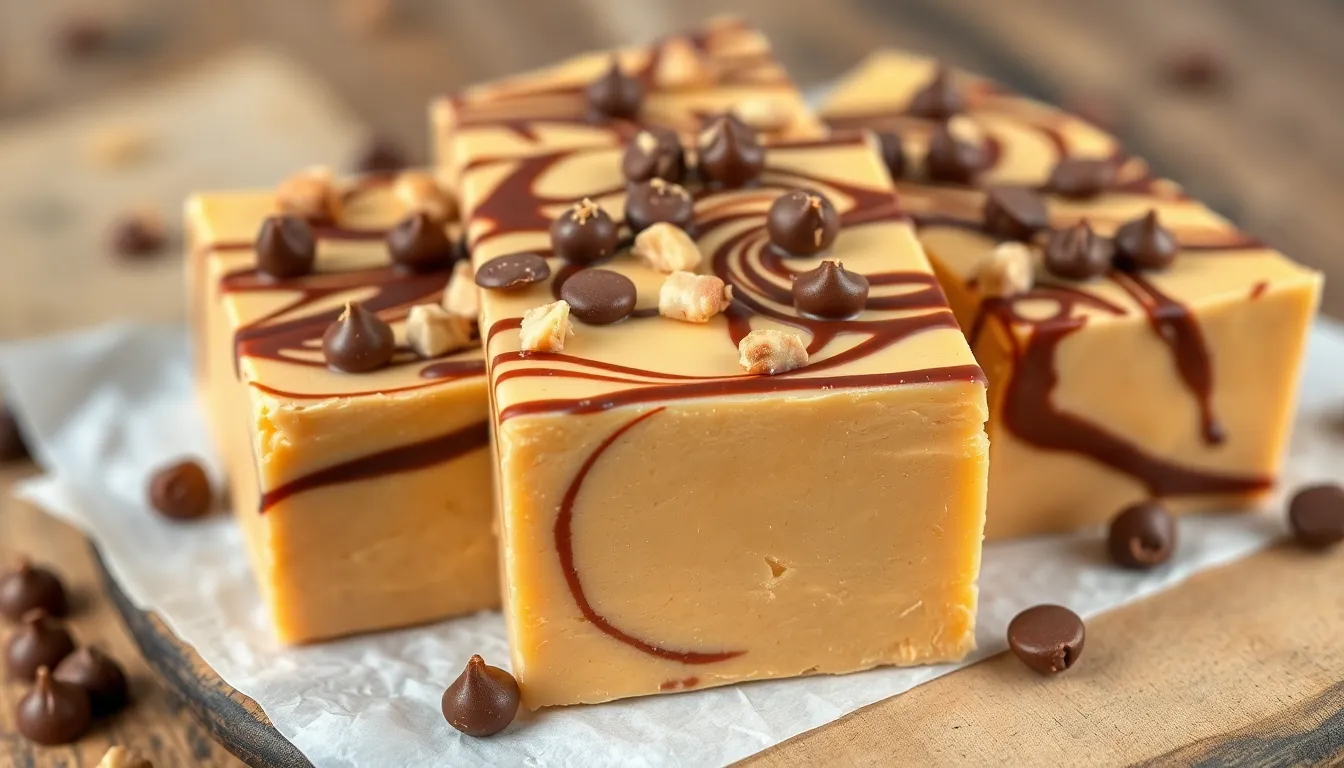
We’ve mastered the art of peanut butter fudge that delivers incredible richness in every bite. This recipe transforms just four simple ingredients into a creamy confection that rivals any candy store creation.
Creamy Peanut Butter Base Technique
Start with quality ingredients to ensure your fudge achieves the perfect smooth texture. We recommend using 1 cup of high-quality peanut butter combined with 1 cup of sweetened condensed milk as your foundation.
Heat the mixture gently over low temperature to prevent graining issues that can ruin your batch. Stir the peanut butter and condensed milk continuously until they blend into a completely smooth consistency.
Add vanilla extract and a pinch of salt to enhance the overall flavor profile without overwhelming the peanut butter taste. These ingredients should be incorporated while the mixture is still warm for optimal blending.
Monitor the cooking process carefully since overcooking creates a grainy texture that we want to avoid. The mixture is ready when it pulls away slightly from the sides of the pan and coats your spoon evenly.
Adding Swirls and Mix-Ins
Create stunning chocolate swirls by melting chocolate chips and drizzling them over your peanut butter base before it sets completely. Use a knife to gently swirl the chocolate through the fudge for beautiful marbled patterns.
Incorporate mix-ins strategically by folding them into the warm mixture just before pouring into your prepared pan. Popular additions include chopped nuts, mini chocolate chips, or crushed cookies that add delightful texture contrasts.
Layer different flavors by pouring half the peanut butter mixture into your pan, adding a caramel layer, then topping with the remaining fudge mixture. This technique creates distinct flavor layers that surprise with each bite.
Time your additions properly since mix-ins should be added when the fudge is still warm enough to accept them but cool enough that they won’t melt completely. This balance ensures your extras maintain their shape and texture in the finished product.
White Chocolate Fudge Recipe
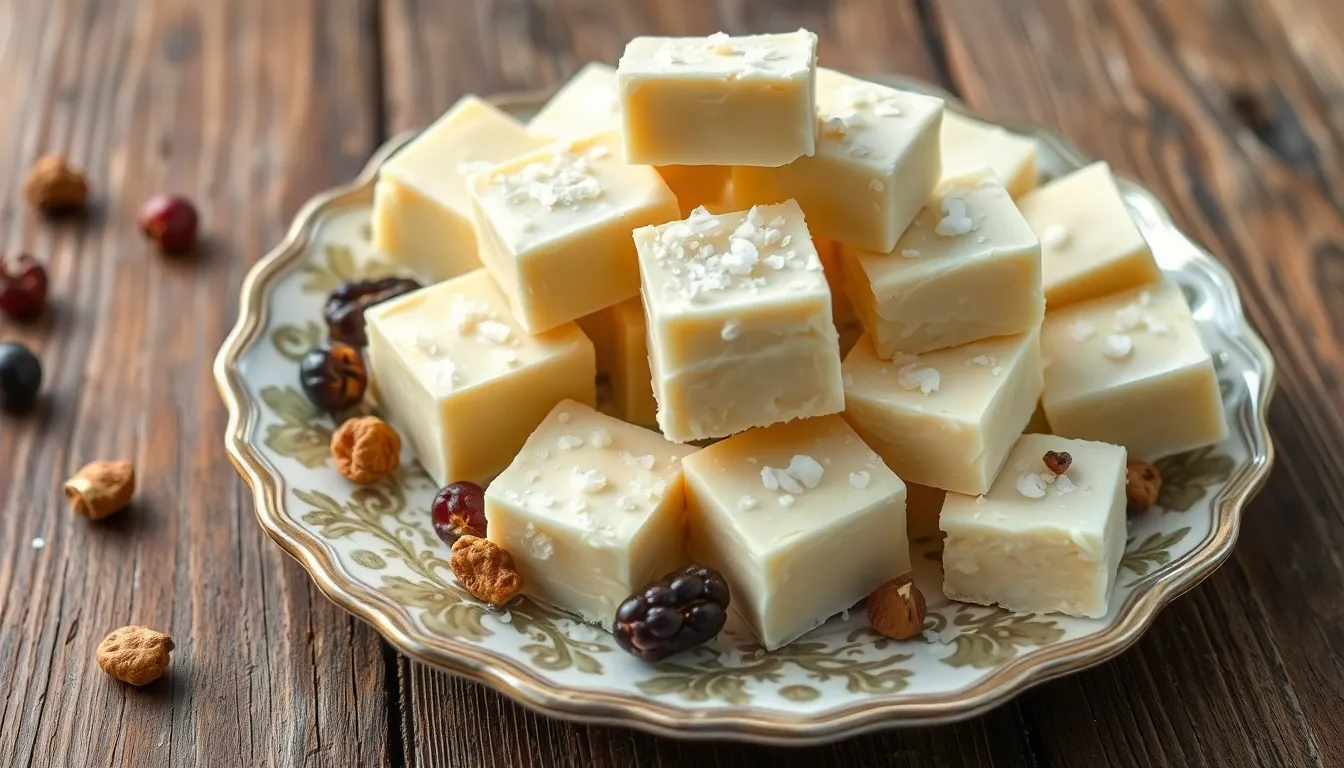
White chocolate fudge delivers an elegant sweetness that melts beautifully on your tongue. We’ll show you how to create this luxurious treat with just three cups white chocolate chips, one can of sweetened condensed milk, and optional flavor enhancers like sea salt or vanilla extract.
Selecting Quality White Chocolate
Choosing premium white chocolate makes all the difference in your fudge’s final flavor and texture. We recommend brands with high cocoa butter content because they provide that rich, creamy taste that sets exceptional fudge apart from ordinary versions.
Quality white chocolate should feel smooth when you touch it and have a creamy off white color rather than stark white. Look for chocolate that lists cocoa butter as one of the first ingredients on the package. Avoid products labeled as “white baking chips” since these often contain vegetable oils instead of cocoa butter.
Premium brands like Ghirardelli, Valrhona, and Callebaut consistently deliver superior results in our kitchen tests. These chocolates melt evenly without seizing and create that silky texture we’re all craving in homemade fudge.
Flavor Variations and Add-Ins
Peanut butter fudge transforms your white chocolate base by adding half a cup of creamy peanut butter to the melted mixture. Stir the peanut butter in completely before pouring into your prepared pan for consistent flavor throughout.
Mint chip fudge brings refreshing coolness with two teaspoons of peppermint extract and a handful of mini chocolate chips. Add the extract after removing from heat to preserve its bright flavor, then fold in chocolate chips just before setting.
Cookies and milk fudge creates nostalgic comfort by mixing in chopped Oreos, chocolate chip cookies, or graham crackers. Crush your chosen cookies into bite sized pieces and fold them in during the final mixing stage.
| Variation | Key Ingredient | Amount | Timing |
|---|---|---|---|
| Peanut Butter | Creamy peanut butter | 1/2 cup | Mix with melted chocolate |
| Mint Chip | Peppermint extract | 2 teaspoons | Add after removing from heat |
| Cookies & Milk | Chopped cookies | 1 cup | Fold in before setting |
Nuts like chopped pecans, walnuts, or almonds add delightful crunch when stirred in just before pouring. Dried fruits such as cranberries, cherries, or apricots provide chewy texture and tart contrast to the sweet white chocolate base.
Salted Caramel Fudge Recipe
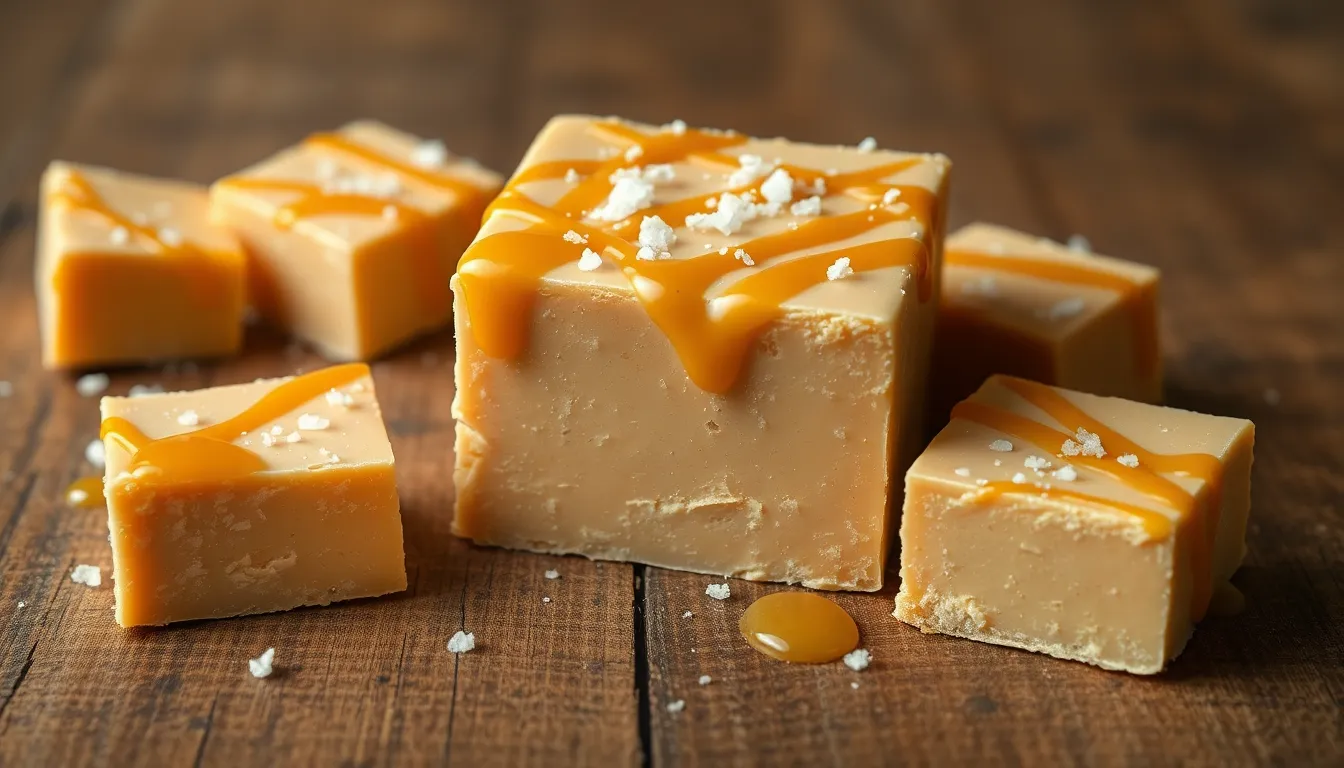
Salted caramel fudge combines the best of both sweet and savory worlds, creating an irresistible confection that balances rich caramel with a hint of sea salt. This recipe delivers restaurant quality results with simple techniques that any home baker can master.
Creating Homemade Caramel Layer
Building the perfect caramel layer starts with heating caramel sauce combined with salted butter until the mixture becomes completely smooth. We recommend using a heavy bottomed saucepan to prevent scorching and ensure even heat distribution throughout the cooking process.
Stirring constantly prevents the caramel from burning while maintaining the silky texture that makes this fudge so appealing. The butter adds richness and helps create that signature creamy consistency we’re looking for in premium fudge.
Temperature control remains crucial during this step, as overheating can cause the caramel to seize or become grainy. Keep the heat at medium low and watch for gentle bubbling rather than vigorous boiling.
Once your caramel mixture reaches the proper consistency, you’ll blend it with melted chocolate to create the fudge base. This combination creates depth of flavor that elevates the final product beyond simple chocolate fudge.
Balancing Sweet and Salty Flavors
Achieving the perfect sweet to salty ratio requires careful attention to the type and amount of salt you incorporate. Flaky sea salt provides the ideal texture contrast while improving the caramel’s natural sweetness without overwhelming the chocolate base.
We suggest starting with a conservative amount of salt and adjusting to taste, as different salt varieties have varying intensities. Coarse sea salt crystals create delightful pops of flavor that surprise your taste buds with each bite.
Timing the salt addition makes a important difference in the final result. Folding some salt into the fudge mixture creates even distribution, while sprinkling additional flakes on top before cooling provides visual appeal and concentrated bursts of flavor.
The contrast between sweet caramel and salty elements creates a sophisticated flavor profile that keeps people coming back for more. This balance transforms ordinary fudge into an extraordinary treat that rivals expensive boutique confections.
Quality ingredients make the biggest impact on your final product, so invest in good sea salt and real butter rather than substitutes. These premium components ensure your salted caramel fudge delivers the complex flavors that make this recipe truly special.
Mint Chocolate Fudge Recipe
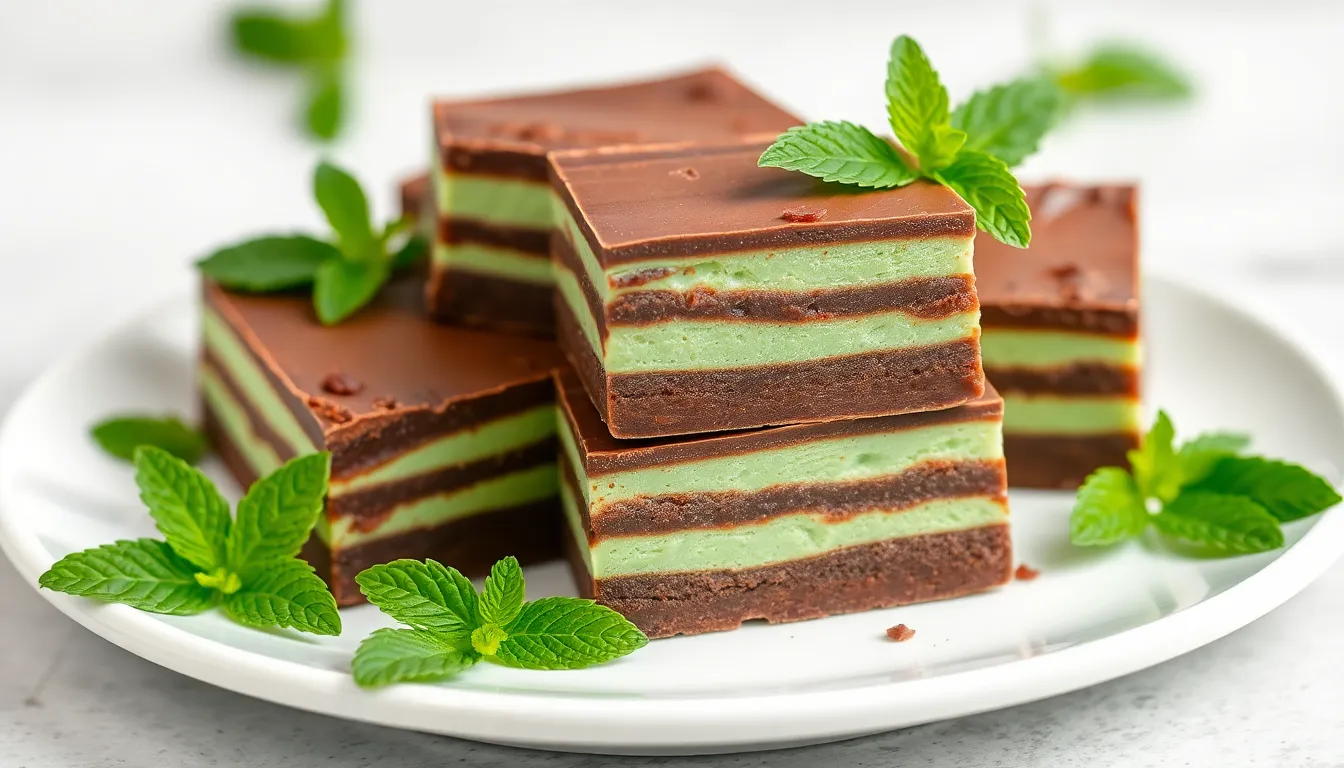
We’re taking our fudge game to the next level with this refreshing mint chocolate creation that combines rich chocolate layers with cool mint flavors. This three-layer masterpiece delivers the perfect balance of indulgent chocolate and invigorating mint that’ll leave everyone asking for the recipe.
Fresh Mint vs Extract Options
Extract delivers consistent mint flavor throughout your fudge with minimal effort. We recommend starting with 1 teaspoon of peppermint extract for the white chocolate layer, as it provides reliable intensity and won’t affect the fudge’s texture.
Fresh mint creates a more natural and subtle flavor profile that some bakers prefer. Making a mint syrup by simmering fresh mint leaves with sugar and water gives you complete control over the intensity. Infusing cream with fresh mint leaves for 30 minutes before straining also works beautifully.
Convenience favors extract for most home bakers since it requires no preparation time. Fresh mint demands more steps but rewards you with complex flavor notes that extract can’t replicate.
Availability matters when choosing your mint source. Extract stays fresh in your pantry for months, while fresh mint needs immediate use and seasonal availability affects quality.
Achieving the Perfect Mint Intensity
Start small with just 1/2 teaspoon of peppermint extract and taste the mixture before adding more. We’ve found that mint flavor intensifies as the fudge sets, so what tastes mild during preparation often becomes perfectly balanced in the final product.
Layering technique affects how mint flavor distributes throughout your fudge. Adding extract to the white chocolate layer creates distinct mint zones, while incorporating it into multiple layers provides more consistent flavor.
Temperature impacts how mint flavor develops in your fudge. Adding extract to slightly cooled chocolate prevents the alcohol from evaporating too quickly and preserves more mint essence.
Fresh mint requires different timing than extract for optimal results. Steep fresh mint in your condensed milk for 10-15 minutes before straining, then proceed with the recipe as written.
Visual cues help determine proper mint intensity alongside taste testing. Adding 2 drops of green food coloring to your mint layer creates the classic appearance while helping you identify which layer contains the mint flavor.
Cookies and Cream Fudge Recipe
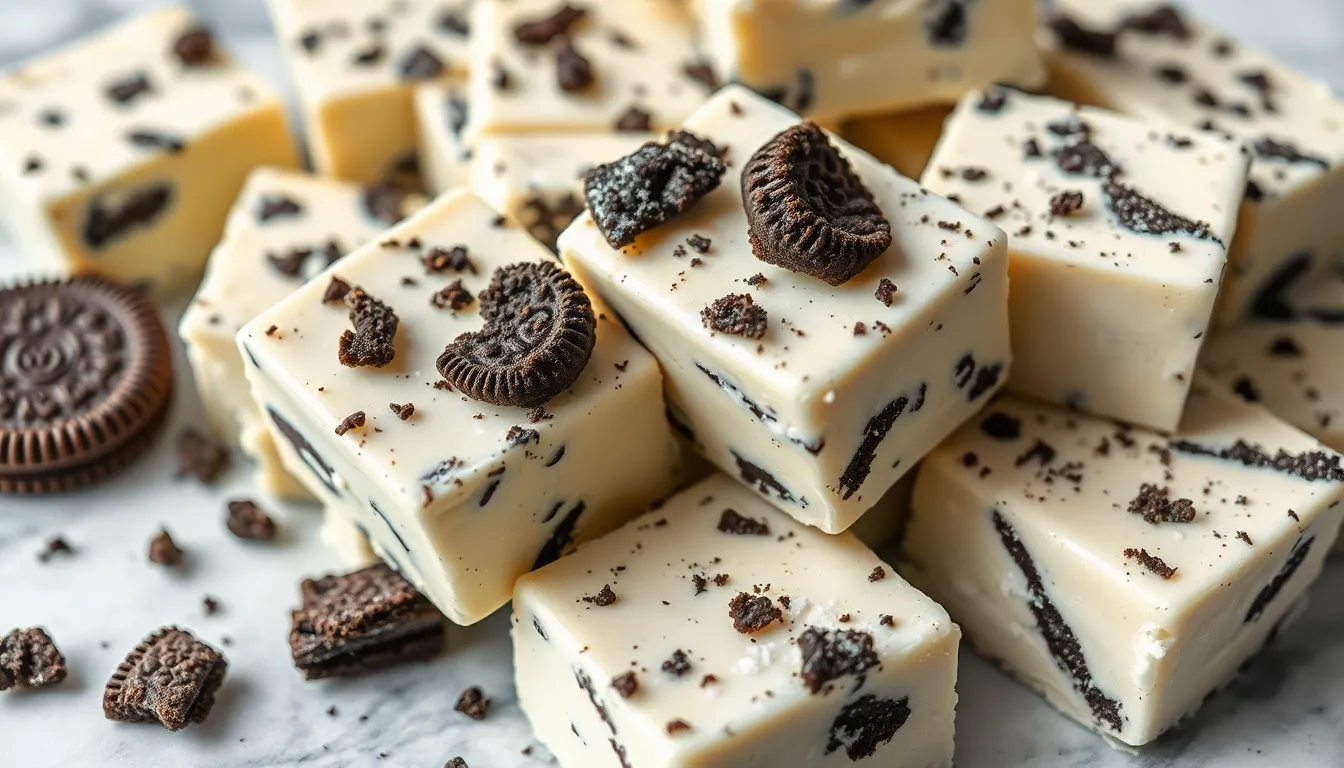
Our cookies and cream fudge brings together the richness of white chocolate with the beloved crunch of Oreo cookies. This indulgent treat delivers the perfect combination of creamy sweetness and satisfying texture in every bite.
Incorporating Cookie Pieces Effectively
Crushing cookies into varied sizes creates the ideal texture foundation for our fudge. We recommend breaking about 13 Oreo cookies into both large chunks and fine crumbs to achieve maximum impact. Large pieces provide satisfying bites of cookie flavor while fine crumbs distribute throughout the fudge base.
Folding the crushed cookies into our melted white chocolate mixture requires gentle technique. We carefully fold rather than stir vigorously to maintain distinct cookie pieces throughout the fudge. Adding the cookies gradually ensures even distribution without overmixing the chocolate base.
Timing the cookie addition makes all the difference in texture preservation. We incorporate the crushed cookies after the white chocolate mixture has cooled slightly but remains workable. This prevents the cookies from becoming soggy while ensuring they bind properly with the fudge.
Reserving some crushed cookies for topping creates visual appeal and extra crunch. We sprinkle additional cookie pieces on top of our fudge before refrigeration to guarantee every square delivers that signature cookies and cream experience.
Maintaining Texture Balance
Achieving the perfect crunch to creaminess ratio requires careful ingredient proportions. Our recipe uses 3 cups of white chocolate chips with 5 ounces of cookies to ensure enough cookie presence without overwhelming the smooth chocolate base. This balance creates fudge that’s neither too crunchy nor too smooth.
Preserving the chocolate’s silky texture while adding cookies demands gentle handling techniques. We avoid overmixing once the cookies are added to maintain the fudge’s creamy consistency. Excessive stirring can break down both the cookie pieces and the smooth chocolate structure.
Creating layers of texture through strategic cookie placement enhances each bite. We distribute cookies throughout the mixture while reserving coarser pieces for the top layer. This technique ensures consistent cookie flavor in every piece while providing visual contrast.
Monitoring the cooling process helps maintain our desired texture balance. We refrigerate the fudge until completely set while avoiding freezing temperatures that could affect the chocolate’s smooth mouthfeel. Proper cooling preserves both the creamy chocolate base and the satisfying cookie crunch.
Maple Walnut Fudge Recipe
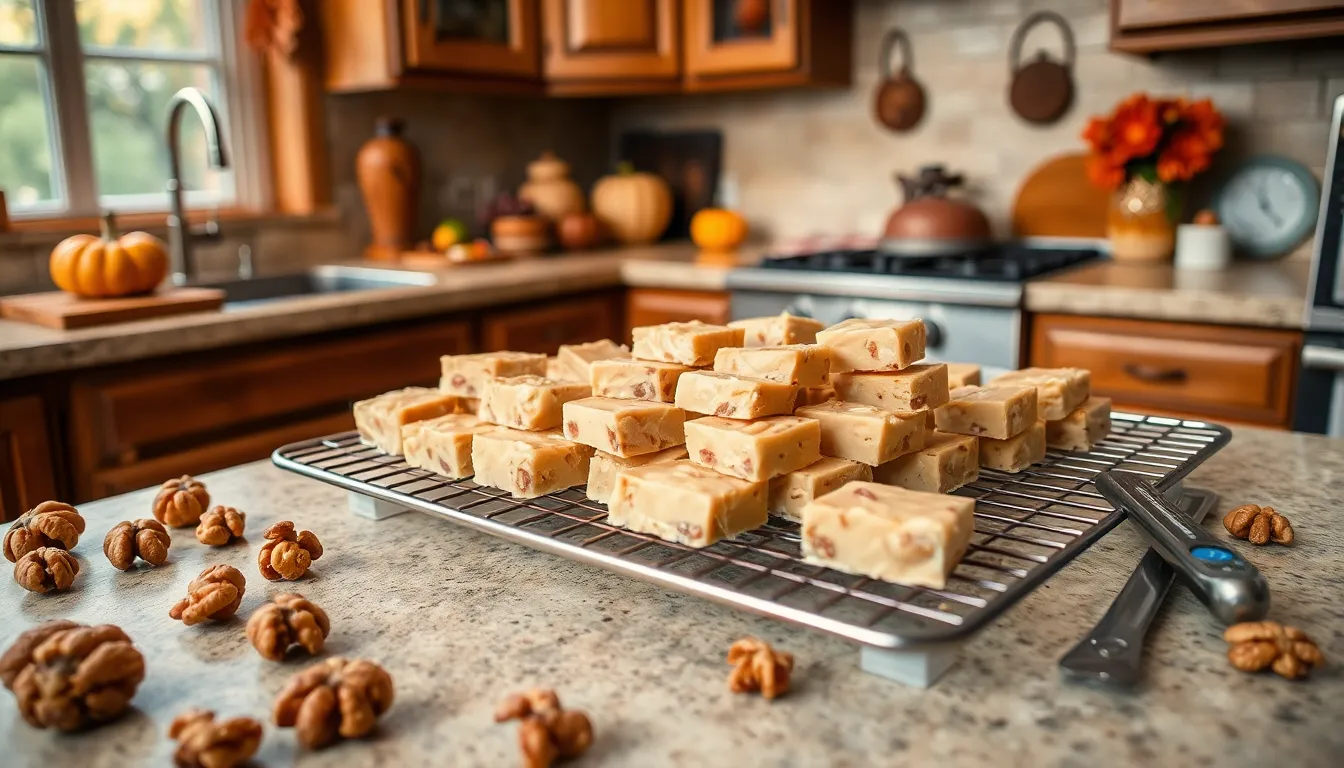
Maple walnut fudge brings together the rich sweetness of pure maple syrup with the satisfying crunch of toasted nuts. This combination creates a sophisticated flavor profile that’s perfect for autumn celebrations or any time you’re craving something uniquely delicious.
Using Pure Maple Syrup Techniques
Temperature control is crucial when working with pure maple syrup in fudge recipes. We recommend using a candy thermometer to monitor the syrup as it heats, ensuring it reaches exactly 248°F for the traditional 12 Tomatoes recipe or 236°F for the old fashioned Frugal Mom Eh version.
Boiling technique matters significantly in achieving the perfect texture. Start by bringing 2 cups of pure maple syrup to a rolling boil, then reduce heat to maintain a steady simmer when combining with 1 cup heavy cream. This gradual approach prevents the mixture from scorching or developing an unpleasant bitter taste.
Whipping transforms everything once your syrup mixture reaches the target temperature. Allow the mixture to cool slightly before whipping vigorously until it thickens and loses its glossy sheen. This crystallization process creates the smooth, creamy texture that makes homemade maple fudge irresistible.
Timing the additions requires patience and precision. Fold in 1/4 cup butter and 1 teaspoon vanilla extract only after the whipping stage, ensuring these ingredients incorporate smoothly without affecting the fudge’s structure.
Toasting Walnuts for Maximum Flavor
Oven toasting delivers consistent results when preparing walnuts for your maple fudge. Preheat your oven to 350°F and spread 1 cup of chopped walnuts evenly on a baking sheet. Toast them for 8 to 10 minutes, stirring once halfway through to ensure even browning.
Stovetop method offers more control for those who prefer to monitor the toasting process closely. Heat a dry skillet over medium low heat and add the walnuts, stirring frequently for 3 to 5 minutes until they become fragrant and lightly golden.
Visual and aromatic cues help determine when your walnuts are perfectly toasted. Look for a light golden color and listen for a subtle crackling sound. The nuts should release a rich, nutty aroma that signals they’re ready to enhance your maple fudge.
Cooling before incorporation prevents the toasted walnuts from melting your fudge mixture. Allow the nuts to cool completely before folding them into your prepared fudge, whether you’re using 1 1/2 cups for the Allrecipes boardwalk quality version or 1/4 cup for the more traditional approach.
Size variations create texture interest in your finished fudge. Break some walnuts into larger pieces for substantial bites while keeping others smaller for even distribution throughout each square.
Rocky Road Fudge Recipe
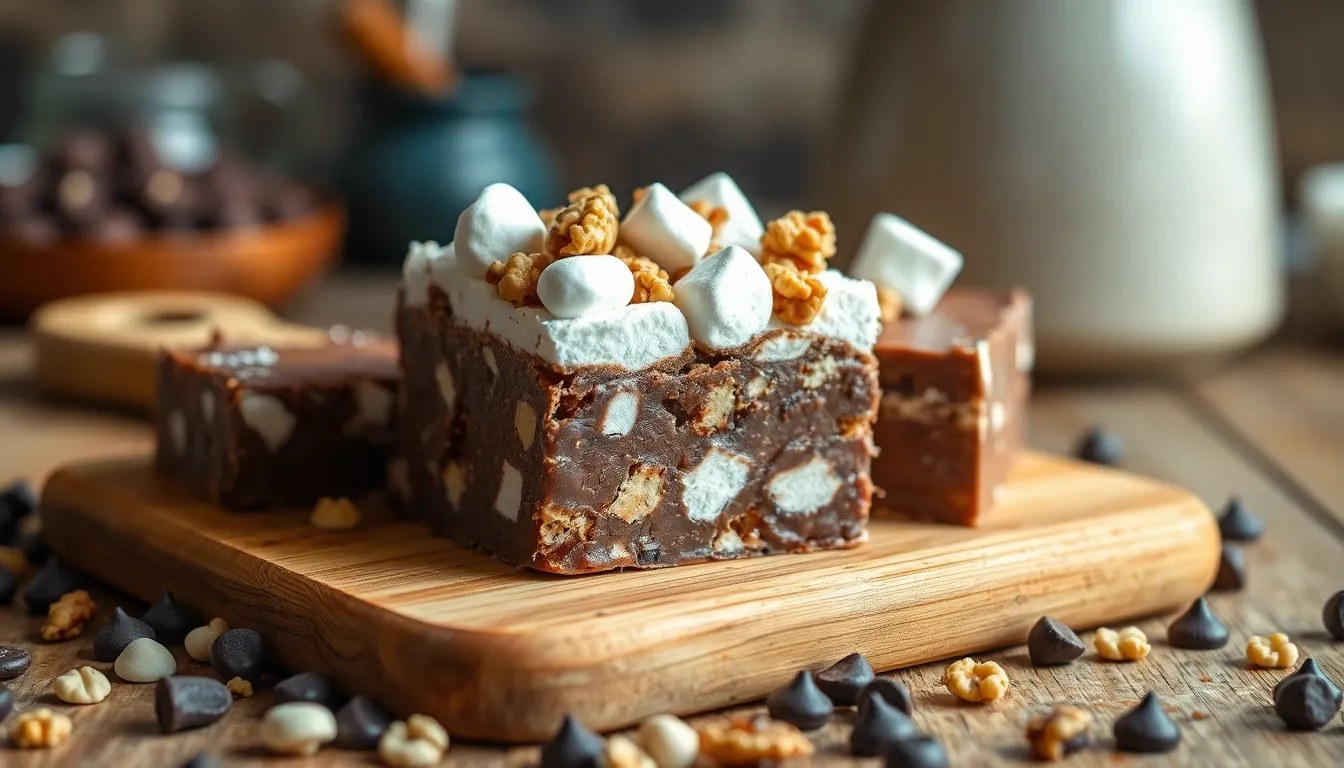
Rocky road fudge delivers the perfect combination of rich chocolate, fluffy marshmallows, and crunchy nuts in every bite. We’ll show you how to master this classic recipe that transforms simple ingredients into an irresistible treat.
Combining Marshmallows and Nuts
Getting the marshmallow texture right requires gentle handling to preserve their fluffy consistency. Let the chocolate mixture cool slightly before folding in 1 cup of marshmallows to prevent them from completely melting into the fudge. Wait until the chocolate has cooled but remains workable before adding your nuts.
Add 1 cup of chopped walnuts or pecans after incorporating the marshmallows to prevent sinking. Fold these ingredients gently using a spatula rather than stirring vigorously. This technique ensures even distribution while maintaining the distinct texture of each component.
Timing makes all the difference when combining these mix-ins with your chocolate base. Pour the mixture into your prepared 8×8-inch pan immediately after folding in the final ingredients. The slightly cooled chocolate will hold the marshmallows and nuts in suspension throughout the fudge.
Preventing Ingredient Separation
Temperature control prevents the dreaded separation that can ruin your rocky road fudge. Melt your 2 cups of semisweet chocolate chips and 1 cup of milk chocolate chips with sweetened condensed milk over low heat only. Avoid overheating as temperatures above medium heat cause the chocolate and milk to separate.
Constant stirring while melting creates a smooth, unified mixture without lumps or separation. Use a wooden spoon or heat-resistant spatula to stir continuously until the chocolate completely melts. This consistent motion prevents hot spots that lead to grainy texture.
Slow cooling allows all ingredients to set together without separating into layers. Let your fudge cool at room temperature rather than placing it in the refrigerator immediately. This gradual cooling process helps maintain the creamy texture and prevents the formation of separated layers that can occur with rapid temperature changes.
Nutella Fudge Recipe
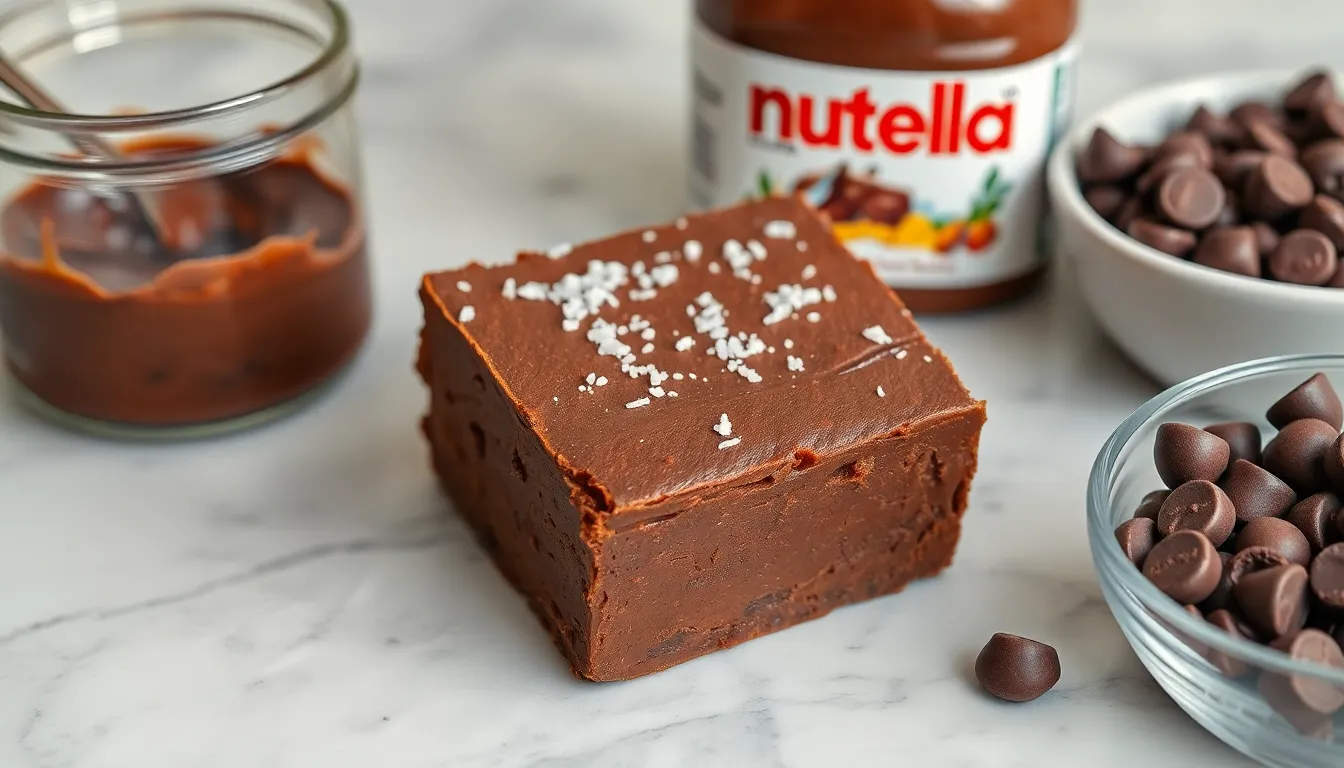
We’ll explore the irresistible industry of Nutella fudge, where creamy chocolate hazelnut spread transforms into decadent squares of pure indulgence.
No-Bake Preparation Method
Easy 4-Ingredient Nutella Fudge delivers exceptional results without any stovetop complications. We combine ½ cup Nutella with 10 oz dark chocolate wafers and 1 jar (14 oz) sweetened condensed milk in a microwave-safe bowl. Microwave the mixture for 20-30 seconds, stirring between sessions until completely smooth.
Pour this silky mixture into a lined dish and sprinkle with ¼ teaspoon flaky salt for that perfect sweet-salty balance. Refrigeration for at least 2 hours sets the fudge to ideal cutting consistency.
No-Bake Nutella Fudge with Chocolate Topping offers another foolproof approach using 1 cup Nutella, 1 cup powdered sugar, ½ cup butter, and 1 teaspoon vanilla extract. We blend Nutella and butter until smooth, then gradually add powdered sugar and vanilla. Press this mixture into a lined pan and top with melted chocolate chips before refrigerating until completely set.
3-Ingredient Nutella Fudge simplifies the process even further with just 1 can (14 oz) condensed milk, 3 tablespoons Nutella, and 1 tablespoon unsalted butter. Heat these ingredients in a saucepan over medium heat, stirring constantly until the mixture boils. Reduce heat and continue cooking for approximately 10 minutes before cooling and refrigerating.
Achieving Smooth Nutella Integration
Blending techniques ensure perfectly smooth Nutella distribution throughout your fudge. We recommend using a stand mixer to thoroughly integrate Nutella with other ingredients, eliminating any lumps or streaks that might compromise texture.
Temperature control plays a crucial role in successful Nutella fudge preparation. Room temperature ingredients work best for no-bake methods, allowing easier blending and smoother consistency. When using microwave techniques, we heat in short 20-30 second intervals to prevent burning and maintain optimal texture.
Stirring methods require continuous attention during stovetop preparation to prevent sticking and achieve silky smoothness. We stir constantly when heating condensed milk mixtures, ensuring even heat distribution and preventing the bottom from scorching. This consistent stirring technique creates the velvety texture that makes Nutella fudge so irresistible.
Coconut Fudge Recipe
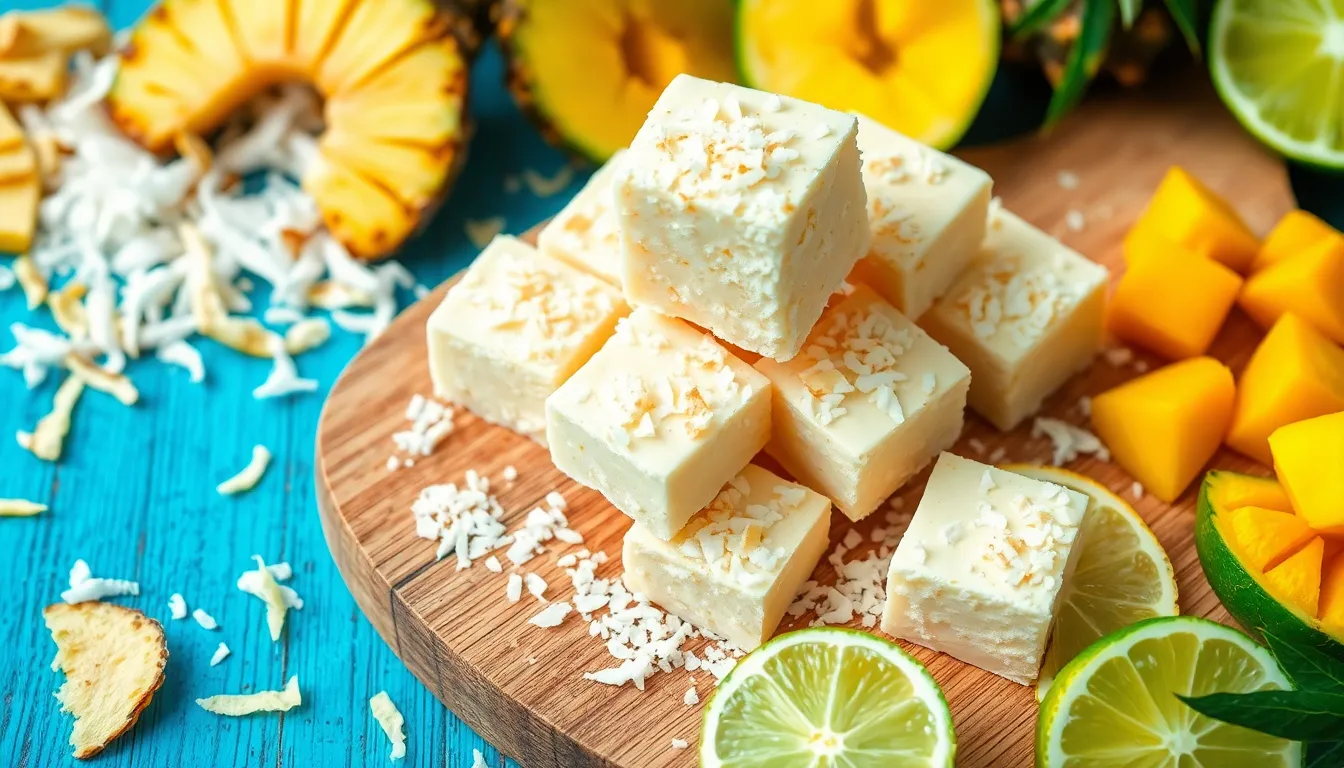
We’re transporting you to tropical paradise with our coconut fudge recipe that delivers rich sweetness and exotic flavor. This creamy confection combines sweetened condensed milk with shredded coconut for an irresistible treat.
Toasted vs Untoasted Coconut Options
Toasted coconut offers a richer, nuttier flavor that transforms your fudge into a sophisticated dessert. Spread coconut flakes on a baking sheet and bake at 350°F for 5-7 minutes, watching carefully for that perfect golden brown color. The toasting process intensifies the coconut’s natural oils and creates deeper flavor notes.
Untoasted coconut provides a lighter, fresher coconut taste that maintains the fruit’s natural sweetness. Fresh coconut delivers a cleaner flavor profile that won’t overpower other ingredients in your fudge. Many bakers prefer untoasted coconut when combining multiple tropical flavors.
Temperature control becomes crucial when incorporating toasted coconut since the heated flakes can affect your fudge’s setting process. We recommend cooling your toasted coconut completely before folding it into the mixture. Texture variations emerge when you combine both toasted and untoasted coconut for added complexity.
Creating Tropical Flavor Combinations
Pineapple coconut fudge creates an authentic tropical experience by adding dried pineapple pieces or pineapple puree to your base recipe. Fold in 1/4 cup of finely chopped dried pineapple during the final mixing stage for bursts of tangy sweetness. Fresh pineapple requires careful preparation since excess moisture can prevent proper setting.
Mango coconut fusion delivers exotic flavor depth through dried mango pieces or concentrated mango puree. We suggest using 2 tablespoons of mango puree mixed with 1/3 cup shredded coconut for optimal flavor balance. Timing matters when adding fruit purees since they can interfere with the fudge’s crystallization process.
Lime coconut combination brightens your fudge with citrus notes that complement the coconut’s richness. Add 1 teaspoon of fresh lime zest and 1 tablespoon of lime juice to create a Key lime pie inspired variation. Citrus additions should be incorporated at room temperature to prevent the mixture from seizing.
Passion fruit elements introduce tropical complexity through passion fruit pulp or extract mixed into your coconut base. Seeds from fresh passion fruit add textural interest while the pulp provides intense flavor concentration. We recommend straining the pulp if you prefer a smoother texture in your finished fudge.
Conclusion
We’ve shared our most treasured fudge recipes that’ll transform your kitchen into a confectionery paradise. From classic chocolate to tropical coconut variations each recipe offers its own unique charm and irresistible appeal.
These tried-and-tested recipes give you the confidence to create professional-quality fudge right at home. Whether you’re craving the nostalgic comfort of rocky road or the sophisticated elegance of salted caramel we’ve got you covered.
Remember that great fudge starts with quality ingredients and proper technique. Temperature control stirring methods and timing are your keys to achieving that perfect creamy texture every time.
Now it’s time to roll up your sleeves and start creating these delectable treats. Your friends and family will be amazed by the incredible fudge you’ll produce using these foolproof recipes.
Frequently Asked Questions
What ingredients do I need for basic chocolate fudge?
For classic chocolate fudge, you only need three essential ingredients: granulated sugar, whole milk, and unsalted butter to create the creamy base. Add high-quality chocolate for rich flavor. Optional ingredients include vanilla extract and a pinch of salt to enhance the taste.
How do I prevent my fudge from becoming grainy?
Temperature control is crucial for smooth fudge. Use a candy thermometer and avoid overheating ingredients. Stir continuously but gently when combining ingredients. For peanut butter fudge, heat slowly to prevent graining, and ensure all ingredients are well-incorporated before cooling.
Can I make fudge without a candy thermometer?
Yes, but a thermometer ensures better results. For no-bake recipes like Nutella fudge, you can use microwave methods with careful timing. Watch for visual cues like smooth melting and proper consistency. However, recipes with maple syrup or caramel require precise temperature control for best results.
How long does homemade fudge need to set?
Most fudge recipes require 2-4 hours to set at room temperature. For firmer results, refrigerate for 1-2 hours. Rocky road and cookies & cream varieties may need longer cooling to maintain texture. Allow complete cooling before cutting for clean, professional-looking squares.
What’s the best way to store homemade fudge?
Store fudge in an airtight container at room temperature for up to one week. Layer pieces between parchment paper to prevent sticking. Refrigerate for longer storage up to two weeks. Avoid freezing as it can affect texture, especially for varieties with marshmallows or cookies.
How do I add mix-ins without ruining the texture?
Add mix-ins like nuts, cookies, or marshmallows when the fudge has cooled slightly but is still workable. Fold gently to preserve texture. For cookies & cream fudge, crush cookies into varied sizes. Toast nuts before adding for enhanced flavor, and ensure they’re completely cooled first.
Can I make dairy-free or sugar-free fudge variations?
While the traditional recipes use dairy ingredients, you can experiment with coconut milk or dairy-free alternatives. However, this may affect texture and setting properties. Sugar-free versions require sugar substitutes that behave similarly to regular sugar when heated, which can be challenging for beginners.
Why is my white chocolate fudge not setting properly?
White chocolate contains less cocoa solids than regular chocolate, affecting setting properties. Use high-quality white chocolate with good cocoa butter content. Ensure proper temperature control and avoid overheating. Add sweetened condensed milk gradually and stir continuously for smooth consistency.
How do I achieve perfect layers in flavored fudge?
For layered fudge like mint chocolate, allow the first layer to cool slightly before adding the second. Temperature control prevents layers from mixing. Work quickly but carefully when spreading layers. Use visual cues like food coloring to distinguish flavors and create appealing presentation.
What’s the secret to balancing sweet and salty in salted caramel fudge?
Use flaky sea salt rather than table salt for better flavor distribution. Add salt at the right timing – some during cooking and a final sprinkle on top. Quality ingredients like real butter and good sea salt are essential. Start with less salt and adjust to taste preferences.

