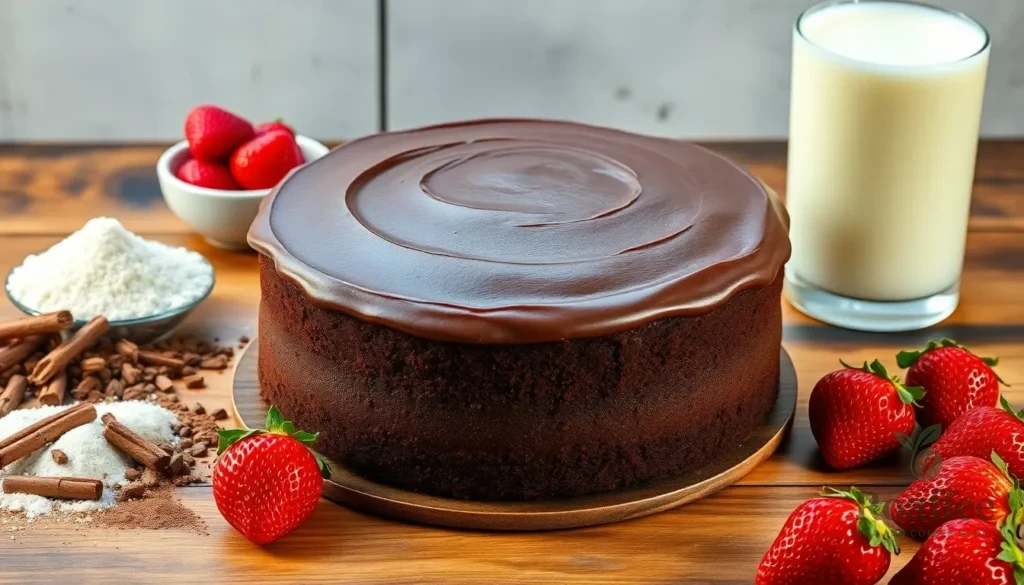
We’ve all been there – craving a rich, decadent chocolate cake but not wanting the extra caffeine kick that comes with coffee-enhanced recipes. This chocolate cake recipe no coffee delivers all the deep, satisfying chocolate flavor you love without relying on coffee to intensify the taste.
What makes this recipe special is how we achieve that perfect balance of moistness and rich chocolate flavor using simple pantry staples. We’ll show you how cocoa powder, buttermilk, and a few secret ingredients create a cake that’s every bit as delicious as those coffee-spiked versions. The result is a perfectly tender crumb with an intense chocolate taste that won’t keep you up at night.
Whether you’re avoiding caffeine, don’t have coffee on hand, or simply prefer your chocolate cake without it, this recipe proves you don’t need coffee to create bakery-quality results. Let’s jump into making the most indulgent chocolate cake that’ll become your new go-to dessert.
Ingredients
This chocolate cake recipe relies on carefully selected ingredients that work together to create exceptional flavor and texture. We’ve organized everything into three simple categories to make your baking process smooth and efficient.
Dry Ingredients
- 1¾ cups all-purpose flour
- 2 cups granulated sugar
- ¾ cup unsweetened cocoa powder
- 2 teaspoons baking soda
- 1 teaspoon baking powder
- 1 teaspoon salt
- ½ teaspoon ground cinnamon
Wet Ingredients
- 1 cup buttermilk, room temperature
- 1 cup warm water
- ½ cup vegetable oil
- 2 large eggs, room temperature
- 2 teaspoons vanilla extract
- 1 tablespoon white vinegar
Chocolate Frosting Ingredients
- 1 cup unsalted butter, softened
- 3½ cups powdered sugar
- ¾ cup unsweetened cocoa powder
- ½ cup heavy cream
- 2 teaspoons vanilla extract
- ¼ teaspoon salt
Equipment Needed
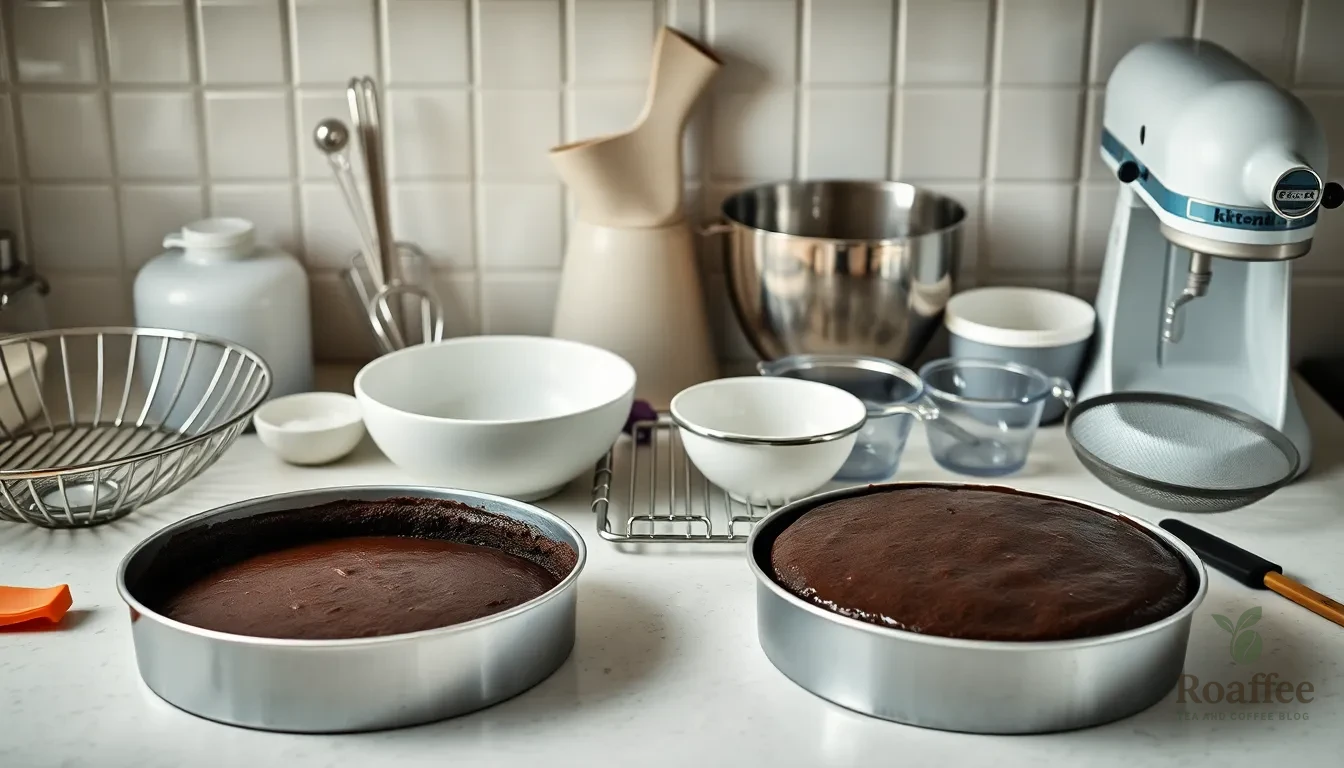
Creating this delicious chocolate cake without coffee requires basic kitchen equipment that most home bakers already own. We’ve organized the essential tools to ensure your baking process runs smoothly from start to finish.
Baking Pans and Preparation:
- Two 8-inch or 9-inch round cake pans (greased or lined with parchment paper)
- Cooking spray or butter for greasing pans
- Parchment paper for easy cake removal
Mixing Equipment:
- Large mixing bowls (at least 2-3 bowls for separating ingredients)
- Electric mixer (stand mixer or hand mixer for best results)
- Wire whisk for manual mixing
- Rubber spatula for folding and scraping
Measuring Tools:
- Measuring cups for dry ingredients
- Liquid measuring cups with spouts
- Measuring spoons set
- Kitchen scale (optional but recommended for precision)
Baking Essentials:
- Oven thermometer to ensure accurate temperature
- Cooling racks for proper cake cooling
- Toothpicks for testing doneness
- Offset spatula for frosting application
Additional Tools:
- Fine mesh sieve for sifting cocoa powder
- Small saucepan if warming buttermilk
- Clean kitchen towels for cleanup
Having these tools ready before we begin ensures our chocolate cake baking process flows seamlessly. The right equipment makes the difference between a good cake and an exceptional one that rivals any bakery creation.
Instructions
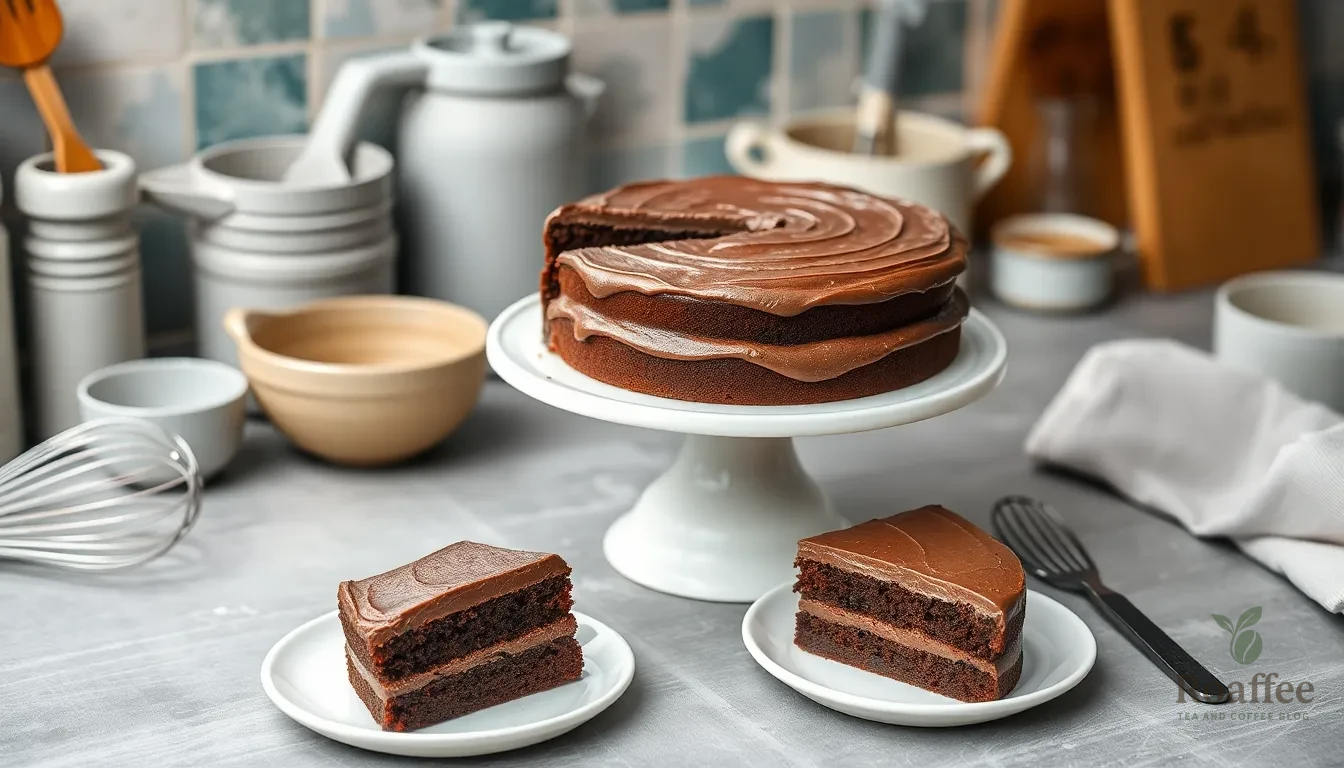
Follow these step-by-step instructions to create your perfect chocolate cake without coffee. We’ll guide you through each stage to ensure bakery-quality results.
Prep Work
Preheat your oven to 350°F (175°C) and position the rack in the center.
Prepare two 9-inch round cake pans by lining the bottoms with parchment paper and spraying with non-stick spray or lightly greasing and flouring them.
Measure all ingredients carefully before starting to ensure smooth baking and consistent results.
Making the Cake Batter
Whisk together the dry ingredients in a large bowl: 2 cups all-purpose flour, 2 cups granulated sugar, ¾ cup unsweetened cocoa powder, 2 teaspoons baking powder, 2 teaspoons baking soda, and 1 teaspoon salt.
Combine the wet ingredients in another bowl: 1 cup buttermilk, ½ cup vegetable oil, 2 eggs, and 1 tablespoon vanilla extract. Mix until smooth and well incorporated.
Add the wet mixture to the dry ingredients gradually, stirring until just combined to avoid overmixing.
Stir in 1 cup boiling water slowly to the batter, mixing until smooth. The batter will appear thin, but this creates the moist texture we want.
Divide the batter evenly between the prepared pans, using a kitchen scale for accuracy if available.
Baking the Cake
Bake for 30-35 minutes at 350°F, or until a toothpick inserted in the center comes out clean or with just a few moist crumbs.
Cool the cakes in their pans for 10 minutes on wire racks.
Invert the cakes onto cooling racks and remove the parchment paper. Allow them to cool completely before frosting, approximately 1 hour.
Preparing the Chocolate Frosting
Beat ½ cup softened butter and ½ cup cocoa powder together until smooth and well combined.
Add 4 cups sifted powdered sugar gradually, beating on low speed initially to prevent sugar clouds.
Mix in 1 teaspoon vanilla extract and a pinch of salt until incorporated.
Add 6-8 tablespoons of heavy cream or milk gradually until you reach a spreadable consistency that holds its shape.
Assembling the Cake
Place one cooled cake layer on your serving plate or cake stand.
Spread approximately one cup of frosting evenly across the top of the first layer using an offset spatula.
Position the second cake layer on top, pressing gently to secure it in place.
Frost the sides and top with the remaining frosting, creating smooth, even coverage.
Serve immediately or cover and refrigerate for up to 3 days. The flavors actually improve after sitting overnight.
Storage Instructions
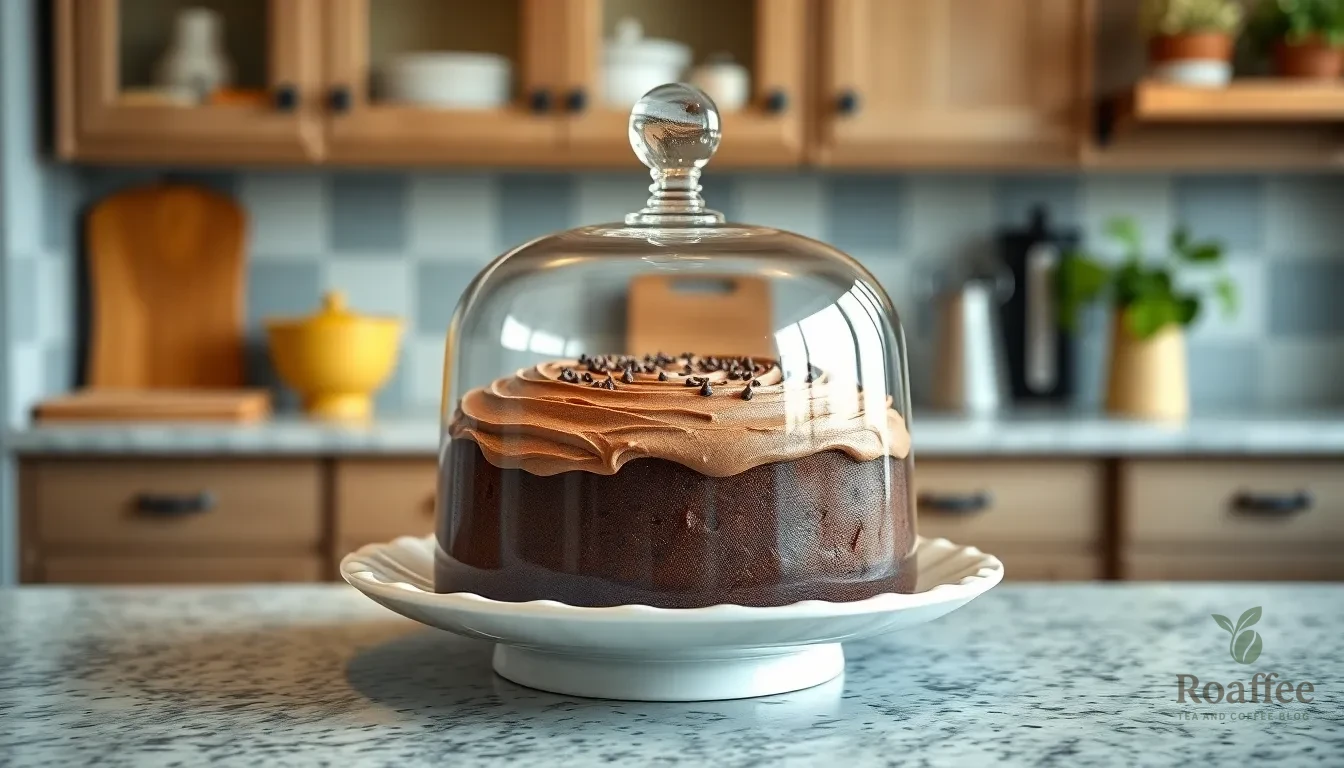
Proper storage ensures our chocolate cake maintains its moist texture and rich flavor for days after baking. We recommend following these exact storage guidelines to maximize freshness and prevent the cake from drying out.
Room Temperature Storage
Store our finished chocolate cake at room temperature in an airtight container for up to 3 days. This method works best when the cake is completely cooled and properly covered to prevent moisture loss. We suggest placing the cake on a serving plate and covering it with a cake dome or wrapping it tightly with plastic wrap before placing it in the container.
Refrigerator Storage
Keep the cake in the refrigerator for up to 5 days when you need longer storage. The cool temperature helps preserve the cake’s structure and prevents spoilage of the frosting. We recommend bringing refrigerated cake to room temperature for 30 minutes before serving to restore optimal texture and flavor.
Freezer Storage
Wrap the cake tightly in plastic wrap followed by aluminum foil and freeze for up to 2 months for long term storage. This double wrapping method prevents freezer burn and maintains the cake’s quality. We advise labeling the wrapped cake with the date to track storage time.
| Storage Method | Duration | Temperature |
|---|---|---|
| Room Temperature | Up to 3 days | 68-72°F |
| Refrigerator | Up to 5 days | 35-40°F |
| Freezer | Up to 2 months | 0°F |
Thaw frozen cake at room temperature for 2-3 hours before serving. The gradual thawing process preserves the cake’s moisture and prevents condensation from forming on the surface. We find that properly stored cake often tastes even better the next day as the flavors have more time to meld together.
Make-Ahead Tips
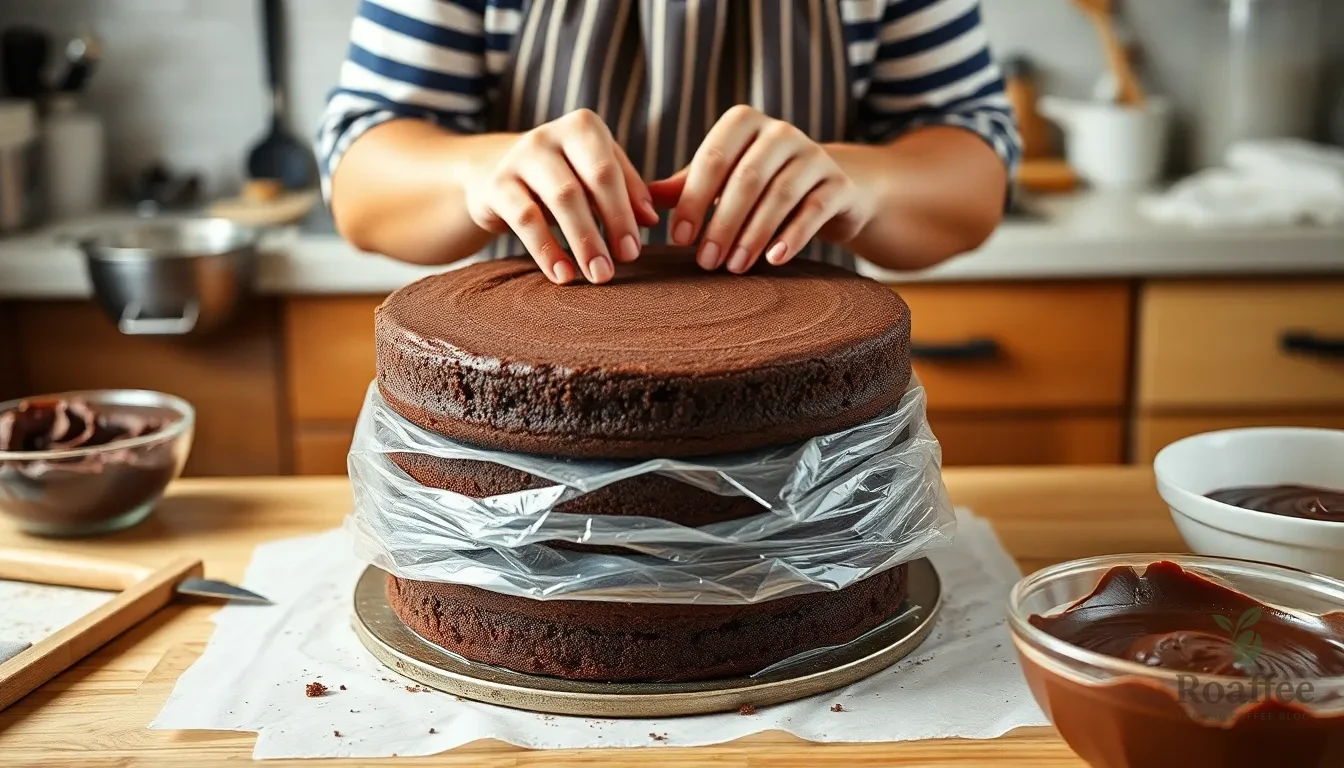
Planning ahead transforms this chocolate cake recipe into a stress-free baking experience. We recommend preparing the cake layers in advance to save time and ensure perfect results for special occasions.
Baking the Layers Ahead
Prepare both cake layers completely according to our recipe instructions. Allow them to cool entirely on wire racks before wrapping. This cooling process typically takes 2-3 hours at room temperature.
Proper Wrapping Technique
Wrap each cooled layer individually in plastic wrap or aluminum foil. Press the wrapping material directly against the cake surface to prevent air exposure. Double wrap the layers for maximum freshness protection.
Storage Timeline Options
| Storage Method | Duration | Temperature |
|---|---|---|
| Refrigerator | Up to 3 days | 35-40°F |
| Freezer | Up to 2 months | 0°F |
Thawing and Assembly Process
Remove refrigerated cake layers 30-60 minutes before assembling to bring them to room temperature. Frozen layers require 2-3 hours of thawing time at room temperature. Never microwave frozen cake layers as this creates uneven texture.
Final Assembly Tips
Level the cake tops with a serrated knife if needed before frosting. This step ensures even layers and professional appearance. Assemble and frost the complete cake just before serving for optimal texture and visual appeal.
Frosting Preparation Schedule
Make our chocolate frosting up to 2 days ahead and store it covered in the refrigerator. Bring the frosting to room temperature and re-whip it briefly before spreading on the cake layers. This approach maintains the frosting’s smooth consistency and rich flavor.
Serving Suggestions
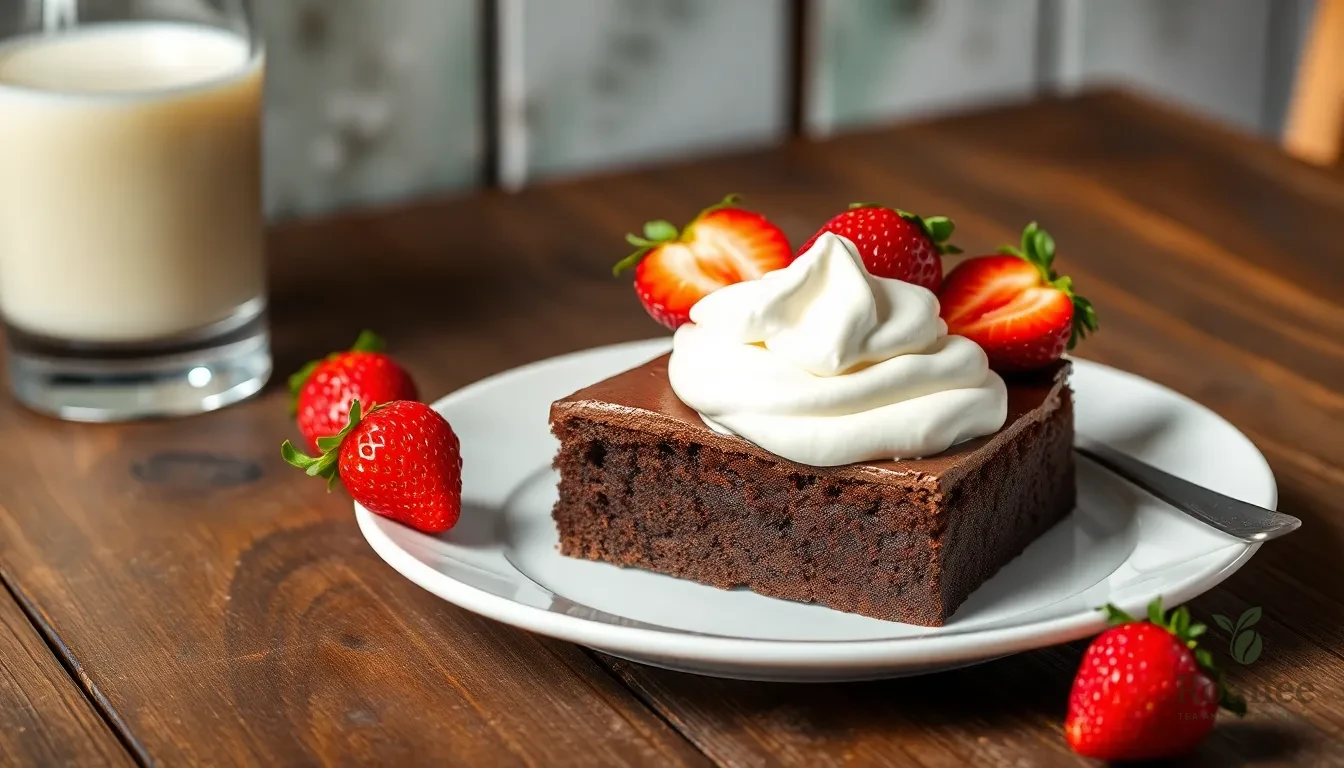
Our chocolate cake recipe without coffee pairs beautifully with various accompaniments that enhance its rich cocoa flavor. We recommend serving each slice with a dollop of freshly whipped cream or a scoop of vanilla ice cream to add creamy contrast to the dense cake texture. The cold temperature of ice cream creates a delightful temperature contrast that makes every bite memorable.
Fresh berries bring bright acidity that cuts through the cake’s richness perfectly. We love pairing this dessert with sliced strawberries or mixed berries arranged alongside each slice. The natural sweetness of berries complements the chocolate without overwhelming the palate.
For beverage pairings, we suggest serving this cake with a glass of cold milk or dairy-free milk alternatives. The creamy texture of milk enhances the chocolate flavor while providing a classic comfort food experience. Coffee lovers can still enjoy their favorite brew alongside this cake since the recipe doesn’t contain coffee itself.
Special occasions call for elegant presentation options. We recommend dusting the finished cake with powdered sugar just before serving to create an attractive finish. Alternatively, drizzle warm chocolate ganache over individual slices for an extra indulgent touch that transforms this simple cake into a restaurant-quality dessert.
Room temperature serving brings out the best flavors in our chocolate cake. We suggest removing the cake from refrigeration 30 minutes before serving to allow the frosting to soften slightly. This timing ensures the cake maintains its moist texture while the frosting reaches the perfect consistency for easy slicing.
Conclusion
We’ve shown you how to create an incredible chocolate cake that doesn’t rely on coffee for its rich flavor. This recipe proves that simple ingredients and proper technique can deliver bakery-quality results every time.
The beauty of this coffee-free chocolate cake lies in its versatility and accessibility. Whether you’re avoiding caffeine serving guests with dietary restrictions or simply prefer pure chocolate flavor this recipe delivers consistently delicious results.
With our detailed instructions storage tips and serving suggestions you’re equipped to make this cake a go-to dessert for any occasion. The moist texture and intense chocolate taste will make this recipe a permanent addition to your baking collection.
Frequently Asked Questions
Can I make this chocolate cake without coffee?
Yes, this recipe is specifically designed to be coffee-free while still delivering rich, intense chocolate flavor. The recipe uses simple pantry staples like cocoa powder and buttermilk, along with secret ingredients to achieve a moist, tender crumb without any caffeine.
What ingredients do I need for this chocolate cake?
The recipe requires three categories of ingredients: dry ingredients (flour, sugar, cocoa powder, baking soda, baking powder, salt, cinnamon), wet ingredients (buttermilk, warm water, vegetable oil, eggs, vanilla extract, white vinegar), and chocolate frosting ingredients (butter, powdered sugar, cocoa powder, heavy cream, vanilla extract, salt).
What equipment do I need to bake this cake?
You’ll need basic baking equipment that most home bakers already have: two 8-inch or 9-inch round cake pans, mixing bowls, an electric mixer, measuring tools, an oven thermometer, and cooling racks. Having the right equipment ensures a smooth baking process and professional results.
How should I store this chocolate cake?
Store the finished cake at room temperature in an airtight container for up to three days, or refrigerate for up to five days. For long-term storage, wrap tightly and freeze for up to two months. The cake’s flavors actually improve after sitting overnight.
Can I make this cake ahead of time?
Yes, you can prepare the cake layers in advance. Cool them completely, then wrap tightly and store properly. The chocolate frosting can also be made ahead and stored in the refrigerator. Re-whip the frosting before use to maintain its smooth consistency and rich flavor.
What are the best serving suggestions for this cake?
Serve at room temperature for optimal flavor and texture. Remove from refrigeration 30 minutes before serving. Pair with whipped cream, vanilla ice cream, or fresh berries. For special occasions, dust with powdered sugar or drizzle with warm chocolate ganache. Cold milk complements the rich chocolate flavor perfectly.
