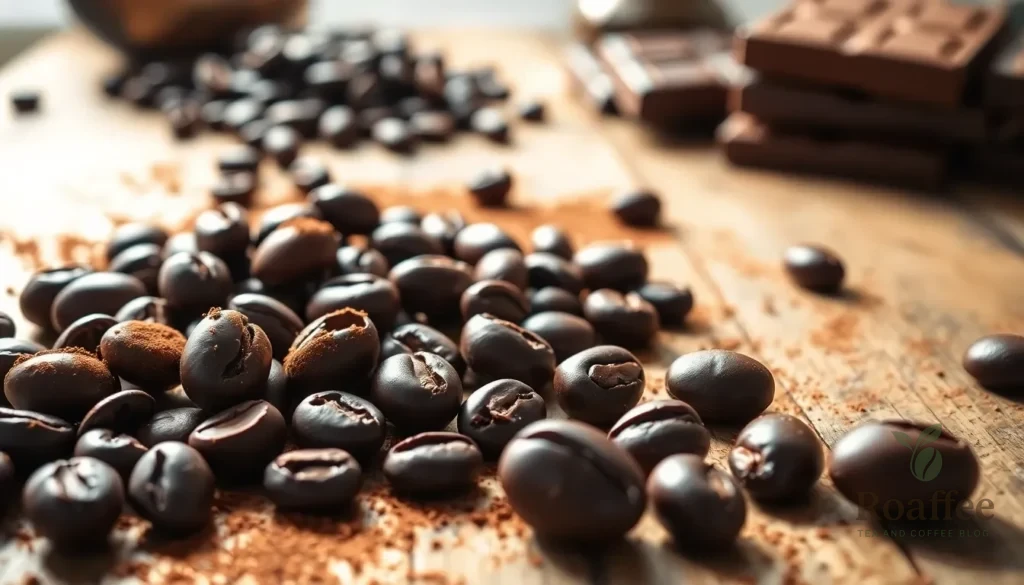
Nothing beats the perfect marriage of rich chocolate and bold coffee flavor in one irresistible bite. We’ve perfected this chocolate covered coffee beans recipe that transforms ordinary coffee beans into an elegant treat that’ll satisfy your caffeine cravings while delivering an indulgent chocolate experience.
These homemade chocolate-coated coffee beans make the perfect afternoon pick-me-up or sophisticated party snack. They’re surprisingly simple to create at home with just a few quality ingredients and basic kitchen tools. The combination of crunchy roasted coffee beans encased in smooth melted chocolate creates an addictive texture that’s hard to resist.
Whether you’re looking to impress guests or simply want to elevate your daily coffee routine, this recipe delivers professional-quality results every time. We’ll show you the exact technique to achieve that glossy chocolate coating while maintaining the perfect crunch of the coffee bean inside.
Ingredients
Creating perfect chocolate covered coffee beans requires just a handful of quality ingredients that work together to deliver exceptional flavor and texture. We carefully selected these components to ensure each bite delivers the ideal balance of rich chocolate and bold coffee notes.
For the Coffee Beans
- 1 cup whole coffee beans (medium to dark roast preferred)
- 2 tablespoons coconut oil or vegetable oil
- 1 teaspoon vanilla extract (optional)
For the Chocolate Coating
- 12 oz dark chocolate (70% cacao or higher) chopped into small pieces
- 2 tablespoons coconut oil or butter
- 1 tablespoon powdered sugar (optional for sweetness)
- 1/4 teaspoon sea salt (optional for salted chocolate variation)
- 2 tablespoons cocoa powder for dusting (optional)
Equipment Needed
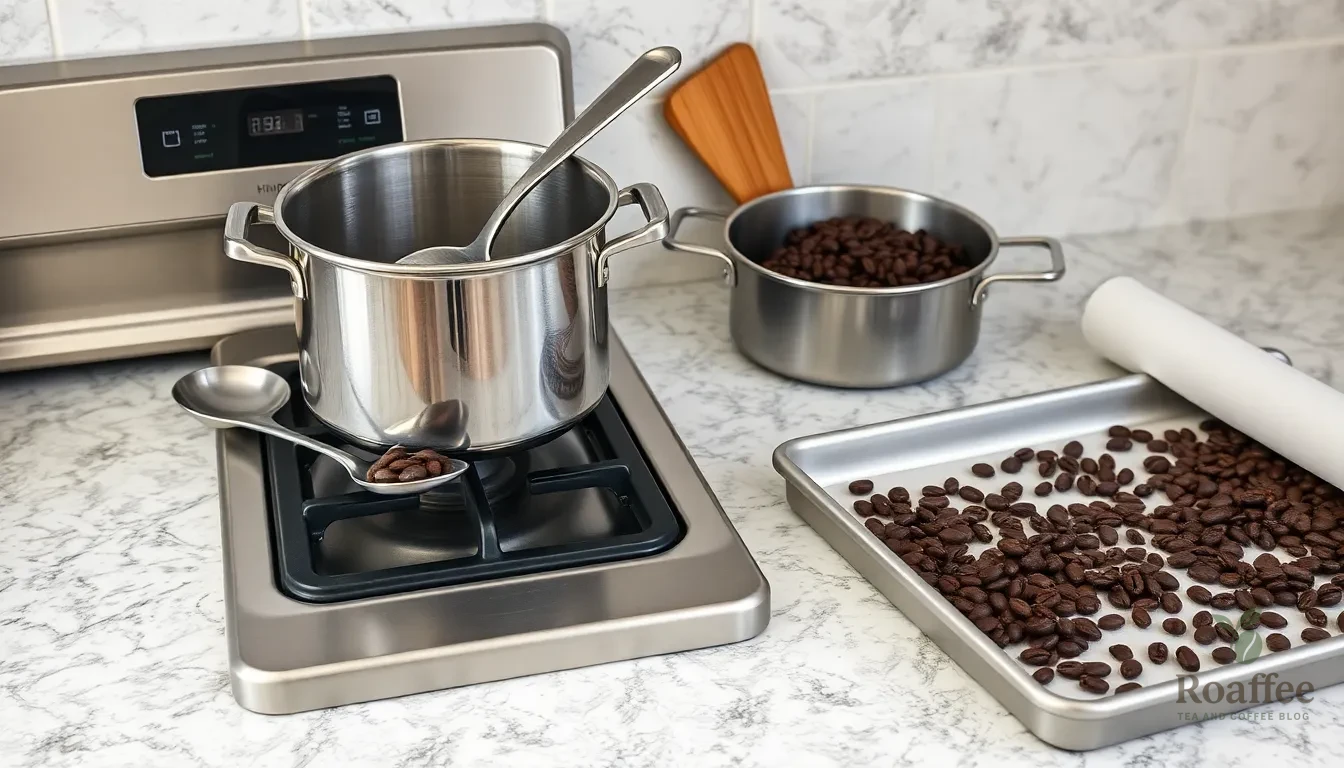
Creating perfect chocolate covered coffee beans requires the right tools to achieve professional results. We recommend gathering these essential items before starting your recipe to ensure a smooth coating process.
Essential Equipment:
- Double boiler or microwave-safe bowl – For melting chocolate evenly without burning
- Baking pan – To roast fresh coffee beans or hold coated beans during preparation
- Slotted spoon – Essential for removing beans while allowing excess chocolate to drip off
- Waxed or parchment paper – Provides a non-stick surface for cooling and hardening
- Mixing spoon – Wooden spoons work best for stirring without scratching bowls
Optional Equipment:
- Oven – Only needed if you plan to roast your own coffee beans at 350°F
- Wire cooling rack – Allows better air circulation around cooling beans
The double boiler method provides the most control over chocolate temperature, preventing the scorching that can occur with direct heat. We find that a slotted spoon with fine holes works better than a fork for coating beans evenly. Quality parchment paper prevents sticking better than waxed paper and makes cleanup easier.
Having all equipment ready before melting chocolate ensures you can work quickly while the chocolate remains at the ideal coating temperature. We recommend organizing your workspace with the slotted spoon and parchment paper within easy reach of your melting station.
Instructions
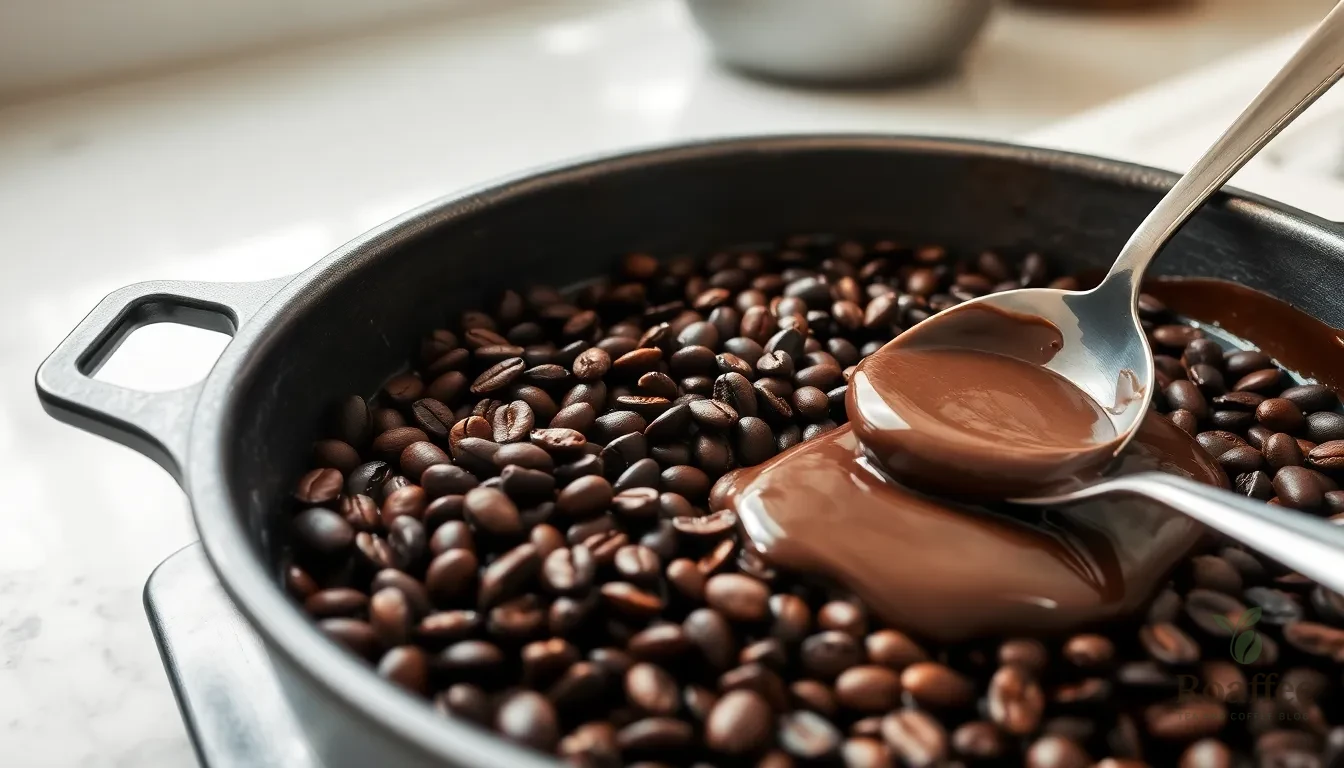
We’ll guide you through each step to create perfectly coated chocolate covered coffee beans that rival any gourmet confection. Our method ensures every bean gets an even coating while maintaining that satisfying crunch.
Prep the Coffee Beans
We start by roasting our coffee beans to enhance their natural flavors and create the perfect texture for coating. Spread 1 cup of whole coffee beans evenly across a baking pan to ensure uniform heating. Preheat your oven to 350°F (175°C) and roast the beans for 8 to 10 minutes until they develop a deeper aroma. Remove the pan from the oven and allow the beans to cool completely before proceeding to the coating process. This cooling step prevents the chocolate from melting too quickly when we add the beans.
Prepare the Chocolate
We recommend using the double boiler method for the smoothest chocolate coating results. Fill a saucepan with a few inches of water and place it over low heat. Position a heatproof bowl containing 4 ounces of milk, dark, or semisweet chocolate pieces above the water, ensuring the bowl doesn’t touch the water surface. Stir the chocolate gently as it melts, maintaining consistent motion to prevent burning. Once the chocolate becomes smooth and creamy, remove it from heat immediately. High quality chocolate yields the best flavor and creates a glossy finish that makes your coffee beans look professionally made.
Coat the Coffee Beans
We add the completely cooled coffee beans directly to our melted chocolate for optimal coating coverage. Stir gently with a spoon until each bean becomes thoroughly coated with chocolate. Use a slotted spoon or fork to lift individual beans from the chocolate, allowing excess coating to drip back into the bowl. Place each coated bean on waxed or parchment paper, spacing them apart to prevent sticking. Work quickly during this step to maintain the chocolate’s ideal consistency for coating.
Set and Cool
We can enhance the flavor by rolling each bean in cocoa powder while the chocolate remains slightly soft. This optional step adds extra texture and intensifies the chocolate experience. Allow the chocolate covered coffee beans to cool and harden at room temperature, or refrigerate them for about an hour until they become completely firm. Store your finished beans in an airtight container away from heat and direct light to maintain their quality. Refrigeration extends shelf life but isn’t necessary for immediate consumption.
Directions for Different Chocolate Types
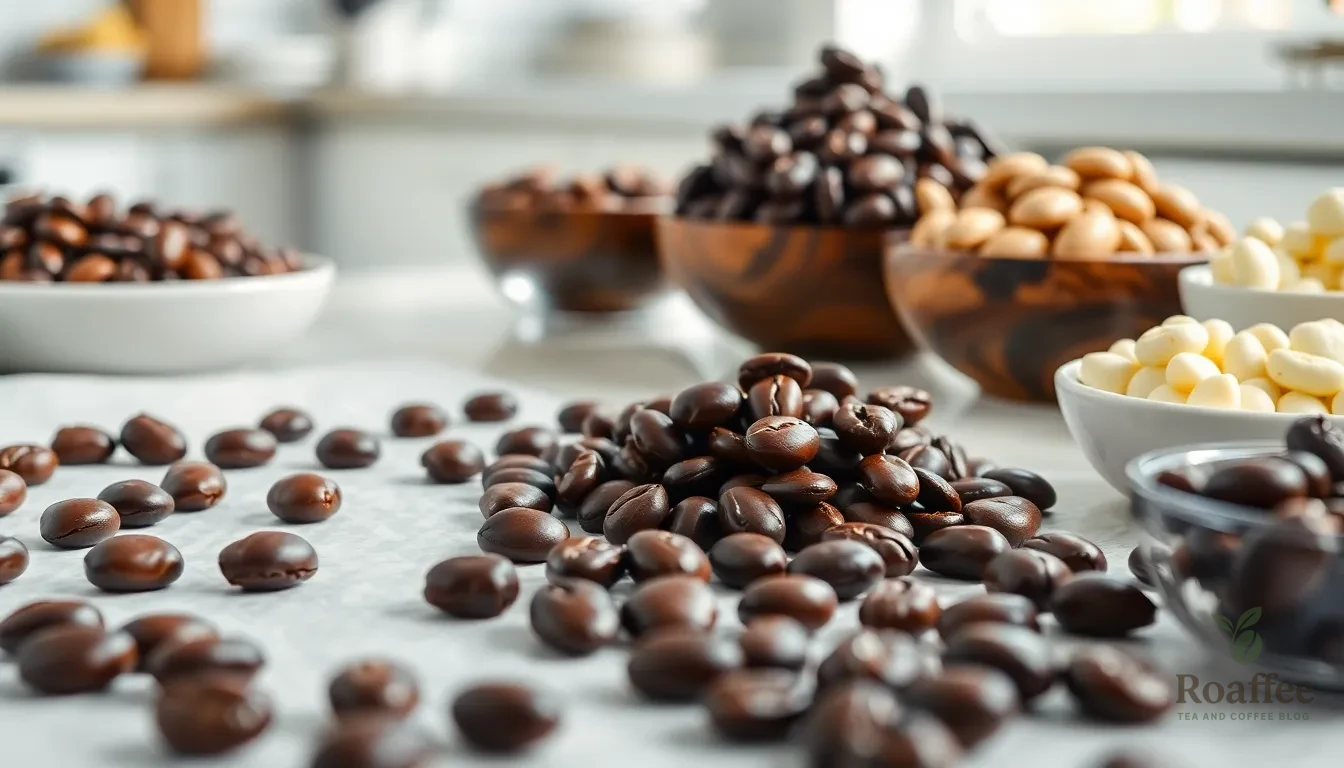
Each type of chocolate offers unique characteristics that create distinct flavor profiles and textures for your chocolate covered coffee beans. We’ll guide you through the exact techniques for working with dark, milk, and white chocolate to achieve professional results.
Using Dark Chocolate
Dark chocolate creates the most intense and sophisticated flavor combination with coffee beans. We recommend using a 2:1 chocolate to coffee bean ratio to ensure rich coating coverage. Melt the dark chocolate slowly using your double boiler method, stirring continuously until smooth and glossy.
Once melted, add the cooled coffee beans and stir gently to coat each bean thoroughly. Remove the coated beans with a slotted spoon, allowing excess chocolate to drip back into the bowl. Place the beans on wax paper and let them cool completely.
For enhanced flavor and texture, we suggest rolling the freshly coated beans in cocoa powder while the chocolate is still slightly warm. This technique adds extra bitterness and creates an appealing matte finish that pairs beautifully with dark roasts like espresso or Italian roast.
Using Milk Chocolate
Milk chocolate delivers a sweeter, creamier coating that appeals to those who prefer less intense chocolate flavors. Follow the same melting process as dark chocolate, but pay extra attention to temperature control since milk chocolate contains dairy solids that can scorch easily.
Coat the coffee beans thoroughly in the melted milk chocolate, ensuring even coverage. The creamy texture of milk chocolate creates a smooth, glossy finish that hardens to a satisfying snap. Place the coated beans on wax paper and allow them to set at room temperature.
Milk chocolate softens more quickly than dark chocolate, making it ideal for creating perfectly round, smooth coated beans. We find that milk chocolate pairs exceptionally well with medium roast coffee beans, balancing the coffee’s acidity with its natural sweetness.
Using White Chocolate
White chocolate requires the most careful handling due to its delicate composition and tendency to burn easily. Use the double boiler method exclusively for white chocolate, maintaining low heat and stirring continuously throughout the melting process.
The key to success with white chocolate lies in patience and temperature control. Remove the chocolate from heat as soon as it reaches a smooth, pourable consistency. Add the coffee beans immediately and work quickly to coat them evenly before the chocolate begins to thicken.
White chocolate provides the sweetest contrast to bitter coffee beans, creating a dessert-like treat that appeals to those who enjoy milder flavors. Place the coated beans on parchment paper and allow them to cool completely before handling, as white chocolate takes longer to set than other varieties.
Make-Ahead Instructions
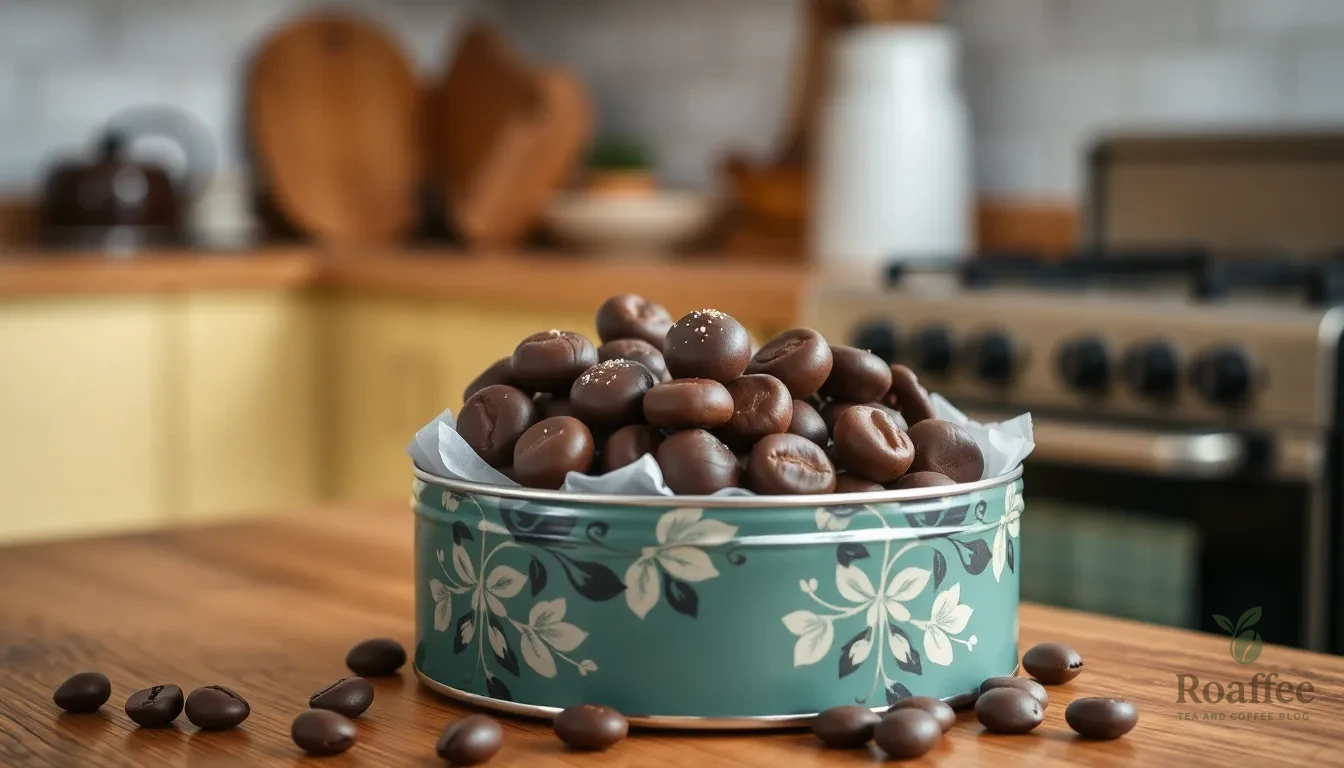
We love how easily these chocolate-covered coffee beans can be prepared days in advance for special occasions or gift giving. Our make-ahead process ensures the treats maintain their perfect texture and flavor while saving valuable time during busy periods.
Storage conditions play a crucial role in maintaining quality. We recommend placing the completely cooled chocolate-covered coffee beans in an airtight container at room temperature for optimal freshness. The beans will maintain their delightful crunch and rich chocolate coating for up to two weeks when stored properly.
Refrigeration offers an alternative storage method that extends freshness. We find that keeping the beans in a sealed container in the refrigerator helps preserve their quality in warmer climates or humid conditions. The cool environment prevents chocolate from melting while maintaining the beans’ satisfying texture.
Temperature control becomes essential during advance preparation. We always ensure our chocolate-covered coffee beans reach room temperature completely before sealing them in containers. This step prevents condensation from forming inside the storage container which could affect the chocolate’s appearance and texture.
Location matters significantly for long-term storage success. We store our prepared beans in cool dry places away from direct sunlight and heat sources. Kitchen pantries or cabinet spaces work perfectly for maintaining consistent temperatures.
| Make-Ahead Timeline | Storage Method | Duration |
|---|---|---|
| Same day preparation | Room temperature | 8-10 hours |
| Weekend batch | Airtight container | 3-5 days |
| Weekly preparation | Refrigerated storage | 1-2 weeks |
| Gift preparation | Cool dry pantry | 2 weeks maximum |
Packaging considerations enhance the make-ahead process significantly. We use individual portion containers or decorative tins when preparing these treats as gifts. This approach allows us to portion the beans appropriately while maintaining their professional appearance.
Quality checks ensure our advance preparation meets expectations. We inspect stored beans periodically for any signs of chocolate bloom or moisture accumulation. Fresh batches maintain their glossy appearance and satisfying snap when bitten.
Storage Tips
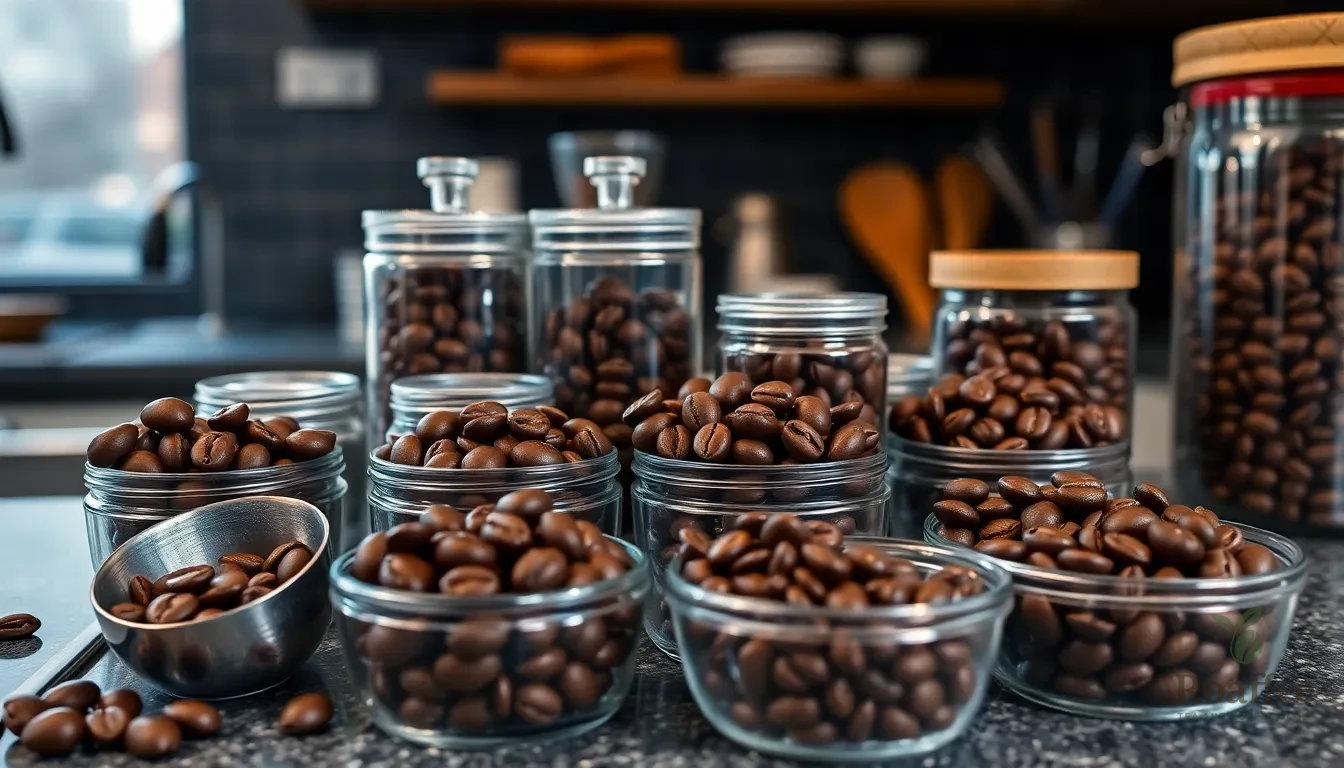
Proper storage ensures our chocolate covered coffee beans maintain their rich flavor and satisfying crunch for weeks to come. We recommend storing the finished beans in airtight containers to protect them from moisture and odors that can compromise their quality.
Temperature Control
Room temperature storage works best for these treats when kept in a cool dark place away from heat and humidity. We find that chocolate covered coffee beans stored this way maintain optimal freshness for up to 1 month. Heat and humidity can cause the chocolate to melt or develop chocolate bloom, which appears as a whitish coating on the surface.
Extended Storage Options
| Storage Method | Duration | Temperature Requirements |
|---|---|---|
| Room Temperature | 1 month | Cool, dry place |
| Refrigeration | 6 months | Consistent cold temperature |
| Freezing | 1 year | Freezer safe containers |
Refrigeration extends the shelf life significantly, allowing our chocolate covered coffee beans to stay fresh for up to 6 months. We wrap them in additional protective packaging when refrigerating to prevent condensation from forming on the chocolate surface.
Freezing provides the longest storage option, preserving these treats for up to 1 year. We place the airtight containers in freezer safe bags for extra protection against freezer burn and odor absorption.
Storage Best Practices
Complete drying before storage prevents the chocolate from sticking together or developing unwanted textures. We allow the chocolate coating to fully set and harden before transferring the beans to their storage containers.
Chilled chocolate covered coffee beans offer an especially delightful eating experience, though they taste equally delicious at room temperature. We keep safety in mind by storing these treats away from children due to their caffeine content.
Moisture protection remains crucial throughout the storage period, as humidity can cause the chocolate to lose its glossy appearance and crisp texture. We check our storage containers regularly to ensure they maintain their airtight seal.
Serving Suggestions
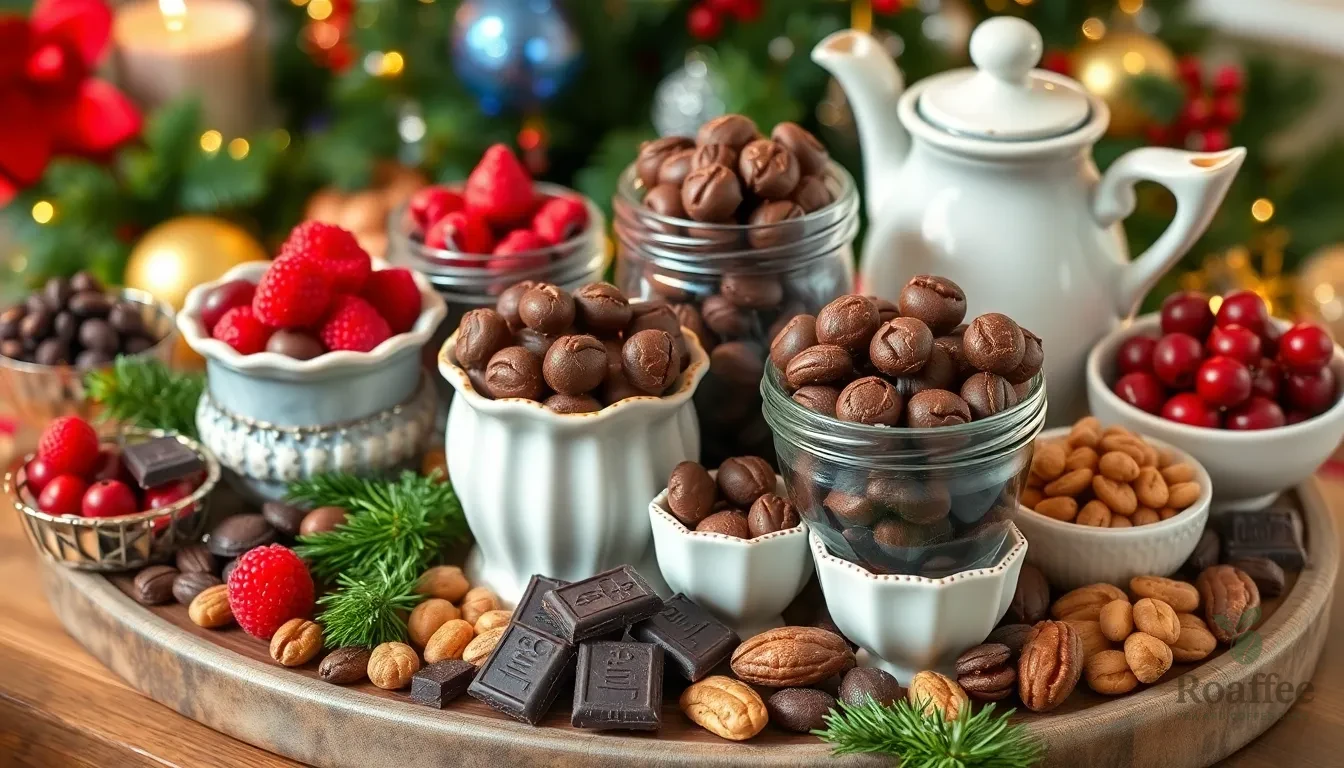
Our chocolate-covered coffee beans shine as a versatile treat that elevates any occasion. We recommend serving them as an energizing afternoon snack alongside your favorite hot beverage or as an elegant finishing touch to dinner parties.
These delightful morsels work perfectly as a sophisticated alternative to traditional nuts at cocktail gatherings. Arrange them in small bowls throughout your entertaining space to give guests an unexpected burst of flavor and caffeine. The combination of rich chocolate and bold coffee creates a conversation starter that keeps energy levels high during social events.
For special occasions, we suggest presenting these treats in elegant gift boxes or decorative jars as personalized party favors. Each guest receives a memorable take-home treat that extends the celebration beyond the event itself. The professional appearance of homemade chocolate-covered coffee beans rivals any store-bought confection.
Coffee enthusiasts particularly appreciate these beans as a unique addition to dessert platters. We pair them with fresh berries, artisanal cheeses, or dark chocolate squares to create a sophisticated tasting experience. The crunchy texture contrasts beautifully with softer dessert elements while providing a caffeine boost that enhances the overall dining experience.
Morning meetings and afternoon work sessions benefit from these energizing treats. Place them in small dishes around conference tables or office break rooms to offer colleagues a refined alternative to typical snack options. The controlled portion size makes them ideal for maintaining energy without overwhelming caffeine intake.
Holiday entertaining becomes more memorable when we incorporate these chocolate-coated gems into seasonal displays. Mix them with nuts, dried fruits, or seasonal candies to create custom trail mixes that guests can enjoy throughout festive gatherings. Their rich appearance complements traditional holiday colors while adding unexpected sophistication to casual snack presentations.
Conclusion
We’ve shown you that creating gourmet chocolate-covered coffee beans at home is both achievable and rewarding. With just a few quality ingredients and basic kitchen tools you can create these sophisticated treats that rival anything from specialty shops.
The beauty of this recipe lies in its versatility – whether you prefer dark chocolate’s intensity or milk chocolate’s sweetness you’ll have complete control over the flavor profile. Your homemade beans will stay fresh for weeks when stored properly making them perfect for entertaining or gift-giving.
These delightful treats offer the perfect balance of caffeine and chocolate satisfaction. We’re confident that once you try making them yourself you’ll never want to buy store-bought versions again.
Frequently Asked Questions
What ingredients do I need to make chocolate-covered coffee beans?
You’ll need whole coffee beans (preferably medium to dark roast), dark chocolate (70% cacao or higher), and optional ingredients like coconut oil, vanilla extract, powdered sugar, sea salt, and cocoa powder for dusting. These quality ingredients work together to create the perfect balance of rich chocolate and bold coffee flavors.
What equipment is required for making chocolate-covered coffee beans?
Essential equipment includes a double boiler or microwave-safe bowl for melting chocolate, a baking pan, a slotted spoon, and waxed or parchment paper. Optional tools include an oven for roasting beans and a wire cooling rack. Having all equipment ready before starting ensures a smooth coating process.
How long do chocolate-covered coffee beans last?
When stored properly in an airtight container at room temperature, chocolate-covered coffee beans last up to two weeks. Refrigeration extends freshness to six months, while freezing preserves them for up to one year. Always ensure beans are completely dry before storage to maintain optimal texture.
Can I use different types of chocolate for coating?
Yes, you can use dark, milk, or white chocolate. Dark chocolate offers a rich coating with a 2:1 chocolate-to-bean ratio. Milk chocolate provides a sweeter, creamier texture, while white chocolate creates a sweet contrast to bitter coffee. Each type requires specific temperature control for best results.
How should I store chocolate-covered coffee beans?
Store in airtight containers in a cool, dark place away from moisture and direct sunlight. Room temperature storage lasts up to one month, while refrigeration extends freshness. Keep containers sealed and check regularly for airtight integrity. Store away from children due to caffeine content.
What are the best serving suggestions for chocolate-covered coffee beans?
Serve alongside hot beverages, as sophisticated cocktail party snacks, or as elegant dessert accompaniments. They make excellent party favors in decorative packaging, enhance morning meetings as refined snacks, and can be incorporated into holiday displays or custom trail mixes for added sophistication.
