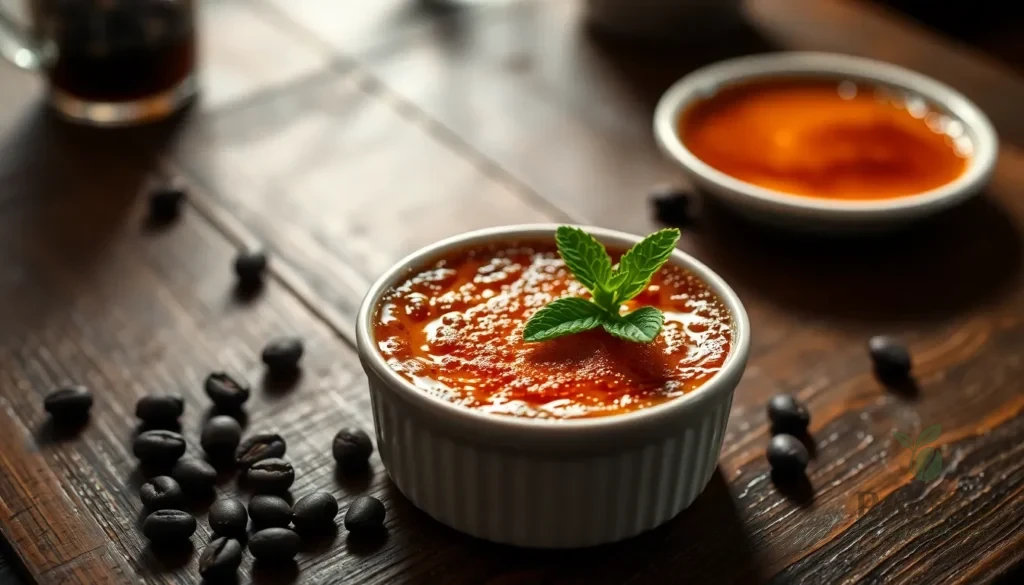
We’re about to transform your dessert game with this decadent coffee crème brûlée recipe that’ll make your taste buds sing. This French classic gets a caffeinated twist that’s perfect for coffee lovers who crave something extraordinary after dinner.
Picture this: silky smooth custard infused with rich coffee flavor topped with that iconic caramelized sugar crust that cracks under your spoon. We’ve perfected this recipe to deliver restaurant-quality results right in your home kitchen. The combination of espresso and vanilla creates a sophisticated flavor profile that’s both comforting and elegant.
What makes our version special? We use real brewed coffee instead of instant powder for deeper flavor and share professional techniques that guarantee that perfect torch-cracked top every time. Whether you’re hosting a dinner party or treating yourself to something special this coffee crème brûlée will become your new favorite indulgence.
Ingredients
Creating the perfect coffee crème brûlée requires quality ingredients that work together to achieve that signature silky custard and crackling caramelized top. We’ve organized these ingredients by their exact use to help you prepare efficiently.
For the Custard Base
- 2 cups heavy cream
- 1/2 cup whole milk
- 1/3 cup granulated sugar
- 6 large egg yolks
- 1/4 cup strong brewed coffee (cooled)
- 2 tablespoons instant espresso powder
- 1 teaspoon vanilla extract
- 1/4 teaspoon salt
For the Caramelized Sugar Topping
- 6 tablespoons granulated sugar (for torching)
- 2 tablespoons turbinado sugar (optional for extra crunch)
Equipment Needed
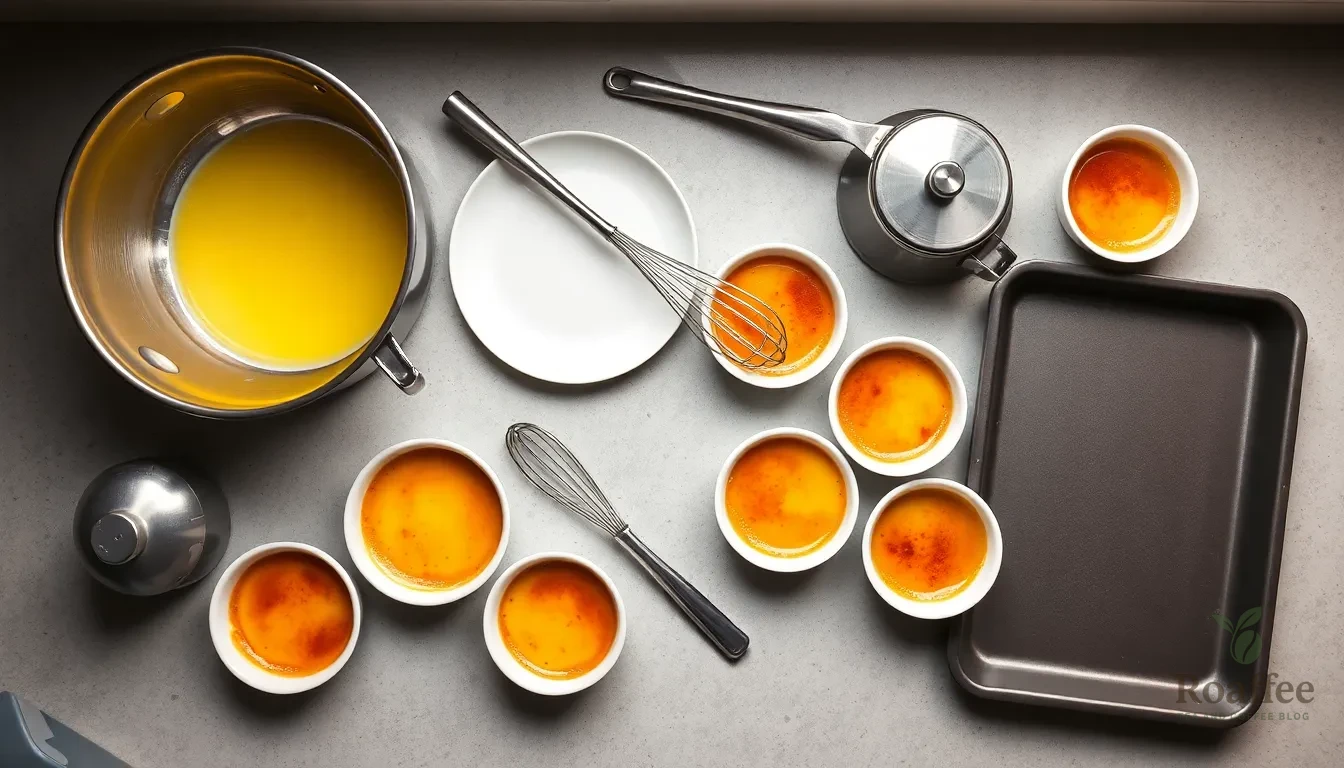
Creating the perfect coffee crème brûlée requires exact kitchen tools that ensure smooth preparation and professional results. We’ve organized the essential equipment to help you achieve that signature silky custard texture and caramelized sugar top.
Essential Baking Equipment
Large mixing bowl serves as your primary workspace for combining custard ingredients. A medium saucepan allows you to heat and infuse the cream mixture with coffee flavor safely. The whisk becomes crucial for creating a smooth custard base without lumps or air bubbles.
Ramekins form the foundation of your presentation – we recommend 6 shallow ramekins with 6 oz capacity each for optimal baking results. These individual serving dishes ensure even cooking and elegant plating.
Water Bath Setup
Deep baking trays or roasting pan create the essential bain-marie that prevents the custard from curdling during baking. This water bath method maintains gentle, even heat distribution throughout the cooking process. The pan must be deep enough to hold water halfway up the ramekin sides.
Optional But Recommended Tools
Measuring jug streamlines the process of transferring hot cream mixture into ramekins without spills. A blow torch delivers the classic caramelized sugar crust that defines crème brûlée, though this tool remains optional for home bakers.
| Equipment Category | Essential Items | Optional Items |
|---|---|---|
| Mixing Tools | Large bowl, whisk, medium saucepan | Measuring jug |
| Baking Equipment | 6 ramekins (6 oz), deep baking tray | – |
| Finishing Tools | – | Blow torch |
The blow torch creates that signature crackly caramel top that makes crème brûlée so distinctive. Without this tool, you can still achieve caramelization under your oven’s broiler, though the results may vary in texture and appearance.
Instructions
Now we’ll walk through the step-by-step process to create our coffee crème brûlée masterpiece. Each stage builds upon the previous one to achieve that perfect silky custard with its signature caramelized top.
Prep the Coffee Custard
We begin by infusing our cream with rich coffee flavor. Pour the heavy cream into a medium saucepan and add the whole coffee beans or instant coffee granules. Heat the mixture gently until it just reaches a boil, then immediately reduce the heat to low. Cover the saucepan and allow the coffee to steep for 30 minutes, creating a deeply aromatic base. Strain the mixture through a fine mesh sieve if using whole beans, pressing gently to extract maximum flavor.
Heat the Cream Mixture
Return the coffee-infused cream to the saucepan and heat it until hot but not boiling. Steam should rise from the surface, indicating the proper temperature. Stir occasionally to ensure even heating and prevent scorching. This heated cream will be crucial for properly cooking our egg yolks in the next step.
Temper the Egg Yolks
Whisk the egg yolks with granulated sugar and salt in a large mixing bowl until the mixture becomes smooth and the sugar completely dissolves. Slowly drizzle a small amount of the hot cream into the yolk mixture while whisking constantly to prevent the eggs from cooking. Gradually add the remaining hot cream, continuing to whisk until fully incorporated. This tempering process ensures our custard will be silky smooth without any scrambled egg pieces.
Strain and Pour
Pass the custard mixture through a fine mesh sieve into a measuring jug or bowl to remove any lumps or cooked egg bits. Divide the strained custard evenly among our six ramekins, filling each about three-quarters full. Gently tap each ramekin on the counter to release any air bubbles that might create an uneven texture.
Bake the Custards
Place the filled ramekins in a deep baking tray or roasting pan. Pour hot water around the ramekins until it reaches halfway up their sides, creating a water bath that prevents the custards from overcooking. Bake in a preheated 320°F (160°C) oven for 30-40 minutes. The edges should be set while the center still jiggles slightly like gelatin when gently shaken.
Chill the Crème Brûlée
Remove the ramekins from the water bath and let them cool at room temperature for 10 minutes. Cover each ramekin with plastic wrap, ensuring the wrap doesn’t touch the custard surface. Refrigerate for at least 2 hours or overnight for the best texture and flavor development. This chilling time allows the custard to fully set and the coffee flavors to meld beautifully.
Caramelize the Sugar Topping
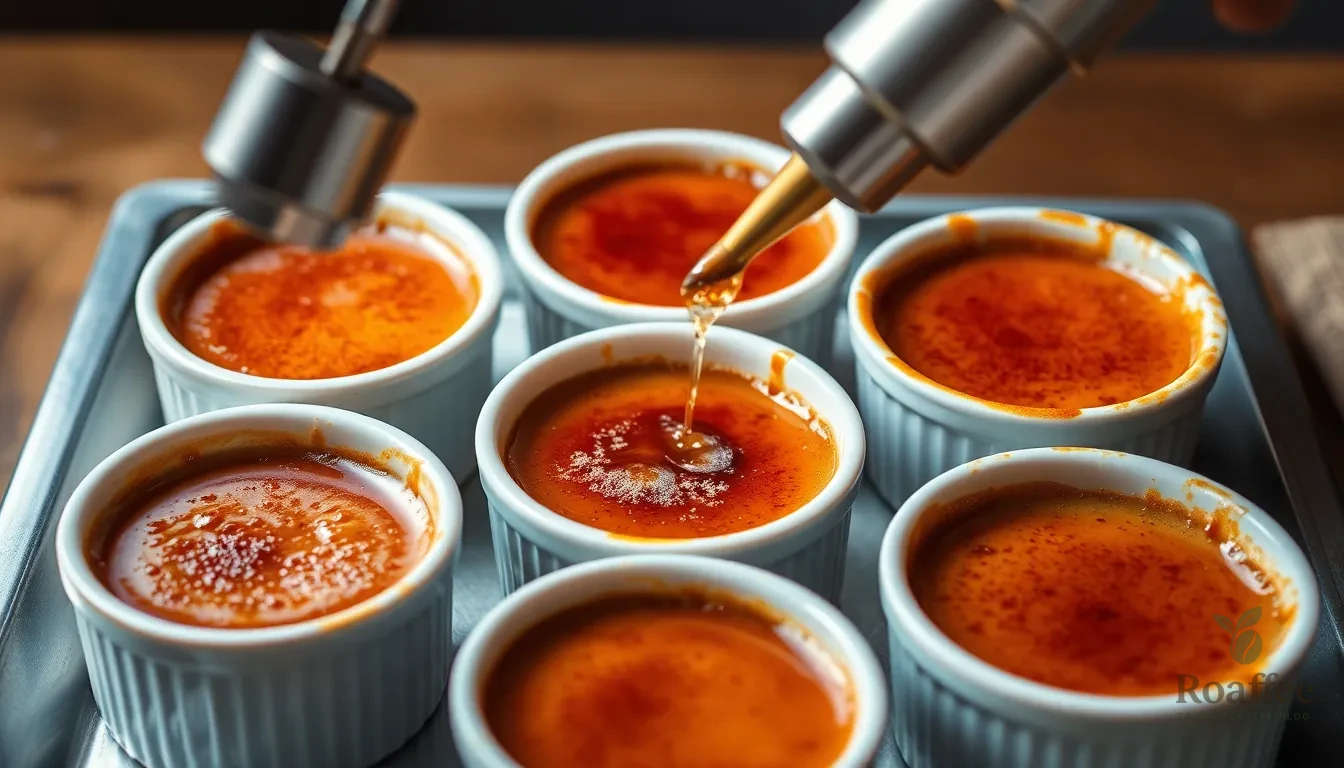
Just before serving, sprinkle a thin, even layer of granulated sugar over each chilled custard surface. Using a kitchen torch, hold the flame about 4 inches away from the sugar and move it steadily across the surface until the sugar melts and turns golden brown. Allow the caramelized sugar to cool for 1-2 minutes before serving, creating that signature crisp crust that contrasts perfectly with the creamy custard beneath.
Make-Ahead Instructions
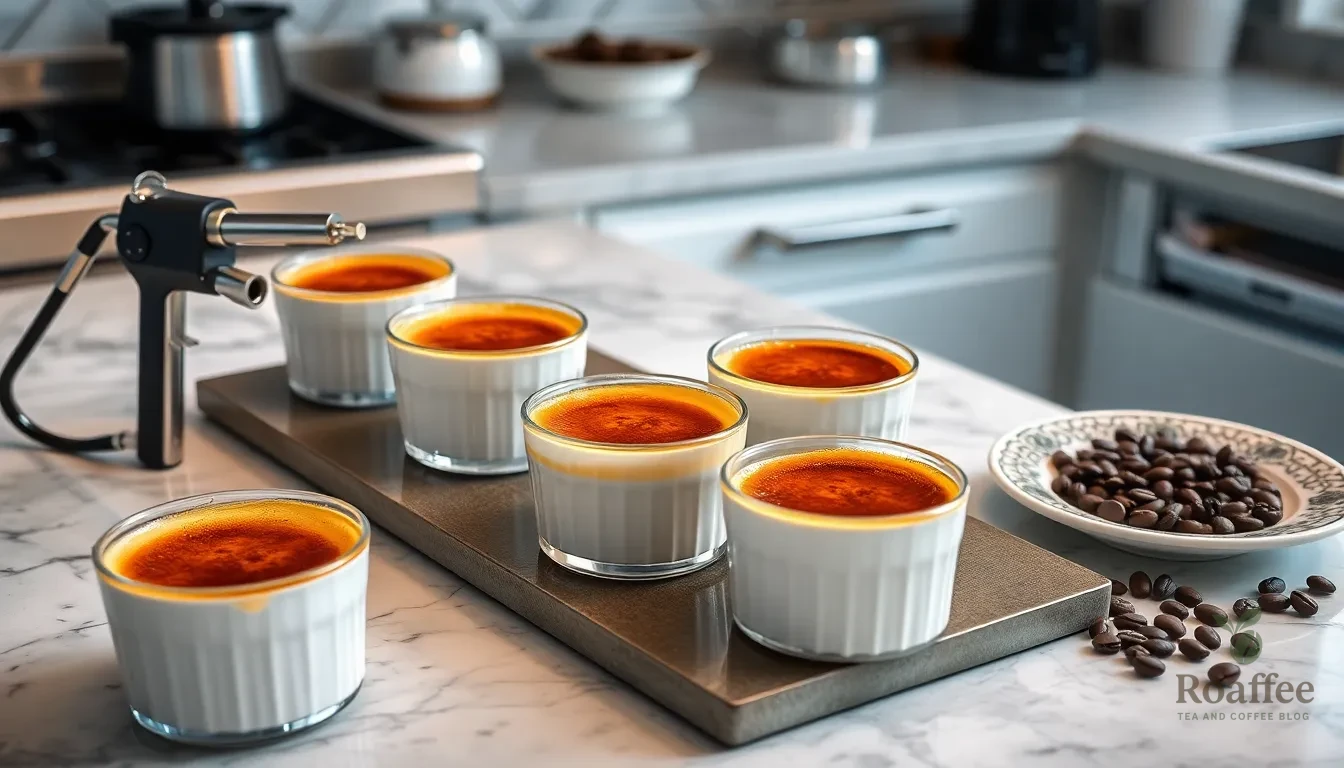
Coffee crème brûlée stands out as an exceptional make-ahead dessert that actually improves with time. We recommend preparing the custard bases 2-3 days before serving to allow the coffee flavors to fully develop and the texture to reach its optimal creaminess.
Preparing Custards in Advance
After baking and cooling the custards completely at room temperature, cover each ramekin tightly with plastic wrap. Press the wrap directly onto the surface of each custard to prevent a skin from forming. Store the covered custards in the refrigerator for up to 3 days.
The extended chilling time allows the coffee and vanilla flavors to meld beautifully while the custard achieves its signature silky texture. We find that custards prepared 48 hours ahead often taste more complex and refined than those served immediately.
Storage Guidelines
| Storage Method | Duration | Quality Notes |
|---|---|---|
| Refrigerated (covered) | 2-3 days | Optimal flavor development |
| Same day preparation | 2-3 hours minimum | Good texture, lighter flavor |
| Frozen (not recommended) | N/A | Texture becomes grainy |
Final Caramelization Timing
Never caramelize the sugar topping until moments before serving. The signature crispy caramel layer begins to soften within 10-15 minutes of torching due to moisture from the custard below. We suggest caramelizing one ramekin at a time if serving multiple guests to ensure each portion maintains its perfect textural contrast.
Remove the custards from the refrigerator 10 minutes before adding the sugar topping. This slight temperature adjustment helps achieve more even caramelization and prevents the sugar from melting too quickly into the custard surface.
Batch Preparation Tips
For entertaining larger groups, we recommend doubling the recipe and using a larger baking dish to accommodate additional ramekins. The custard mixture can be prepared and strained up to 4 hours before baking, though we suggest covering and refrigerating the mixture to maintain freshness.
Label each ramekin with preparation dates when making multiple batches. This simple step ensures optimal serving timing and prevents any confusion about which custards are ready to serve.
Tips for Perfect Coffee Crème Brûlée

Mastering the art of coffee crème brûlée requires attention to detail and proper technique. We’ve gathered the most crucial tips to ensure your dessert achieves restaurant-quality results every time.
Temperature Control Is Everything
Heat your cream mixture until just steaming but never allow it to reach a rolling boil. This precise temperature control prevents the eggs from curdling and maintains the smooth custard texture we’re after. We recommend keeping the cream at approximately 150-163°F for optimal results.
Master the Tempering Technique
Gradually combine the hot cream with your egg yolks to raise the egg temperature gently without scrambling them. Pour a small amount of hot cream into the yolks while whisking constantly, then slowly add the remaining cream. This tempering process is essential for achieving that silky custard base.
Water Bath Setup
Use a water bath with water reaching halfway up your ramekins to ensure even cooking throughout. This gentle cooking method prevents cracking and overcooking while maintaining the delicate custard structure. The water bath acts as insulation, creating consistent heat distribution.
Eliminate Air Bubbles
Spoon off any bubbles that form on the custard surface before baking for a smooth, professional appearance. Alternatively, strain your custard mixture through a fine-mesh sieve to remove impurities and bubbles completely. This extra step makes a noticeable difference in the final presentation.
Coffee Flavor Enhancement
Steeping vanilla bean in hot cream intensifies flavor complexity while instant coffee or espresso powder dissolves quickly without creating bitterness. We find that this combination provides the richest coffee taste without overpowering the delicate custard base.
Sugar Caramelization Excellence
Use superfine sugar for your brûlée topping as it caramelizes more evenly than regular granulated sugar. Sprinkle the sugar in a thin, even layer and caramelize with a kitchen torch for that signature crack. Move the torch in circular motions to prevent burning any single spot.
Additional Flavor Variations
Add chocolate drizzle or toffee sauce to complement the coffee custard for extra indulgence. Salt or cornstarch can be incorporated to improve texture and enhance flavor balance when desired.
| Preparation Stage | Time Required | Temperature |
|---|---|---|
| Prep Time | 15 minutes | Room temperature |
| Baking Time | 45 minutes | 300-325°F |
| Chilling Time | 2-3 hours | Refrigerated |
Following these precise techniques ensures your coffee crème brûlée develops the perfect creamy texture with a beautifully caramelized sugar crust that cracks satisfyingly under your spoon.
Serving Suggestions
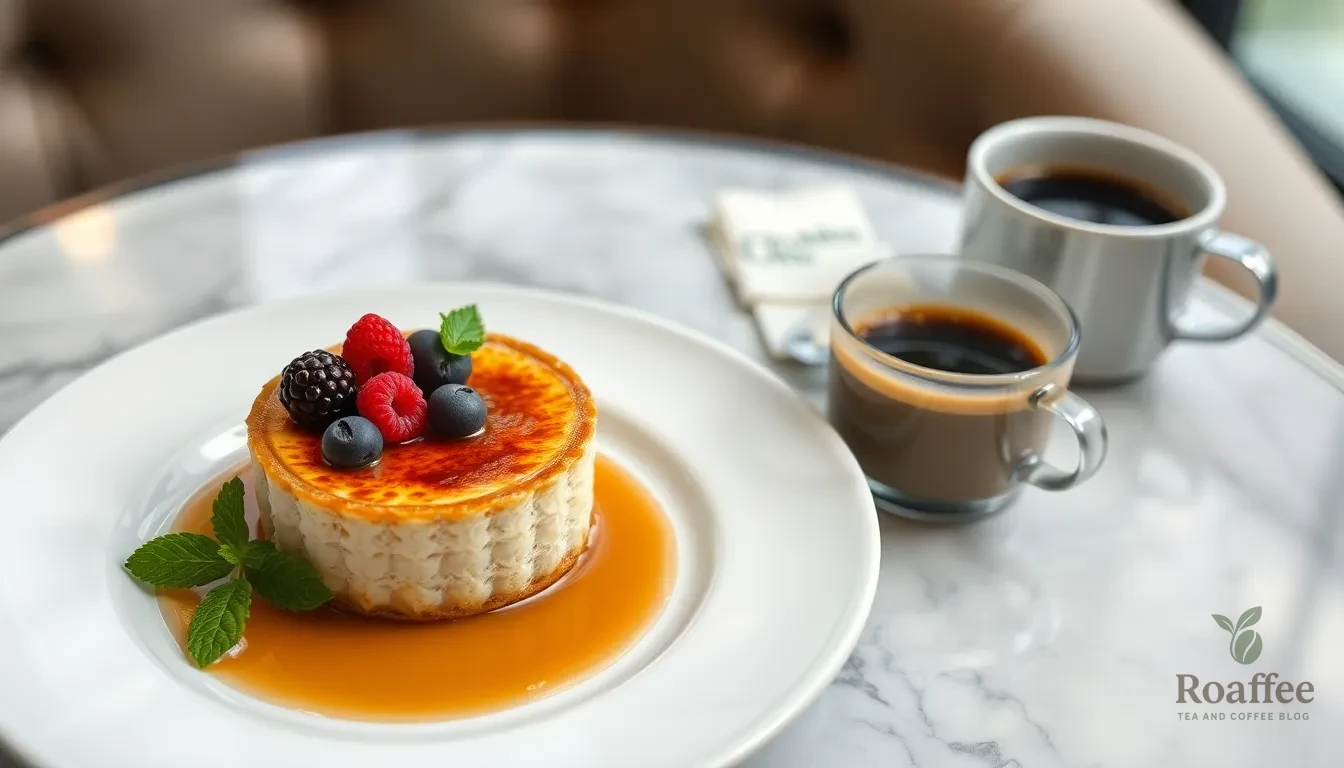
Our coffee crème brûlée deserves a presentation as elegant as its flavor. We recommend serving these desserts immediately after caramelizing the sugar topping to preserve that signature crisp crust that cracks beautifully under a spoon.
Temperature plays a crucial role in the perfect serving experience. We serve our crème brûlée chilled from the refrigerator while the caramelized sugar remains at room temperature. This contrast creates an exciting textural experience that enhances every bite.
Garnish Options for Enhanced Presentation:
- Light dusting of cocoa powder for visual appeal
- Individual coffee beans placed artfully on the caramelized surface
- Fresh berries as a colorful contrast to the rich custard
- Delicate mint leaves for a sophisticated touch
We find that pairing enhances the overall dessert experience significantly. A small cup of espresso served alongside creates a delightful coffee symphony that coffee enthusiasts particularly appreciate. Coffee cocktails also complement the dessert beautifully for evening entertaining.
Recommended Beverage Pairings:
- Freshly brewed espresso or strong coffee
- Coffee liqueurs like Kahlúa or Tia Maria
- Dessert wines such as Port or Moscato
- Aged rum or whiskey for adventurous palates
Timing and Service Details:
- Serve within 30 minutes of caramelizing for optimal crust texture
- Use chilled dessert spoons to maintain temperature contrast
- Present on individual dessert plates with small spoons
- Consider warming the serving plates slightly for an upscale restaurant feel
We particularly recommend this dessert for dinner parties and special occasions due to its make-ahead convenience. The impressive presentation and sophisticated flavor profile make it an ideal finale to memorable meals. Our guests consistently praise both the visual impact and the perfect balance of creamy custard with that satisfying caramelized sugar crack.
Storage Instructions
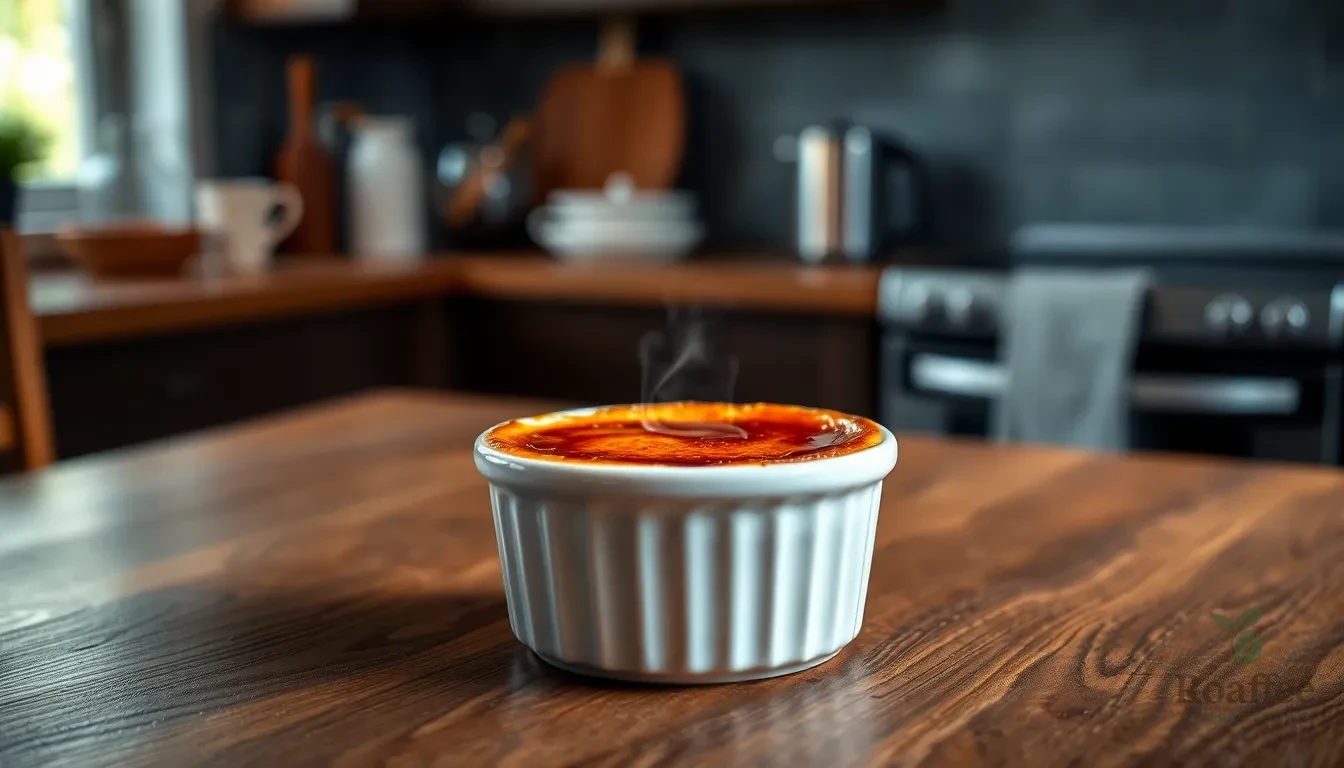
Proper storage techniques ensure our coffee crème brûlée maintains its silky texture and rich flavor for several days. We recommend storing the custard bases without the caramelized sugar topping to preserve their quality and prevent the sugar from becoming soggy.
Refrigeration Guidelines
Store cooked coffee crème brûlée custards in the refrigerator for up to 2-3 days for optimal flavor and texture. We suggest covering each ramekin tightly with plastic wrap pressed directly onto the custard surface to prevent a skin from forming. This technique creates an airtight seal that maintains the dessert’s creamy consistency.
Allow the custards to cool completely at room temperature before refrigerating to prevent the ramekins from cracking due to temperature shock. The custard actually improves in flavor when chilled overnight as the coffee notes develop and meld together.
When to Add the Sugar Topping
Apply the granulated sugar topping and caramelize it just before serving for the signature crisp texture. Adding the sugar layer too early causes it to absorb moisture from the custard and turn soggy. We recommend sprinkling the sugar evenly across the surface about 5-10 minutes before you plan to serve.
For an extra crispy caramel shell, place the ramekins in the freezer for 15 minutes before torching the sugar topping. This temperature contrast helps create a more dramatic crack when guests tap the surface with their spoons.
Freezing Considerations
| Storage Method | Duration | Quality Rating |
|---|---|---|
| Refrigeration | 2-3 days | Excellent |
| Freezing | Up to 1 month | Poor to Fair |
We generally do not recommend freezing coffee crème brûlée as it significantly alters the custard’s creamy texture. But, if freezing becomes necessary, wrap each ramekin tightly in cling film without the sugar topping and freeze for up to 1 month. Allow the custards to thaw completely in the refrigerator before adding and caramelizing the sugar topping.
Storage Best Practices
Label each ramekin with the preparation date to track freshness and ensure optimal serving timing. Store the custards on a flat shelf in the refrigerator to prevent them from tilting or spilling. Keep the ramekins away from strong-smelling foods as the custard can absorb odors from other items in the refrigerator.
These storage methods allow us to prepare our coffee crème brûlée in advance while maintaining the restaurant-quality texture and flavor that makes this dessert so special.
Conclusion
This coffee crème brûlée recipe transforms a classic French dessert into an irresistible coffee lover’s dream. We’ve shown you how to create that perfect balance of silky custard and crisp caramelized sugar that makes this dessert so memorable.
The beauty of this recipe lies in its make-ahead convenience and impressive presentation. You can prepare the custard bases days in advance and simply caramelize the sugar topping when you’re ready to serve.
Whether you’re hosting a dinner party or treating yourself to something special we’re confident this coffee crème brûlée will become your go-to dessert. The rich coffee flavor and restaurant-quality results make it worth every step of the process.
Frequently Asked Questions
What makes this coffee crème brûlée different from traditional crème brûlée?
This coffee crème brûlée elevates the classic French dessert by infusing the custard with brewed coffee and instant espresso powder, creating a rich coffee flavor that appeals to coffee enthusiasts. The combination of both coffee elements provides a deeper, more complex taste while maintaining the signature silky custard texture and caramelized sugar crust.
What ingredients do I need for coffee crème brûlée?
For the custard base, you’ll need heavy cream, whole milk, granulated sugar, egg yolks, brewed coffee, instant espresso powder, vanilla extract, and salt. For the caramelized topping, use granulated sugar with optional turbinado sugar for extra crunch. These quality ingredients ensure restaurant-quality results at home.
What equipment is essential for making coffee crème brûlée?
Essential tools include a large mixing bowl, medium saucepan, whisk, and six 6-oz shallow ramekins for even cooking. You’ll also need a deep baking tray for the water bath setup. Optional but helpful items include a measuring jug and blow torch for caramelizing the sugar, though an oven broiler can substitute.
Can I make coffee crème brûlée ahead of time?
Yes, the custard bases can be prepared 2-3 days in advance and refrigerated for optimal flavor development. Cover each ramekin tightly to prevent skin formation. However, only caramelize the sugar topping just before serving to maintain its crisp texture. This makes it perfect for dinner parties.
How do I achieve the perfect caramelized sugar crust?
Use superfine sugar for even caramelization and apply it just before serving. A kitchen torch provides the best results, creating a crisp crust that cracks satisfyingly. If using an oven broiler, watch carefully to prevent burning. Serve within 30 minutes of caramelization for optimal texture.
What’s the key to preventing curdled custard?
Temperature control is crucial. Temper the egg yolks gradually by slowly adding the warm cream mixture while whisking constantly. Use a water bath during baking to ensure even, gentle cooking. Strain the custard before pouring into ramekins to eliminate any lumps and achieve silky smoothness.
How should I serve coffee crème brûlée?
Serve immediately after caramelizing the sugar topping while the custard remains chilled for a delightful temperature contrast. Garnish with cocoa powder, coffee beans, fresh berries, or mint leaves. Pair with espresso, coffee liqueurs, dessert wines, or aged spirits for an elegant presentation.
How long can I store coffee crème brûlée?
Refrigerate custard bases without the caramelized topping for up to 2-3 days for best flavor. Cool completely before refrigerating to prevent cracking. While freezing isn’t recommended due to texture changes, you can freeze for up to one month if necessary, wrapped tightly and thawed properly.
