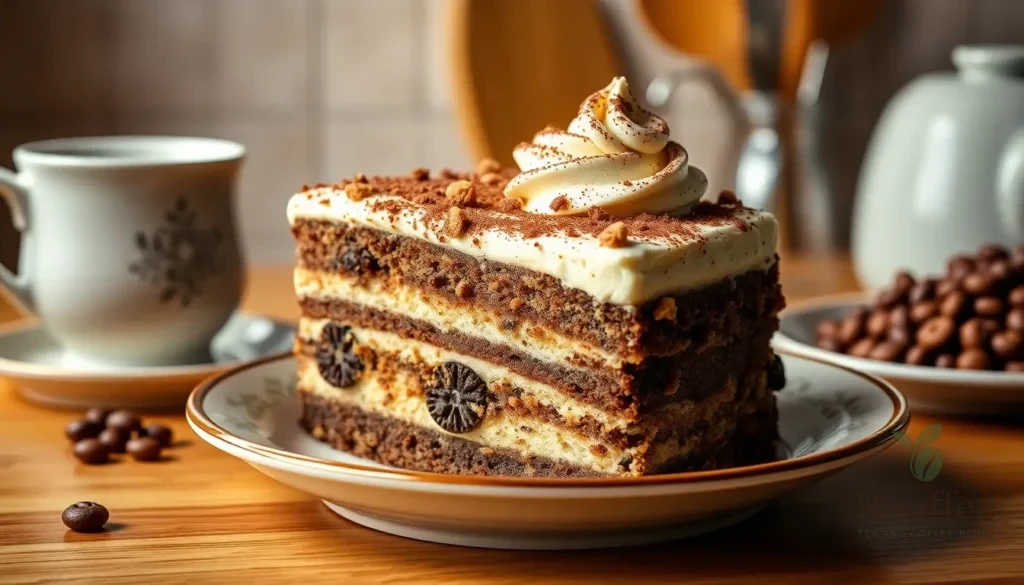
We’ve all experienced that moment when we crave something sweet with our afternoon coffee – but what if we told you there’s a dessert that combines both in perfect harmony? Our coffee crunch cake delivers exactly that magical combination with layers of moist coffee-infused sponge and an irresistible crunchy topping that’ll have you reaching for seconds.
This showstopper dessert originated in American bakeries during the 1960s and quickly became a beloved classic. The secret lies in the contrast between the tender, coffee-soaked cake layers and the signature crunchy topping made from crushed cookies and toffee bits. It’s sophisticated enough for dinner parties yet simple enough for weekend baking sessions.
What makes this recipe truly special is how it transforms your kitchen into a cozy café. The aroma alone will draw everyone to the kitchen, and the first bite delivers that perfect balance of coffee flavor and satisfying crunch that coffee lovers dream about.
Ingredients
We’ve organized these ingredients into three essential components to create our signature coffee crunch cake. Each section builds upon the last to deliver that perfect balance of moist coffee flavor and satisfying crunch.
For the Coffee Cake
- 2 cups all-purpose flour
- 1 cup granulated sugar
- 1/2 cup unsalted butter, softened
- 2 large eggs, room temperature
- 1 cup strong brewed coffee, cooled
- 1/2 cup buttermilk
- 2 teaspoons baking powder
- 1 teaspoon vanilla extract
- 1/2 teaspoon salt
- 1 tablespoon instant coffee granules
For the Crunch Topping
- 1 cup crushed vanilla wafers
- 1/2 cup toffee bits
- 1/4 cup brown sugar, packed
- 3 tablespoons unsalted butter, melted
- 1 teaspoon ground cinnamon
- 1/4 cup chopped almonds or pecans
- 2 tablespoons instant coffee granules
For the Coffee Glaze
- 1 cup powdered sugar
- 3 tablespoons strong brewed coffee
- 2 tablespoons unsalted butter, melted
- 1 teaspoon vanilla extract
- 1 tablespoon heavy cream
Equipment Needed
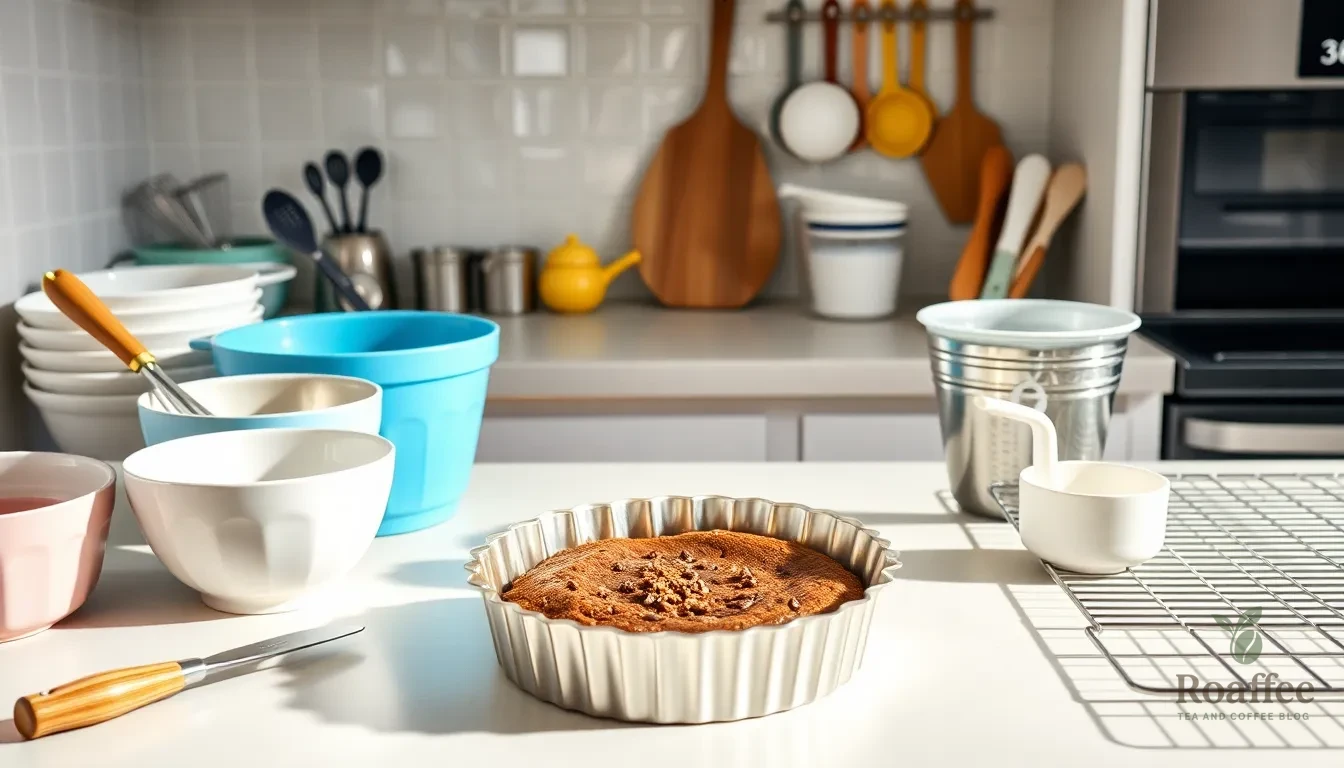
Before we begin creating our coffee crunch cake masterpiece, let’s gather all the essential tools that will make our baking process smooth and efficient. Having the right equipment ensures our cake turns out perfectly every time.
We’ll need several mixing bowls in different sizes to keep our ingredients organized. A large bowl works best for combining our dry ingredients, while smaller bowls help us prepare the wet ingredients and crunch topping separately.
Our whisk and spatula are crucial for achieving the perfect texture. The whisk helps us blend our dry ingredients evenly, while the spatula gently folds our wet and dry components together without overmixing.
Accurate measurements make all the difference in baking success. Measuring cups and spoons ensure we get the precise amounts needed for our flour, sugar, coffee, and other ingredients.
A 9-inch baking pan provides the ideal size for our coffee crunch cake. We recommend preparing it with parchment paper or grease to prevent sticking and ensure easy removal after baking.
For creating our signature crunchy topping, we’ll use a pastry cutter or our fingers to blend the cold butter with our brown sugar mixture until it reaches that perfect crumbly texture.
Our oven preheated to 350°F (175°C) creates the optimal baking environment for our cake. This temperature allows the cake to bake evenly while developing that golden crust we love.
A cooling rack becomes essential once our cake finishes baking. This tool allows air to circulate around our cake, preventing soggy bottoms and ensuring even cooling.
Finally, we might want a candy thermometer if we decide to make a candy-style crunch topping for extra texture and sweetness. This optional tool helps us achieve professional results when creating more advanced variations of our coffee crunch cake.
Instructions
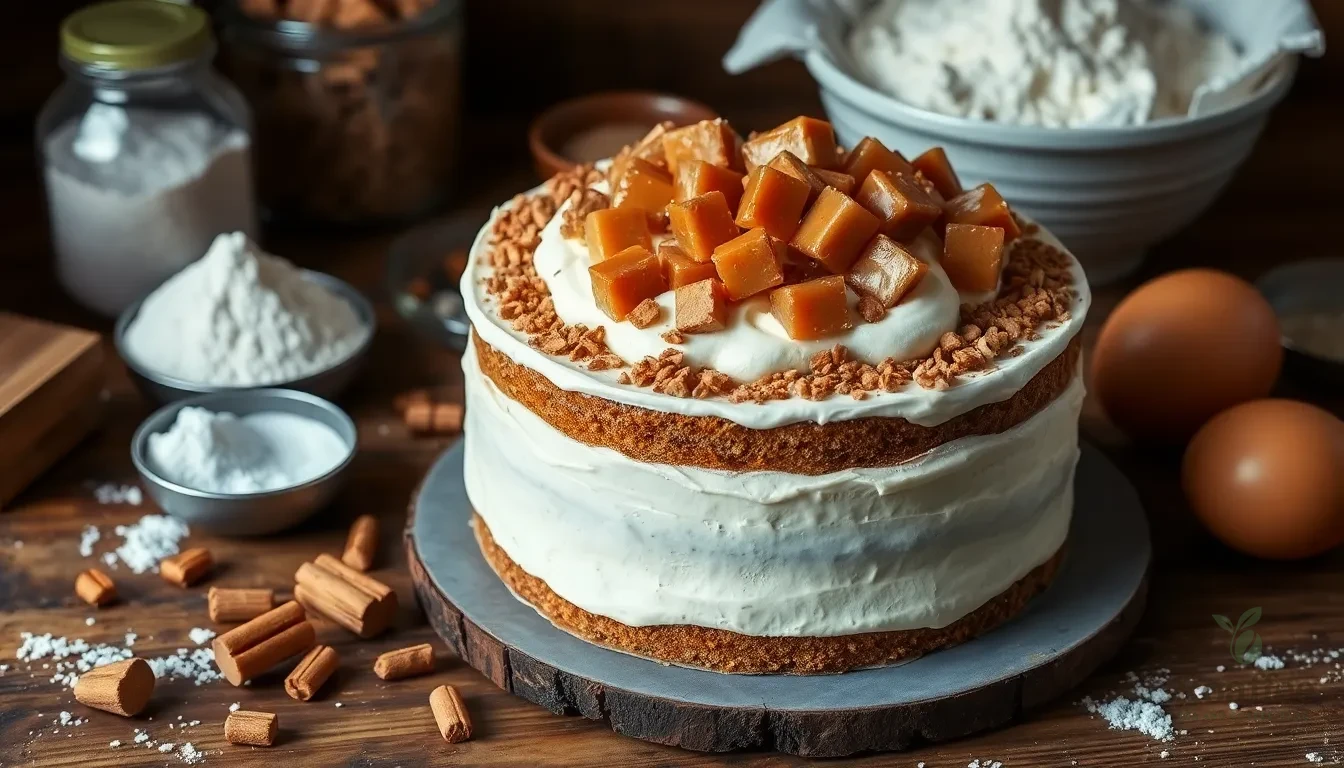
Now that we have all our ingredients measured and equipment ready, let’s jump into creating this spectacular coffee crunch cake. The process involves several key steps that build upon each other to create the perfect balance of flavors and textures.
Prep
We begin by preheating our oven to 350°F (175°C) and preparing our 8-inch cake pan by greasing it thoroughly and lining with parchment paper. This ensures easy removal and prevents sticking during the baking process.
Make the Crunch Topping
We start with the signature crunch topping that gives this cake its distinctive texture. In a heavy saucepan, we combine 1½ cups sugar, ¼ cup strong brewed coffee, and ¼ cup light corn syrup. Heat the mixture over medium-high heat while stirring occasionally until it reaches exactly 310°F on a candy thermometer.
Remove the pan from heat immediately and quickly stir in 1 tablespoon of sifted baking soda. The mixture will foam up dramatically, so work swiftly but carefully. Pour the hot mixture into a greased and parchment-lined 8-inch square pan and let it cool completely for about 1 hour.
Once cooled, we break the hardened candy into large pieces and crush some into smaller crumbs for layering. Reserve the larger pieces for final decoration.
Prepare the Coffee Cake Batter
In a large mixing bowl, we whisk together 1½ cups all-purpose flour, 1 cup granulated sugar, 1 teaspoon baking powder, ½ teaspoon baking soda, ½ teaspoon salt, and 1 tablespoon instant coffee granules until evenly combined.
Create a separate bowl for our wet ingredients by mixing 1 cup buttermilk, ½ cup melted unsalted butter, 2 large eggs, and 1 teaspoon vanilla extract until smooth. Gradually add the wet ingredients to the dry mixture, stirring until just combined without overmixing to maintain a tender crumb.
Assemble and Bake
We pour the prepared batter into our lined cake pan and spread it evenly. Sprinkle the coffee crunch crumbs evenly over the top, reserving the larger pieces for decoration later.
Bake for 35-40 minutes until a toothpick inserted into the center comes out clean. The cake should spring back lightly when touched and pull slightly from the sides of the pan. Cool completely on a wire rack before proceeding to the next step.
Prepare the Coffee Glaze
While the cake cools, we create our coffee glaze by mixing powdered sugar with brewed coffee until we achieve a smooth, drizzling consistency. The glaze should coat the back of a spoon but still flow easily when drizzled.
Final Assembly
Once our cake has cooled completely, we can slice it into layers if desired for a more elaborate presentation. We whip heavy cream with vanilla extract and a sprinkle of instant coffee granules, folding gently to maintain the light texture.
Layer the cake with whipped coffee cream and sprinkle finer coffee crunch crumbs between layers and on the sides. Top the finished cake with the larger coffee crunch pieces we reserved earlier for an impressive presentation. Refrigerate the assembled cake covered overnight for the best flavor development and texture before serving.
Directions for Serving
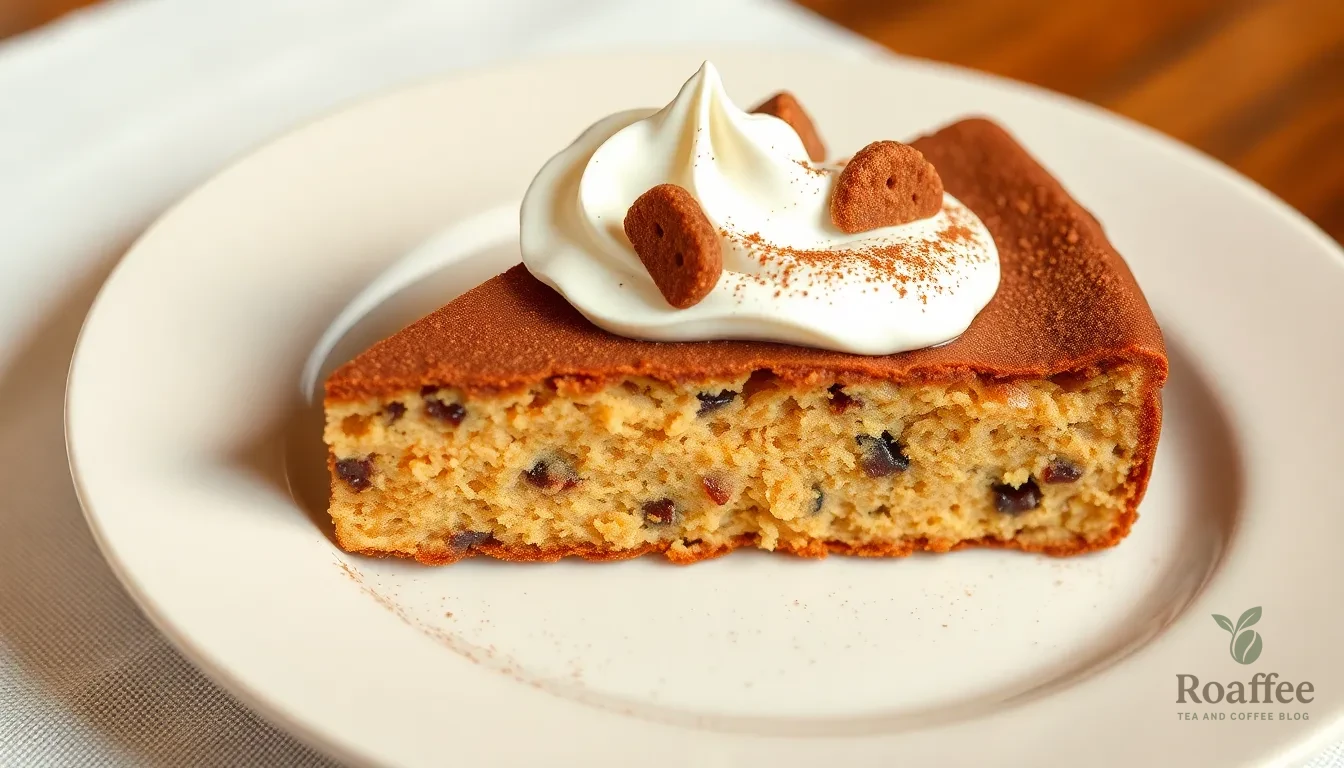
Our coffee crunch cake reaches its peak flavor after proper rest and careful presentation. Remove the cake from the refrigerator 15 minutes before serving to allow the layers to soften slightly while maintaining the crunch texture.
Slicing Technique
We recommend using a sharp serrated knife for clean cuts through the multiple layers. Wipe the blade clean between each slice to prevent the whipped cream from dragging or creating messy edges. Cut straight down through all layers with a gentle sawing motion.
Portion Guidelines
This rich dessert serves 12 people generously when cut into standard wedges. For smaller appetites or after a heavy meal we suggest cutting 16 thinner slices. The dense coffee flavor and crunchy texture make smaller portions quite satisfying.
Plating Presentation
Place each slice on individual dessert plates with the decorative crunch pieces facing forward. We like to add a small dollop of the reserved whipped coffee cream alongside each serving. A light dusting of cocoa powder or a few extra coffee crunch pieces scattered on the plate creates an elegant finish.
Temperature Considerations
Serve the cake chilled but not ice cold for optimal texture contrast. The cold whipped cream should provide a smooth backdrop to the crunchy candy pieces. If the cake becomes too warm the cream may lose its stability and the crunch elements may soften.
Storage Between Servings
Cover any remaining cake portions immediately with plastic wrap and return to the refrigerator. Our coffee crunch cake maintains its quality for up to 3 days when properly stored. The coffee candy pieces may absorb slight moisture over time but will retain most of their textural appeal.
Storage Instructions
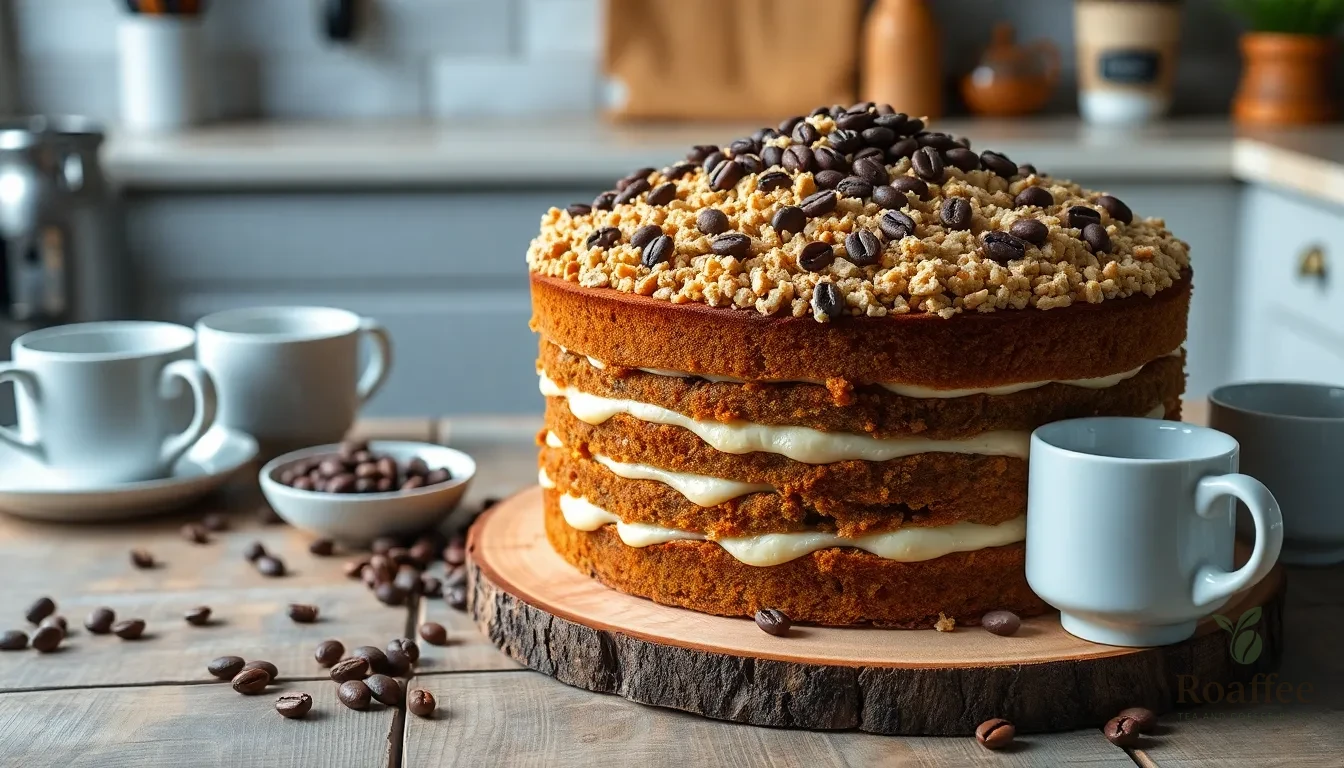
Proper storage ensures our coffee crunch cake maintains its delicious flavor and signature texture for days after baking. We recommend storing the assembled cake in an airtight container at room temperature for up to 3 days to preserve both freshness and the crunch topping’s texture.
Room Temperature Storage
For optimal results, we place the cake in a large airtight container or cover it tightly with plastic wrap. Room temperature storage works best for the first three days as it prevents the crunch pieces from becoming soggy while maintaining the cake’s moist texture. We avoid storing the cake in humid environments, which can compromise the crunchy topping’s integrity.
Refrigerated Storage
When storing for longer periods, we transfer the cake to the refrigerator where it stays fresh for up to 5 days. The creamy frosting and whipped coffee cream layers benefit from refrigeration, though we always remove the cake 30 minutes before serving to allow it to reach optimal temperature. Cold cake loses some of its flavor impact, so this warming period ensures the best taste experience.
Freezer Storage
For extended storage, we wrap individual slices or the entire cake tightly in plastic wrap followed by aluminum foil. Our coffee crunch cake freezes well for up to 3 months when properly wrapped. We thaw frozen portions in the refrigerator overnight, then allow them to come to room temperature before serving.
Maintaining Crunch Quality
The crunchy toppings perform best when served the same day we assemble the cake. Over time, these pieces absorb moisture from the frosting and cake layers, gradually losing their signature texture. We recommend refrigerating any leftover cake to slow this moisture absorption process.
Reheating Guidelines
When we want to restore texture to day-old cake, we warm individual slices in the microwave for 15-20 seconds. Alternatively, we heat portions in a low oven at 300°F for about 10 minutes, which revives the cake without creating sogginess. These gentle reheating methods help maintain the balance between the moist cake and crunchy elements.
| Storage Method | Duration | Temperature | Notes |
|---|---|---|---|
| Room Temperature | Up to 3 days | 68-72°F | Best for maintaining crunch |
| Refrigerated | Up to 5 days | 35-40°F | Warm 30 minutes before serving |
| Frozen | Up to 3 months | 0°F | Thaw overnight in refrigerator |
Make-Ahead Tips

We can prepare several components of our coffee crunch cake ahead of time to streamline the baking process and enhance the final result. The coffee crunch candy proves to be the most convenient element for advance preparation since it maintains its crisp texture for extended periods.
Our coffee crunch pieces can be prepared up to two weeks ahead of serving time. After boiling the sugar mixture to 305°F and adding baking soda, we pour the bubbling mixture onto a greased baking sheet and allow it to cool completely for about an hour. Once hardened, we chop or crush the candy into desired pieces and store them in an airtight container at room temperature. This advance preparation saves important time on the day we plan to serve the cake.
We recommend baking the cake layers 2 to 3 days before assembly. The cake layers can be wrapped tightly in plastic wrap and stored at room temperature, or frozen for up to 1 to 2 months without the crunch topping. Freezing the unfrosted cake layers allows us to maintain optimal texture while extending storage time considerably.
| Component | Advance Preparation Time | Storage Method |
|---|---|---|
| Coffee Crunch Candy | Up to 2 weeks | Airtight container at room temperature |
| Cake Layers | 2-3 days (room temp) | Wrapped in plastic wrap |
| Cake Layers | 1-2 months (frozen) | Frozen without crunch topping |
| Assembled Cake | 1-2 days | Refrigerated |
The timing of when we apply the coffee crunch topping becomes crucial for maintaining texture. We should avoid adding the crunch pieces too far in advance because moisture from the frosting or whipped cream causes the candy to melt and lose its signature crispness. Instead, we apply the crunch topping just before serving to preserve its delightful texture contrast.
Our assembled cake can be refrigerated for 1 to 2 days, but we must add the crunch elements shortly before presentation. This approach ensures the coffee crunch maintains its satisfying snap while allowing the cake flavors to meld beautifully. When we thaw frozen cake layers, we add the crunch topping only after the cake reaches serving temperature for optimal results.
Conclusion
We’ve shared everything you need to create this show-stopping coffee crunch cake that’ll have your guests asking for the recipe. The combination of moist coffee-infused layers and that irresistible crunchy topping creates a dessert that’s both elegant and comforting.
The make-ahead components we’ve outlined make this cake perfect for entertaining without the stress. You can prepare the crunch candy weeks in advance and bake the cake layers days before your event.
Remember that timing is everything with this recipe – adding the crunch topping just before serving ensures you’ll get that perfect textural contrast we’re all after. Whether you’re hosting a dinner party or treating yourself to something special this coffee crunch cake delivers every time.
Frequently Asked Questions
What is coffee crunch cake?
Coffee crunch cake is a delightful dessert that combines moist coffee-infused sponge layers with a crunchy topping made from crushed cookies and toffee bits. Originating in American bakeries during the 1960s, it features three essential components: the coffee cake base, crunch topping, and coffee glaze. This sophisticated yet simple dessert perfectly balances coffee flavor with satisfying texture contrast.
What ingredients do I need to make coffee crunch cake?
You’ll need ingredients for three components. For the cake: all-purpose flour, sugar, butter, eggs, strong brewed coffee, buttermilk, baking powder, vanilla, salt, and instant coffee granules. For the crunch topping: vanilla wafers, toffee bits, brown sugar, melted butter, cinnamon, nuts, and instant coffee. For the glaze: powdered sugar, brewed coffee, butter, vanilla, and heavy cream.
What equipment is essential for making this cake?
Essential equipment includes mixing bowls, whisk, spatula, measuring cups and spoons, and a 9-inch baking pan lined with parchment paper. You’ll also need a pastry cutter for the crunch topping and a cooling rack. Preheat your oven to 350°F (175°C). For advanced candy-style crunch topping, a candy thermometer is recommended for achieving professional results.
How should I store coffee crunch cake?
Store the cake in an airtight container at room temperature for up to 3 days to maintain crunch integrity. For longer storage, refrigerate for up to 5 days, removing 30 minutes before serving. The cake can be frozen for up to 3 months. The crunchy topping is best enjoyed the same day assembled, as it may lose texture over time due to moisture absorption.
Can I make coffee crunch cake ahead of time?
Yes! The coffee crunch candy can be prepared up to 2 weeks in advance and stored in an airtight container. Cake layers can be baked 2-3 days ahead or frozen for 1-2 months. However, add the crunch topping just before serving to preserve texture. The assembled cake can be refrigerated for 1-2 days, but add crunch elements shortly before presentation.
How should I serve coffee crunch cake?
Remove the cake from refrigeration 15 minutes before serving to allow layers to soften while maintaining crunch. Use a sharp serrated knife for clean cuts, portioning into 12 generous or 16 thinner slices. Serve on individual dessert plates with decorative crunch pieces facing forward, topped with whipped coffee cream and a light dusting of cocoa powder for elegant presentation.
