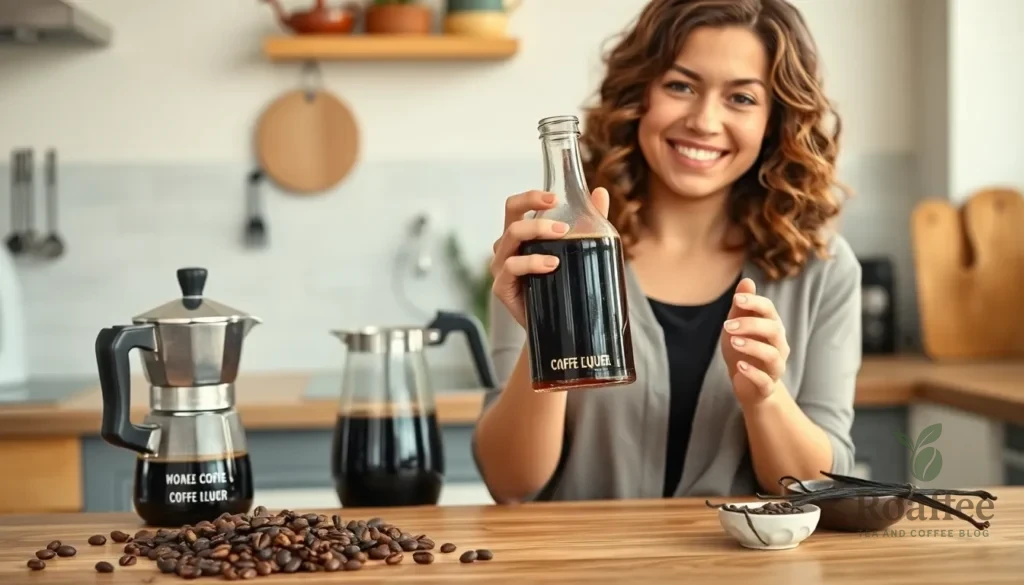
We’ve all been there – standing in the liquor store staring at expensive coffee liqueurs and wondering if we could make something just as delicious at home. The good news? Creating your own homemade coffee liqueur is surprisingly simple and costs a fraction of store-bought versions.
This rich and velvety liqueur combines the bold flavors of freshly brewed coffee with smooth vodka and just the right amount of sweetness. Unlike commercial brands that often contain artificial flavors and preservatives, our recipe uses real coffee beans and natural ingredients you can pronounce. You’ll taste the difference immediately – it’s deeper, more complex, and perfectly customizable to your preferences.
Whether you’re planning to sip it neat, mix it into cocktails, or give it as a thoughtful homemade gift, this coffee liqueur recipe will become your go-to. Plus, it gets better with age, so you can make a large batch and enjoy it for months to come.
Ingredients
We carefully selected premium ingredients to create our homemade coffee liqueur that delivers exceptional flavor without artificial additives. Our recipe combines freshly brewed coffee with quality spirits and natural sweeteners for a rich and authentic taste.
For the Coffee Base
- 2 cups freshly brewed strong coffee (we recommend dark roast)
- 1/4 cup whole coffee beans (same variety as brewed coffee)
- 1 vanilla bean (split and scraped) or 2 teaspoons pure vanilla extract
For the Simple Syrup
- 1 cup granulated sugar
- 1 cup water
- 1/4 teaspoon kosher salt
For the Liqueur
- 1 3/4 cups vodka (80 proof or higher)
- 1/2 cup dark rum (optional for added depth)
- 2 tablespoons pure vanilla extract (if not using vanilla bean)
- 1 tablespoon instant coffee granules (for color enhancement)
Equipment Needed
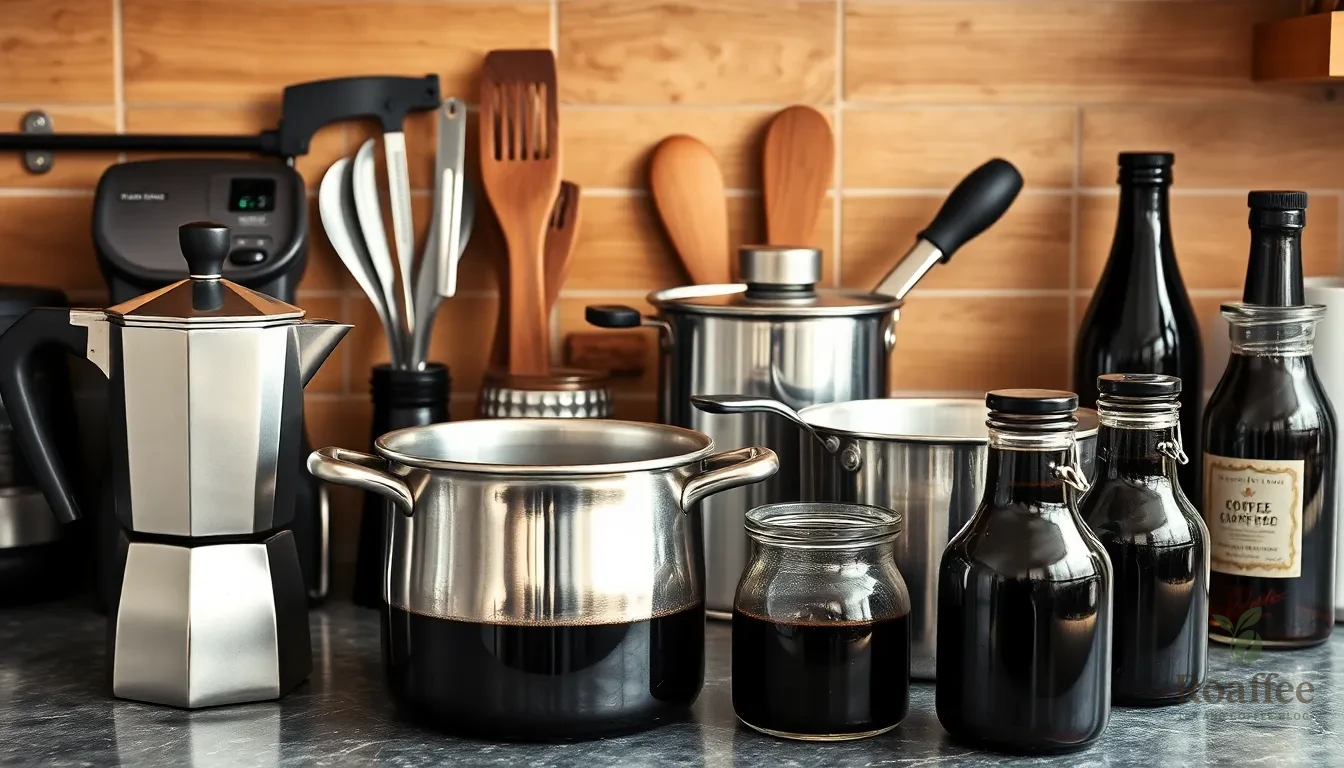
Creating our homemade coffee liqueur requires the right tools to achieve professional results. We’ve compiled a comprehensive list of equipment that will help you create a rich and flavorful liqueur at home.
Essential Brewing Equipment
Moka pot stands as our top recommendation for brewing the strong coffee base that forms the foundation of our liqueur. This Italian brewing method produces an intensely concentrated coffee that rivals espresso in strength. French press and espresso makers also work excellently for extracting maximum flavor from your coffee beans.
We recommend keeping a coffee grinder on hand if you’re using whole beans. Fresh grinding releases oils and aromatics that significantly enhance your final product’s complexity and depth.
Cooking and Mixing Tools
A saucepan or pot becomes essential for preparing the simple syrup that balances our liqueur’s sweetness. Choose one with a heavy bottom to ensure even heat distribution and prevent sugar from burning.
Measuring tools including cups and tablespoons guarantee accuracy in our recipe. Precision matters when creating liqueur since slight variations can dramatically alter the final taste profile.
A heat-resistant mixing bowl or container safely handles the hot coffee mixture during the initial combining process. Glass or stainless steel options work best for this purpose.
Storage and Finishing Equipment
Airtight bottles or jars preserve our liqueur’s quality during the crucial infusion period. Dark glass bottles protect against light exposure that can degrade flavor compounds over time.
A stirring spoon ensures thorough mixing of all ingredients. Long-handled spoons reach deep into bottles and containers for complete integration.
| Equipment Category | Recommended Items | Purpose |
|---|---|---|
| Brewing | Moka pot, French press, espresso maker | Strong coffee extraction |
| Preparation | Saucepan, measuring tools, mixing bowl | Syrup making and combining |
| Storage | Airtight bottles, dark glass jars | Infusion and preservation |
Having these tools ready before starting streamlines the process and ensures consistent results every time we make our coffee liqueur.
Instructions
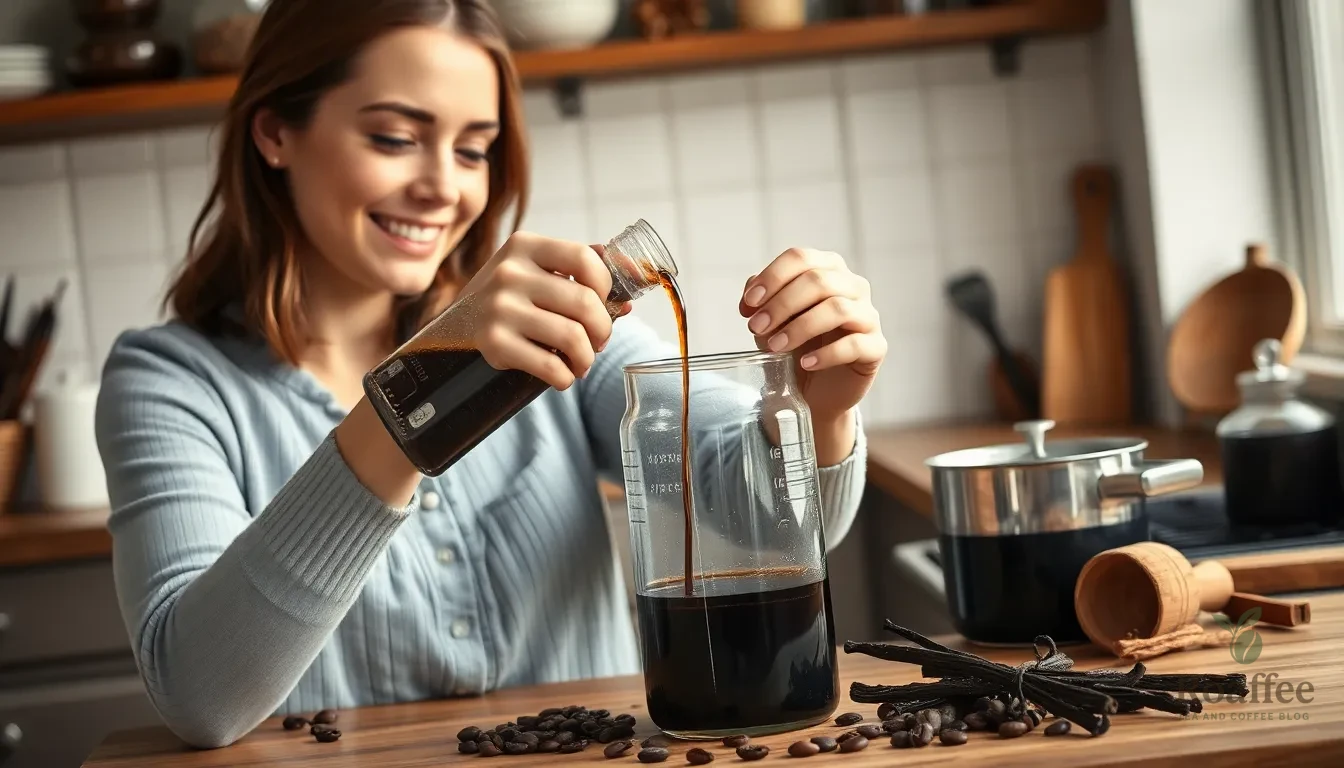
Follow these carefully crafted steps to create your own rich and flavorful coffee liqueur. Each stage builds upon the previous one to develop the complex taste profile that makes homemade versions superior to store-bought alternatives.
Prepare the Coffee Base
We begin by brewing the foundation of our liqueur with exceptionally strong coffee. Use a 1:5 coffee to water ratio and steep for 12 hours if cold-brewing your coffee base. Strain the mixture thoroughly to remove all grounds and sediment.
Alternatively, we can create a concentrated coffee syrup by combining dried espresso or ground coffee with water in a saucepan. Simmer this mixture for 1 hour until it reaches a syrupy consistency that coats the back of a spoon. Allow the coffee base to cool completely before proceeding to the next step.
Make the Simple Syrup
Combine equal parts water and sugar in a medium saucepan to create our sweetening component. We recommend using brown sugar or muscovado sugar for deeper flavor complexity compared to white sugar. Heat the mixture over medium heat while stirring continuously until the sugar dissolves completely.
For enhanced efficiency, we can add the sugar directly to hot coffee immediately after brewing. This method integrates the sweetening process with coffee preparation and ensures proper dissolution without additional heating.
Combine the Ingredients
Mix the cooled coffee syrup with 3 cups of vodka or dark rum in a large glass container. Vodka provides a cleaner taste profile that allows the coffee flavors to shine, while rum adds rich depth and complexity to the final product.
Add split vanilla beans or vanilla extract to enhance the aromatic profile of our liqueur. We can incorporate optional flavor enhancers such as chocolate liqueur or cinnamon sticks to create unique variations. Stir the mixture thoroughly to ensure all ingredients integrate properly.
Strain and Filter
Transfer the combined mixture to an airtight storage container for the aging process. Store the liqueur in a cool, dark place for 3-4 weeks to allow flavors to meld and develop fully. Stir the mixture weekly to promote proper integration of all components.
Remove vanilla beans and any whole spices before the final filtering stage. Filter the aged liqueur through a fine sieve or coffee filter to achieve clarity and remove any remaining sediment. Pour the finished liqueur into clean bottles for storage and serving.
Aging and Storage
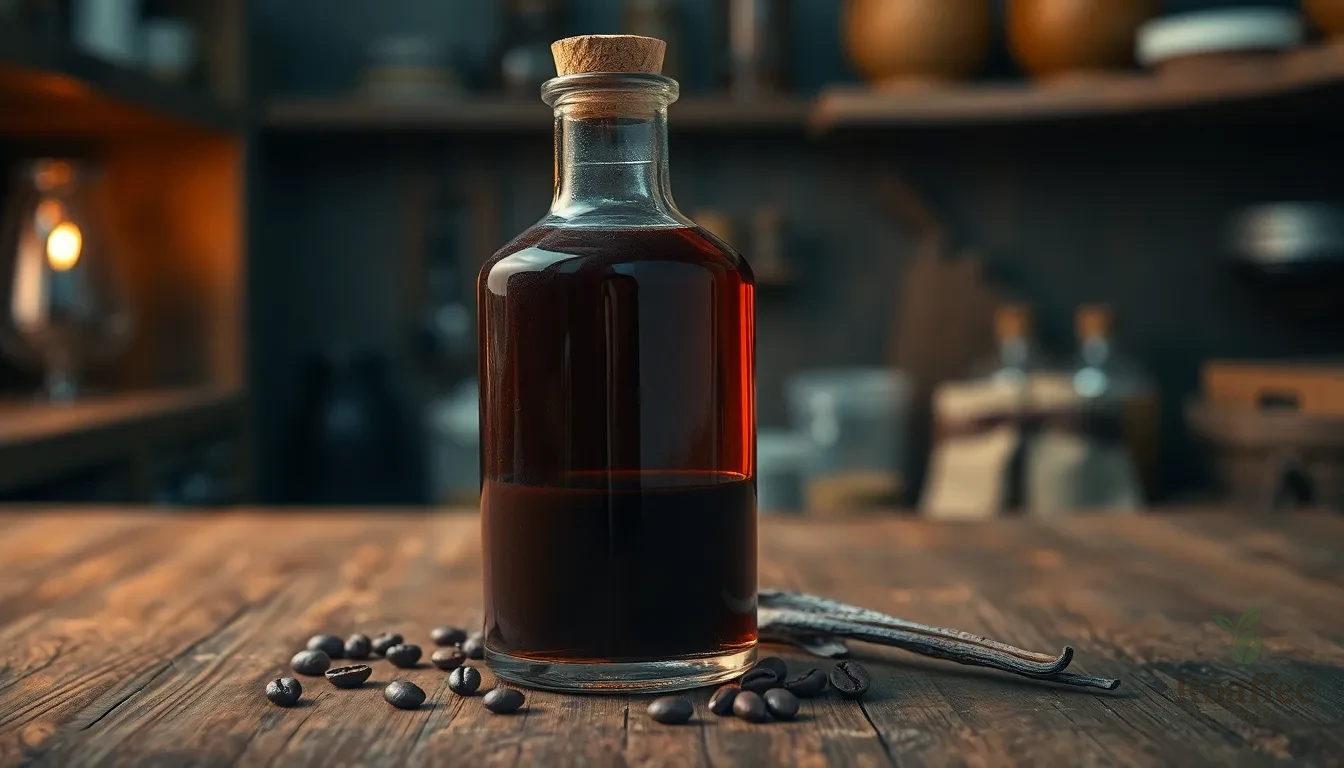
Proper aging and storage are essential steps that transform our homemade coffee liqueur from a simple mixture into a complex and flavorful spirit. We’ll guide you through the critical phases that ensure your liqueur develops its full potential and maintains quality over time.
Initial Aging Process
After combining our brewed coffee syrup with vodka or rum and vanilla, we need to age the mixture for 3 to 4 weeks in a cool, dark location. This aging period allows the flavors to meld together and develop the depth that makes homemade coffee liqueur truly exceptional.
We recommend storing the mixture in an airtight container during this initial phase to prevent oxidation and flavor loss. Stirring the liqueur once or twice weekly ensures even flavor development throughout the aging process. The alcohol acts as a solvent, extracting additional flavors from the vanilla and coffee components while smoothing out any harsh edges.
| Aging Timeline | Process | Frequency |
|---|---|---|
| Week 1-4 | Initial aging in cool, dark place | Stir 1-2 times weekly |
| After 4 weeks | Ready for filtering and bottling | One-time process |
While our coffee liqueur becomes drinkable sooner, we strongly recommend completing the full aging period for optimal smoothness and complexity. This patience pays off with a significantly more refined final product.
Long-Term Storage Tips
Once our initial aging is complete, we need to remove any solid particles like vanilla beans and filter the liqueur for clarity. We then transfer the finished product to bottles with airtight seals to preserve freshness and prevent contamination.
Storage location plays a crucial role in maintaining quality over time. We store our bottled coffee liqueur away from light, heat, and moisture to prevent flavor degradation. Temperature fluctuations and sunlight exposure can harm the taste and aroma similarly to how they affect brewed coffee.
The ideal storage environment maintains consistent cool temperatures in a dark location such as a pantry or cellar. We avoid areas near heat sources, windows, or locations with varying temperatures throughout the day.
Properly sealed and stored homemade coffee liqueur can last many months, with some batches maintaining quality for even longer periods. The alcohol content acts as a natural preservative, extending shelf life significantly compared to other homemade beverages.
Serving Suggestions
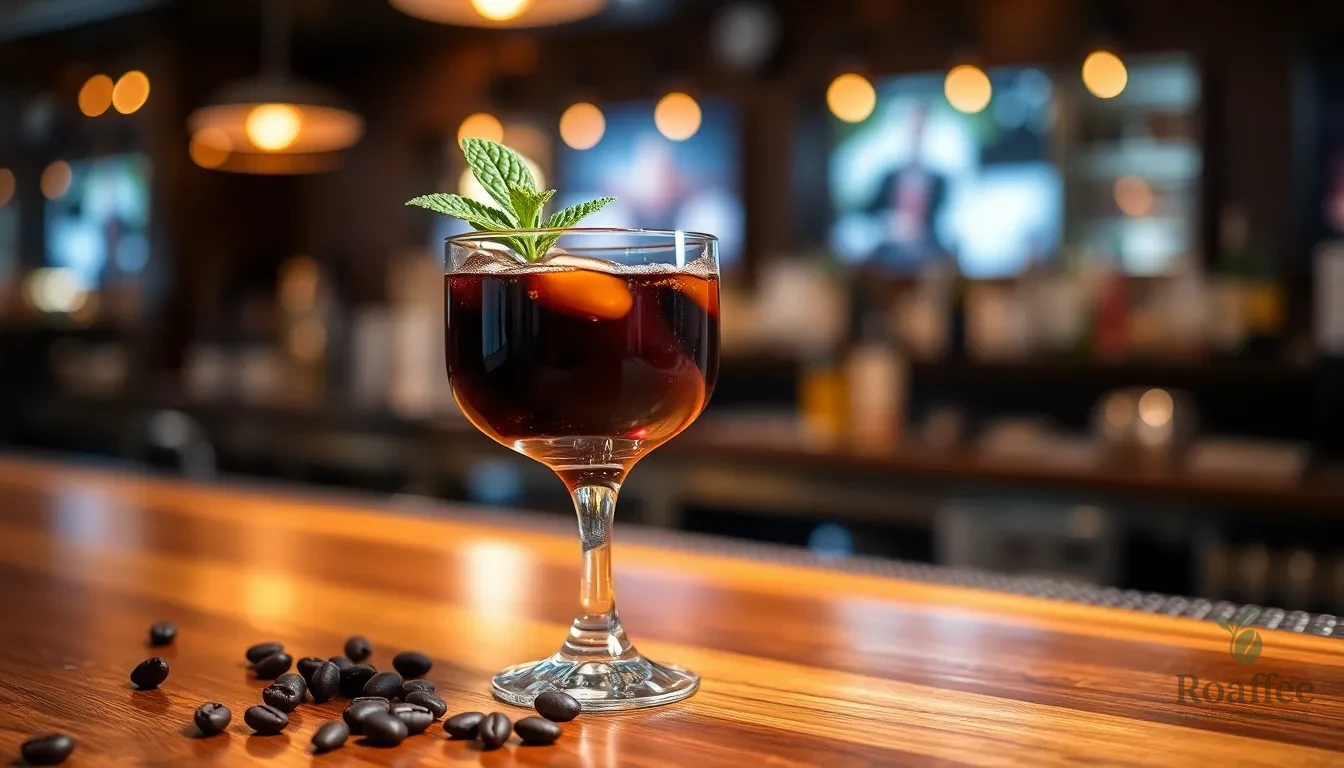
Our homemade coffee liqueur transforms ordinary drinks into extraordinary experiences. We’ve discovered countless ways to showcase this versatile creation across cocktails, coffee beverages, and dessert pairings.
Classic Cocktails
We recommend starting with the Espresso Martini, where our coffee liqueur combines with vodka and espresso to create a strong, coffee-forward drink that impresses at any gathering. The White Russian offers another excellent option, mixing our liqueur with vodka and cream for a creamy, sweet cocktail perfect for relaxed evenings.
For whiskey enthusiasts, we suggest the Coffee Old Fashioned, which elevates traditional bourbon with our coffee liqueur and bitters. This sophisticated drink showcases the liqueur’s depth while maintaining the classic cocktail’s integrity.
Coffee Drinks
We love adding our coffee liqueur to cold brew coffee mixed with milk for a refreshing Coffee Spritzer that delivers caffeine with a boozy twist. The Iced Coffee variation simply requires adding our liqueur to chilled coffee for an instant upgrade to your afternoon pick-me-up.
Our Coffee Milkshake recipe blends the liqueur with ice cream and milk, creating a decadent treat that bridges the gap between beverage and dessert. This indulgent drink works particularly well during warmer months when we crave something cooling yet satisfying.
Dessert Pairings
We’ve found that chocolate desserts provide the perfect canvas for our coffee liqueur’s bold flavors. The combination works especially well with chocolate truffles, where the bitterness of dark chocolate balances beautifully with the liqueur’s sweetness.
Vanilla ice cream becomes extraordinary when we drizzle our coffee liqueur over it, creating an adult dessert that’s both simple and sophisticated. We also recommend pairing it with caramel flan, where the dessert’s smoothness complements the liqueur’s rich, complex flavors without overwhelming the palate.
Variations and Flavor Additions
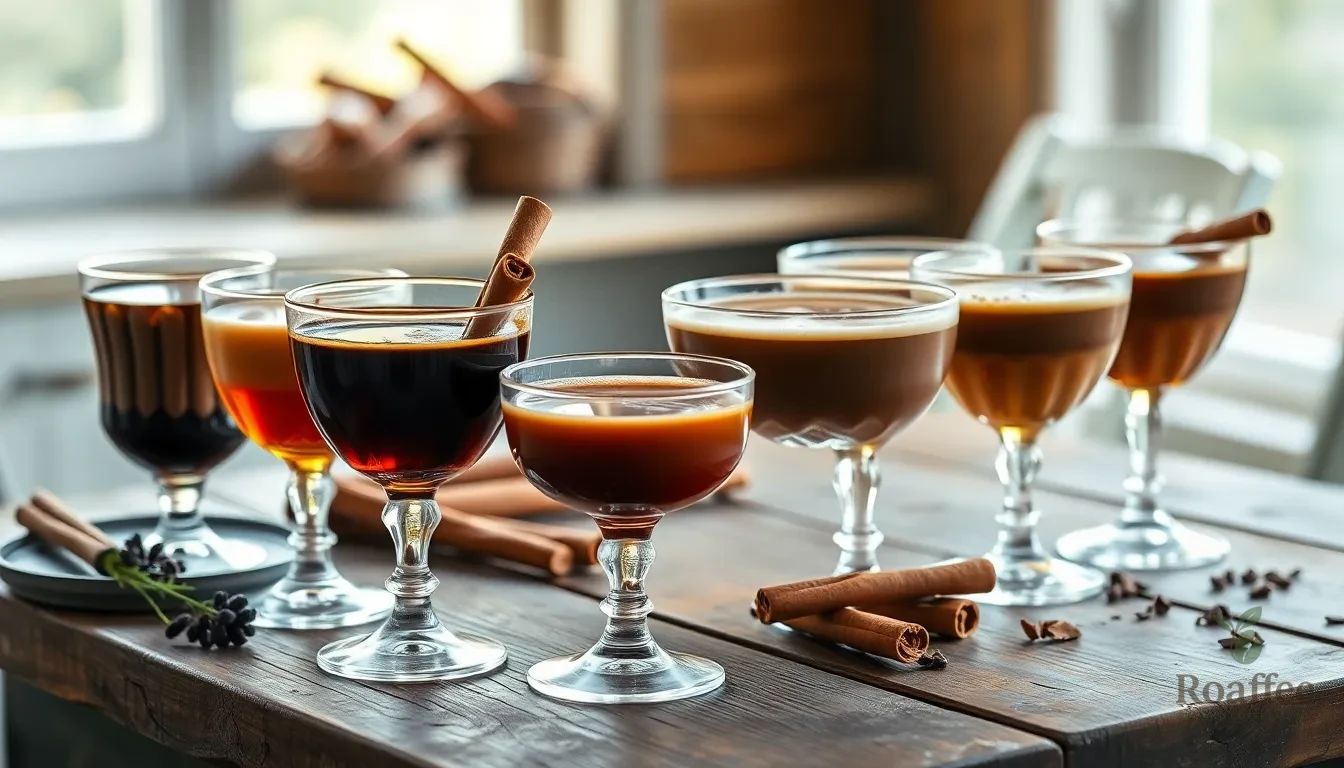
We can easily customize our homemade coffee liqueur with different flavor profiles to create unique variations. These additions transform the basic recipe into specialized liqueurs that complement various serving occasions and taste preferences.
Vanilla Coffee Liqueur
The vanilla variation serves as our most aromatic and versatile option. We add a third of a fresh vanilla bean or vanilla bean paste during the initial infusion process. Fresh vanilla beans provide the richest flavor profile compared to vanilla extract. We can split the vanilla bean lengthwise to release maximum flavor compounds into the alcohol mixture. The vanilla creates warm undertones that complement the coffee’s natural bitterness while adding complexity to the final product. This variation works exceptionally well in dessert cocktails and as a standalone sipper.
Chocolate Coffee Liqueur
Our chocolate coffee liqueur combines the deep richness of cocoa with robust coffee flavors. We incorporate chocolate liqueur or high-quality cocoa powder into the base recipe during the mixing stage. Espresso or dried espresso powder creates deeper flavor intensity than regular coffee grounds. The chocolate addition produces a dessert-like taste that pairs beautifully with cream-based cocktails. We recommend using dark chocolate liqueur for sophisticated flavor notes or adding one tablespoon of unsweetened cocoa powder per cup of base liqueur. This variation requires additional straining to remove cocoa particles and achieve smooth clarity.
Spiced Coffee Liqueur
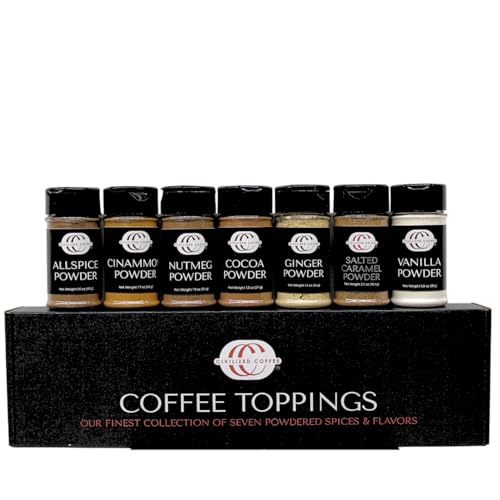
We create our spiced variation by incorporating warming spices during the infusion period. Cinnamon sticks provide the most popular spice addition while whole nutmeg offers subtle complexity. We add these spices to the alcohol mixture at the beginning of the aging process. Other excellent spice options include cardamom pods or star anise for exotic flavor profiles. The spices infuse slowly over the 3-4 week aging period creating layered taste experiences. We strain out all solid spice pieces before final bottling to ensure smooth texture. This variation excels in winter cocktails and makes an excellent gift for the holiday season.
Troubleshooting Tips
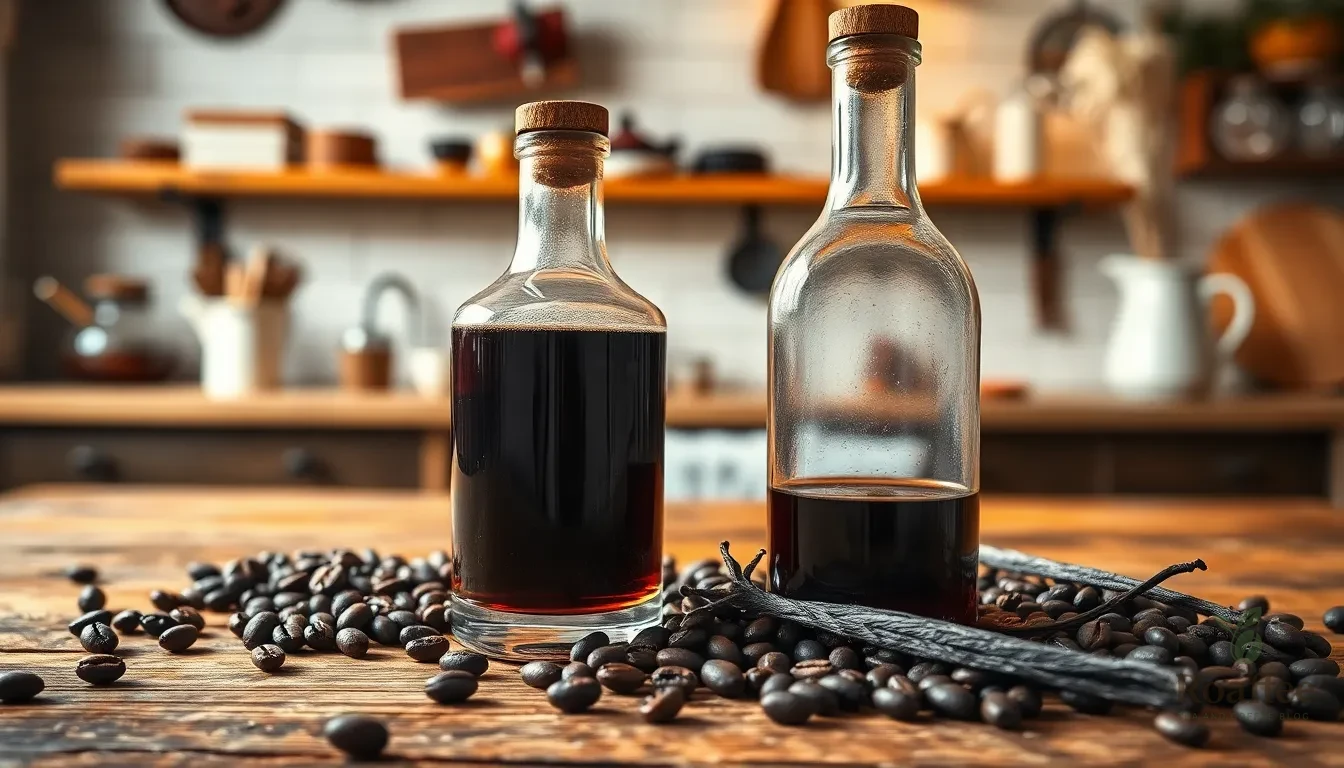
Creating homemade coffee liqueur requires patience and attention to detail. We’ve compiled essential troubleshooting answers to help you achieve the perfect batch every time.
Bitterness Issues
Too bitter: Your coffee liqueur may taste overly harsh if you’ve used too much coffee or selected an overly dark roast. We recommend reducing the coffee amount by 25% in your next batch or switching to a medium roast for better balance. Adding an extra ¼ cup of sugar can help counteract existing bitterness without starting over.
Weak coffee flavor: Fresh quality coffee beans make all the difference in flavor intensity. Avoid using instant coffee as it lacks the depth needed for premium liqueur. We suggest using freshly ground coffee from a local roaster or dried espresso for the most robust flavor profile.
Sweetness Problems
Too sweet: Reduce the sugar content gradually in future batches rather than trying to fix an overly sweet liqueur. Brown sugar adds more richness and depth compared to white sugar, so consider this balance when adjusting sweetness levels. Start with 1½ cups of sugar instead of 2 cups if you prefer less sweetness.
Unbalanced sweetness: The simple syrup should dissolve completely in hot coffee before adding alcohol. Undissolved sugar crystals create uneven sweetness distribution throughout your liqueur.
Appearance and Clarity Issues
Cloudy appearance: Allow your liqueur to settle completely before straining. We recommend double-straining through fine mesh and coffee filters to achieve crystal-clear results. Cloudiness often occurs from insufficient settling time or inadequate filtration.
Flat flavor profile: Quality vanilla beans or vanilla extract enhance the overall flavor complexity. Consider adding spices like cinnamon or chocolate liqueur to create more depth. Fresh ingredients always produce superior results compared to older pantry items.
Aging and Storage Answers
Impatient results: Longer aging periods up to 4 weeks create more rounded flavors, though your liqueur remains drinkable after just one week. We recommend weekly stirring during the aging process to promote even flavor development and prevent settling.
Storage concerns: Cool, dark locations preserve flavor integrity better than warm areas. Properly sealed containers prevent oxidation and maintain the alcohol content that acts as a natural preservative for months of storage.
Make-Ahead Instructions
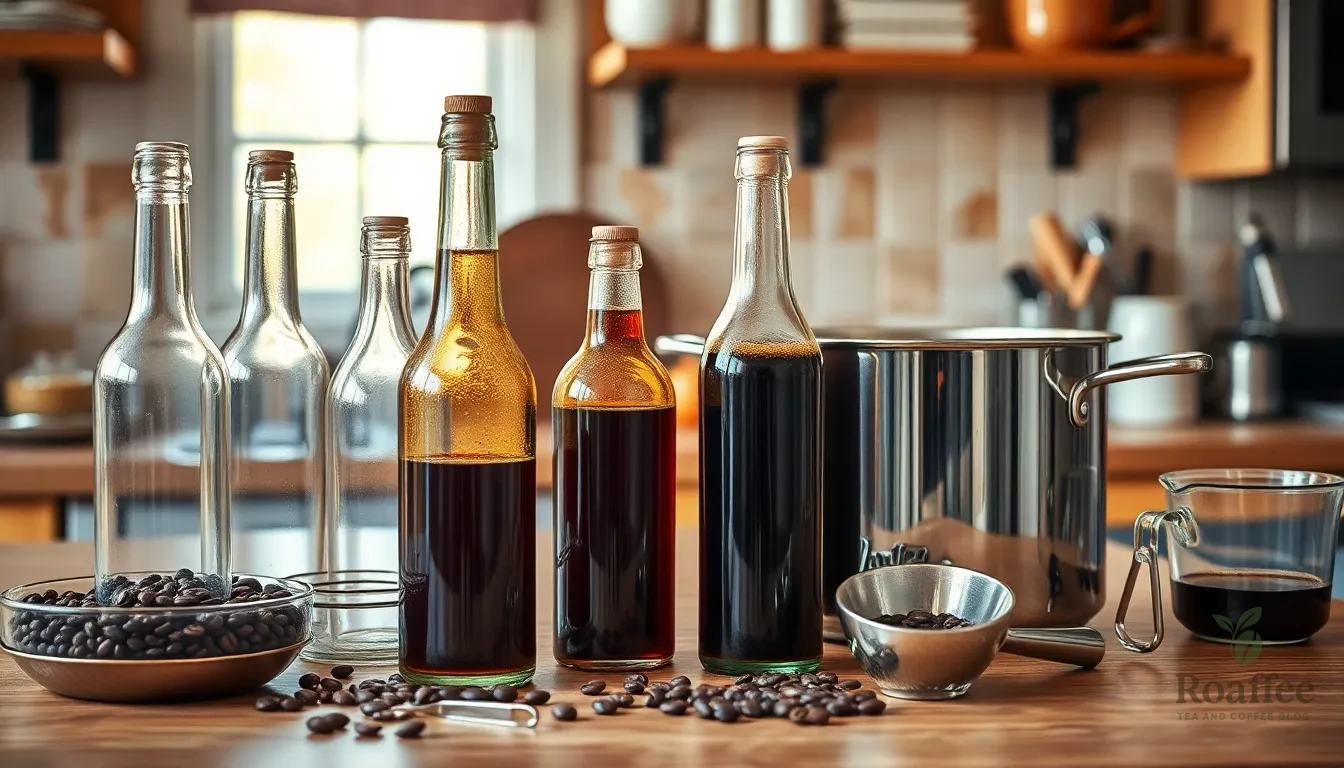
Our coffee liqueur recipe is perfectly designed for advance preparation, making it an ideal project for planning ahead. We recommend starting this recipe at least 4-6 weeks before you plan to serve it, as the extended aging process significantly improves the final product’s depth and complexity.
Timeline Planning
Begin by marking your calendar with key preparation dates to ensure optimal results. We suggest starting the brewing process on a weekend when you have adequate time to focus on each step without rushing. The initial preparation takes approximately 2-3 hours, but most of this time involves cooling periods rather than active work.
Extended Aging Benefits
Coffee liqueur develops remarkable flavor improvements when aged for longer periods beyond the minimum 3-4 weeks. We’ve found that batches aged for 6-8 weeks develop smoother, more integrated flavors with reduced harsh edges. The vanilla notes become more pronounced, while the coffee flavor mellows into a rich, rounded profile that enhances cocktail applications.
Batch Size Considerations
Making larger batches proves more efficient when preparing coffee liqueur in advance. We recommend doubling or tripling the recipe quantities to create multiple bottles at once. This approach ensures consistent flavor across all bottles and provides enough liqueur for gifts, entertaining, and personal enjoyment throughout the season.
Storage Container Preparation
Sterilize all storage containers and bottles at least 24 hours before beginning the liqueur preparation. We use a simple boiling water method or run glass containers through a complete dishwasher cycle with heated dry. Clean containers prevent contamination and ensure the liqueur maintains its intended flavor profile during the extended aging period.
Flavor Development Monitoring
Track the liqueur’s progress by tasting small samples every 10-14 days during the aging process. We keep detailed notes about flavor changes, which helps determine the optimal aging duration for personal preferences. Some batches benefit from additional aging time, while others reach peak flavor earlier than expected.
Gift Planning Strategy
Coffee liqueur makes exceptional holiday and special occasion gifts when prepared months in advance. We begin our gift batches in late summer for holiday distribution, allowing 12-16 weeks for maximum flavor development. This timeline ensures the liqueur reaches peak quality while providing adequate time for attractive bottling and labeling.
Conclusion
Creating your own coffee liqueur at home transforms a simple recipe into a rewarding culinary experience. We’ve shown you how premium ingredients and proper technique produce a liqueur that rivals expensive store-bought versions at a fraction of the cost.
The beauty of this homemade approach lies in its flexibility. Whether you’re crafting the classic version or experimenting with vanilla chocolate or spiced variations you’re creating something uniquely yours. The aging process rewards patience with deeper more complex flavors that continue developing over time.
From elegant cocktails to dessert pairings your homemade coffee liqueur opens countless possibilities for entertaining and gift-giving. With proper storage techniques and advance planning you’ll always have this versatile ingredient ready for any occasion.
Start your batch today and discover why homemade coffee liqueur has become our go-to recipe for impressive entertaining and thoughtful gifts.
Frequently Asked Questions
What are the main benefits of making homemade coffee liqueur?
Making homemade coffee liqueur offers several advantages over store-bought options. It’s significantly more cost-effective and allows you to control ingredients, avoiding artificial flavors and preservatives. The rich flavor profile from freshly brewed coffee and quality spirits creates a superior taste. Plus, it’s versatile for cocktails, sipping, or gifting, and actually improves with age.
What ingredients do I need to make coffee liqueur at home?
You’ll need freshly brewed strong coffee, whole coffee beans, vodka (or dark rum), sugar for simple syrup, vanilla bean or extract, and salt. Optional ingredients include instant coffee granules for color enhancement. Using premium ingredients like freshly ground coffee beans and quality spirits ensures the best flavor profile in your homemade liqueur.
What equipment is essential for making coffee liqueur?
Essential equipment includes a Moka pot or coffee maker for brewing strong coffee, a saucepan for making simple syrup, airtight bottles for storage, and a coffee grinder for whole beans. You’ll also need measuring tools for accuracy and a strainer for filtering. Having the right equipment streamlines the process and ensures consistent results.
How long does homemade coffee liqueur take to make?
The preparation takes about 1-2 hours, but the aging process requires 3-4 weeks for optimal flavor development. During aging, stir the mixture weekly to promote even flavor blending. After aging, filter the liqueur and bottle it. For best results, plan to start your batch 4-6 weeks before you want to serve it.
How should I store homemade coffee liqueur?
Store your coffee liqueur in airtight bottles away from light, heat, and moisture. A cool, dark location like a pantry or cellar is ideal. Properly sealed homemade coffee liqueur can last for many months due to its alcohol content acting as a natural preservative. The flavor actually continues to improve over time with proper storage.
What cocktails can I make with homemade coffee liqueur?
Coffee liqueur is incredibly versatile for cocktails. Popular options include Espresso Martini, White Russian, and Coffee Old Fashioned. You can also create coffee-based drinks like Coffee Spritzer or Iced Coffee variations. It pairs beautifully with chocolate desserts, vanilla ice cream, and caramel flan for dessert pairings.
Can I customize the flavor of my coffee liqueur?
Absolutely! You can create several variations including Vanilla Coffee Liqueur with fresh vanilla beans, Chocolate Coffee Liqueur with cocoa or chocolate liqueur, or Spiced Coffee Liqueur with cinnamon and nutmeg. These variations enhance versatility and allow you to tailor the liqueur to different occasions and personal preferences.
What should I do if my coffee liqueur tastes too bitter or sweet?
If your liqueur is too bitter, reduce the coffee amount or brewing time in future batches. For overly sweet liqueur, add more coffee or reduce sugar. You can also adjust by blending with a new batch. Always use quality ingredients and ensure proper filtration for clarity. Patience during aging helps balance flavors naturally.
How far in advance can I make coffee liqueur for gifts?
Coffee liqueur makes excellent gifts when prepared 4-6 weeks in advance. Start your batch early to allow proper aging and flavor development. Larger batches are more efficient for gift-giving. Remember to sterilize storage containers and monitor flavor development during aging. The liqueur actually improves with time, making advance preparation beneficial.
