We’ve all been there – standing in line at Starbucks, craving that perfect coffee drink but dreading the price tag. What if we told you that you could recreate those beloved Starbucks flavors right in your own kitchen? With just a few simple ingredients and the right techniques, we can transform your morning routine into a barista-quality experience.
Making Starbucks-style coffee at home isn’t just about saving money – it’s about mastering the art of coffee craftsmanship. From their signature Pike Place Roast to those indulgent seasonal favorites, we’ll show you how to capture those complex flavors that keep millions of people coming back for more.
Ready to become your own barista? We’re about to share the secrets behind creating that perfect cup of coffee that rivals anything you’d get at your local Starbucks. Let’s jump into this game-changing recipe that’ll have you skipping the coffee shop line for good.
Ingredients
Creating your perfect Starbucks-style coffee at home starts with gathering the right ingredients. We’ve organized everything you’ll need by category to make shopping and preparation effortless.
For the Coffee Base
- 2 tablespoons freshly ground medium-dark roast coffee beans (Pike Place Roast or similar)
- 6 ounces filtered water
- 1 shot espresso (for espresso-based drinks)
- 1 cup strong brewed coffee (for iced beverages)
- 2 tablespoons instant coffee granules (for frappuccino-style drinks)
For the Flavored Syrups
- 1/4 cup vanilla syrup (homemade or store-bought)
- 2 tablespoons caramel sauce
- 1 tablespoon hazelnut syrup
- 2 tablespoons chocolate syrup
- 1 tablespoon peppermint syrup (for seasonal drinks)
- 2 tablespoons brown sugar simple syrup
- 1 tablespoon cinnamon dolce syrup
For the Milk and Cream
- 1 cup whole milk (for steaming and frothing)
- 1/2 cup heavy cream (for whipped toppings)
- 1/4 cup half-and-half (for lighter options)
- 1 cup non-dairy milk alternatives (almond, oat, or soy)
- 2 tablespoons condensed milk (for Vietnamese-style coffee)
For the Toppings
- 1/2 cup whipped cream (freshly made or canned)
- 2 tablespoons cocoa powder (for dusting)
- 1 tablespoon cinnamon powder
- 1/4 cup chocolate shavings
- 2 tablespoons caramel drizzle
- 1 tablespoon sea salt flakes (for salted caramel variations)
- 1/4 cup crushed ice (for cold beverages)
Equipment Needed
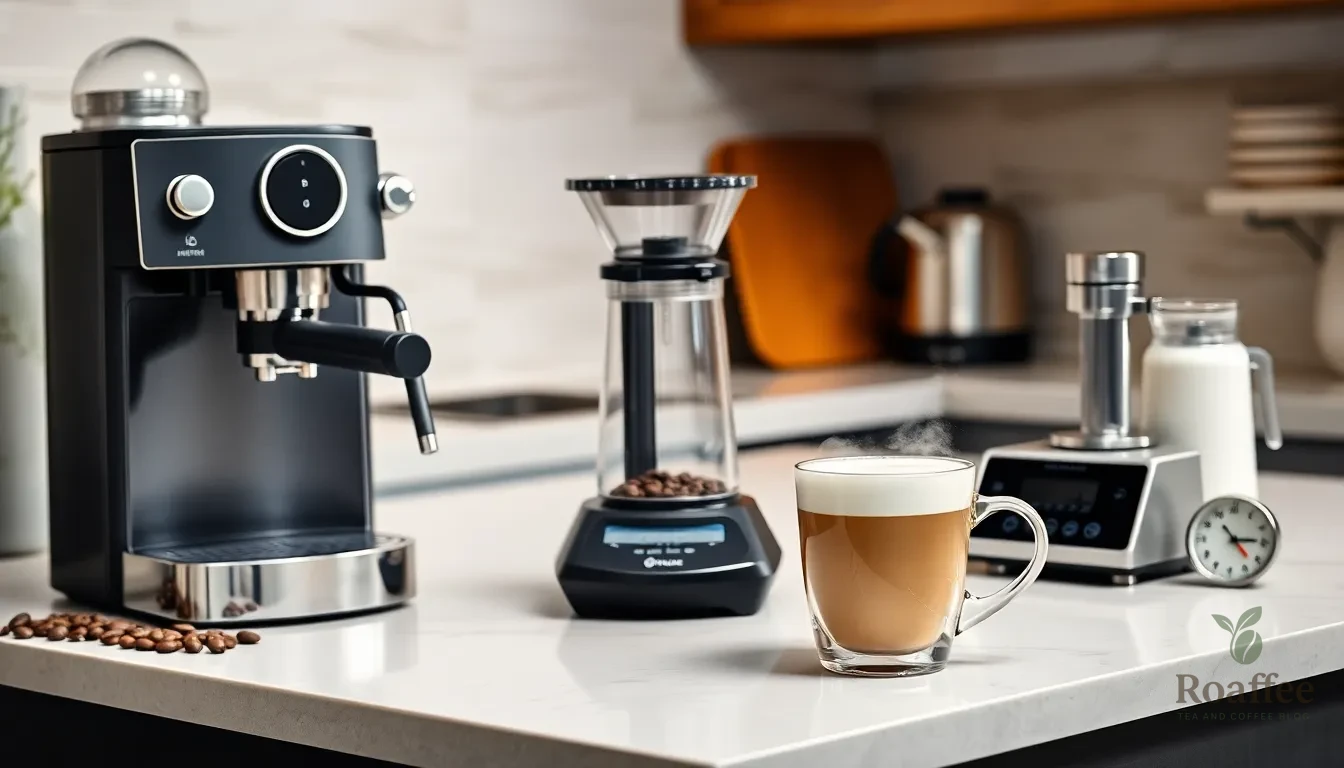
Creating authentic Starbucks-style coffee at home requires investing in the right equipment to achieve that distinctive flavor and texture we all crave. The foundation of any great coffee experience starts with proper brewing tools that can replicate the high-pressure extraction methods used in professional coffee shops.
Essential Brewing Equipment
Espresso Machine forms the cornerstone of our home coffee setup. Starbucks relies on the Mastrena High-Performance Espresso Machine by Thermoplan AG, which delivers consistent espresso extraction with precise pressure control. While we may not have access to commercial-grade equipment, investing in a quality home espresso machine helps us achieve similar results with proper pressure systems essential for authentic espresso shots.
Coffee Grinder ensures we can grind whole coffee beans fresh before each brewing session. This step proves crucial for maintaining optimal flavor profiles since pre-ground coffee loses its aromatic compounds quickly. Burr grinders provide more consistent particle size than blade grinders, resulting in better extraction.
Moka Pot or French Press serves as excellent alternatives when an espresso machine isn’t available. These brewing methods create strong coffee that mimics espresso flavor intensity, though they lack the true espresso pressure that commercial machines provide. Both options offer budget-friendly ways to achieve concentrated coffee strength.
Milk Preparation Tools
Steamer or Milk Frother becomes essential for creating the silky, velvety texture found in lattes and specialty drinks like chestnut praline latte. Steam wands attached to espresso machines provide the best results, but handheld frothers or French presses can also create adequate milk foam for home preparation.
Milk Thermometer helps us monitor temperature during the steaming process. Properly heated milk should reach between 150-160°F to achieve optimal texture without scalding, which can create bitter flavors in our finished beverages.
Additional Accessories
Digital Scale ensures precise measurements for consistent results every time we brew. Professional baristas measure coffee and water by weight rather than volume for accuracy, and we should follow the same practice at home.
Tamper compacts ground coffee evenly in the portafilter, creating uniform extraction when using espresso machines. Proper tamping technique significantly impacts the quality of our espresso shots.
Instructions
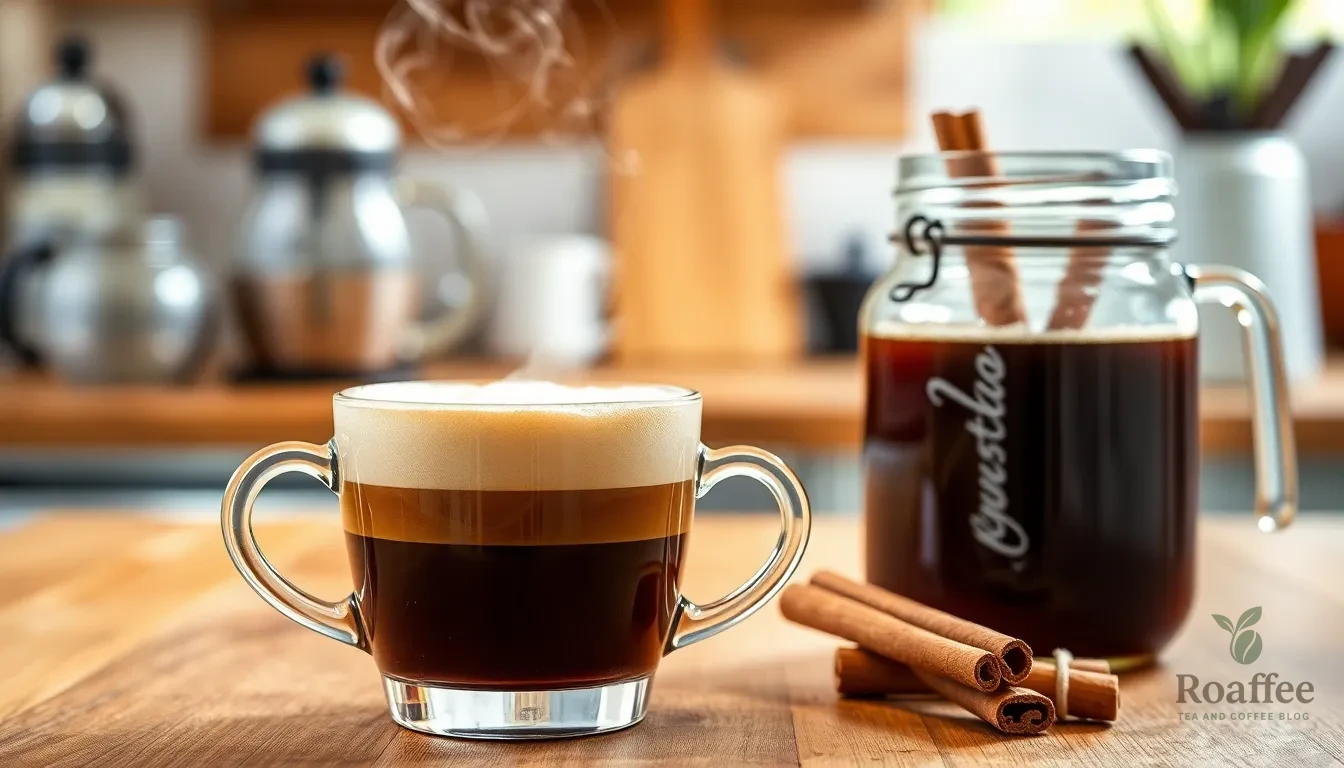
Now that we have our ingredients and equipment ready, let’s walk through the step-by-step process to create our perfect Starbucks-style coffee at home. These instructions will guide you through each component, from brewing the coffee base to assembling the final drink.
Prep the Coffee Base
We start with brewing a strong espresso or concentrated coffee that forms the foundation of our Starbucks-inspired drink. Extract 1 shot of espresso using our espresso machine, or prepare 2 ounces of strongly brewed coffee using a stovetop espresso maker. The key is achieving the same strength and flavor profile that Starbucks uses in their signature drinks.
For those without an espresso machine, we can use a Moka pot or French press to create a concentrated coffee base. Ensure the coffee is hot and freshly brewed for optimal flavor extraction.
Make the Flavored Syrups
Our homemade brown sugar syrup captures the authentic taste of Starbucks’ popular flavor enhancer. We combine 1 cup of water with 2 cups of lightly packed dark brown sugar in a saucepan. Add 6 cinnamon sticks to the mixture for that signature warmth and spice.
Heat the ingredients over medium heat while stirring to dissolve the sugar completely. Once the mixture reaches a gentle boil, we reduce the heat and let it simmer for 2 to 5 minutes until slightly thickened. Remove the saucepan from heat and allow the syrup to cool completely before removing the cinnamon sticks.
Stir in 2 teaspoons of pure vanilla extract for depth and complexity. Transfer the finished syrup to a jar or squeeze bottle for convenient storage and easy dispensing.
Prepare the Milk Component
We heat 10 ounces of whole milk to approximately 155°F for the perfect temperature that won’t scorch the milk proteins. Using our milk frother or steam wand, we create a velvety texture that mimics the professional quality found in Starbucks locations.
Steam the milk until it develops a microfoam consistency that’s smooth and creamy. Those without specialized equipment can heat the milk in a small saucepan while whisking vigorously to create foam manually.
Assemble the Drink
We place our hot espresso or brewed coffee in a 12-ounce mug to begin the final assembly. Add 2 to 5 teaspoons of our homemade brown sugar syrup, adjusting the amount based on personal sweetness preference.
Pour the steamed and frothed milk over the coffee and syrup mixture, creating the signature layered appearance. We can optionally top with a bit of extra foam or sprinkle ground cinnamon for an authentic finishing touch. Serve immediately while hot for the best flavor experience and optimal temperature.
Directions for Popular Starbucks Variations

Now that we’ve covered the essential techniques and ingredients, let’s walk through the step-by-step instructions for creating four beloved Starbucks drinks in your own kitchen.
Caramel Macchiato
We start by heating 12 oz of milk with 2 tablespoons of vanilla syrup in a saucepan over medium heat. Steam the milk mixture until it reaches 150°F and creates a light foam on top. Pour the vanilla-infused steamed milk into your serving cup, leaving about an inch of space at the top.
Brew 2 oz of fresh espresso using your preferred method. Pour the hot espresso directly over the back of a spoon to create a distinct layer on top of the milk foam. This technique gives the drink its signature “marked” appearance that defines a true macchiato.
Finish by drizzling caramel sauce in a crosshatch pattern over the foam. For an iced version, we combine cold milk, vanilla syrup, and ice in a tall glass first, then add the espresso shots and caramel topping.
Vanilla Latte
Begin by brewing 2 oz of espresso or preparing a strong coffee concentrate. Heat 10 oz of your preferred milk to 150°F while whisking to create a smooth, creamy texture. Add 2 tablespoons of vanilla syrup to the heated milk and stir until completely dissolved.
Pour the vanilla-sweetened milk into your coffee cup, leaving room for the espresso. Add the freshly brewed espresso to the milk mixture and stir gently to combine. The vanilla syrup balances the espresso’s natural bitterness while creating a smooth, sweet flavor profile.
Top with a thin layer of milk foam if desired, or enjoy as is for a classic vanilla latte experience.
Mocha Frappuccino
We combine 1 cup of cold milk, 2 oz of cooled espresso, 2 tablespoons of chocolate syrup, and 1 cup of ice in a blender. Blend on high speed for 30 seconds until the mixture reaches a smooth, slushy consistency.
Pour the blended mixture into a tall glass, filling it about three-quarters full. Top generously with whipped cream, creating a dome shape above the rim of the glass.
Drizzle chocolate syrup over the whipped cream in decorative lines. This cold, dessert-like beverage combines the rich flavors of coffee and chocolate for the perfect afternoon treat.
Pumpkin Spice Latte
Create pumpkin spice syrup by combining 1/2 cup sugar, 1/2 cup water, 2 tablespoons pumpkin puree, 1/2 teaspoon cinnamon, 1/4 teaspoon nutmeg, 1/8 teaspoon clove, and 1/8 teaspoon ginger in a small saucepan. Simmer the mixture for 5 minutes, then strain and cool.
Brew 2 oz of espresso while heating 10 oz of milk to 150°F. Add 2 tablespoons of the homemade pumpkin spice syrup to the heated milk and whisk until well combined. The spiced syrup creates the warm autumn flavors that make this drink a seasonal favorite.
Pour the pumpkin spice milk into your cup and add the fresh espresso. Top with whipped cream and dust with a pinch of cinnamon for the authentic Starbucks presentation.
Make-Ahead Tips
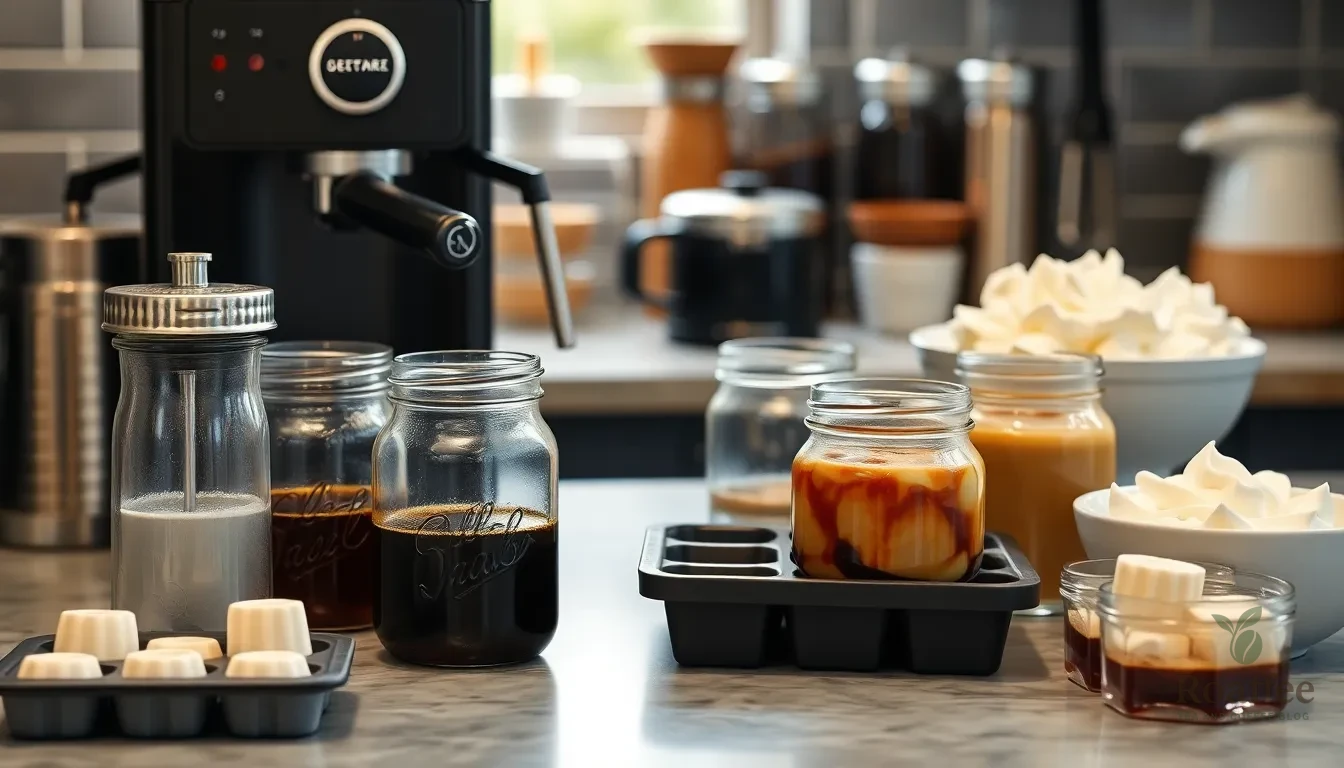
We can streamline our morning coffee routine by preparing several components in advance. Coffee or espresso shots brew beautifully ahead of time and maintain their flavor when stored in the refrigerator for up to 24 hours. Simply brew a larger batch and portion it into individual servings for quick assembly throughout the week.
Our flavored syrups and caramel or chocolate sauces store perfectly at room temperature for weeks. We recommend preparing homemade pumpkin spice syrup in larger quantities during fall season and storing it in glass jars. This approach ensures we always have our favorite flavors ready for instant coffee creation.
Milk preparation becomes effortless when we invest in quality milk frothers that work with cold milk. We can heat milk in the microwave and froth it quickly without traditional steaming equipment. For busy mornings, we suggest measuring out milk portions in small containers the night before.
Our garnish station benefits from advance preparation too. Whipped cream keeps fresh in the refrigerator for up to three days when stored in airtight containers. We store chopped pralines, cinnamon, and cocoa powder in small glass jars for easy access during drink assembly.
Ice preparation plays a crucial role in our frozen drinks. We recommend freezing coffee in ice cube trays to prevent dilution in our frappuccinos. These coffee ice cubes blend seamlessly with our other ingredients while maintaining the drink’s robust flavor profile.
Our equipment setup saves precious time when organized properly. We keep our espresso machine, milk frother, and blender in easily accessible locations. This preparation strategy reduces our total drink preparation time from 10 minutes to approximately 5 minutes per serving.
Storage Instructions
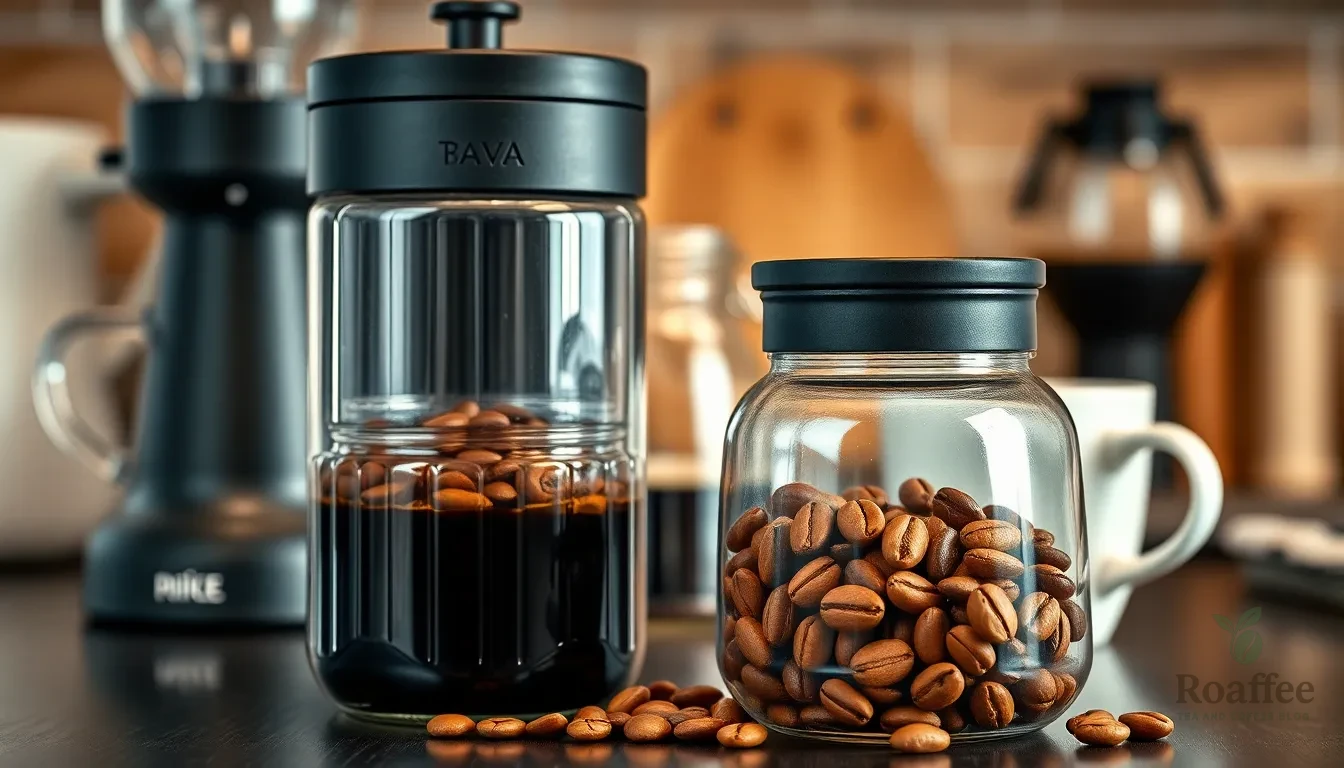
Our homemade Starbucks-style coffee creations deserve proper storage to maintain their exceptional flavor and quality. We recommend following these essential guidelines to preserve both our coffee beans and prepared beverages for maximum freshness.
Storing Coffee Beans and Grounds
Use an opaque, airtight container to store coffee beans and ground coffee at room temperature. This protects our coffee from air, moisture, heat, and light which all degrade flavor according to Starbucks experts. We should avoid clear containers that expose coffee to light damage.
When keeping coffee in its original packaging, release as much air as possible and reseal tightly after opening. This simple step significantly extends freshness by minimizing oxygen exposure.
Avoid refrigeration or freezing coffee beans and grounds completely. Condensation and odor absorption occur in cold environments and spoil our coffee’s taste. Room temperature storage provides optimal conditions for preserving flavor integrity.
Once we open a package of coffee beans, we should use them within one week for peak freshness. Ground coffee deteriorates faster than whole beans and requires the same airtight storage with quick consumption for best results.
Prepared Beverage Storage Guidelines
| Beverage Type | Storage Duration | Storage Method |
|---|---|---|
| Brewed Coffee | 60 minutes | Room temperature |
| Ground Coffee (for brewing) | 2 hours | Room temperature |
| Cold Brew | 7 days | Refrigerated |
| Frappuccino® Roast | 48 hours | Room temperature |
| Chilled Starbucks Products | 7 days | Refrigerated after opening |
Our prepared coffee beverages require different storage approaches based on their ingredients and preparation methods. Brewed coffee should be consumed within 60 minutes for optimal taste and temperature.
Cold brew preparations can last up to 7 days when properly refrigerated in sealed containers. This makes cold brew an excellent make-ahead option for busy mornings.
Prepared syrups and sauces we create can be stored in the refrigerator for several days to a week depending on their dairy content. We recommend labeling containers with preparation dates to track freshness.
Store any chilled components like milk-based drinks in the refrigerator and consume within 7 days of opening for food safety and quality maintenance.
Customization Options

We can easily tailor our homemade Starbucks coffee recipes to match our personal tastes and dietary needs. These customization options allow us to create the perfect cup every time.
Adjusting Sweetness Levels
Most Starbucks beverages come unsweetened by default, giving us complete control over sweetness levels. We can add syrup pumps gradually to achieve our preferred taste, starting with half the recommended amount and adjusting upward. This approach helps us accommodate various sugar preferences or dietary restrictions without overwhelming the coffee’s natural flavors.
Our homemade syrups provide flexibility in sweetness control. We can create sugar-free versions using stevia or monk fruit sweeteners as alternatives. When making iced coffee, tea, or matcha-based drinks, we recommend tasting before adding any sweeteners since these beverages traditionally contain no added sugars.
Dairy-Free Alternatives
Plant-based milk options transform our coffee creations into dairy-free delights at no additional cost. We can substitute traditional dairy milk with soy, coconut, almond, or oat milk to accommodate lactose intolerance and vegan preferences. These alternatives work beautifully in hot and cold beverages alike.
For optimal creaminess, we recommend using higher-fat plant milks like oat or soy milk. These options create the rich texture we love in lattes and cappuccinos. When preparing dairy-free drinks, we should note that Starbucks syrups are generally dairy-free, while sauces usually contain milk. The mocha sauce made from cocoa powder remains dairy-free and works perfectly for lactose-intolerant coffee lovers.
Our Nondairy Vanilla Sweet Cream Cold Brew becomes a refreshing vegan option when we use plant-based milk and sugar-free syrup alternatives. This combination reduces sugar content while maintaining the indulgent flavor profile.
Decaf Variations
We can create decaffeinated versions of any espresso-based drink by using decaf coffee beans or requesting decaf shots. Starbucks offers two main espresso roasts that work well in decaf form: the Blonde Espresso Roast with its smooth, citrusy notes, and the standard Espresso Roast featuring bold, caramel-sweet flavors.
Extra espresso shots or double shots can be added to adjust flavor strength even in decaf options. We can brew decaf espresso using the same techniques as regular espresso, maintaining the rich crema and robust taste. For cold brew enthusiasts, we can prepare decaf cold brew concentrate using decaffeinated coffee grounds and the same 12-24 hour steeping process.
When customizing caffeine levels, we have complete control over strength by adjusting the coffee-to-water ratio or adding additional decaf shots to intensify flavor without increasing caffeine content.
Troubleshooting Common Issues
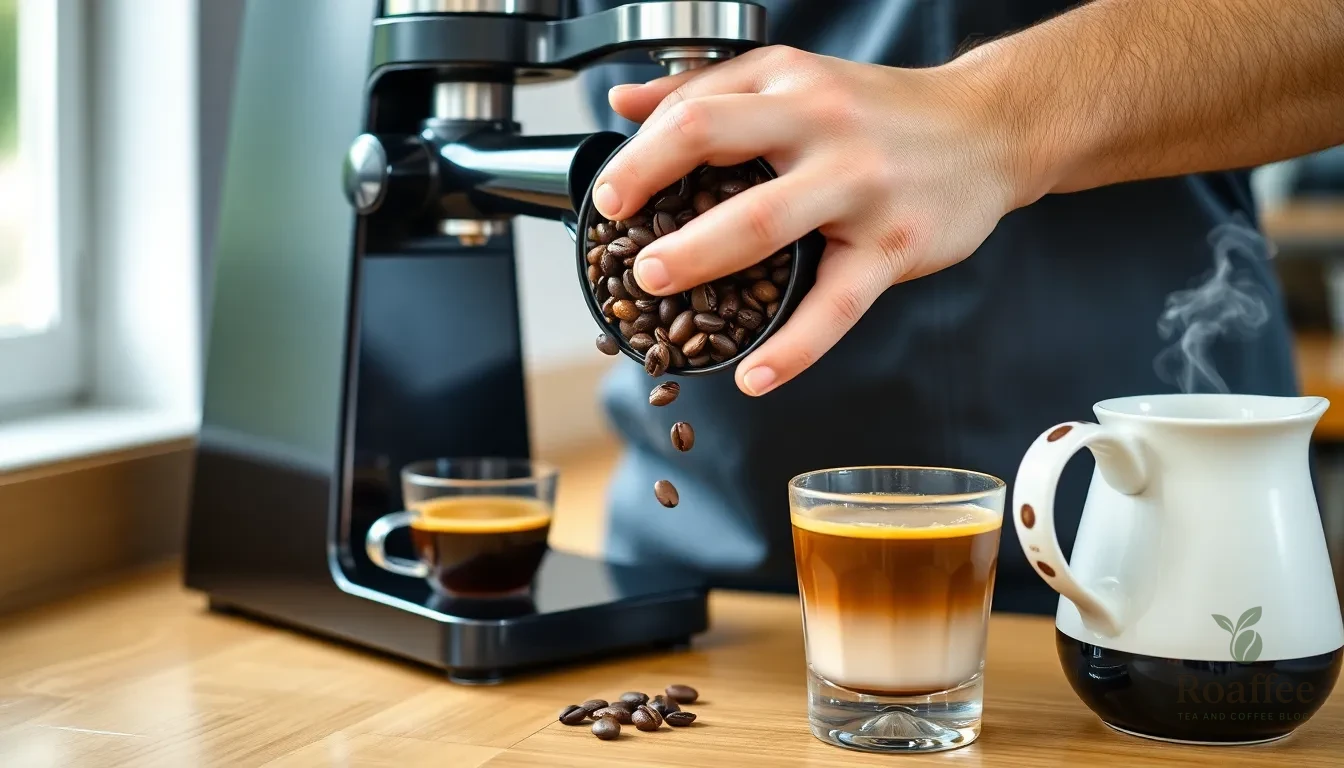
Making perfect Starbucks-style coffee at home sometimes presents challenges that can affect your final drink quality. We’ve identified the most common problems home baristas encounter and provide practical answers to help you achieve consistent results.
Espresso Flow Problems
When your espresso shots extract too quickly and taste weak or sour, the grind size needs adjustment. We recommend grinding your coffee beans more finely to slow down the extraction process. Coffee that flows too fast typically indicates coarse grounds that allow water to pass through without proper extraction.
Conversely, espresso that barely drips or takes longer than 30 seconds for a double shot requires a coarser grind. Over-extraction creates bitter flavors and can clog your machine. Adjust your grinder settings gradually until you achieve the ideal 25-30 second extraction time for double shots.
Milk Texture Issues
Steamed milk that lacks creaminess or produces large bubbles instead of microfoam requires technique refinement. We suggest keeping the steam wand just below the milk surface during the initial stretching phase. Move the wand deeper into the milk once you achieve the desired volume to create smooth, velvety texture.
Cold milk produces better foam than room temperature milk. Use whole milk for the richest foam or experiment with oat milk for plant-based alternatives that steam similarly to dairy milk.
Equipment Maintenance Problems
Espresso machines that won’t heat properly or show inconsistent performance often suffer from calcium buildup. We recommend descaling your machine every 2-3 months using commercial descaling solution or white vinegar mixed with water. This process removes mineral deposits that affect water flow and temperature control.
Coffee grinders that produce inconsistent particle sizes need regular cleaning. Remove old coffee oils and residue by grinding rice or using specialized grinder cleaning tablets monthly.
Flavor Consistency Challenges
Drinks that taste different each time you make them usually result from inconsistent measurements. We emphasize using a digital scale to measure coffee grounds, syrups, and milk precisely. Standard coffee shop ratios include:
| Drink Size | Espresso Shots | Syrup Pumps | Milk Volume |
|---|---|---|---|
| Tall (12oz) | 1 shot | 3 pumps | 8oz |
| Grande (16oz) | 2 shots | 4 pumps | 12oz |
| Venti (20oz) | 3 shots | 5 pumps | 16oz |
Temperature variations also affect flavor extraction. Maintain water temperature between 195-205°F for optimal coffee brewing. Use a thermometer to verify your machine’s output temperature.
Syrup and Sauce Problems
Homemade syrups that crystallize or separate need proper storage and preparation techniques. We store all syrups in clean glass containers in the refrigerator for up to two weeks. Shake well before each use to redistribute ingredients.
Syrups that taste too sweet or too bland require recipe adjustments. Start with less sweetener and gradually add more to taste. Remember that cold drinks require more syrup than hot beverages since cold temperatures dull sweetness perception.
Blended Drink Difficulties
Frappuccinos that turn out watery or lack proper texture need ice and liquid balance adjustments. We use the proper ice-to-liquid ratio and blend in stages. Add ice gradually while blending to control final consistency.
Separation in blended drinks occurs when ingredients aren’t properly emulsified. Blend for shorter intervals and use room temperature coffee rather than hot espresso to prevent ice from melting too quickly.
Conclusion
We’ve equipped you with everything needed to transform your kitchen into a personal Starbucks. From essential equipment and ingredients to step-by-step recipes and troubleshooting tips you now have the knowledge to create café-quality drinks at home.
The beauty of making these recipes lies in the customization possibilities. Whether you prefer dairy-free alternatives need decaf options or want to adjust sweetness levels you can tailor each drink to your exact preferences.
Remember that practice makes perfect. Don’t get discouraged if your first attempts aren’t flawless – even professional baristas needed time to master their create. With proper storage techniques and our make-ahead tips you’ll streamline your morning routine while enjoying important savings.
Start with your favorite Starbucks drink and gradually expand your repertoire. Soon you’ll be impressing friends and family with your barista skills while enjoying the convenience and cost savings of homemade coffee creations.
Frequently Asked Questions
Can I really make Starbucks-quality coffee at home?
Yes! With the right ingredients, equipment, and techniques, you can recreate the complex flavors of Starbucks signature drinks at home. The key is investing in proper brewing tools like an espresso machine and using quality coffee beans and syrups to achieve that authentic taste.
What equipment do I need to make Starbucks-style coffee at home?
Essential equipment includes an espresso machine (or alternatives like a Moka pot or French press), a coffee grinder for fresh grounds, milk steamer or frother, digital scale for precise measurements, and a tamper. These tools help achieve the proper flavor and texture of professional coffee drinks.
How long can I store homemade coffee and prepared beverages?
Brewed coffee should be consumed within 60 minutes for best flavor. Cold brew can be refrigerated for up to 7 days. Coffee beans and grounds should be stored in airtight, opaque containers at room temperature. Prepared syrups and sauces can be refrigerated for several days.
Can I make these drinks dairy-free or decaf?
Absolutely! You can substitute dairy milk with soy, coconut, almond, or oat milk for dairy-free versions. For decaf options, simply use decaf coffee beans or espresso. You can also create sugar-free versions of syrups by adjusting sweetness levels or using sugar substitutes.
How can I prepare coffee drinks faster in the morning?
Brew coffee or espresso shots in advance and refrigerate for up to 24 hours. Prepare flavored syrups and sauces in larger quantities for easy access. Organize your equipment for efficient assembly and prepare garnishes and ice in advance to streamline your morning routine.
What should I do if my espresso tastes too bitter or weak?
Adjust your coffee grind size – use a finer grind if espresso flows too quickly (weak taste) or a coarser grind if it flows too slowly (bitter taste). Also check your coffee-to-water ratio and ensure you’re using fresh, quality beans for consistent flavor.
