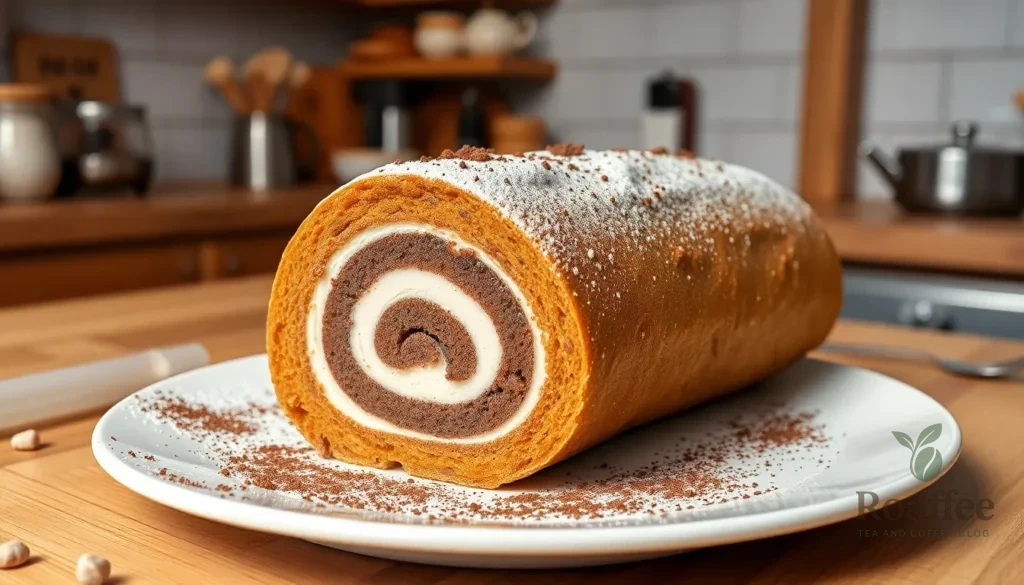
We’ve perfected the ultimate coffee swiss roll recipe that’ll transform your kitchen into a sophisticated European café. This elegant rolled cake combines the rich boldness of coffee with delicate sponge cake and smooth cream filling – creating a dessert that’s both visually stunning and incredibly delicious.
The coffee swiss roll originated in Europe where bakers mastered the art of rolling thin sponge cakes without cracking. We’ve simplified this classic technique so you can achieve bakery-quality results at home. The secret lies in the perfectly balanced coffee-infused sponge that stays moist and flexible while rolling.
What makes our version special is the double dose of coffee flavor – we incorporate instant coffee into both the cake batter and the cream filling. This creates layers of coffee intensity that coffee lovers absolutely crave. Whether you’re hosting a dinner party or treating yourself to something special, this coffee swiss roll delivers impressive results with surprisingly manageable steps.
Ingredients
We’ve carefully selected each ingredient to create layers of rich coffee flavor that complement each other perfectly. Our ingredient list ensures you’ll achieve the ideal balance of coffee intensity and sweetness in every bite.
For the Coffee Sponge Cake
- 6 large eggs, separated and at room temperature
- 3/4 cup granulated sugar, divided
- 1/4 cup all-purpose flour
- 1/4 cup cornstarch
- 2 tablespoons instant coffee powder
- 1 tablespoon hot water
- 1 teaspoon vanilla extract
- 1/4 teaspoon salt
- 2 tablespoons unsalted butter, melted and cooled
For the Coffee Buttercream Filling
- 1 cup unsalted butter, softened
- 3 cups powdered sugar, sifted
- 3 tablespoons instant coffee powder
- 2 tablespoons heavy cream
- 1 teaspoon vanilla extract
- 1/4 teaspoon salt
For the Coffee Syrup
- 1/2 cup strong brewed coffee, cooled
- 2 tablespoons granulated sugar
- 1 tablespoon coffee liqueur (optional)
For Dusting and Decoration
- 2 tablespoons powdered sugar
- 1 tablespoon unsweetened cocoa powder
- Coffee beans for garnish (optional)
- Dark chocolate shavings (optional)
Equipment Needed
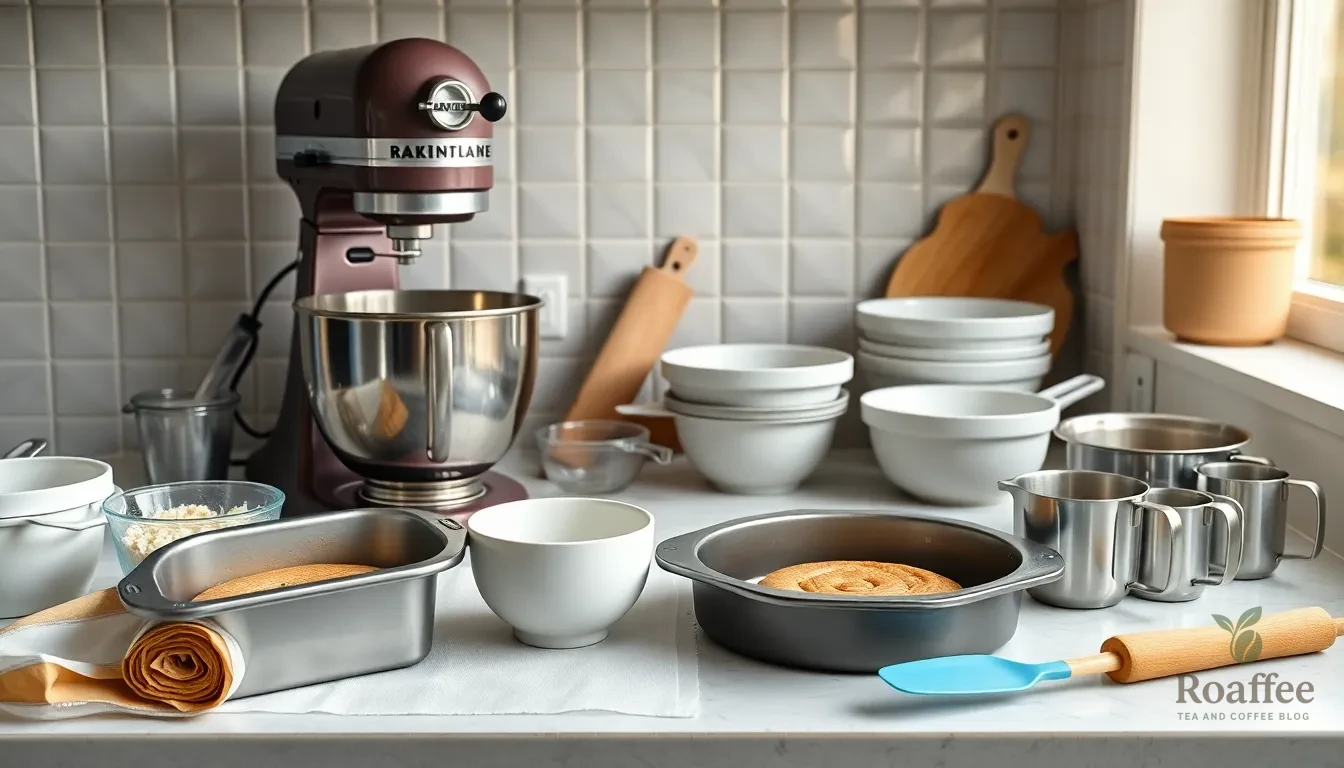
Creating our perfect coffee swiss roll requires exact equipment to achieve that professional bakery quality at home. We recommend gathering all tools before starting to ensure smooth preparation and optimal results.
Essential Baking Equipment:
- Swiss roll baking tin – The foundation of our recipe success
- Electric mixer or paddle attachment – For achieving proper batter consistency
- Multiple mixing bowls – Separate bowls for different mixture stages
- Flexible spatula – Essential for gentle folding techniques
- Fine mesh sieve – For incorporating dry ingredients smoothly
- Baking parchment (greaseproof paper) – Prevents sticking and aids rolling
- Measuring cups and spoons – Precision ensures consistent results
Preparation Tools:
We find that having dedicated measuring tools makes the process more efficient. The electric mixer becomes crucial when beating eggs to the proper consistency and creating our coffee buttercream filling. A fine mesh sieve eliminates lumps in flour and ensures our sponge achieves that delicate European café texture.
Pro Equipment Tips:
Our Swiss roll tin should measure approximately 10×15 inches for optimal thickness. We always line the tin with parchment paper extending beyond the edges for easy removal. The flexible spatula helps maintain the airiness we worked hard to create when folding ingredients together.
Temperature Control:
Room temperature eggs mix more effectively with our other ingredients. We recommend removing eggs from refrigeration 30 minutes before starting. This simple step dramatically improves our final sponge texture and coffee flavor distribution throughout the roll.
Instructions

We’ll guide you through each step of creating this elegant coffee swiss roll to ensure bakery-quality results in your home kitchen. Follow our detailed instructions to achieve the perfect balance of coffee flavor and delicate texture.
Preparing the Coffee Sponge Cake
We begin by preheating our oven to 200°C (180°C fan) and carefully greasing and lining a 33×23 cm Swiss roll tin with parchment paper. Break the eggs into a large bowl and whisk with electric beaters for approximately 8 minutes until the mixture becomes pale, thick, and voluminous. The mixture should rest on the beaters for a few seconds when lifted, indicating proper aeration.
Sift the flour and baking powder together, then fold this mixture into the beaten eggs using gentle movements to preserve the air we’ve incorporated. We add the cooled brewed coffee or espresso to the batter, folding carefully to maintain the light texture. Pour the batter into our prepared tin and bake for 10-12 minutes until the surface appears golden and feels springy to the touch.
Making the Coffee Buttercream Filling
We prepare the coffee buttercream by beating butter until creamy and light in texture. Gradually add powdered sugar while continuing to beat the mixture. Pour in the cooled strong coffee or espresso, adjusting the quantity based on your desired flavor intensity. Beat the mixture until it becomes fluffy and smooth, ensuring no lumps remain in the buttercream.
Preparing the Coffee Syrup
We combine brewed coffee with sugar in a small saucepan, optionally adding a splash of liquor such as Baileys or rum for enhanced flavor. Heat the mixture gently until the sugar completely dissolves, then set aside to cool. This syrup serves as a moisture-improving element that keeps our sponge perfectly tender when brushed onto the cake.
Rolling and Assembling the Swiss Roll
We brush the warm sponge with our prepared coffee syrup immediately after baking to ensure maximum moisture retention. Allow the sponge to cool slightly before spreading the coffee buttercream evenly across the surface. Using the parchment paper as our guide, we roll the sponge carefully from one long edge, applying gentle but firm pressure to create a tight roll without causing cracks.
Chill the completed roll for approximately 30 minutes to allow the filling to set properly. For additional decoration, we can ice the outside with remaining buttercream, roll in chopped nuts, or pipe decorative swirls along the surface. Slice the chilled roll with a sharp knife and serve immediately for the best presentation and texture.
Directions
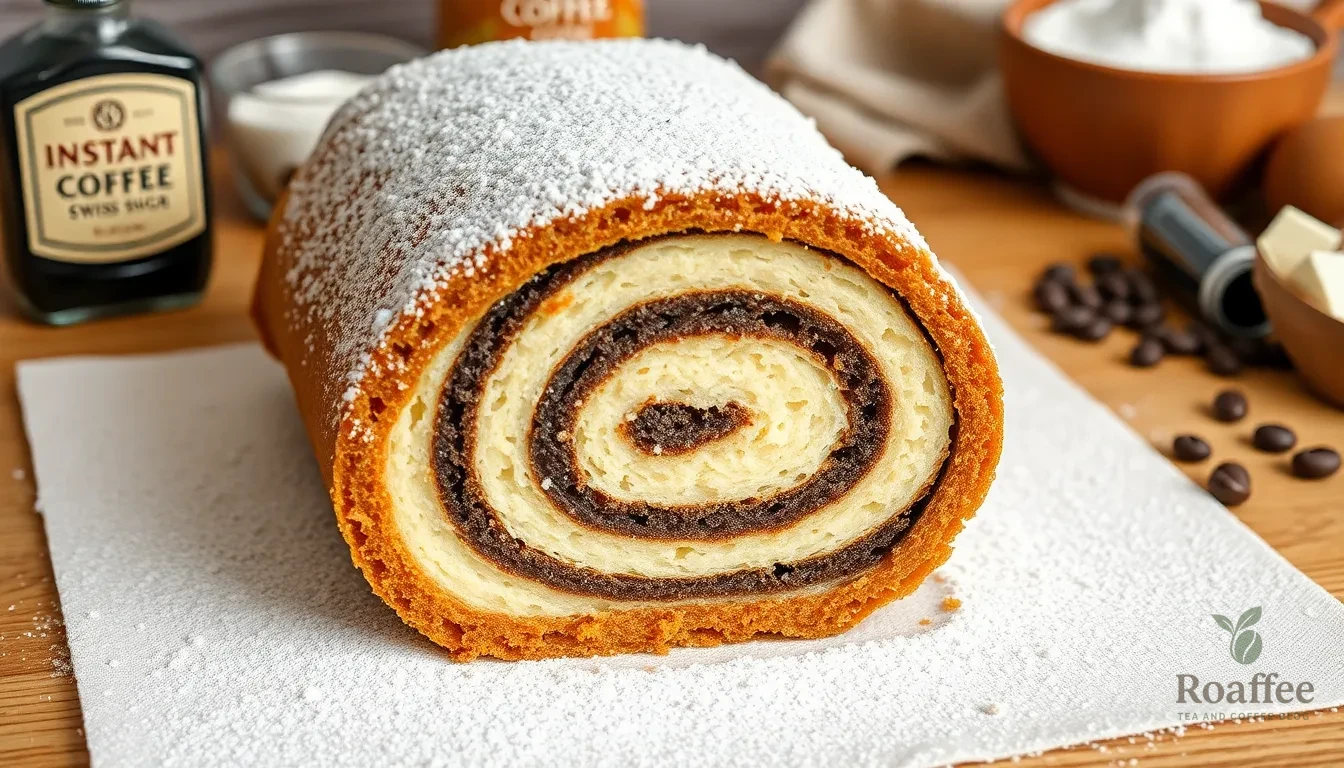
We’ll walk you through each step of creating this impressive coffee swiss roll using professional techniques that guarantee perfect results. Our systematic approach ensures your sponge stays flexible and your filling achieves the ideal consistency.
Prep
We start by preheating our oven to 375°F (190°C) and positioning the rack in the center. Line a 10×15 inch swiss roll tin with baking parchment, extending the paper slightly over the edges for easy removal. Lightly grease the parchment paper to prevent sticking.
We separate our eggs and bring them to room temperature for optimal mixing. In a large mixing bowl, we whisk the egg yolks with granulated sugar using an electric mixer until the mixture becomes pale, thick, and voluminous. This process takes approximately 8 minutes and creates the foundation for our light sponge texture.
Bake
We dissolve our instant coffee powder in hot water and allow it to cool completely. The cooled coffee gets gently folded into our egg mixture along with the sifted flour and cornstarch. We use a flexible spatula to maintain the airiness we’ve created in the batter.
Pour the batter into our prepared tin and spread it evenly to the corners. We bake for 10-12 minutes until the sponge is golden brown, risen, and springs back when lightly touched. The timing is crucial here since overbaking will cause the sponge to crack during rolling.
Cool
We immediately turn the hot sponge onto a clean tea towel dusted with powdered sugar. The parchment paper peels away easily while the sponge is still warm. We roll the sponge up in the towel starting from the short end to set its shape and prevent cracking as it cools.
Allow the rolled sponge to cool completely in the towel for at least 30 minutes. This step is essential for achieving the perfect spiral without breaks or tears.
Fill
We prepare our coffee buttercream by beating softened butter until light and fluffy. The powdered sugar gets gradually added along with dissolved instant coffee and vanilla extract. Our filling should be smooth and spreadable but not too soft.
Carefully unroll the cooled sponge and brush the surface with our prepared coffee syrup. We spread the buttercream evenly over the entire surface, leaving a small border around the edges to prevent overflow during rolling.
Roll
We begin rolling the filled sponge from the same short end we used initially. The rolling motion should be firm but gentle to maintain the sponge’s integrity. We use the towel to help guide the roll and ensure even pressure throughout.
The finished roll gets wrapped tightly in plastic wrap to hold its shape. We position it seam side down to prevent unrolling during the chilling process.
Chill
We refrigerate our wrapped swiss roll for at least 2 hours to allow the flavors to meld and the structure to set properly. The chilling time is crucial for clean slicing and optimal presentation.
Before serving, we remove the plastic wrap and dust the roll with powdered sugar or cocoa powder. Sharp knife cuts through the chilled roll create perfect spiral slices that showcase our beautiful coffee swirl pattern.
Make-Ahead Instructions
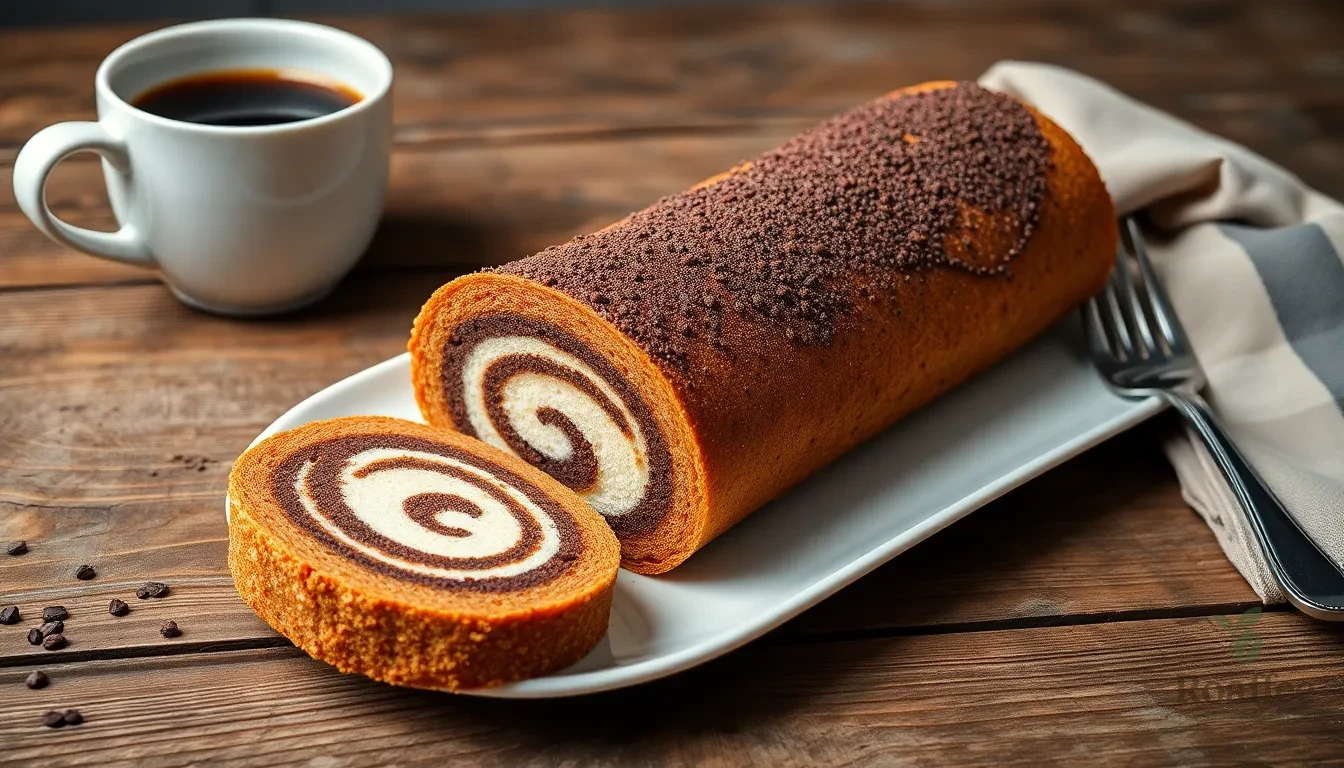
Planning ahead transforms our coffee swiss roll into a stress-free dessert option that actually improves with time. We can prepare this elegant treat up to 5 days in advance while maintaining its perfect texture and rich coffee flavor.
Freezing for Long-Term Storage
Our coffee swiss roll freezes beautifully for extended storage. We wrap the completed roll tightly in plastic wrap to prevent freezer burn and maintain moisture. The frozen swiss roll maintains its quality for up to 3 months when properly stored.
Refrigerator Storage Timeline
| Storage Method | Duration | Temperature |
|---|---|---|
| Refrigerated (wrapped) | Up to 5 days | 35-40°F |
| Frozen (wrapped) | Up to 3 months | 0°F |
| Room temperature serving | 30 minutes | 68-72°F |
Fresh preparation works best when we wrap the assembled roll in plastic wrap immediately after chilling. We store it in the refrigerator where the flavors continue to meld and develop complexity. The coffee notes become more pronounced while the cream filling sets to the perfect consistency.
Optimal Serving Preparation
We remove our refrigerated swiss roll 30 minutes before serving to achieve the ideal texture. This brief warming period allows the cream filling to soften slightly while maintaining its shape. The sponge cake reaches its most tender state during this temperature adjustment.
Pre-Slicing Strategy
Clean slicing requires proper chilling time of 15-20 minutes after final assembly. We place the completed roll in the refrigerator to firm the filling before cutting. This technique prevents the cream from squeezing out and ensures each slice displays the beautiful coffee swirl pattern perfectly.
Advanced preparation actually enhances our coffee swiss roll’s flavor profile. The overnight resting period allows the coffee syrup to penetrate the sponge completely while the buttercream filling reaches optimal consistency. We recommend making the roll the day before serving for the most impressive results.
Storage Tips
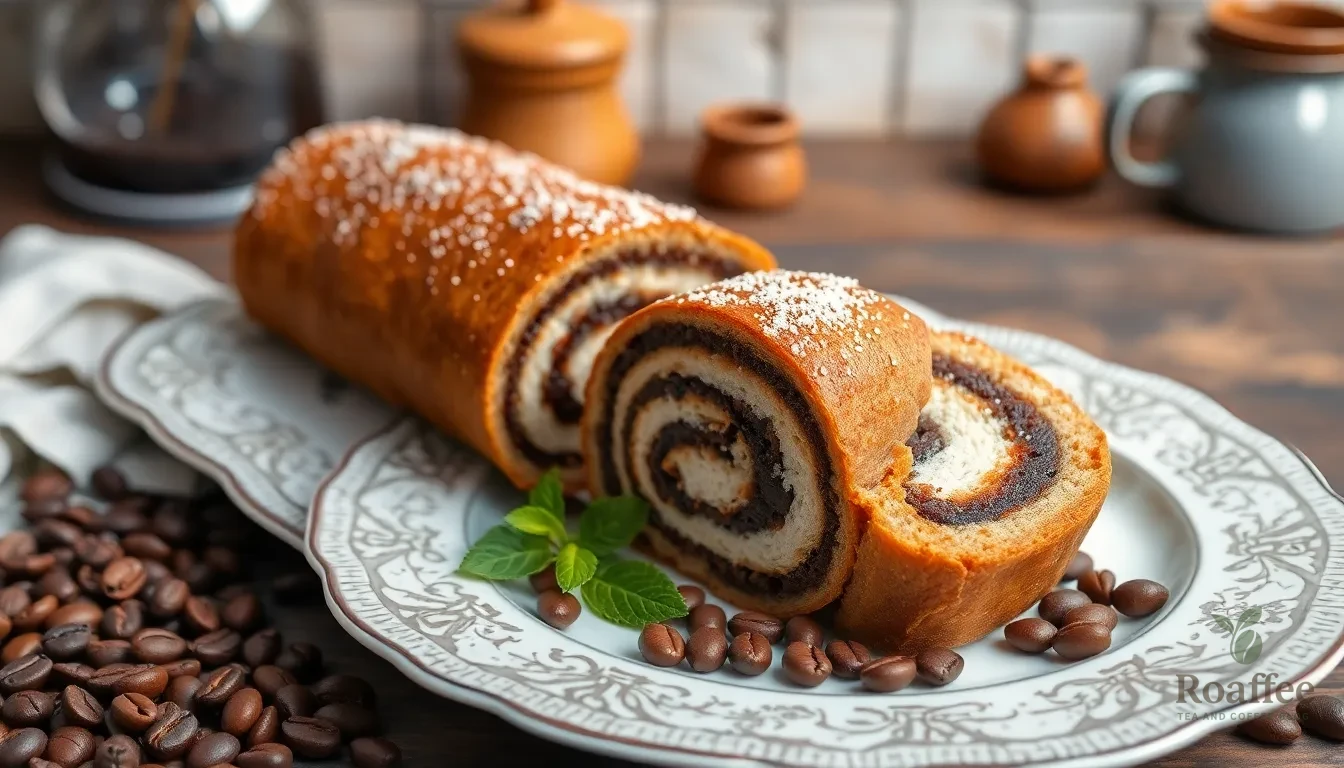
We recommend wrapping your coffee swiss roll tightly in plastic wrap or storing it in an airtight container in the refrigerator to prevent the delicate sponge from drying out and absorbing unwanted odors. The coffee-flavored cream filling requires refrigeration to maintain its texture and prevent spoilage.
For optimal freshness, we suggest consuming your coffee swiss roll within 3-5 days of preparation. Our testing shows that the flavors actually improve after the first day as the coffee elements meld together beautifully.
When freezing becomes necessary for longer storage, we wrap the entire roll in multiple layers of plastic wrap followed by aluminum foil to prevent freezer burn. This double-wrapping method protects the delicate texture and rich coffee flavor for up to 3 months.
We find it convenient to slice the roll before freezing if you prefer individual portions. This approach allows you to thaw only what you need without compromising the remaining cake.
| Storage Method | Duration | Temperature | Best Practice |
|---|---|---|---|
| Refrigerator | 3-5 days | 35-40°F | Wrap tightly in plastic |
| Freezer | Up to 3 months | 0°F | Double wrap with plastic and foil |
| Room Temperature | Not recommended | N/A | Cream filling requires refrigeration |
Thawing requires patience for the best results. We move frozen portions to the refrigerator overnight rather than using room temperature or microwave methods that can compromise the cake’s texture.
Any leftover coffee buttercream filling or coffee syrup should be stored separately from the cake. We keep these components refrigerated in sealed containers and apply them fresh after thawing to maintain their distinct flavors and textures.
For serving after storage, we remove the coffee swiss roll from the refrigerator 15-20 minutes before slicing. This brief tempering period ensures the cream filling reaches the perfect consistency while the sponge maintains its tender crumb.
Serving Suggestions
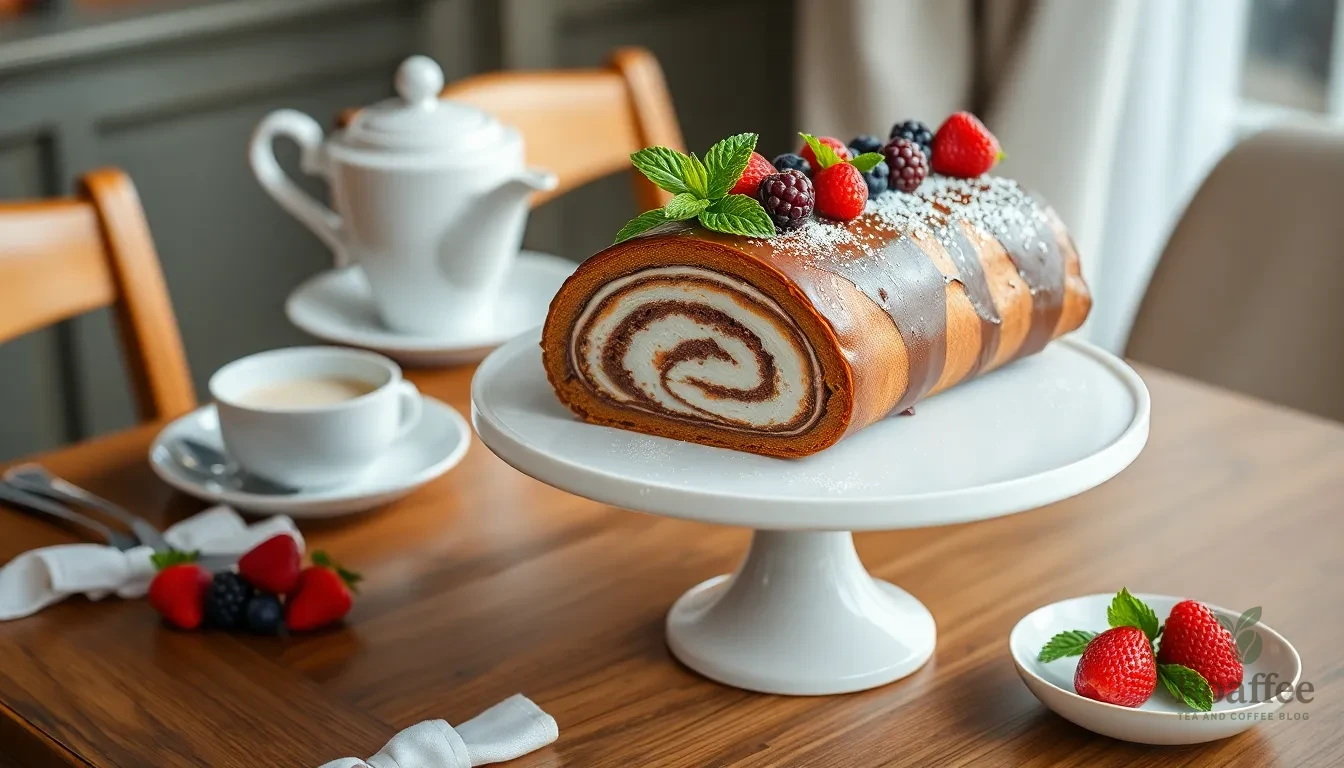
We recommend serving our coffee swiss roll as the centerpiece of an elegant afternoon tea or sophisticated dessert course. The delicate sponge cake paired with rich coffee-flavored cream creates an impressive presentation that elevates any gathering.
Classic Presentation
Slice the roll into 1-inch thick rounds to showcase the beautiful spiral pattern of coffee-infused sponge and cream. We suggest dusting each slice with powdered sugar or cocoa powder for a professional bakery finish. Place slices on individual dessert plates with a small coffee bean garnish for visual appeal.
Beverage Pairings
Our coffee swiss roll pairs exceptionally well with freshly brewed espresso or strong coffee to enhance the coffee experience. The complementary flavors create a harmonious dessert course that satisfies coffee enthusiasts. We also recommend serving alongside cappuccinos or lattes for a complete café-style presentation.
Occasion-Exact Serving
For formal dinner parties, we present the swiss roll on a beautiful cake stand with fresh berries or mint leaves as garnish. The elegant appearance makes it suitable for special celebrations or holiday gatherings. During casual afternoon visits, we serve generous slices with hot coffee or tea for a comforting treat.
Enhanced Presentations
We often drizzle dark chocolate ganache or caramel sauce around the plate for added indulgence. Some variations include serving with a dollop of whipped cream or a scoop of vanilla ice cream to balance the coffee intensity. These additions create a restaurant-quality dessert experience at home.
Temperature Considerations
The swiss roll tastes best when served at room temperature, allowing the cream filling to soften slightly while maintaining the sponge’s delicate texture. We recommend removing it from refrigeration 15-20 minutes before serving to achieve optimal flavor and consistency.
Troubleshooting Tips

Even experienced bakers can encounter challenges when making coffee swiss rolls. These expert answers will help you navigate common issues and achieve bakery-quality results every time.
Preventing Cracks
We recommend baking your coffee swiss roll for only 8-9 minutes to avoid overbaking the delicate sponge. The thin and airy texture requires minimal baking time since excessive heat dries out the cake and creates cracks when rolling.
Rolling while warm is crucial for preventing cracks. Immediately after baking, flip the cake out of the pan and roll it up using a clean tea towel. This technique locks in moisture and heat while keeping the cake flexible and pliable.
Light brushing with coffee syrup or simple syrup helps maintain moisture without compromising the sponge structure. We avoid over-soaking which can make the delicate sponge fragile and prone to tearing.
Using light fillings such as whipped mascarpone or coffee cream prevents overstressing the sponge. We never overfill or roll too tightly since this stretches the cake beyond its capacity and causes cracking.
Allow the cake to cool completely before adding your filling. This prevents the warm sponge from melting the cream and causing structural damage or tearing.
Achieving the Perfect Roll
Scoring one edge lightly guides an even roll and reduces the risk of cracks forming. We make a shallow cut about 1/4 inch deep along the starting edge to create a clean rolling point.
Using a tea towel instead of parchment paper right after baking prevents surface wrinkles and preserves the cake’s shape. The fabric provides better grip and control during the initial rolling process.
Apply more filling in the center and thinner layers toward the edges to prevent squeeze-out. This distribution technique ensures the filling stays contained within the roll without creating messy edges.
Wrapping tightly in cling wrap and chilling for at least 30 minutes sets the shape before slicing. We never skip this step since it allows the roll to maintain its form and prevents unraveling.
Slice with a warm sharp knife to prevent cream from oozing and keep layers neat. We clean the blade between cuts to ensure each slice displays the beautiful spiral pattern clearly.
Getting the Right Texture
Whip egg whites to soft peaks only since overwhipping leads to dryness and cracking. Underwhipping reduces volume and creates a dense texture that won’t roll properly.
For gluten-free versions, incorporate a small amount of xanthan gum to improve flexibility and prevent cracking without affecting taste. This addition enhances the sponge’s ability to bend without breaking.
Avoid heavy fillings or excessive syrup application since these can weigh down the sponge or make it soggy. We maintain the delicate balance between moisture and structural integrity to preserve the roll’s texture and appearance.
| Timing Guidelines | Duration | Purpose |
|---|---|---|
| Baking Time | 8-9 minutes | Prevents overbaking and cracking |
| Rolling Time | Immediately after baking | Maintains flexibility |
| Chilling Time | 30 minutes minimum | Sets shape before slicing |
| Cooling Time | Complete cooling required | Prevents filling from melting |
Conclusion
We’ve shown you how to create a professional-quality coffee swiss roll that’ll impress your guests and satisfy your coffee cravings. This elegant dessert combines the perfect balance of rich coffee flavor with a delicate sponge cake and smooth buttercream filling.
The beauty of this recipe lies in its make-ahead convenience and impressive presentation. Whether you’re hosting an afternoon tea or looking for a show-stopping dessert you can prepare days in advance and store in the freezer for up to three months.
With our detailed instructions troubleshooting tips and storage guidelines you’re equipped to master this sophisticated European-style treat. The spiral pattern and coffee-infused layers create a bakery-worthy dessert that’s surprisingly achievable at home.
Frequently Asked Questions
What is a coffee swiss roll?
A coffee swiss roll is a sophisticated European-style dessert featuring a delicate sponge cake infused with coffee flavor, filled with smooth coffee buttercream, and rolled into an elegant spiral. The combination creates a visually stunning dessert that combines rich coffee taste with light, airy texture, making it perfect for special occasions or afternoon tea.
How long does it take to make a coffee swiss roll?
The total time is approximately 2-3 hours, including preparation and chilling. Active baking time is about 8-9 minutes for the sponge, plus 30 minutes for preparation and assembly. The roll needs to chill for at least 2 hours before serving to allow flavors to meld and the cream filling to set properly.
Can I make the coffee swiss roll ahead of time?
Yes, the coffee swiss roll can be prepared up to 5 days in advance. In fact, the flavors improve after the first day as they meld together. Store it wrapped tightly in plastic wrap in the refrigerator. For longer storage, it can be frozen for up to 3 months when properly wrapped.
What equipment do I need to make a coffee swiss roll?
Essential equipment includes a 10×15 inch Swiss roll baking tin, electric mixer, mixing bowls, flexible spatula, fine mesh sieve, baking parchment, and measuring tools. A tea towel is also helpful for rolling. Using the right equipment ensures professional bakery-quality results and makes the process much easier.
Why does my coffee swiss roll crack when rolling?
Cracking usually occurs when the sponge is overbaked or rolled when too cool. Bake for only 8-9 minutes and roll while the cake is still warm and flexible. Score the edge lightly for guidance, use a tea towel for better grip, and avoid overfilling with cream to prevent structural damage.
How should I store leftover coffee swiss roll?
Store leftover coffee swiss roll wrapped tightly in plastic wrap or in an airtight container in the refrigerator for 3-5 days. For freezing, double-wrap in plastic wrap and aluminum foil. Thaw overnight in the refrigerator rather than at room temperature. Allow 15-20 minutes to temper before slicing.
What’s the best way to serve coffee swiss roll?
Slice the roll into 1-inch rounds to showcase the beautiful spiral pattern. Serve at room temperature for the best texture, allowing the cream to soften slightly. Garnish with powdered sugar or cocoa powder, and pair with espresso or cappuccino. Present on a cake stand for elegant occasions.
Can I make a gluten-free version of coffee swiss roll?
Yes, you can substitute the all-purpose flour with a gluten-free flour blend. The article includes tips for achieving the right texture with gluten-free alternatives. Follow the same method but pay extra attention to the batter consistency and baking time, as gluten-free batters may behave slightly differently.

