We’ve discovered the perfect way to transform your morning coffee into a decadent café-style experience without leaving your kitchen. This homemade crème brûlée coffee creamer captures all the rich, caramelized flavors of the classic French dessert in liquid form – and it’s surprisingly simple to make.
Imagine starting each day with the luxurious taste of vanilla custard and burnt sugar swirling through your coffee. That’s exactly what this creamer delivers. We’ve taken the essence of traditional crème brûlée and created a smooth, creamy addition that’ll make your regular coffee taste like a gourmet treat.
The best part? You’ll save money compared to store-bought specialty creamers while controlling every ingredient that goes into your cup. This recipe uses just a few pantry staples to create something truly special that’ll have your friends asking for the secret. Once you try this DIY crème brûlée creamer, you’ll never want to go back to ordinary coffee again.
Ingredients
Our crème brûlée coffee creamer requires just a handful of simple ingredients that you likely already have in your kitchen. We’ve organized the ingredients into two categories to make preparation seamless.
For the Creme Brulee Base
- 1 cup heavy cream
- 1/2 cup whole milk
- 1/4 cup granulated sugar
- 3 large egg yolks
- 1 teaspoon pure vanilla extract
- 1/4 teaspoon vanilla bean paste (optional, for extra vanilla depth)
- Pinch of salt
For the Coffee Creamer
- 1 cup prepared crème brûlée base (from above)
- 1/2 cup half and half
- 2 tablespoons brown sugar
- 1 teaspoon vanilla extract
- 1/2 teaspoon caramel extract (optional)
- 1/4 teaspoon ground cinnamon
Equipment Needed
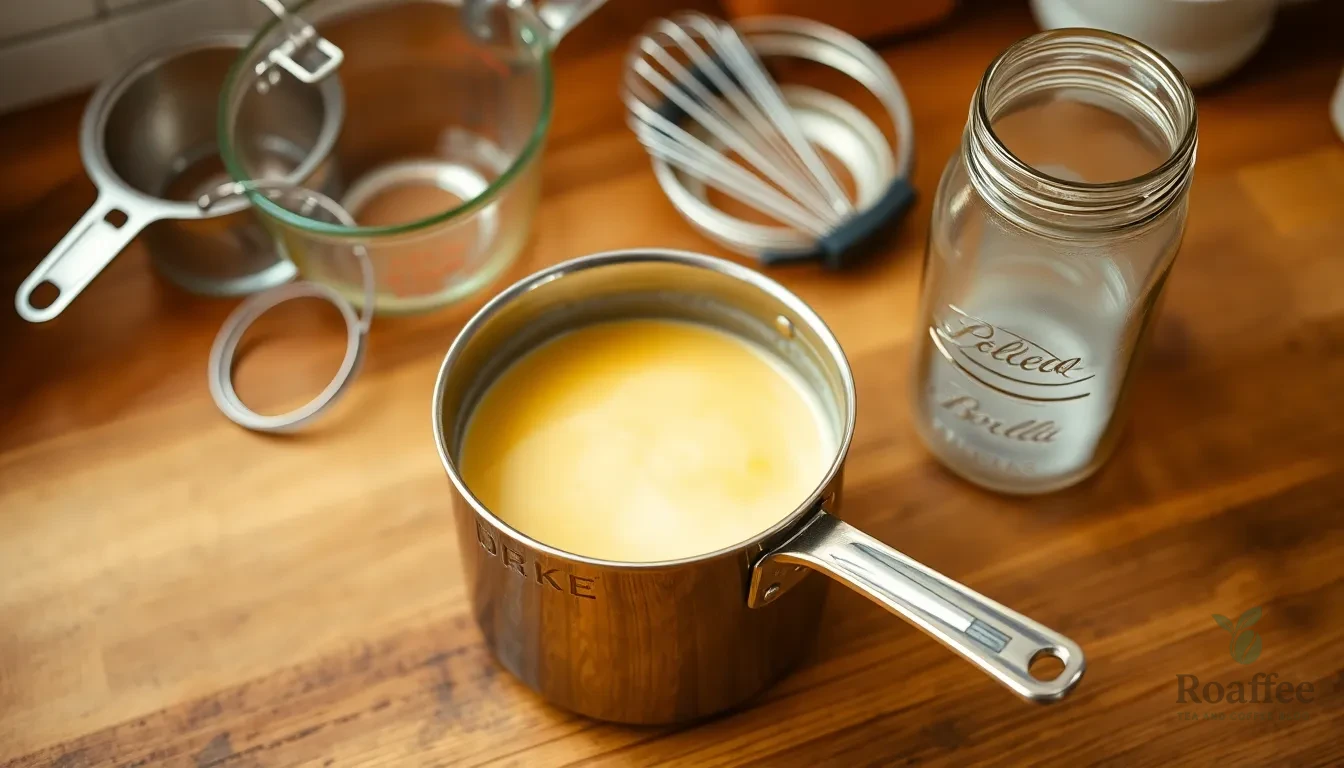
Creating this luxurious crème brûlée coffee creamer requires only basic kitchen equipment that most home cooks already have on hand. We’ve organized the essential tools to help you prepare this decadent creamer with confidence.
Essential Cooking Equipment:
- Small saucepan for heating the milk mixture
- Whisk or wooden spoon for continuous stirring
- Measuring cups for accurate liquid measurements
- Measuring spoons for precise ingredient portions
Storage and Serving Tools:
- Mason jar or airtight container for refrigerator storage
- Funnel (optional but helpful for mess-free pouring)
The small saucepan serves as our primary vessel for dissolving the brown sugar and combining the evaporated milk base. We recommend using a heavy-bottomed pan to prevent scorching during the heating process. Your whisk becomes crucial for ensuring the sugar dissolves completely and prevents any lumps from forming in the final product.
Measuring accuracy makes all the difference in achieving the perfect balance of sweetness and creaminess. We suggest using liquid measuring cups for the milk components and standard measuring spoons for the vanilla extract. The mason jar provides an ideal storage solution that keeps your creamer fresh for up to one week while making it easy to shake before each use.
This minimal equipment list means you can start crafting your gourmet coffee creamer immediately without any special purchases or complicated tools.
Instructions
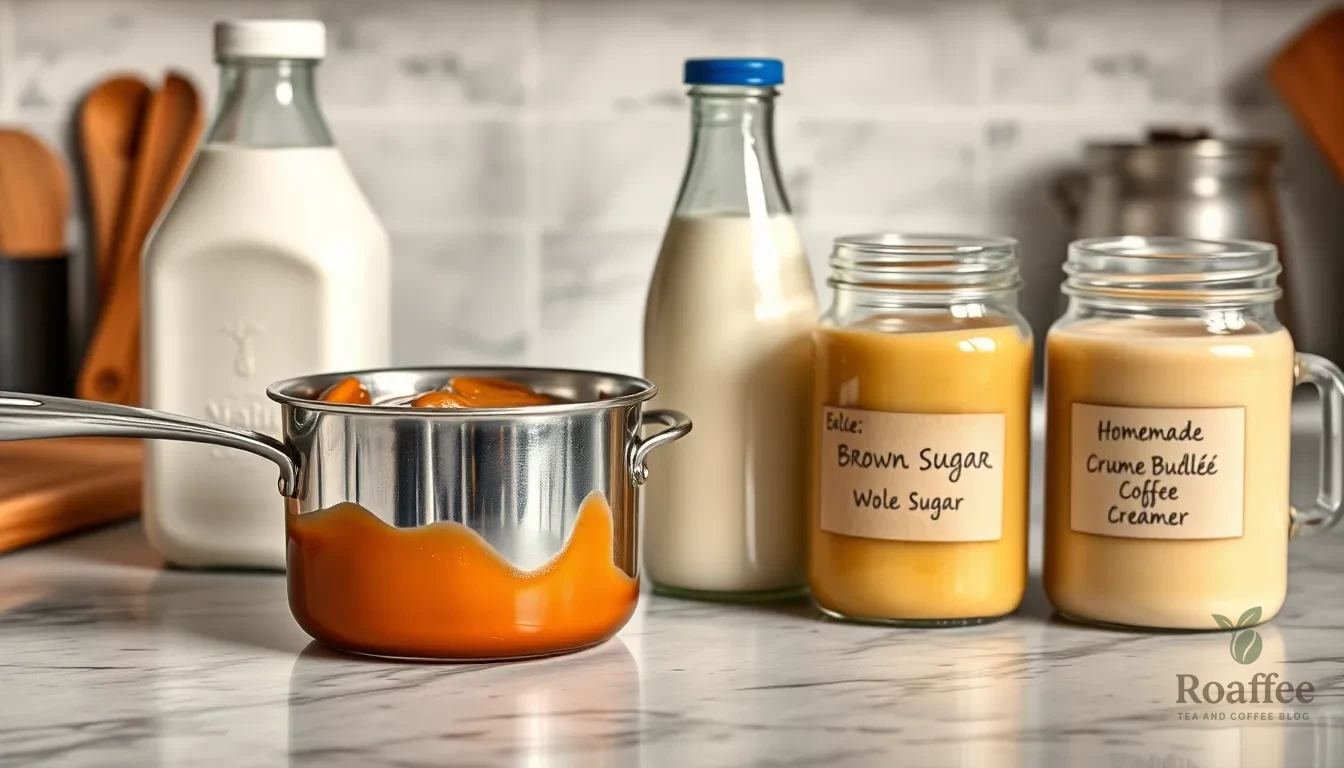
Creating this luxurious crème brûlée coffee creamer takes just 10 minutes and transforms your morning coffee into a gourmet experience. Follow these simple steps to create your own café-quality creamer at home.
Prep the Creme Brulee Base
We start by heating 1 can (12 oz) of evaporated milk and ½ cup of light brown sugar in a small saucepan over medium-low heat. Whisk the mixture continuously until the sugar dissolves completely, which typically takes about 2-3 minutes. This process creates a sweet, rich caramel base that captures the essence of classic crème brûlée. The evaporated milk provides a concentrated flavor while the brown sugar adds those distinctive caramelized notes we love.
Make the Coffee Creamer
Remove the saucepan from heat once the sugar has fully dissolved. Stir in 1 ½ cups of whole milk (or half and half for extra creaminess) and 2 teaspoons of vanilla extract. The whole milk creates the perfect creamy texture, while the vanilla extract enhances the custard-like flavor profile. For additional depth, we can add a dash of cinnamon or nutmeg to complement the caramel notes.
Combine and Blend
Pour the warm mixture into a large quart-sized jar or bottle for easy storage. Seal the container tightly and shake well to ensure all ingredients blend thoroughly. The shaking process helps emulsify the mixture and creates a smooth, consistent texture. Refrigerate the creamer until chilled, and remember to use it within a week based on your milk’s expiration date.
| Ingredient | Quantity |
|---|---|
| Evaporated milk | 1 can (12 oz) |
| Brown sugar | ½ cup (packed) |
| Whole milk or half and half | 1 ½ cups |
| Vanilla extract | 2 tsp |
This recipe yields approximately three-quarters of a quart of creamer, perfect for creating multiple servings of indulgent coffee throughout the week.
Storage Instructions
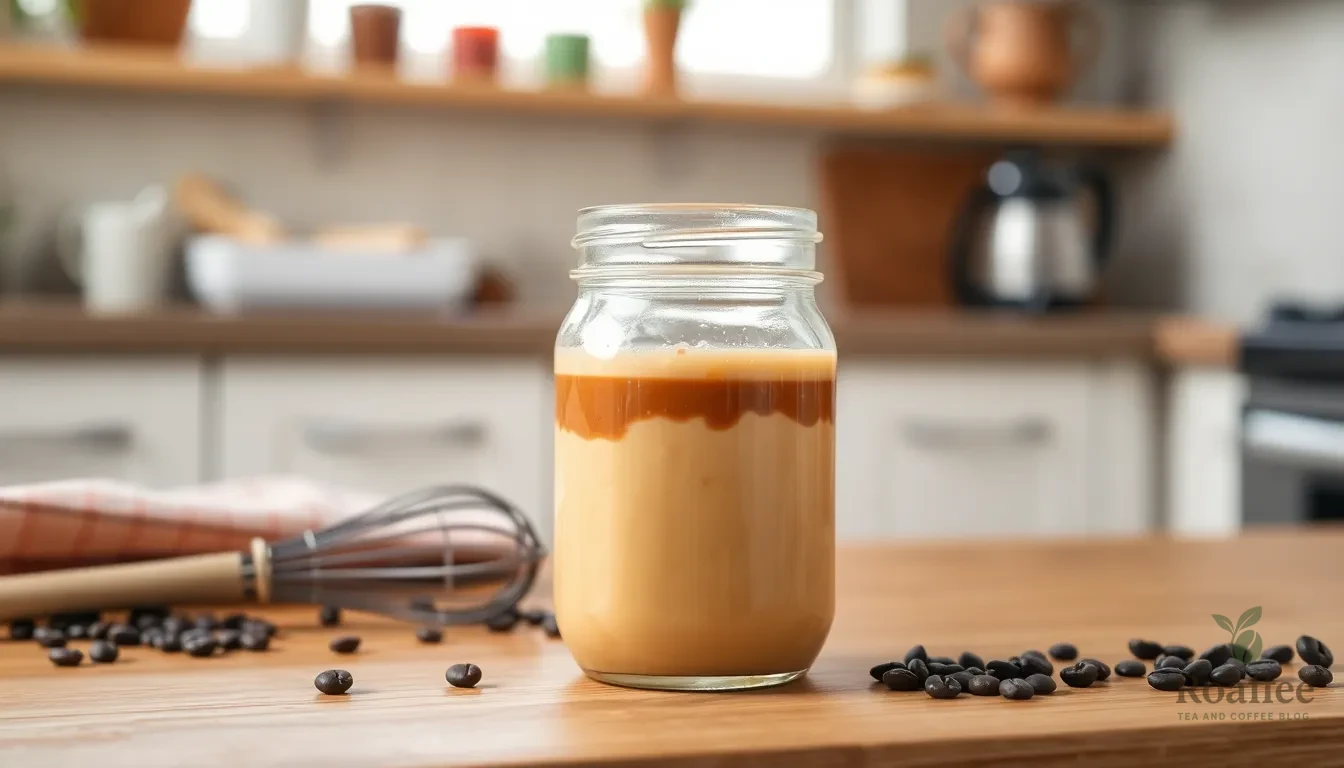
We need to store our homemade crème brûlée coffee creamer properly to maintain its rich flavor and ensure food safety. The creamer should be transferred to an airtight container immediately after cooling to room temperature.
Our finished creamer will stay fresh in the refrigerator for up to one week when stored correctly. We recommend using a clean mason jar or airtight container to prevent contamination and preserve the delicate vanilla and caramel flavors.
| Storage Factor | Recommendation |
|---|---|
| Container Type | Airtight container or mason jar |
| Storage Location | Refrigerator |
| Shelf Life | Up to 1 week |
| Temperature | Keep chilled |
Always use clean utensils when scooping or pouring the creamer to avoid introducing bacteria that could spoil the mixture. We should never leave the creamer at room temperature for extended periods since it contains dairy products that can spoil quickly.
Before each use we suggest giving the container a gentle shake or stir since the ingredients may naturally separate over time. This separation is completely normal and doesn’t indicate spoilage.
The expiration date on our milk carton serves as another guideline for freshness. We should use the creamer before this date passes even if it hasn’t reached the one week mark yet.
Store the creamer toward the back of the refrigerator where temperatures remain most consistent rather than in the door where frequent opening can cause temperature fluctuations.
Serving Suggestions
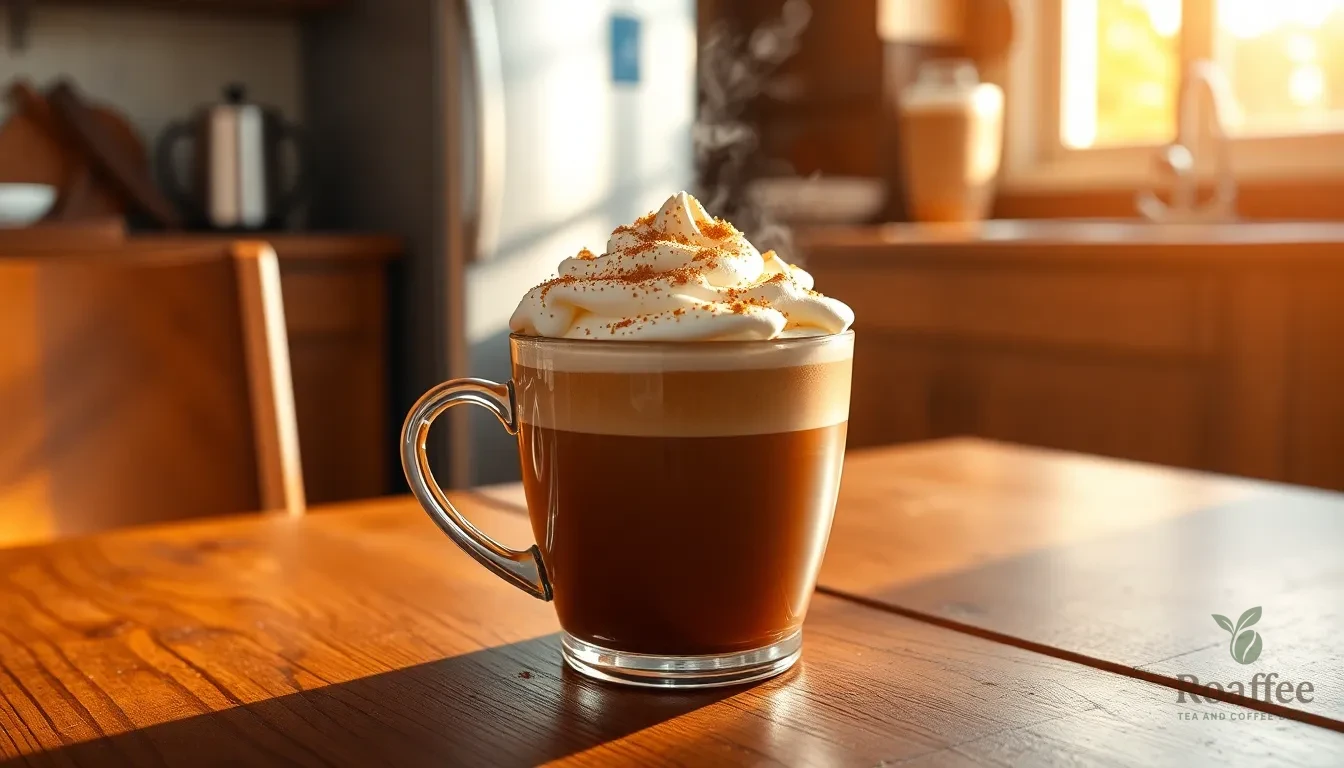
We’ll explore the versatile ways to enjoy this decadent crème brûlée coffee creamer in both hot and cold coffee beverages. Our creamer transforms ordinary coffee into a luxurious treat that rivals your favorite café drinks.
Hot Coffee Applications
Pour 2-3 tablespoons of our crème brûlée creamer into your freshly brewed hot coffee for an instant upgrade. The rich caramel-vanilla flavor blends seamlessly with the coffee’s natural oils to create a smooth and indulgent experience.
Transform your morning routine by creating a homemade Crème Brûlée Latte using our creamer as the base. Heat the creamer with your favorite espresso and top with whipped cream for an authentic café-style drink. Sprinkle brown sugar on top of the whipped cream for that signature brûléed effect that mimics the classic dessert.
We recommend starting with 2 tablespoons of creamer per 8-ounce cup of coffee and adjusting to taste. The evaporated milk base provides exceptional richness while the brown sugar creates that distinctive caramelized flavor profile.
Iced Coffee Ideas
Brew your favorite coffee and let it cool before adding ¼ cup of our crème brûlée creamer for the perfect iced coffee treat. The creamer maintains its rich consistency even when chilled and blends beautifully with cold coffee.
Create a smooth dessert-inspired iced drink by blending cold coffee with our creamer and adding a splash of caramel and vanilla syrups. This combination amplifies the crème brûlée flavors while creating a café-quality beverage at home.
Serve your iced coffee creation over plenty of ice and stir well to ensure even distribution of the creamer. The result is a refreshing summer treat that delivers the sophisticated flavors of crème brûlée in every sip.
We suggest preparing your iced coffee the night before and storing it in the refrigerator alongside our creamer for the quickest morning preparation. This make-ahead approach ensures both components are properly chilled for optimal flavor integration.
Make-Ahead Tips
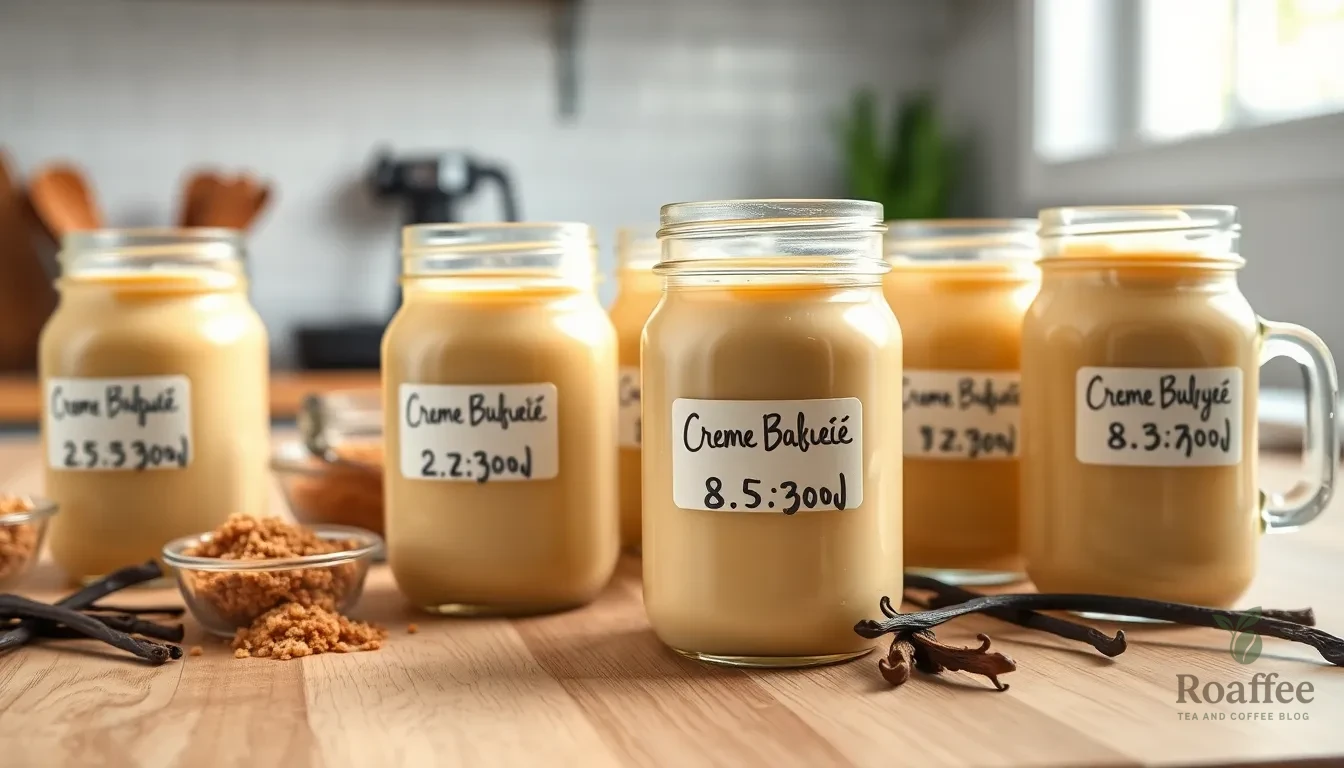
Preparing our crème brûlée coffee creamer ahead of time maximizes convenience and flavor development. The creamer stays fresh for up to one week when stored properly in the refrigerator, following the expiration date on your milk carton as the best guideline for freshness.
We recommend making a batch on Sunday evening to enjoy throughout the entire work week. This timing allows the flavors to meld together overnight, creating a more cohesive taste profile. The brown sugar continues to dissolve completely during storage, resulting in a smoother texture.
| Storage Timeline | Quality Level | Notes |
|---|---|---|
| Days 1-3 | Peak freshness | Best flavor and texture |
| Days 4-5 | Excellent quality | Slight flavor deepening |
| Days 6-7 | Good quality | Use milk expiration as guide |
Store the creamer in glass mason jars or airtight containers to maintain optimal freshness. We find that glass containers preserve the vanilla and caramel notes better than plastic alternatives. Label each container with the preparation date to track freshness easily.
Natural separation occurs during storage, so we always give the creamer a gentle shake before each use. This process takes just a few seconds and ensures even distribution of all ingredients. The 10-minute total preparation time makes batch cooking simple and efficient.
For busy mornings, we portion the creamer into smaller containers or ice cube trays for quick single-serving additions. This method prevents repeatedly opening the main container and extends the overall shelf life. Each ice cube equals approximately one tablespoon of creamer, perfect for portion control.
Troubleshooting Common Issues
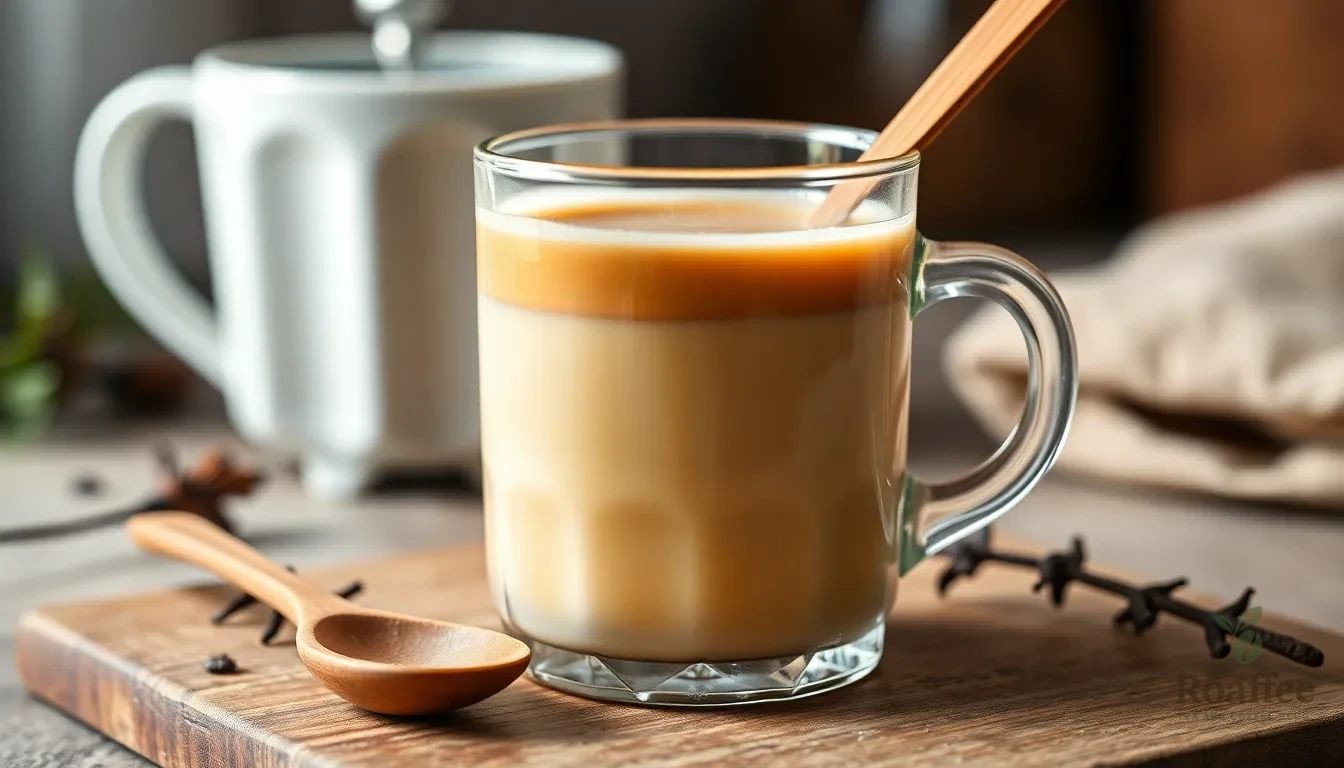
Even the most carefully crafted homemade crème brûlée coffee creamer can encounter challenges during preparation or storage. We’ve identified the most common problems and their answers to help you achieve perfect results every time.
Sugar refuses to dissolve completely even though continuous stirring. This grainy texture often results from using heat that’s too high or rushing the dissolving process. We recommend keeping the temperature at medium-low and whisking continuously for 2-3 minutes until the brown sugar completely disappears. Never allow the mixture to boil as this creates crystallization that leads to persistent graininess.
Creamer separates after refrigeration creating an unappetizing layered appearance. This separation typically occurs when using low-fat milk or overheating the mixture during preparation. We suggest using whole milk or half-and-half for better fat content stability. Also cooling the creamer to room temperature before refrigerating prevents thermal shock that causes separation.
Flavor tastes too bland or lacks the expected crème brûlée richness even though following the recipe precisely. This issue often stems from insufficient vanilla extract or using imitation vanilla instead of pure extract. We recommend gradually increasing vanilla extract by quarter-teaspoon increments until you achieve the desired flavor intensity. Adding a tablespoon of caramel syrup can also enhance the signature burnt sugar taste.
Creamer develops an off smell or sour taste before the expected week-long storage period. This spoilage usually indicates contamination from dirty utensils or containers. We always use freshly washed and dried equipment and store the creamer in sterilized glass containers. Check the expiration date on your milk as the creamer’s shelf life cannot exceed that of its dairy components.
Texture becomes too thick or too thin compared to commercial creamers. Thickness issues relate directly to the milk-to-evaporated milk ratio in your recipe. We adjust consistency by adding more regular milk for a thinner texture or increasing evaporated milk for a richer consistency. Make these adjustments gradually using tablespoon measurements to avoid overcorrection.
Creamer fails to blend smoothly with hot coffee creating an unpleasant curdled appearance. This curdling happens when adding cold creamer directly to very hot coffee. We solve this by allowing the coffee to cool slightly for 30 seconds before adding creamer or by tempering the creamer with a small amount of hot coffee before mixing it into the full cup.
Variations and Flavor Modifications
We’ve designed our base crème brûlée coffee creamer recipe to accommodate various dietary preferences and flavor profiles. These modifications allow you to enjoy the same luxurious coffee experience while meeting your exact nutritional needs.
Sugar-Free Version
We recommend using a low-carb sweetener blend to create a keto-friendly version that maintains the rich crème brûlée flavor without the added sugars. Replace the granulated sugar with 1/4 cup of your preferred sugar substitute, dividing it between the base preparation and final blend.
For the most authentic sugar-free experience, we combine 2 cups of heavy whipping cream with 6 large egg yolks and your chosen sweetener. Add 1 tablespoon of instant espresso to deepen the coffee notes and 1/4 teaspoon of stevia glycerite for additional sweetness without artificial aftertaste.
| Nutritional Comparison | Regular Version | Sugar-Free Version |
|---|---|---|
| Net Carbs per Serving | 8-10g | 4g |
| Calories per Serving | 120-140 | 90-110 |
| Sugar Content | 12g | 0g |
We often add 1 tablespoon of brandy or rum extract to enhance the custard flavor profile without adding carbohydrates. This version requires the same preparation method as our original recipe but uses alternative sweeteners throughout the process.
Dairy-Free Alternative
We create dairy-free versions using coconut milk or almond milk as our primary base, maintaining the creamy texture while accommodating lactose sensitivities. Substitute the evaporated milk with full-fat coconut milk and replace whole milk with your preferred plant-based alternative.
For optimal richness, we recommend using cashew cream or oat milk as these alternatives provide the closest texture to traditional dairy. Blend 1 cup of full-fat coconut milk with 1/2 cup of cashew milk and 1/4 cup of coconut sugar for the base preparation.
We enhance the vanilla notes in dairy-free versions by increasing the vanilla extract to 2 1/2 teaspoons since plant-based milks can dilute flavor intensity. Add 1/2 teaspoon of coconut extract to complement the milk base and create additional depth.
Storage guidelines remain the same for dairy-free alternatives, though we notice these versions may separate more readily than traditional dairy versions. Always shake thoroughly before each use and expect a slightly different mouthfeel that still delivers the signature crème brûlée taste experience.
Conclusion
We’ve shown you how to create a luxurious crème brûlée coffee creamer that’ll transform your daily coffee routine into a gourmet experience. This recipe offers the perfect balance of convenience and indulgence while giving you complete control over ingredients and flavors.
Whether you’re following our classic recipe or experimenting with sugar-free and dairy-free variations we’ve provided the tools and knowledge you need for success. The troubleshooting tips and make-ahead strategies ensure you’ll achieve perfect results every time.
Now it’s time to gather your ingredients and start crafting this decadent creamer. Your morning coffee will never be the same once you taste the rich vanilla custard and caramelized sugar notes in every sip.
Frequently Asked Questions
What ingredients do I need to make crème brûlée coffee creamer?
You’ll need 1 can of evaporated milk, ½ cup light brown sugar, 1½ cups whole milk (or half and half), 2 teaspoons vanilla extract, and optional spices like cinnamon or nutmeg. The recipe uses simple pantry staples to create a rich, custard-like flavor that transforms your regular coffee into a gourmet treat.
How long does homemade crème brûlée coffee creamer last?
The creamer stays fresh in the refrigerator for up to one week when stored in an airtight container. Peak freshness occurs within the first three days, with excellent quality maintained through days four to five. Always use clean utensils when serving and follow the expiration date on your milk carton.
Can I make a sugar-free version of this creamer?
Yes, you can create a sugar-free version using a low-carb sweetener blend instead of brown sugar. This variation typically includes heavy whipping cream and egg yolks for richness, with optional instant espresso for enhanced flavor. The sugar-free version significantly reduces net carbs and calories while maintaining the creamy texture.
What equipment do I need to make this creamer?
You’ll need basic kitchen equipment: a small heavy-bottomed saucepan, whisk or wooden spoon, measuring cups and spoons, and a quart-sized jar or airtight container for storage. The heavy-bottomed pan prevents scorching, while accurate measurements ensure the perfect balance of sweetness and creaminess.
How do I prevent the creamer from curdling in hot coffee?
To prevent curdling, ensure both your coffee and creamer are at similar temperatures. Let your coffee cool slightly before adding the creamer, or warm the creamer gently before mixing. Start with smaller amounts and stir gradually. Natural separation may occur, so shake or stir gently before each use.
Can I make dairy-free crème brûlée coffee creamer?
Yes, you can substitute coconut milk or almond milk for dairy ingredients. Use full-fat coconut milk for the creamiest texture and may need to adjust sweetener amounts since non-dairy alternatives can be less sweet. Dairy-free versions may separate more easily but follow the same storage guidelines.
How much creamer should I add to my coffee?
For hot coffee, add 2-3 tablespoons of creamer to your freshly brewed coffee. For iced coffee, use about ¼ cup of creamer mixed with cold coffee. Start with less and adjust to taste, as this creamer is richer than commercial varieties and provides intense flavor with smaller amounts.
Can I prepare this creamer in advance?
Absolutely! The creamer is perfect for meal prep. Make it on Sunday evening to enjoy throughout the work week, as the flavors actually improve after sitting for a day. Consider portioning into smaller containers or ice cube trays for convenient single-serving additions to your morning coffee routine.
