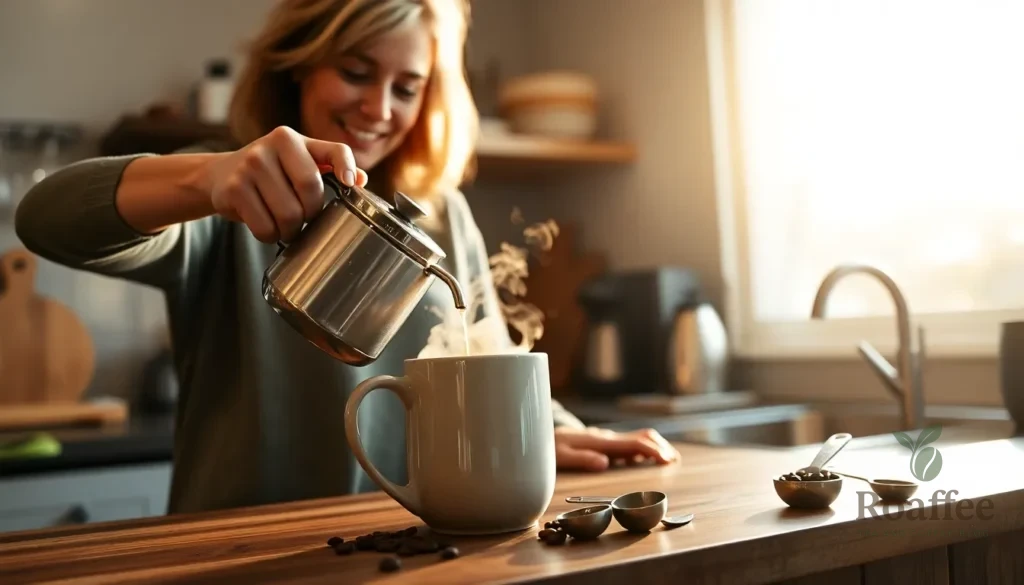
We’ve all been there – standing in our kitchen at 6 AM desperately craving that perfect cup of hot coffee to kickstart our day. While grabbing a cup from the local coffee shop seems convenient there’s something magical about brewing your own perfect cup at home. The aroma filling your kitchen the satisfaction of creating something delicious and the money you’ll save make homemade coffee an unbeatable choice.
Coffee has been humanity’s beloved companion for over 500 years transforming from an Ethiopian discovery into the industry’s second-most traded commodity. Today we’re sharing our foolproof hot coffee recipe that delivers café-quality results right in your own kitchen. Whether you’re a coffee novice or a seasoned enthusiast this method will help you create a rich aromatic cup that rivals any professional barista’s creation.
Our step-by-step guide takes the guesswork out of coffee brewing ensuring you get consistent delicious results every single time. Get ready to discover why homemade coffee might just become your new morning ritual.
Ingredients
We’ve simplified this hot coffee recipe to include just the essential components that deliver exceptional results. Our ingredient list focuses on quality basics that you likely already have in your kitchen.
Coffee Essentials
- 2 tablespoons ground coffee (medium grind, freshly ground preferred)
- 6 ounces filtered water (heated to 195-205°F)
- Pinch of salt (optional, enhances flavor and reduces bitterness)
Optional Add-ins
- 1-2 teaspoons granulated sugar (adjust to taste)
- 1-2 tablespoons heavy cream or whole milk (for richness)
- 1/4 teaspoon vanilla extract (adds warm sweetness)
- 1/8 teaspoon ground cinnamon (for aromatic spice)
- 1 tablespoon flavored syrup (vanilla, caramel, or hazelnut)
- 1 tablespoon butter (for bulletproof-style coffee)
- Whipped cream (for indulgent topping)
Equipment Needed
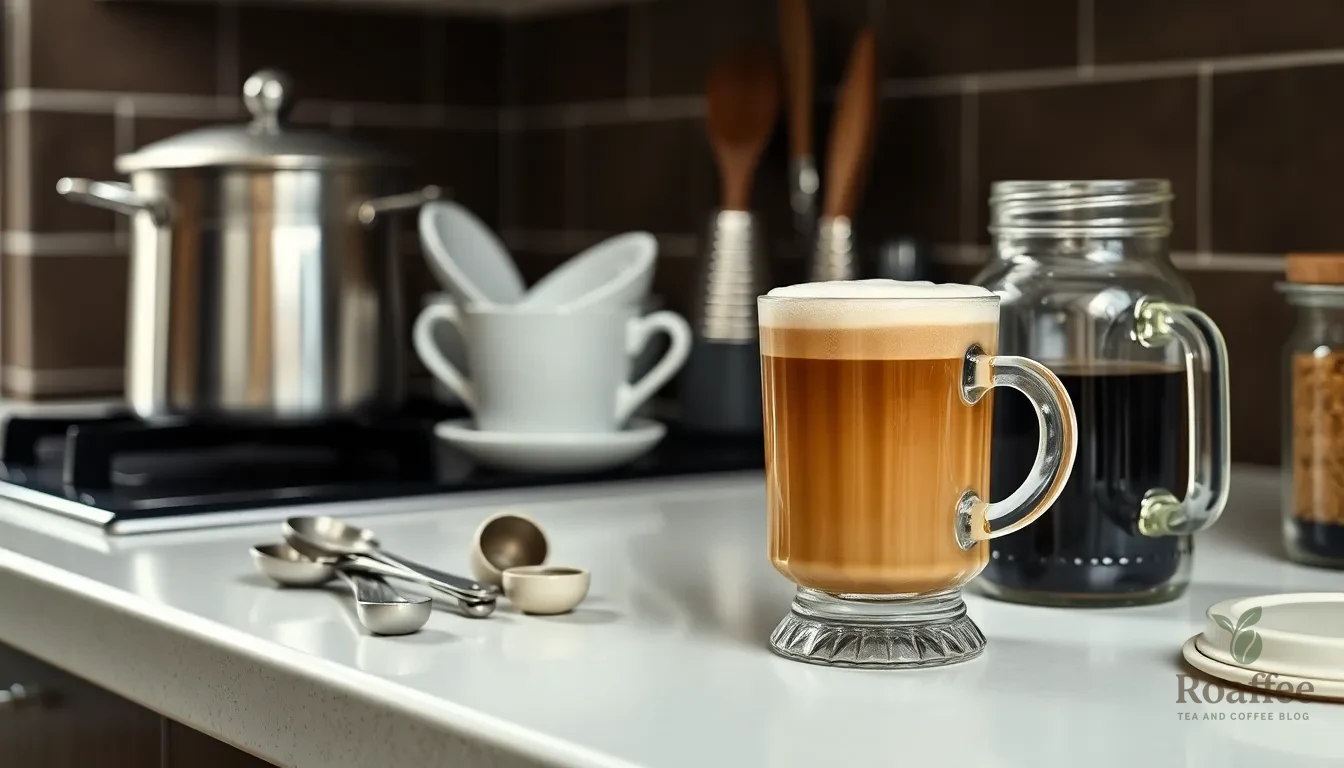
Creating exceptional hot coffee at home requires just a few basic tools that most kitchens already contain. We’ve organized these essentials to help you gather everything before starting your brewing journey.
Essential Equipment:
- Saucepan or milk warmer – For heating milk and water to the perfect temperature
- Coffee cup or mug – Your favorite vessel for enjoying the finished brew
- Measuring spoons and cups – Accurate measurements ensure consistent results every time
- Milk frother or whisk – Creates that luxurious foam layer for café quality texture
Optional Equipment:
- Jar with lid – Alternative frothing method when no frother is available
- Thermometer – Helps achieve the ideal water temperature of 195-205°F
The beauty of this recipe lies in its simplicity. Most home cooks already own these basic tools, making it accessible without expensive espresso machines or specialized equipment. We recommend using a milk frother for the best results, though vigorous whisking with a spoon works perfectly well.
For those without a frother, the jar method proves surprisingly effective. Simply pour milk into a jar, secure the lid tightly, and shake vigorously for 30-60 seconds to create foam. This technique delivers impressive results without additional equipment investment.
Quality matters more than quantity when selecting your tools. A sturdy saucepan ensures even heating, while a reliable measuring system guarantees consistent flavor profiles. These fundamental pieces transform simple ingredients into café worthy coffee that rivals professional establishments.
Instructions
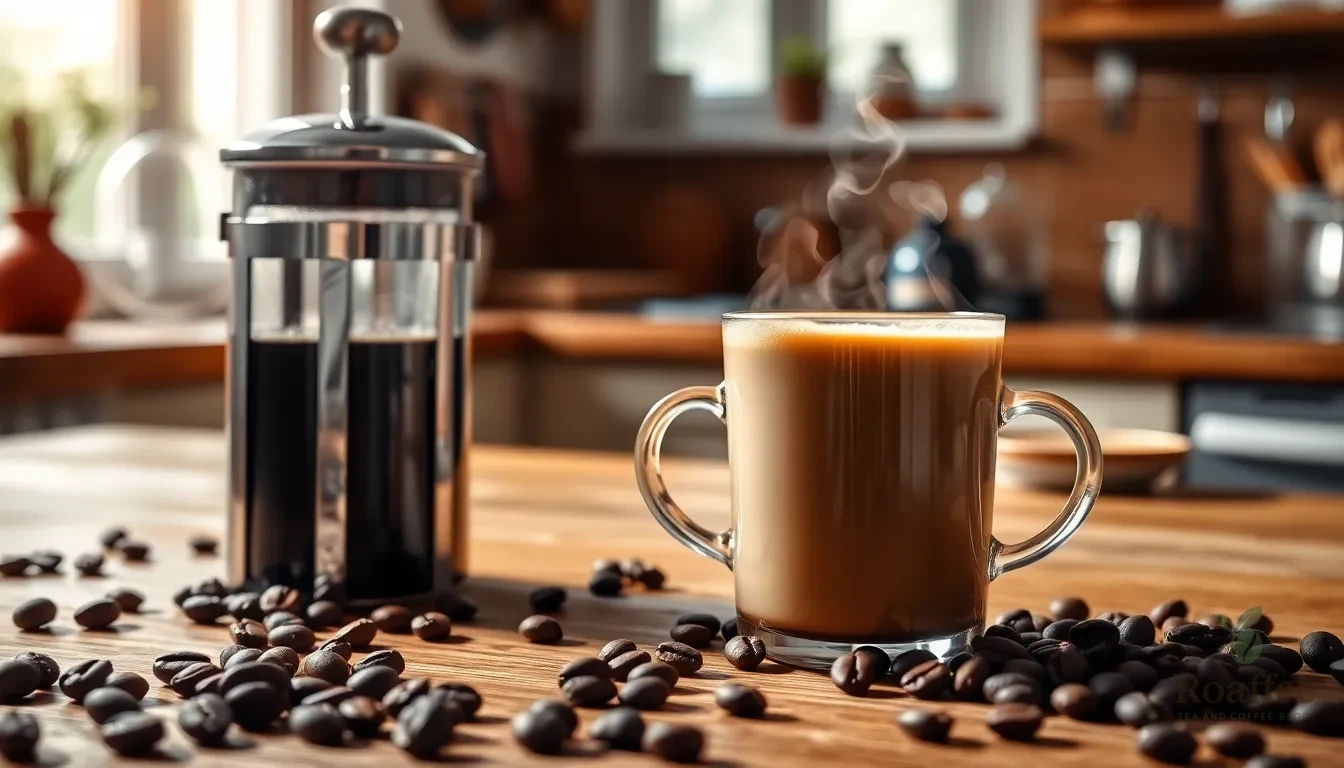
We’ll guide you through our foolproof process for brewing exceptional hot coffee at home. Each step builds upon the previous one to create a perfectly balanced cup that rivals your favorite café.
Prep
We begin by selecting fresh good-quality coffee beans or powder for the best flavor foundation. If using beans, we grind them fresh to a coarse or medium grind depending on your chosen brewing method. For French press brewing, we use coarse grind, while pour-over methods work best with fine to medium-coarse grind.
We bring water to just below boiling point, ideally 90 to 95°C (194 to 203°F), to avoid creating a burnt taste. This temperature range extracts optimal flavors without scorching the coffee grounds.
Brewing the Coffee
French Press Method:
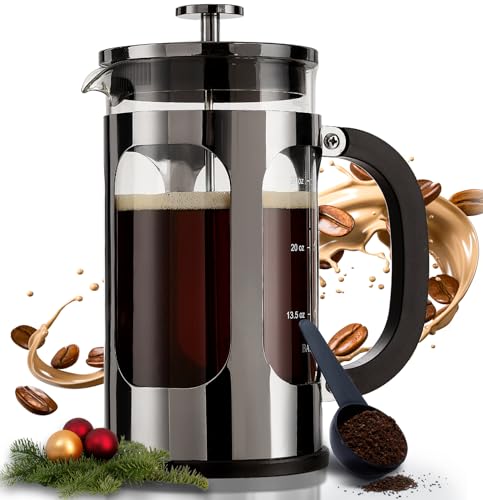
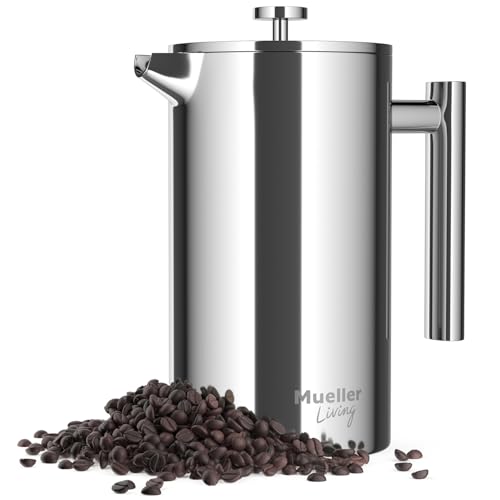
We add coarse ground coffee to the French press and pour hot water over the grounds. After stirring gently, we place the plunger on top without pressing down. The coffee steeps for 4 to 5 minutes before we slowly press the plunger down and pour the finished brew.
Pour-Over Method:
We place a filter in the dripper and rinse it with hot water first. After adding ground coffee to the filter, we slowly pour hot water over the grounds in a circular motion to saturate evenly. This method yields a clean, bright cup that highlights delicate flavors as the coffee drips into our cup or carafe.
Instant Coffee Method (Quick Option):
We add 1 to 2 teaspoons of instant coffee powder to a mug and pour hot water about three-quarters full. Stirring well dissolves the powder completely for a quick coffee solution.
Adding Flavors and Sweeteners
We add sugar or preferred sweeteners to taste, starting with 1 teaspoon and adjusting as needed. For creamy coffee, we warm and add milk, cream, or plant-based alternatives like almond or oat milk to achieve our desired richness.
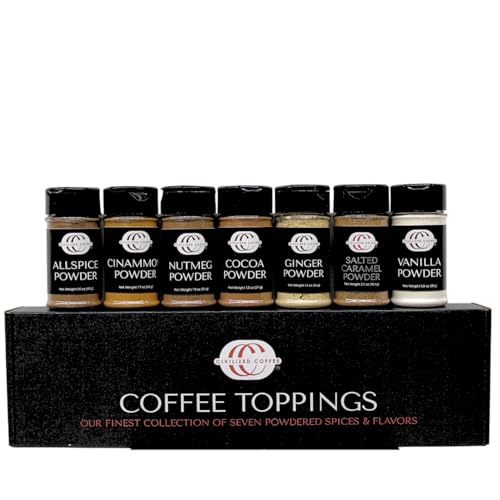
Optional enhancements include dusting with cinnamon or cocoa powder for aromatic complexity. We can also add whipped cream for a café-style finish that transforms our homemade brew into a luxurious treat.
| Brewing Method | Grind Type | Steeping Time | Key Characteristic |
|---|---|---|---|
| French Press | Coarse | 4-5 minutes | Full-bodied, rich |
| Pour-Over | Fine to medium-coarse | 2-3 minutes | Clean, bright flavors |
| Instant | N/A | Immediate | Quick convenience |
Directions for Different Brewing Methods
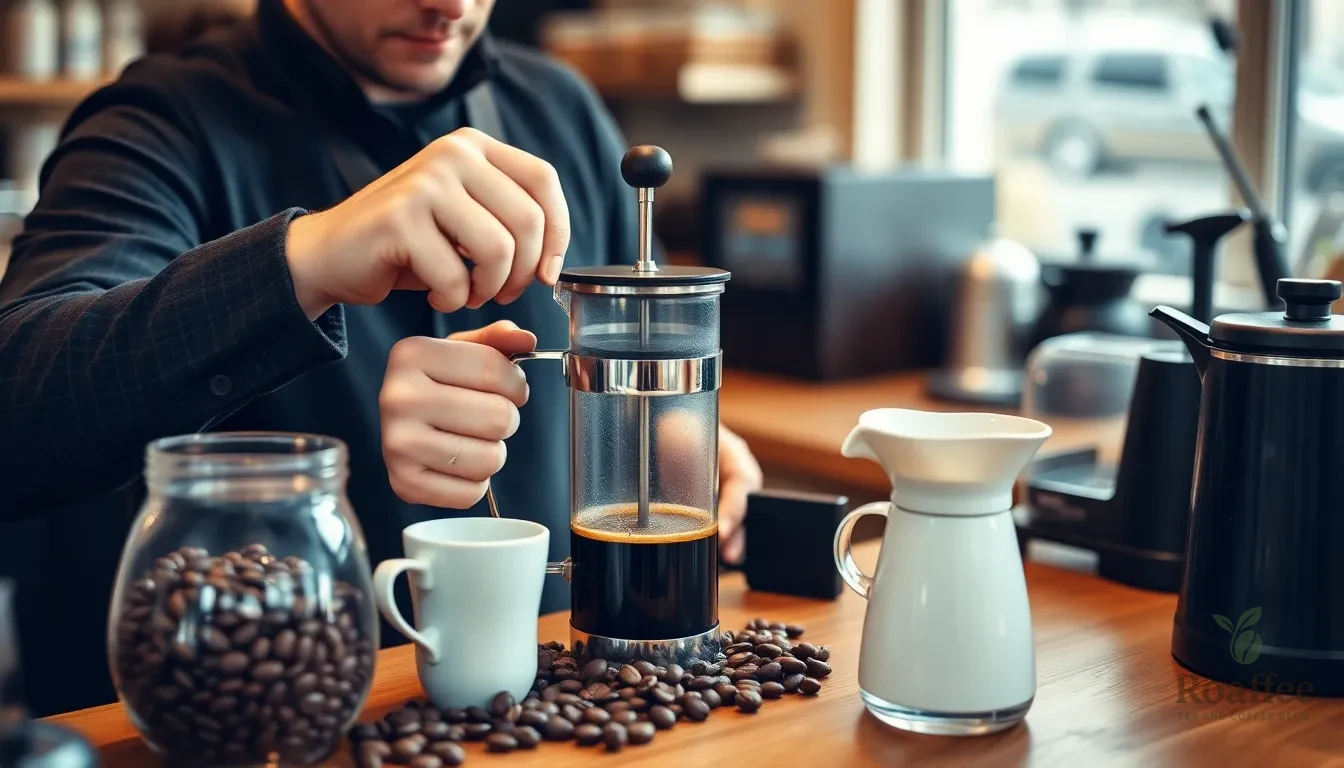
Each brewing method offers unique advantages and produces distinct flavor profiles. We’ll guide you through three popular techniques to help you find your perfect cup.
French Press Method
The French press delivers a full-bodied coffee experience through its immersion brewing technique. We recommend using a coarse grind similar to sea salt to prevent over-extraction and ensure smooth pressing.
Add your coarse coffee grounds to the French press vessel. Pour hot water just off the boil over the grounds and stir gently to ensure even saturation. Allow the mixture to steep for 4 to 5 minutes for optimal extraction. Press the plunger down slowly and steadily to separate the grounds from your brewed coffee.
This method produces coffee with robust flavor and natural oils since no paper filter removes the sediment. The full immersion process creates a rich, textured cup that coffee enthusiasts appreciate for its bold character.
Pour Over Method
Pour over brewing highlights clean, bright, and nuanced flavors through controlled water flow. We suggest using a finer grind resembling table salt for smaller cones or a medium-coarse grind similar to kosher salt for larger brewers like Chemex.
Place a filter in your pour over dripper positioned over a cup or carafe. Add your ground coffee to the filter and create a small well in the center. Heat water to 195-205°F for optimal extraction temperature. Pour hot water in a slow, circular motion over the grounds to evenly saturate them.
Continue pouring steadily while allowing water to drip through the filter. The gradual extraction process removes soluble compounds while the paper filter captures oils and sediment. This technique produces exceptionally clean coffee with bright acidity and complex flavor notes.
Drip Coffee Maker Method
Drip coffee makers provide consistent, automated brewing through their infusion system. We recommend using a medium grind to avoid clogging the filter while ensuring proper extraction strength.
Add your medium ground coffee to the machine’s filter basket and fill the water reservoir with fresh, cold water. Start the machine and allow it to heat the water automatically. The heated water will drip over the coffee grounds and extract flavors as it passes through.
Brewed coffee drips into the pot below while the paper filter removes sediment and oils. This method delivers balanced flavor between the full body of French press and the clean extraction of pour over. The automated process ensures consistent results with minimal effort required.
Serving Suggestions
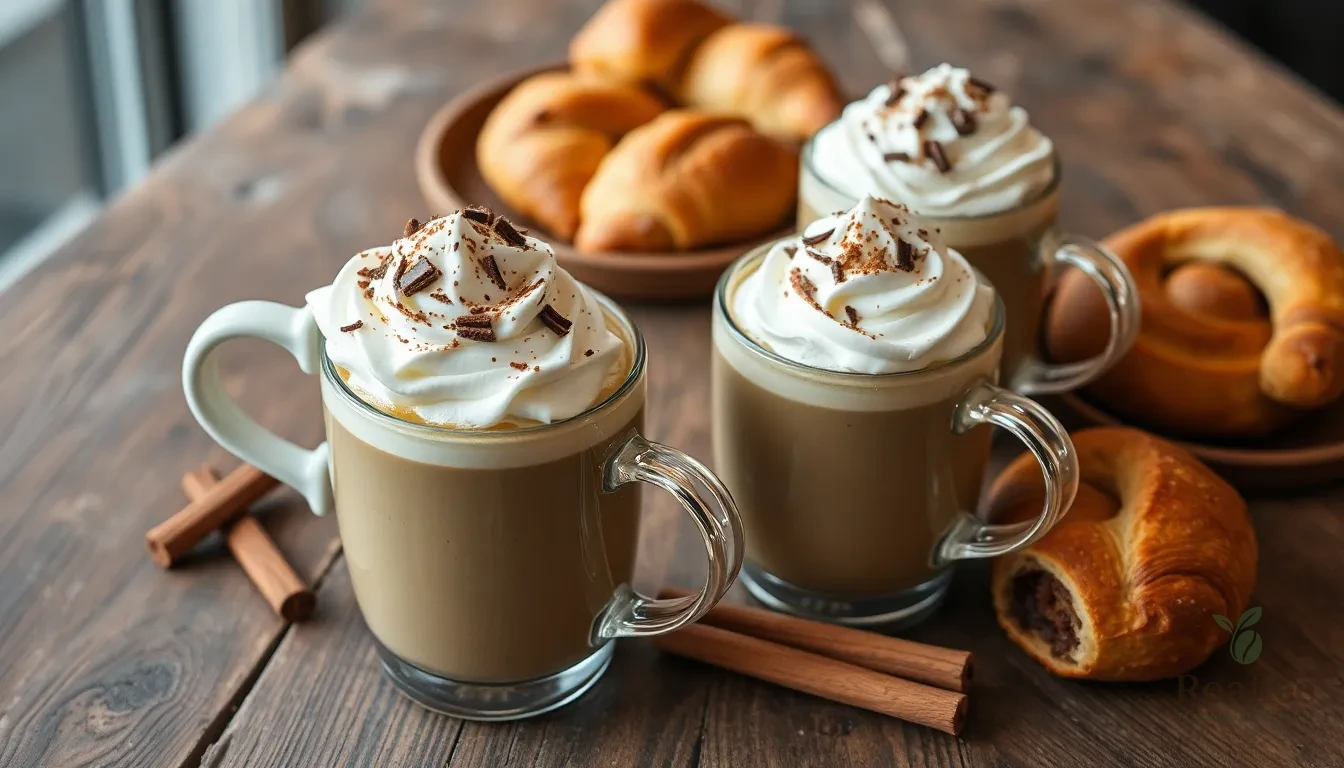
We recommend using heat resistant mugs when serving our hot coffee recipes to ensure the perfect drinking experience. The right vessel maintains temperature longer and prevents any discomfort when handling your freshly brewed coffee.
Essential Serving Equipment:
| Equipment | Purpose | Best For |
|---|---|---|
| Heat resistant mugs | Temperature retention | All coffee types |
| Glass mugs | Visual appeal | Layered drinks |
| Ceramic cups | Classic presentation | Traditional coffee |
| Insulated tumblers | Portable serving | Travel or outdoor use |
Garnish and Topping Options:
We suggest topping your hot coffee with whipped cream for added richness and visual appeal. Grated chocolate creates an elegant finish that complements the coffee’s natural flavors. Spices like cinnamon or cocoa powder provide aromatic enhancement and sophisticated presentation.
Temperature and Timing Guidelines:
Serving immediately while hot ensures you enjoy maximum aroma and texture from your coffee. We always emphasize that coffee tastes best when consumed within 10 minutes of brewing. The optimal serving temperature ranges between 155-175°F for comfortable sipping.
Presentation Tips:
We recommend dusting the surface with cocoa or cinnamon powder using a fine mesh strainer for professional appearance. Chocolate shavings add textural interest and complement coffee’s natural bitterness. Whipped cream should be applied generously but not overwhelmingly to maintain flavor balance.
Pairing Suggestions:
Morning pastries pair exceptionally well with our hot coffee recipes. We suggest serving alongside buttery croissants or cinnamon rolls for a complete café experience. Biscotti provides the perfect textural contrast when dipped into hot coffee.
Service Style Recommendations:
We advise preparing all garnishes and toppings before brewing to ensure seamless service. Coffee cocktails benefit from pre-chilled liqueurs added to hot coffee for optimal temperature balance. Always taste your coffee before adding final garnishes to adjust sweetness or strength as needed.
Storage Tips
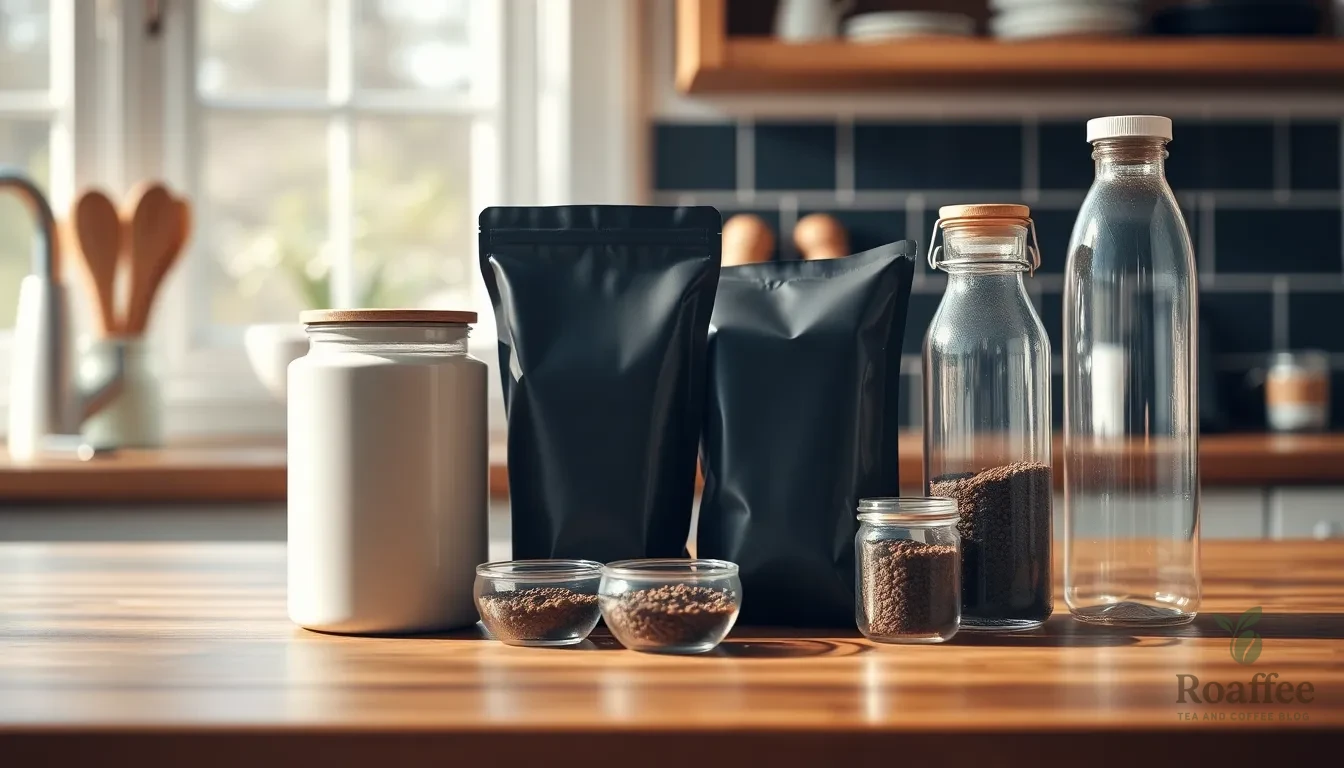
Proper storage transforms your coffee experience from ordinary to extraordinary. We understand that preserving the rich flavors and aromatic oils in your coffee requires attention to detail and the right techniques.
Storing Coffee Beans and Ground Coffee
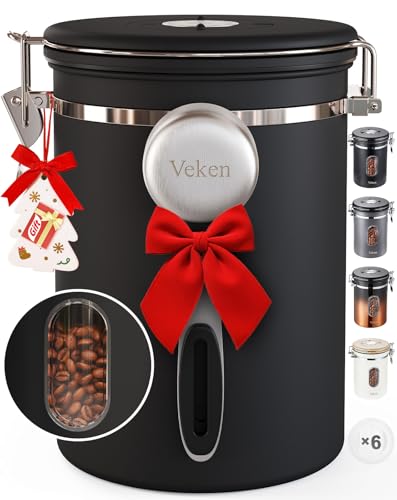
Airtight containers form the foundation of excellent coffee storage. We recommend using containers made from ceramic, glass, or non-reactive metal materials to prevent flavor contamination. Vacuum-sealed containers provide even better protection by removing oxygen that accelerates flavor degradation.
Coffee bags with multi-layer materials offer superior freshness retention. These specialized bags feature inner food-grade plastic, aluminum foil, and outer create paper construction. The one-way valve system releases gas buildup while preventing air from entering.
Environmental factors significantly impact coffee quality. We advise keeping your coffee away from sunlight, heat, humidity, and excessive oxygen exposure. These elements work together to break down the delicate flavor compounds that make your morning brew exceptional.
Storing Brewed Coffee
Temperature control plays a crucial role when storing leftover brewed coffee. We recommend allowing hot coffee to cool to room temperature before refrigerating to prevent condensation buildup inside storage containers.
Opaque or dark containers protect your brewed coffee from light exposure that can alter taste profiles. Fill containers as completely as possible to minimize air contact and preserve flavor integrity.
Separation from strong odors prevents flavor contamination in your refrigerator. We suggest dedicating a exact area for coffee storage away from pungent foods like onions or fish.
Reheating Techniques
Stovetop reheating preserves flavor better than microwave methods. We recommend using low to medium heat settings to gently warm your coffee without creating bitter compounds.
Adding a pinch of salt while reheating reduces bitterness caused by oxidation. This simple technique neutralizes harsh flavors that develop during storage and creates a smoother drinking experience.
| Storage Method | Container Type | Duration | Temperature |
|---|---|---|---|
| Coffee Beans | Airtight ceramic/glass | 2-3 weeks | Room temperature |
| Ground Coffee | Vacuum-sealed | 1-2 weeks | Room temperature |
| Brewed Coffee | Opaque airtight | 3-4 days | Refrigerated |
Make-Ahead Instructions
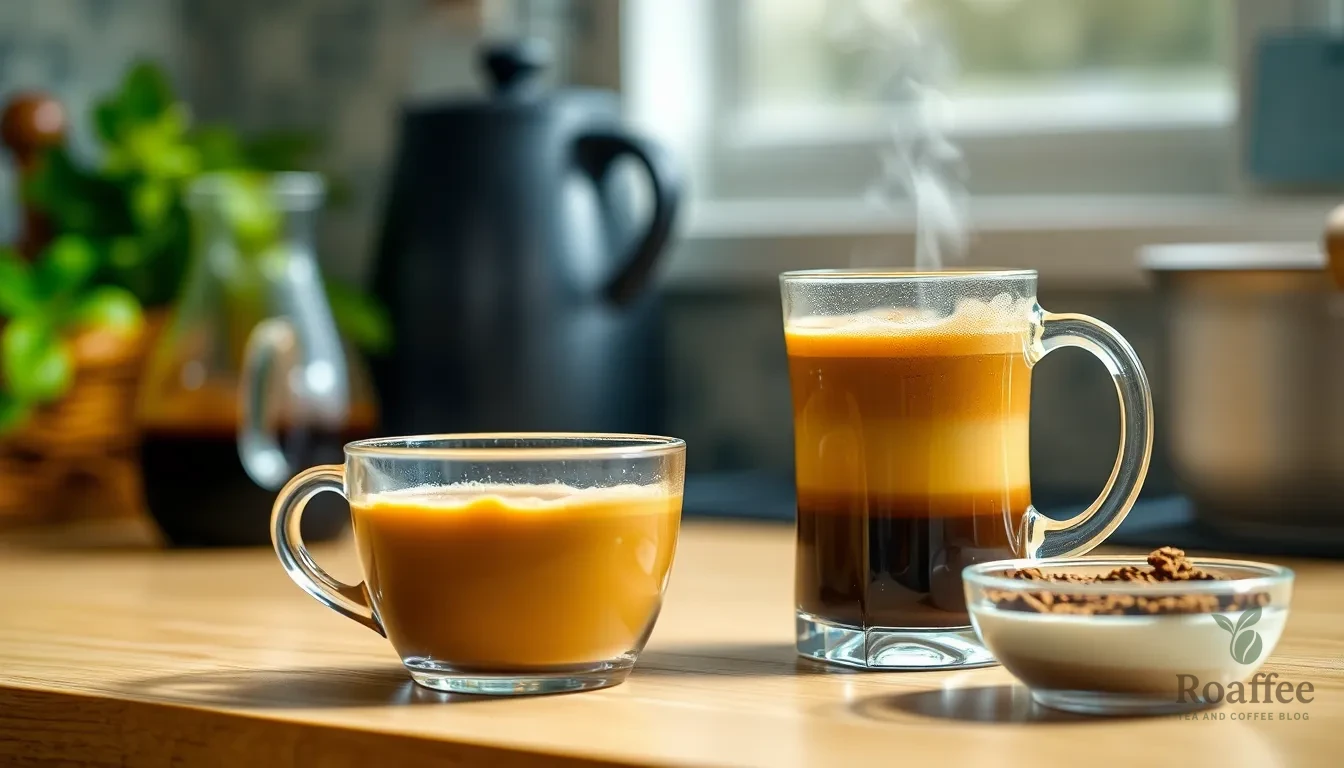
We can streamline our morning coffee routine by preparing several components in advance. These make-ahead strategies help us enjoy fresh hot coffee without the time constraints of busy mornings.
Coffee Concentrate Preparation
Our beaten instant coffee mixture can be prepared the night before for cafe-style results. We combine 1 tablespoon instant coffee powder with 3 tablespoons sugar and 1 tablespoon hot water in a sealed container. After beating until frothy and creamy, we store this mixture in the refrigerator for up to 3 days. When ready to serve, we simply add this concentrate to freshly heated milk and stir well.
Flavored Syrup Storage
We can prepare vanilla syrup or other flavored syrups up to one week ahead. Our homemade syrups maintain their quality when stored in airtight glass containers in the refrigerator. This advance preparation ensures we have the 2 tablespoons of vanilla syrup ready for our morning latte without extra steps.
Nutella Coffee Base
Our Nutella hot coffee mixture benefits from advance preparation of the chocolate-hazelnut base. We can combine Nutella with a small amount of hot coffee to create a smooth paste, storing it in the refrigerator for up to 5 days. This pre-made base dissolves more easily when we add it to hot milk and coffee during brewing.
Garnish Preparation
We prepare our coffee garnishes the evening before to enhance presentation and flavor. Whipped cream can be made and refrigerated for up to 2 days in a covered container. We can also grate chocolate, measure cinnamon, or prepare other spices in small bowls covered with plastic wrap.
Morning Assembly Timeline
| Task | Time Required | Advance Prep Benefit |
|---|---|---|
| Heat milk to steaming | 3-5 minutes | Cannot be done ahead |
| Add prepared concentrate | 30 seconds | Saves 5 minutes beating |
| Froth milk | 1-2 minutes | Cannot be done ahead |
| Add garnishes | 30 seconds | Pre-measured saves 2 minutes |
Our make-ahead approach reduces morning preparation time from 10 minutes to approximately 5 minutes while maintaining the same quality and flavor profile. We store all prepared components separately to preserve their individual characteristics and prevent flavor mixing until the final assembly.
Variations and Customizations
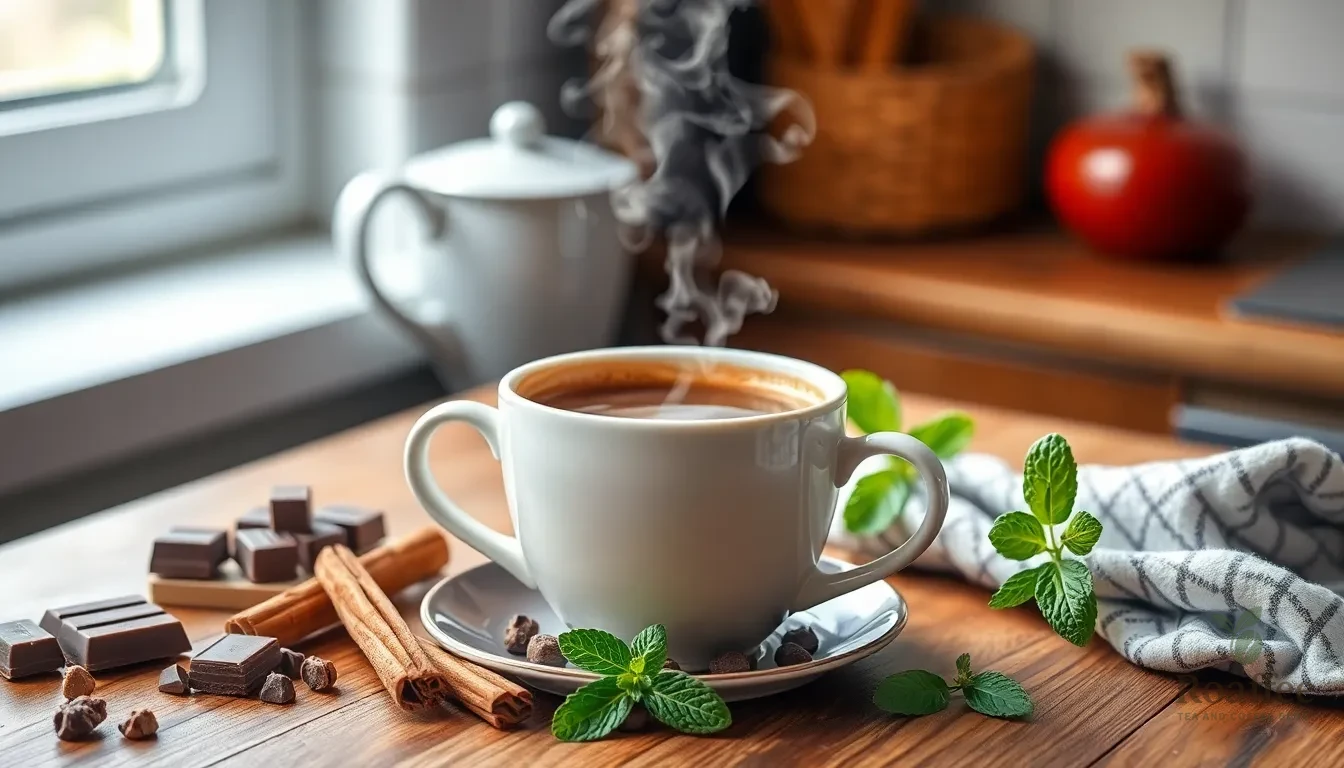
We can transform our basic hot coffee recipe into countless exciting variations. These customizations allow us to create personalized coffee experiences that suit our taste preferences and dietary needs.
Flavored Hot Coffee Recipes
Our Mexican Coffee combines robust coffee with semisweet chocolate, dark brown sugar, cinnamon, orange rind, vanilla extract, and cream for a rich, spiced flavor. We heat the chocolate and spices with milk first, then mix with brewed coffee and top with cream if desired.
Coffee ‘N Cream offers a simple indulgence where we “drown” a scoop of vanilla ice cream in hot brewed coffee with an optional chocolate syrup drizzle, similar to an Italian Affogato. This creates a delightful contrast between hot and cold temperatures.
For our Vanilla Latte using instant coffee, we mix instant coffee with creamer, sweetened condensed milk, vanilla syrup, and hot water for an aromatic and comforting drink. Our Peppermint Mocha combines instant coffee, creamer, cocoa powder, and peppermint flavor with hot water for a wintery, festive flavor.
Beaten Coffee, inspired by Indian cafe style, uses just four ingredients whipped to form a frothy coffee that mimics a cafe-style latte or cappuccino without special equipment. We can add flavors by incorporating spices like cinnamon and orange peel, chocolate, vanilla extract, peppermint, or syrups such as vanilla and hazelnut.
Dairy-Free Options
Plant-based milk alternatives provide excellent substitutes for dairy without sacrificing creaminess. We recommend unsweetened vanilla coconut milk, almond milk, or blends thereof as ideal choices for those who are lactose intolerant or prefer vegan options.
These dairy-free milks work seamlessly in traditional recipes by replacing regular milk with equal amounts of plant-based alternatives. Coconut milk adds richness and subtle sweetness, while almond milk provides a lighter, nutty flavor profile.
We can adapt any of our flavored coffee recipes by substituting the dairy component with these alternatives. The key is choosing unsweetened varieties to maintain control over the sweetness level in our final drink.
Sugar-Free Alternatives
Artificial sweeteners like Stevia, Truvia, or Splenda effectively replace sugar while keeping our drinks low-calorie and suitable for sugar-restricted diets. We maintain sweetness without compromising on flavor when using these alternatives.
The amount of artificial sweetener should be adjusted to taste, ensuring the beverage suits our individual dietary needs. Most artificial sweeteners are significantly sweeter than sugar, so we typically need smaller quantities to achieve the desired sweetness level.
We can combine sugar-free sweeteners with our dairy-free options to create fully customized coffee drinks that accommodate multiple dietary restrictions simultaneously. This flexibility allows us to enjoy our favorite coffee variations regardless of our exact nutritional requirements.
Conclusion
We’ve shown you that brewing exceptional hot coffee at home doesn’t require expensive equipment or complicated techniques. With our simple recipe and the right storage methods you can enjoy café-quality coffee every morning while saving money.
The beauty of homemade coffee lies in its endless customization possibilities. Whether you prefer a classic black coffee or want to experiment with flavored variations we’ve provided the foundation for your perfect cup.
Start with quality ingredients master the basic technique and don’t be afraid to experiment with different flavors and preparation methods. Your morning routine will never be the same once you discover the satisfaction of brewing your own perfect cup of hot coffee.
Frequently Asked Questions
What temperature should water be for brewing coffee?
Water should be heated to 195-205°F for optimal coffee extraction. This temperature range ensures proper brewing without scorching the coffee grounds. If you don’t have a thermometer, bring water to a boil and let it cool for 30 seconds before pouring.
How long should I steep coffee in a French press?
Steep coffee in a French press for 4 minutes using coarse grounds. This timing allows for full extraction and creates a rich, full-bodied coffee. After 4 minutes, slowly press the plunger down and serve immediately for the best flavor.
What’s the best grind size for pour-over coffee?
Use a medium-fine grind for pour-over coffee. This grind size allows water to flow through at the right pace, typically taking 2-4 minutes for complete brewing. A finer grind creates clean, bright flavors characteristic of pour-over methods.
How should I store coffee beans for maximum freshness?
Store coffee beans in airtight containers made from ceramic, glass, or non-reactive metal. Keep them in a cool, dark place away from sunlight, heat, and humidity. Vacuum-sealed containers provide the best protection for preserving flavor and aroma.
Can I make coffee concentrate ahead of time?
Yes, you can prepare coffee concentrate in advance by brewing strong coffee and storing it in the refrigerator for up to one week. Mix equal parts concentrate and hot water when ready to serve, reducing morning preparation time significantly.
What’s the optimal drinking temperature for coffee?
Coffee tastes best when served between 155-175°F. This temperature range provides optimal flavor without being too hot to drink comfortably. Use heat-resistant mugs to maintain temperature and prevent burns while handling.
How can I make dairy-free coffee at home?
Replace regular milk with plant-based alternatives like almond, oat, soy, or coconut milk. These alternatives work well in all coffee recipes and can be frothed using the same techniques. Adjust sweetness as needed since some plant milks are naturally sweeter.
What equipment do I need for home coffee brewing?
Essential equipment includes a saucepan or milk warmer, coffee cup, measuring spoons and cups, and a milk frother or whisk. Most home cooks already own these basic tools, making quality coffee brewing accessible without expensive machines.
How long does brewed coffee stay fresh?
Brewed coffee tastes best when consumed immediately but can be stored in the refrigerator for up to 3-4 days. Cool to room temperature before refrigerating and use opaque containers to protect from light exposure.
Can I reheat leftover coffee?
Yes, but use stovetop methods rather than microwaving to maintain flavor integrity. Gently warm the coffee in a saucepan over low heat, stirring occasionally. Avoid boiling, which can make coffee taste bitter and destroy delicate flavors.
