We’ve all been there – staring at a pile of used coffee grounds and wondering if there’s more life left in them. The good news? Drying coffee grounds opens up a industry of practical possibilities that’ll make you think twice before tossing them in the trash.
Fresh coffee grounds contain moisture that can lead to mold and unpleasant odors when stored. By properly drying them, we transform these kitchen scraps into versatile household helpers. Whether you’re planning to use them for gardening, natural deodorizers, or DIY beauty treatments, dried coffee grounds are incredibly valuable.
The process is surprisingly simple and doesn’t require any special equipment. With just a few basic techniques, we’ll show you how to extend the life of your coffee grounds and unlock their hidden potential. Let’s jump into the methods that’ll help you master this sustainable kitchen practice.
Why Dry Coffee Grounds
Fresh coffee grounds create multiple problems when stored in our homes. Moisture trapped in used grounds creates the perfect environment for mold growth within 24 to 48 hours. The damp environment also produces unpleasant odors that can quickly spread throughout our kitchens and storage areas.
Wet coffee grounds attract pests like fruit flies and gnats. These insects find the moist organic matter irresistible for breeding and feeding. Storage becomes nearly impossible when dealing with soggy grounds that clump together and create messy spills.
Dried coffee grounds eliminate these storage challenges completely. We can store them for months without worrying about spoilage or pest attraction. The removal of moisture prevents bacterial growth and eliminates the strong acidic smell that fresh grounds produce.
Drying extends the shelf life of coffee grounds significantly. Fresh grounds last only a few days before becoming unusable while properly dried grounds maintain their beneficial properties for up to six months. This extended storage time allows us to collect larger quantities for various household applications.
The drying process concentrates the beneficial compounds found in coffee grounds. Nitrogen levels remain high in dried grounds making them excellent for composting and fertilizing plants. Antioxidants and natural oils also become more stable once moisture is removed.
Dried coffee grounds offer superior texture for many applications. We can easily incorporate them into DIY scrubs and beauty treatments without creating muddy messes. The fine consistent texture makes them perfect for natural exfoliation and deodorizing purposes.
Transportation becomes much easier with dried grounds. We can package them in small containers or bags without worrying about leakage or weight. This portability makes sharing dried coffee grounds with friends and family simple and convenient.
Equipment Needed
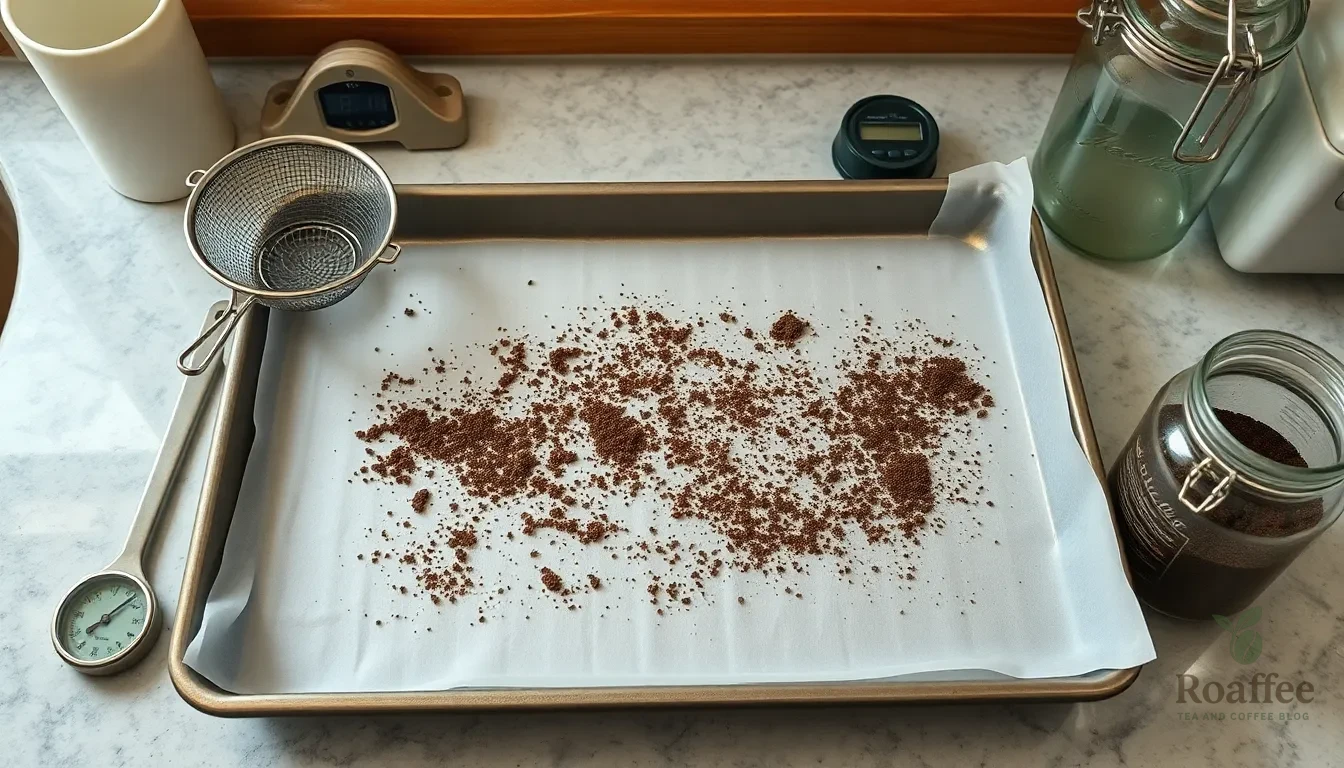
The right equipment makes drying coffee grounds simple and effective. We’ve tested various methods and found that having proper tools ensures consistent results every time.
Baking Sheet or Rimmed Tray
Large rimmed baking sheets work best for spreading coffee grounds evenly. Stainless steel or aluminum sheets distribute heat uniformly while preventing grounds from spilling over the edges. We recommend using at least two sheets to accommodate multiple batches.
Parchment Paper or Silicone Mat
Line your baking sheets with parchment paper to prevent sticking and make cleanup effortless. Silicone baking mats offer a reusable alternative that withstands repeated use. Both options create a non-stick surface that allows grounds to dry without clumping.
Fine Mesh Strainer
A fine mesh strainer helps remove excess moisture from fresh coffee grounds before drying. This preliminary step reduces overall drying time and prevents uneven moisture distribution. Choose a strainer with holes small enough to prevent grounds from falling through.
Rubber Spatula or Wooden Spoon
Stirring tools help break up clumps and ensure even drying throughout the process. Rubber spatulas work well for spreading grounds initially while wooden spoons excel at periodic stirring. Both materials avoid scratching your baking sheets.
Airtight Storage Containers
Glass jars or plastic containers with tight-fitting lids preserve dried coffee grounds for months. Mason jars provide excellent visibility and seal effectively while clear plastic containers allow easy identification of contents. We prefer containers that hold 1-2 cups of dried grounds for convenient portioning.
Kitchen Timer
Accurate timing prevents over-drying and ensures optimal results. Digital timers offer precise intervals for checking and stirring grounds during the drying process. Set multiple alarms if processing several batches simultaneously.
Oven Thermometer (Optional)
An oven thermometer verifies accurate temperature settings for consistent results. Many ovens run slightly hot or cold which can affect drying effectiveness. This tool ensures your oven maintains the proper temperature throughout the process.
Ingredients
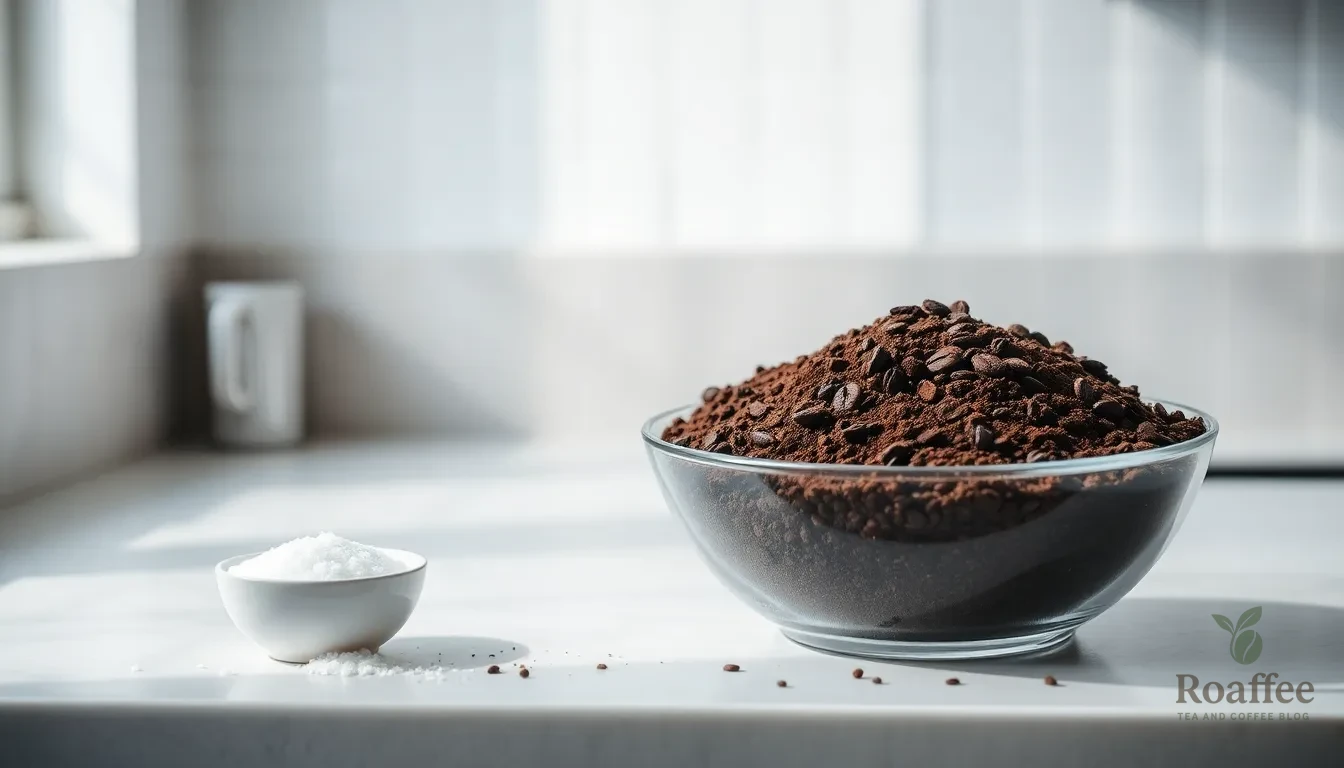
We need minimal ingredients to successfully dry coffee grounds at home. The beauty of this process lies in its simplicity and the use of items you likely already have in your kitchen.
Primary Ingredient:
- Fresh used coffee grounds (any amount from daily brewing)
Optional Additions:
- Small amount of salt (1-2 tablespoons per cup of grounds) – helps absorb excess moisture
- Baking soda (1 tablespoon per cup of grounds) – neutralizes acidic odors during drying
The main ingredient we work with is fresh used coffee grounds from your morning brew or espresso machine. We recommend using grounds that are still slightly damp rather than completely saturated. Coffee grounds from drip coffee makers work exceptionally well since they retain optimal moisture levels for even drying.
Salt serves as a natural desiccant when added to the coffee grounds. This optional ingredient accelerates the moisture removal process and prevents clumping during the drying phase. We suggest using regular table salt rather than coarse varieties for better distribution throughout the grounds.
Baking soda offers another optional enhancement to the drying process. Adding this ingredient helps neutralize any residual acidity in the coffee grounds while they dry. This creates a more neutral pH level in the final product which benefits garden applications and household uses.
We can dry coffee grounds in any quantity from a single serving to several cups worth. The process scales easily whether you save grounds from one day of brewing or collect them over several days. Fresh grounds work best within 24 hours of brewing to prevent mold development during the drying process.
Instructions
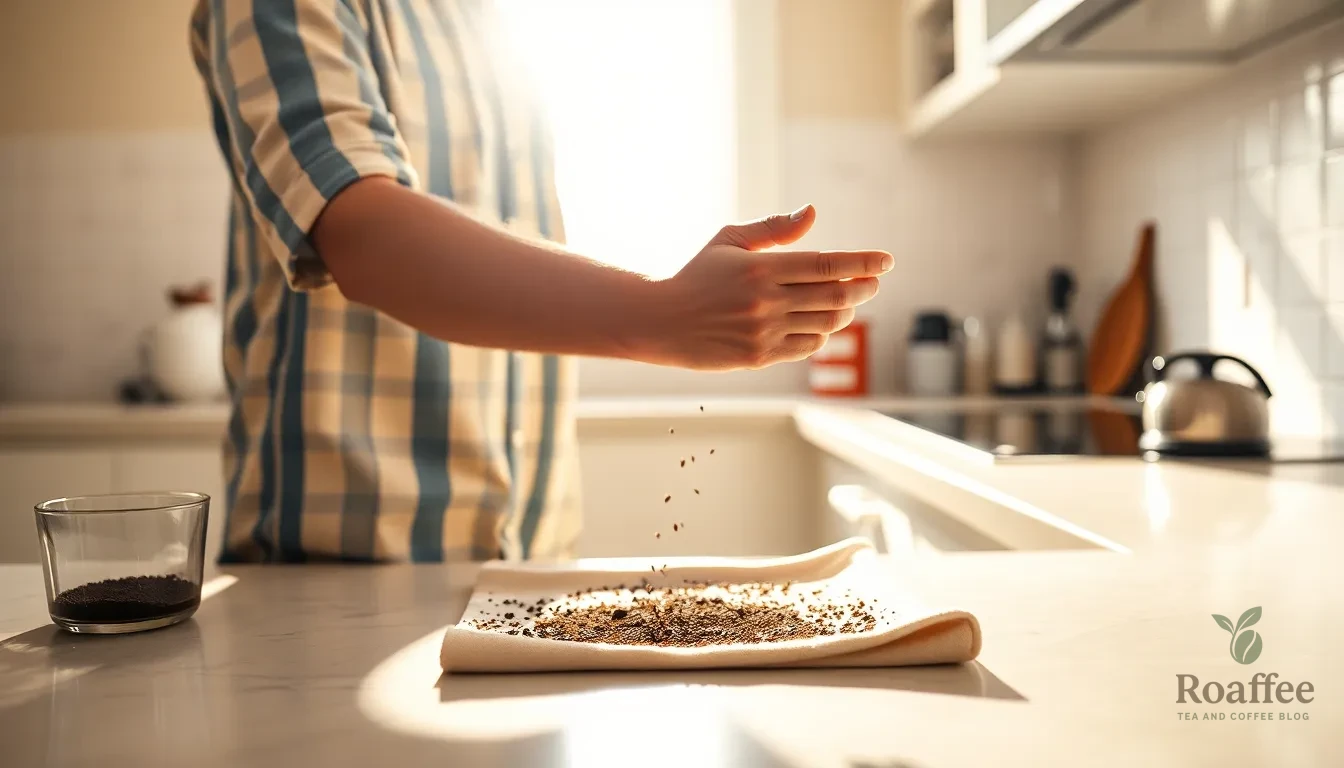
We’ll walk you through four proven methods to dry your coffee grounds effectively. Each technique offers different benefits depending on your time constraints and available equipment.
Prep Your Coffee Grounds
Start by collecting your used coffee grounds immediately after brewing while they’re still warm and slightly damp. Spread the grounds evenly on a clean kitchen towel or paper towels to absorb excess moisture for 10-15 minutes. Remove any visible debris like paper filter pieces or foreign objects that might have mixed in during brewing.
Break up large clumps with your fingers or a spoon to ensure even drying throughout the batch. Pat the grounds gently with additional paper towels if they appear overly wet from espresso machines or French press brewing methods.
Choose Your Drying Method
Select your preferred drying technique based on the quantity of coffee grounds and your available time. Air drying works best for small batches and requires no energy but takes 2-3 days to complete. Oven drying handles larger quantities efficiently and finishes within 1-2 hours.
Microwave drying suits urgent situations when you need dried grounds quickly for immediate use. Dehydrator drying provides the most consistent results and preserves the grounds’ beneficial compounds most effectively.
Air Drying Method
Spread your prepped coffee grounds in a thin layer across parchment paper or clean baking sheets. Place the sheets in a well-ventilated area away from direct sunlight and humidity sources like dishwashers or steam vents.
Stir the grounds every 8-12 hours using a wooden spoon or rubber spatula to promote even moisture evaporation. Check for complete dryness by squeezing a small handful – properly dried grounds should feel completely dry and crumbly with no moisture detected.
Complete air drying typically requires 24-72 hours depending on your home’s humidity levels and air circulation.
Oven Drying Method
Preheat your oven to its lowest temperature setting between 170-200°F to prevent burning the delicate coffee compounds. Line large rimmed baking sheets with parchment paper or silicone mats to prevent sticking.
Spread the coffee grounds in a single even layer no thicker than 1/4 inch across the prepared baking sheets. Place the sheets on the middle oven rack and prop the oven door slightly open with a wooden spoon to allow moisture to escape.
Bake for 45-60 minutes stirring every 15 minutes to ensure uniform drying. Test for doneness by cooling a small sample – the grounds should feel completely dry and break apart easily when pressed.
Microwave Drying Method
Place 1-2 cups of coffee grounds on a microwave-safe plate lined with paper towels. Spread the grounds evenly to create a thin layer for consistent heating throughout.
Microwave on medium power (50%) for 2-3 minutes initially then continue in 30-second intervals. Stir the grounds between each interval to redistribute heat and prevent hot spots from forming.
Total drying time ranges from 4-8 minutes depending on your microwave’s wattage and the initial moisture content of your grounds.
Dehydrator Method
Set your food dehydrator to 135-140°F for optimal coffee ground drying without destroying beneficial compounds. Line the dehydrator trays with fine mesh liners or parchment paper to prevent small particles from falling through.
Distribute the coffee grounds evenly across the lined trays maintaining a consistent thickness of approximately 1/8 inch. Avoid overcrowding trays to ensure proper air circulation around all grounds.
Dehydrate for 2-4 hours checking progress every hour until the grounds achieve a completely dry crumbly texture. Rotate trays every 2 hours if your dehydrator doesn’t have a built-in rotation feature.
Directions for Storage
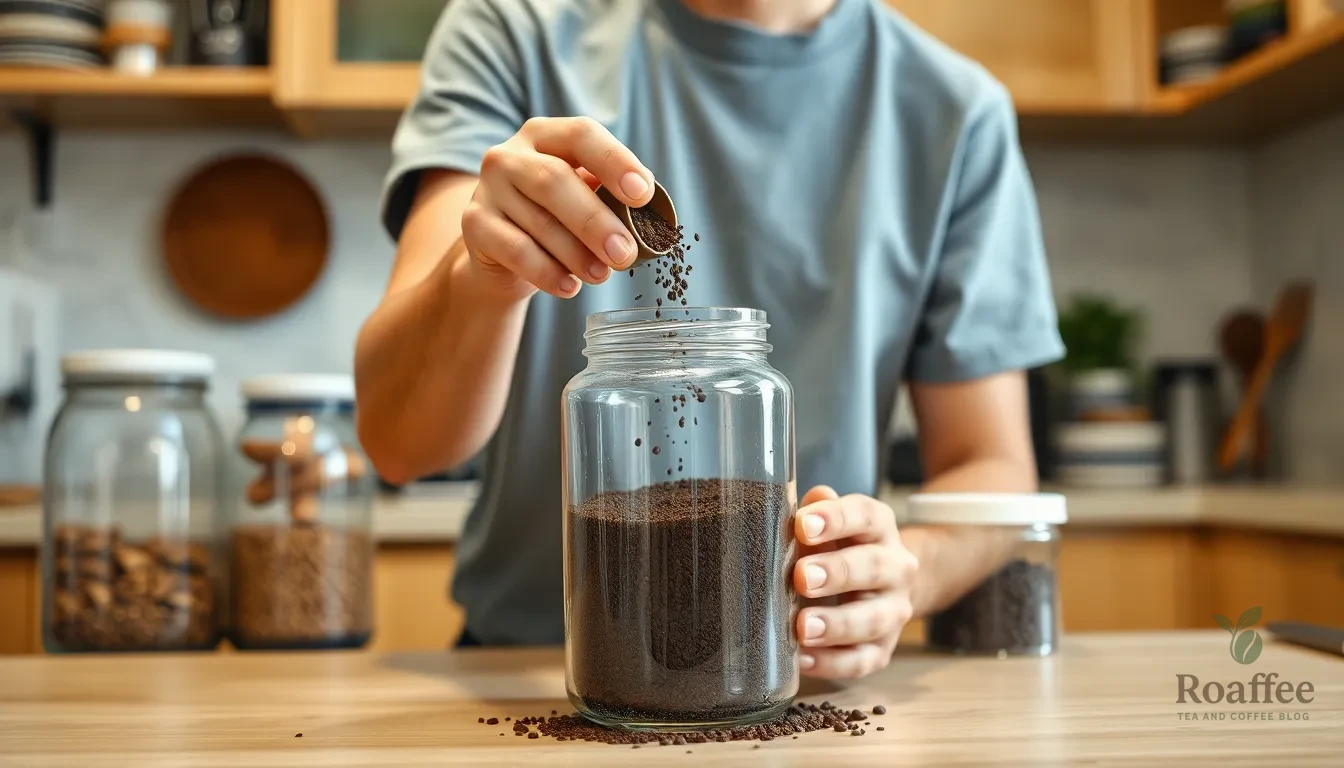
Once we’ve successfully dried our coffee grounds using any of the four methods outlined above, proper storage becomes crucial for maintaining their quality and extending their shelf life. The right storage approach ensures our dried grounds remain fresh and ready for various household applications.
Proper Storage Containers
We recommend using airtight glass jars or food-grade plastic containers with tight-fitting lids to preserve the dried coffee grounds’ quality. Mason jars work exceptionally well because they create an excellent seal while allowing us to monitor the contents for any signs of moisture.
Large yogurt containers or repurposed coffee cans serve as practical alternatives for storing larger quantities. We always ensure these containers are completely clean and dry before transferring our dried grounds to prevent contamination.
Metal containers with secure lids also work effectively, particularly for long-term storage. The key factor remains creating an airtight seal that prevents moisture from entering and compromising our carefully dried grounds.
We avoid using paper bags or cardboard containers as these materials can absorb moisture from the environment. Plastic bags without proper sealing mechanisms also fail to provide adequate protection against humidity.
Optimal Storage Conditions
We store our dried coffee grounds in cool, dark locations away from direct sunlight and heat sources. Pantries, cabinets, or basement storage areas typically provide ideal conditions for maintaining ground quality.
Temperature stability plays a crucial role in preserving the dried grounds’ integrity. We aim for storage temperatures between 60-70°F to prevent condensation that could reintroduce moisture.
Humidity levels should remain low in our chosen storage area. We avoid storing containers near dishwashers, washing machines, or other appliances that generate steam or moisture.
Direct sunlight can degrade the beneficial compounds in our dried coffee grounds over time. We select storage locations that remain consistently dark or use opaque containers to block light exposure.
We label our storage containers with the drying date to track freshness and ensure we use older batches first. Properly stored dried coffee grounds maintain their quality for 6-12 months under optimal conditions.
Make-Ahead Tips

We recommend establishing a weekly routine to maximize your coffee ground drying efficiency. Start by collecting grounds throughout the week in a designated container placed in your refrigerator to prevent mold growth. This approach allows you to accumulate enough grounds for a single large batch rather than drying small amounts daily.
Sunday preparation works exceptionally well for most households. We suggest using this day to process your entire week’s collection of coffee grounds. Set aside 30 minutes to spread the grounds on baking sheets and begin the drying process. Your dried grounds will be ready for storage by Monday morning.
Batch processing saves important time and energy. We find that drying 2-3 cups of grounds at once produces better results than processing smaller quantities. The larger surface area allows for more consistent heat distribution and faster overall drying times.
Consider seasonal preparation during humid months. We recommend drying extra batches when humidity levels are low to build your reserve supply. Store these pre-dried grounds in multiple smaller containers rather than one large container to maintain freshness when accessing portions.
Weekend prep sessions eliminate weekday stress. We suggest dedicating one morning each weekend to coffee ground preparation. This schedule ensures you always have dried grounds available for gardening projects or household uses without last-minute rushing.
Temperature fluctuations affect drying efficiency throughout the year. We recommend adjusting your drying schedule based on seasonal changes. Summer months may require longer drying times due to higher humidity while winter months often produce faster results with indoor heating systems reducing moisture levels.
Planning ahead prevents waste accumulation. We encourage setting up a simple rotation system where you process grounds weekly and use older batches first. This method ensures your supply stays fresh and prevents the buildup of unused dried grounds that may lose their effectiveness over time.
Uses for Dried Coffee Grounds

Now that we’ve properly dried and stored our coffee grounds, we can explore the many practical applications that make this sustainable practice worthwhile. These versatile grounds transform from kitchen waste into valuable resources for our gardens, homes, and personal care routines.
Garden Applications
We love using dried coffee grounds as a natural soil amendment that enriches our garden beds with essential nutrients. The grounds provide nitrogen, potassium, and phosphorus while improving soil structure and drainage. Adding them to compost bins accelerates decomposition and creates richer finished compost.
Our vegetable gardens benefit significantly from coffee ground applications around acid-loving plants like tomatoes, blueberries, and azaleas. We scatter the grounds directly onto soil surfaces as mulch, which suppresses weeds and retains moisture. The grounds also act as a natural deterrent against slugs, snails, and certain insects without harming beneficial garden visitors.
Seedling preparation becomes more successful when we mix dried coffee grounds into potting soil at a 1:4 ratio. This mixture provides young plants with gentle nutrition while maintaining proper drainage. We’ve observed stronger root development and healthier seedlings when using this coffee-enriched growing medium.
Household Uses
Our cleaning routines improve dramatically with dried coffee grounds serving as an effective natural abrasive. We use them to scrub stubborn stains from pots, pans, and grills without scratching surfaces. The grounds excel at removing grease and food residue from cookware while leaving a fresh, clean scent.
Odor elimination becomes effortless when we place small bowls of dried coffee grounds in refrigerators, closets, and basements. They absorb unpleasant smells naturally without masking them with artificial fragrances. We replace these odor-absorbing grounds every 2-3 weeks for maximum effectiveness.
Furniture repair projects benefit from coffee grounds mixed with wood glue to create natural wood filler. We match the coffee ground color to dark wood finishes, creating nearly invisible repairs on scratches and small dents. This technique works particularly well on walnut, cherry, and mahogany furniture pieces.
Beauty and Skincare
Our skincare routines benefit from coffee grounds’ natural exfoliating properties that remove dead skin cells and promote circulation. We create body scrubs by mixing dried grounds with coconut oil or honey for gentle yet effective exfoliation. These homemade scrubs cost significantly less than commercial alternatives while providing superior results.
Cellulite reduction treatments become more accessible when we combine coffee grounds with olive oil and massage the mixture onto problem areas. The caffeine content helps improve blood flow and temporarily tighten skin appearance. We apply these treatments 2-3 times weekly for optimal results.
Hair care applications include using coffee grounds as a natural scalp scrub that removes product buildup and stimulates hair follicles. We massage the grounds gently into wet hair before shampooing, which promotes healthier hair growth and adds natural shine. Dark-haired individuals particularly benefit from the subtle color enhancement coffee grounds provide.
Troubleshooting Common Issues
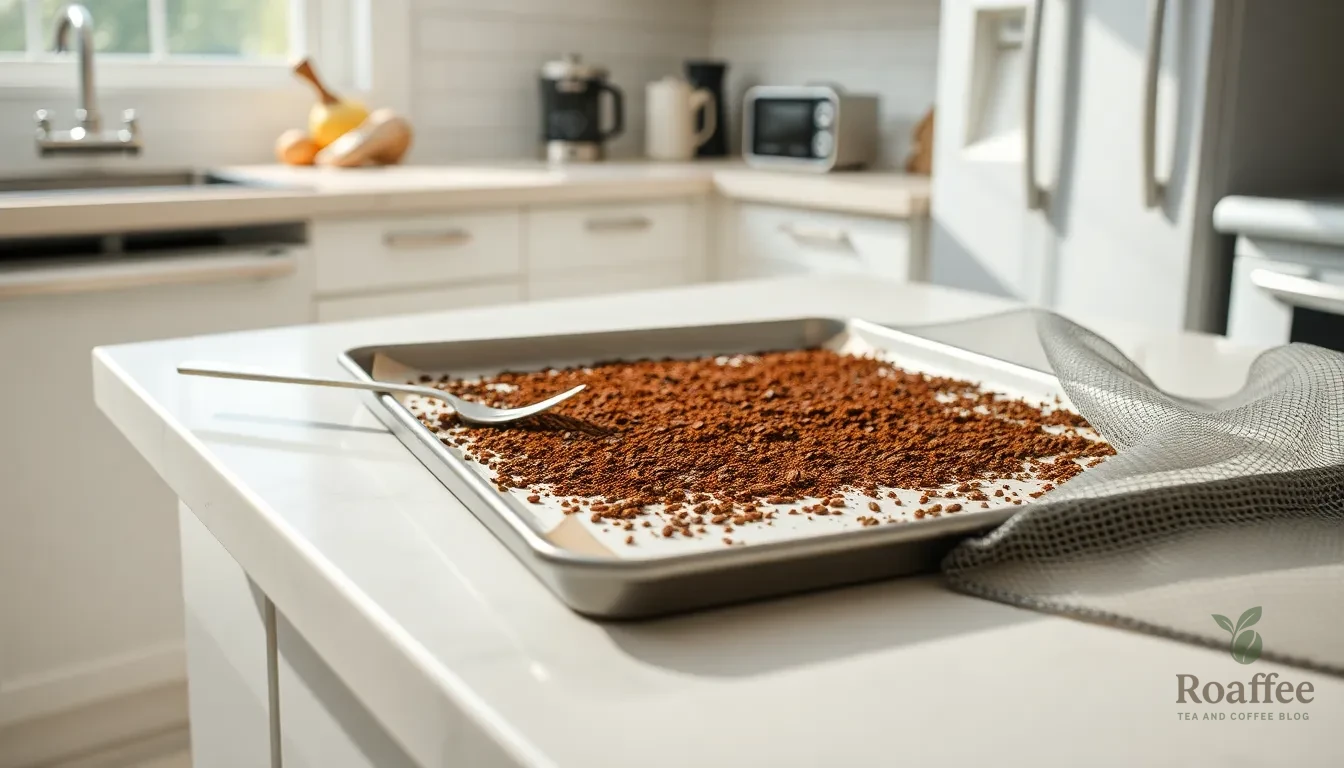
Even with the best preparation, we occasionally encounter challenges when drying coffee grounds. Understanding how to address these common problems ensures successful results every time.
Grounds Still Feel Damp After Drying
We notice this issue most frequently when coffee grounds appear dry on the surface but retain moisture underneath. Break apart any clumps with a fork or spoon to expose hidden damp areas. Spread the grounds in a thinner layer and extend the drying time by 30-60 minutes. Check different areas of your drying surface since heat distribution varies across baking sheets and dehydrator trays.
Mold Development During Air Drying
Mold appears as fuzzy white, green, or black spots on coffee grounds that have been exposed to too much moisture or humidity. Discard any moldy grounds immediately and sanitize your drying surface with a vinegar solution. Start fresh with a new batch and ensure better air circulation by placing a fan nearby or choosing a less humid location for drying.
Uneven Drying Results
Some grounds dry completely while others remain damp when we skip the stirring step or overcrowd our drying surface. Stir the grounds every 30 minutes during oven drying and every few hours during air drying. Use multiple baking sheets if necessary to avoid thick layers that prevent proper air circulation.
Burnt or Overheated Grounds
Coffee grounds develop a bitter, acrid smell when exposed to excessive heat. Lower your oven temperature by 25°F and increase the drying time accordingly. Remove any darkened or burnt grounds immediately since they can affect the quality of the entire batch. Monitor the temperature more closely with an oven thermometer to maintain consistent heat levels.
Clumping Even though Proper Technique
Large clumps form when coffee grounds contain more moisture than expected or when we skip the initial pressing step. Press fresh grounds with paper towels before beginning the drying process. Break apart stubborn clumps manually during the first hour of drying when they are easier to separate.
Storage Container Condensation
Moisture appears inside storage containers when we seal warm grounds or when humidity levels are too high. Allow coffee grounds to cool completely to room temperature before transferring to storage containers. Add a few grains of rice or a small packet of food-safe silica gel to absorb excess moisture in humid climates.
Pest Attraction During Drying
Insects may be drawn to coffee grounds during the air drying process. Cover the drying surface with a fine mesh screen or cheesecloth to prevent pest access while maintaining air circulation. Clean up any spilled grounds immediately and avoid leaving the drying setup in areas where pests are commonly found.
Inconsistent Microwave Results
Microwave drying produces uneven results when we use high power settings or skip the stirring intervals. Reduce power to 50% and stir every 30 seconds to distribute heat evenly. Use a microwave-safe plate that allows for proper heat circulation and avoid overloading the plate with too many grounds at once.
Conclusion
Drying coffee grounds transforms what would otherwise be kitchen waste into a versatile resource that serves multiple purposes around your home. We’ve shown you four reliable methods that work with any schedule or equipment you have available.
The key to success lies in proper preparation and storage. Whether you choose air drying for energy efficiency or oven drying for speed the results are the same – months of shelf-stable coffee grounds ready for gardening composting or household use.
Start small with your daily coffee grounds and gradually build your collection. You’ll quickly discover that this simple sustainable practice not only reduces waste but also saves money on commercial fertilizers cleaners and beauty products. Your garden plants and household will thank you for making this eco-friendly switch.
Frequently Asked Questions
Why should I dry coffee grounds instead of using them fresh?
Dried coffee grounds eliminate storage issues like mold, odors, and pest attraction that plague fresh grounds. The drying process concentrates beneficial compounds, extends shelf life for months, and creates a superior texture for DIY projects. Dried grounds are also easier to transport and share with others.
What equipment do I need to dry coffee grounds at home?
Essential equipment includes large rimmed baking sheets, parchment paper or silicone mats, fine mesh strainers, and rubber spatulas for stirring. You’ll also need airtight storage containers and a kitchen timer. An optional oven thermometer helps maintain consistent temperatures during the drying process.
What ingredients are needed for drying coffee grounds?
The primary ingredient is fresh used coffee grounds that are slightly damp. Optional additions include salt and baking soda, which help absorb moisture and neutralize odors respectively. Use grounds within 24 hours of brewing to prevent mold development.
What are the best methods for drying coffee grounds?
Four proven methods include air drying (2-3 days, energy-efficient), oven drying (faster, good for large quantities), microwave drying (for urgent needs), and dehydrator drying (consistent results, preserves compounds). Each method requires proper preparation and temperature control.
How should I store dried coffee grounds?
Store dried grounds in airtight glass jars or food-grade plastic containers with tight-fitting lids. Keep them in cool, dark locations away from direct sunlight and heat sources, maintaining temperatures between 60-70°F with low humidity. Label containers with drying dates for freshness tracking.
How long do dried coffee grounds last?
Properly stored dried coffee grounds maintain quality for 6-12 months under optimal conditions. Store in airtight containers in cool, dark places with stable temperatures and low humidity levels to maximize shelf life and preserve beneficial compounds.
What can I do with dried coffee grounds?
Dried coffee grounds serve multiple purposes: garden soil amendment for acid-loving plants, natural household abrasive for cleaning, odor elimination, furniture repair when mixed with wood glue, natural exfoliation for skincare, cellulite reduction treatments, and scalp scrubs for healthier hair growth.
How do I troubleshoot common drying problems?
Common issues include damp grounds (extend drying time), mold development (discard and start fresh), uneven drying (stir frequently), burnt grounds (reduce temperature), clumping (break apart regularly), condensation in storage (ensure complete drying), and pest attraction (store in sealed containers).

