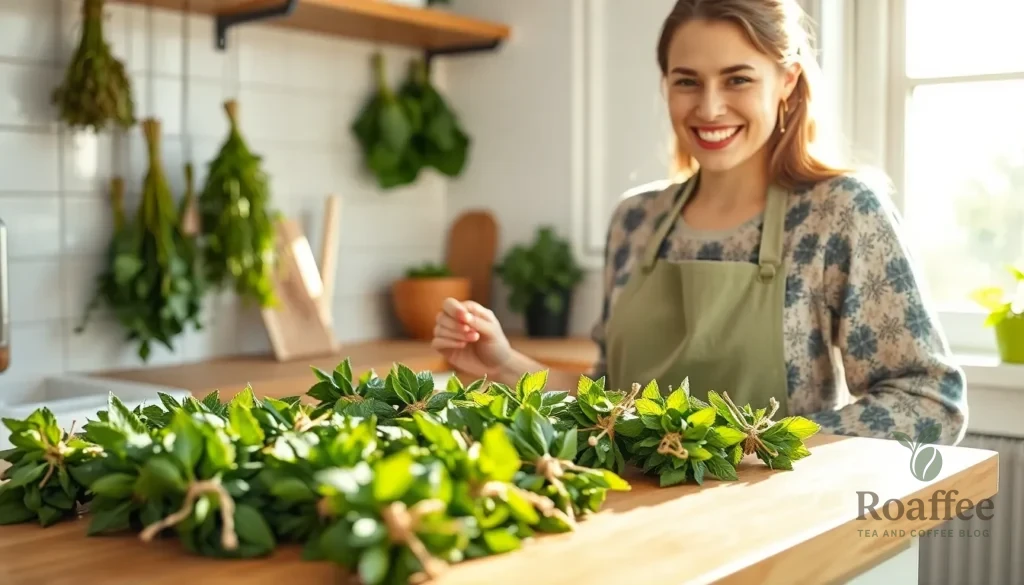
Fresh mint leaves bursting with aromatic oils make the most flavorful tea, but we don’t always have access to our garden year-round. That’s where drying mint leaves becomes a game-changer for tea lovers everywhere. By preserving your mint harvest at its peak, you’ll enjoy that refreshing, invigorating flavor in every cup throughout the seasons.
Drying mint leaves isn’t just about convenience – it’s about capturing nature’s essence in its most concentrated form. When we dry mint properly, we lock in those essential oils that give mint tea its distinctive taste and therapeutic benefits. Whether you’re growing spearmint, peppermint, or chocolate mint, the drying process intensifies the flavors and creates a pantry staple that’ll elevate your tea game.
We’ll walk you through three foolproof methods to dry mint leaves perfectly every time. From air-drying to oven techniques, you’ll discover which approach works best for your lifestyle and space constraints.
What You’ll Need
Before we begin drying our mint leaves, let’s gather the essential ingredients and equipment that will ensure the best results. Having everything prepared beforehand makes the entire process smooth and efficient.
Fresh Mint Leaves
We recommend harvesting fresh mint leaves during the morning hours when the essential oils are at their peak concentration. The best time to pick mint is just before the plant begins to flower, as this is when the leaves contain the highest levels of aromatic compounds.
Look for these characteristics when selecting mint leaves:
- Bright green color without yellowing or brown spots
- Firm texture that springs back when gently pressed
- Strong, fresh aroma when crushed between your fingers
- No signs of wilting or pest damage
We suggest gathering about 2-3 cups of fresh mint leaves for your first batch. Popular varieties that dry exceptionally well include peppermint, spearmint, and chocolate mint. Each type offers its own unique flavor profile that translates beautifully into dried tea.
Equipment and Tools
The equipment you choose depends on your preferred drying method, but here are the essentials we recommend having on hand:
For Air-Drying Method:
- Kitchen shears or sharp scissors for cutting stems
- Rubber bands or kitchen twine for bundling
- Paper bags (optional, for dusty environments)
- Well-ventilated area with good air circulation
For Oven-Drying Method:
- Large baking sheets or cookie sheets
- Parchment paper or silicone baking mats
- Oven thermometer for temperature accuracy
- Wire cooling racks (optional, for better air circulation)
For Dehydrator Method:
- Electric food dehydrator with multiple trays
- Dehydrator sheets or fine mesh screens
- Clean kitchen towels for patting leaves dry
Universal Tools:
- Colander or fine-mesh strainer for washing
- Clean kitchen towels for drying
- Airtight storage containers or glass jars
- Labels for dating your dried mint batches
Having these tools ready ensures we can choose the most suitable drying method based on our available time and kitchen setup.
Preparing the Mint Leaves
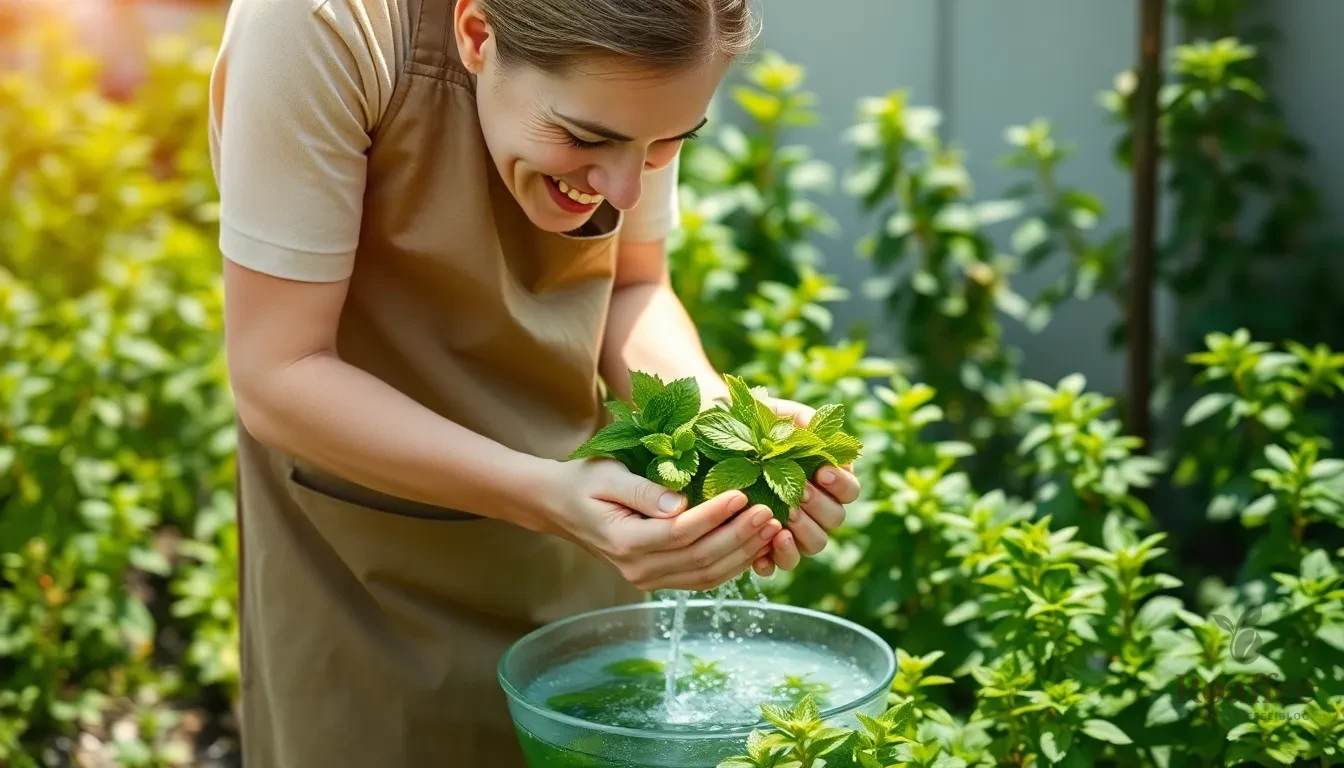
Proper preparation sets the foundation for successfully drying mint leaves with maximum flavor retention. We’ll walk through the essential steps to ensure your mint is ready for the drying process.
Harvesting at the Right Time
Timing plays a crucial role in capturing the highest concentration of essential oils in mint leaves. We recommend harvesting mint leaves in the morning after the dew has dried but before the sun becomes too hot. This optimal timing preserves the essential oils that give mint its distinctive flavor and aroma.
Bundle small groups of stems together if you plan to air-dry whole stems. Alternatively, strip individual leaves from the stems for faster drying when using other methods. The choice depends on your preferred drying technique and available space.
Cleaning and Washing
Gentle cleaning removes dirt and insects while preserving the delicate mint leaves. We start by washing the mint gently in cold water, swirling the leaves in a bowl of water before draining thoroughly.
Use a salad spinner or pat the leaves dry with a clean towel to remove as much moisture as possible. Eliminating excess water before drying prevents mold formation and ensures successful preservation. Skip the washing step only if your mint is organically grown and you’re confident it’s clean, but always inspect for bugs regardless.
Removing Damaged Leaves
Quality control ensures the best results for your dried mint tea. We carefully inspect each leaf before drying, discarding any that appear discolored, wilted, or damaged. This step guarantees both quality and safety for tea preparation.
Remove stems and any tough or yellowing portions that could affect the final flavor. Focus on selecting only the healthiest, most vibrant leaves for drying to achieve the best possible tea experience.
Air Drying Method

Air drying offers the most traditional and gentle approach to preserving mint leaves. This method maintains the highest concentration of essential oils while requiring minimal equipment.
Setting Up Your Drying Space
We recommend choosing a dry, dark location with excellent air circulation for optimal results. Direct sunlight will cause your mint to lose its precious flavor and aroma, so avoid sunny windowsills or outdoor areas. The ideal space should be free from moisture to prevent mold growth during the drying process.
Basements, attics, or unused rooms typically provide the perfect environment. We ensure the area maintains consistent low humidity levels and has adequate ventilation. Temperature should remain between 60-70°F for best results.
Bundling the Mint
Harvest your mint leaves during late morning when essential oils reach their peak concentration. We gently rinse the mint in cold water to remove any dirt and debris, then pat the leaves completely dry with paper towels or a clean cloth.
Small bunches work best for even drying, so we gather 8-10 stems together. Secure each bundle with elastic bands rather than string, as the stems will shrink during the drying process. The elastic bands will adjust automatically and keep your bundles intact.
Each bundle should be thin enough to allow air circulation through the center. We avoid overcrowding the stems, which can lead to uneven drying or mold development.
Hanging and Waiting
We hang our mint bunches upside down from a drying line, rack, or sturdy hook in our prepared space. Proper spacing between bunches ensures adequate air circulation around each bundle.
The waiting period typically lasts about two weeks for complete drying. We regularly check our mint for signs of mold or excess moisture, especially in humid environments. Properly dried leaves should feel crispy and crumble easily when touched between your fingers.
Testing readiness is simple: gently squeeze a leaf. If it crumbles immediately, your mint is ready for storage. Leaves that bend or feel leathery need additional drying time.
Oven Drying Method
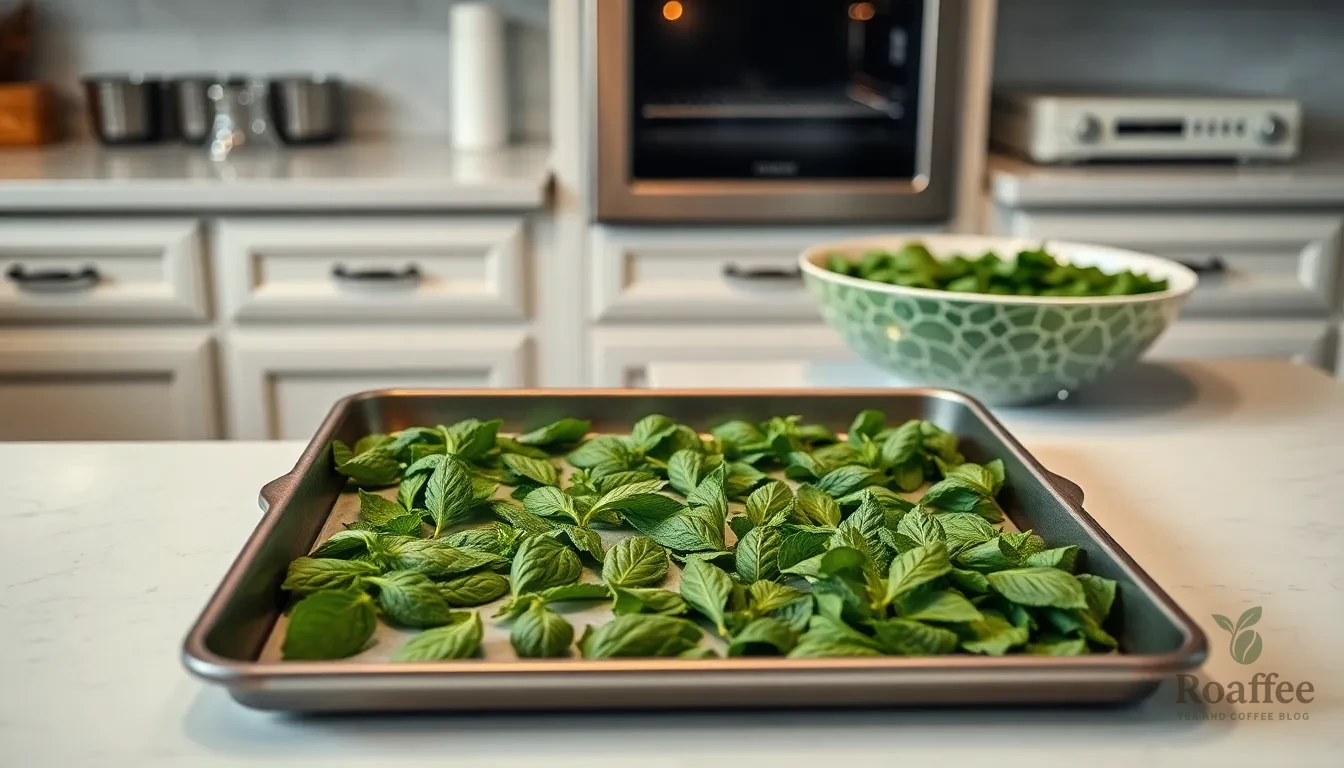
The oven drying method offers a faster alternative to air-drying when we need dried mint leaves quickly or lack suitable space for hanging bundles. This controlled approach allows us to dry mint leaves in approximately 1.5 hours while maintaining their essential oils and flavor.
Prepping the Mint for Oven Drying
We begin by washing the mint leaves thoroughly to remove any dirt, bugs, or germs that might be present. Swish the leaves gently in a bowl of water, then rinse them under cold running water to ensure complete cleanliness.
After washing, we must dry the mint well using a salad spinner or by patting the leaves gently with a clean towel. Air-drying the mint for 30-60 minutes before placing it in the oven helps ensure all excess moisture is removed. This step prevents mold formation and improves drying efficiency throughout the process.
Temperature and Timing
We preheat our oven to 80°C (176°F), which provides enough heat to dry the leaves without cooking them. This temperature strikes the perfect balance between efficient drying and preserving the mint’s delicate essential oils.
Next, we spread the mint stalks or individual leaves evenly on a baking tray in a thin layer. We avoid overlapping the leaves to allow proper air circulation around each piece. The mint should bake for approximately 1.5 hours, though we keep a close eye on them to prevent burning or browning.
Checking for Doneness
We know the mint leaves are fully dried when they become crisp and brittle to the touch. The leaves should crumble easily between our fingers without any moisture remaining in the plant tissue.
Once dried, we remove the tray from the oven and let the leaves cool completely. We then gently strip the leaves from the stalks before storing them in a clean, dry, airtight jar. When we keep the jar in a cool, dark cupboard, our properly dried mint leaves can maintain their freshness and flavor for up to 12 months.
Dehydrator Method
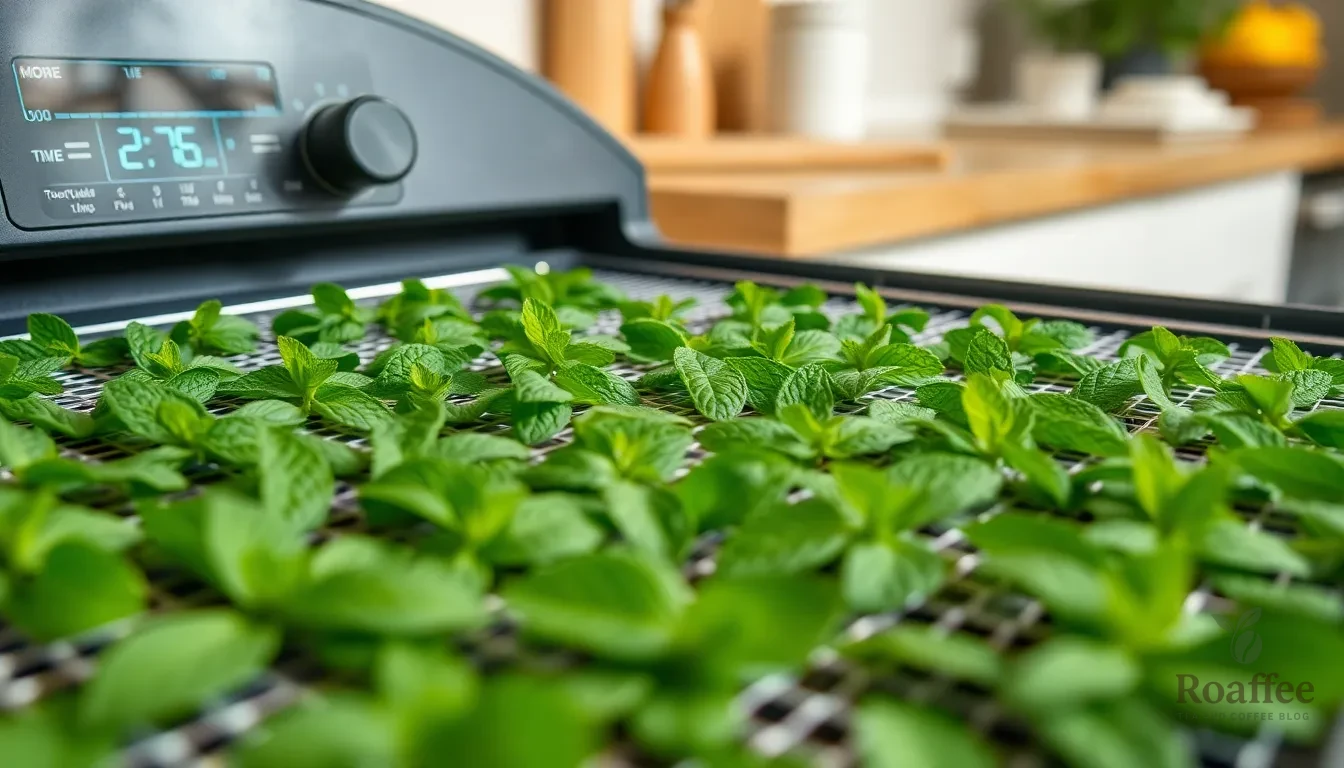
The dehydrator method offers our fastest and most efficient approach to drying mint leaves while preserving their essential oils and vibrant flavor. This technique maintains optimal low temperatures that protect delicate compounds better than higher heat methods.
Arranging Mint on Trays
We begin by removing individual mint leaves from their stems since stems can be dried separately if desired. Place the mint leaves in a single layer across the dehydrator trays, ensuring no leaves overlap for proper air circulation. Space leaves adequately apart to allow warm air to flow freely around each piece.
When drying large quantities, we distribute the mint across multiple trays to avoid overcrowding. Cover the top tray with a mesh liner to prevent lightweight leaves from blowing around during the dehydration process. This arrangement ensures even drying and prevents leaves from sticking together.
Optimal Settings
Set your dehydrator temperature between 95-105°F (35-40°C) to preserve maximum flavor and aroma without cooking the delicate mint leaves. These lower temperatures maintain the essential oils that give mint tea its distinctive taste and therapeutic properties.
The drying time typically ranges from 2 to 5 hours, though it can extend up to 12 hours depending on several factors:
| Factor | Impact on Drying Time |
|---|---|
| Humidity Level | Higher humidity extends drying time |
| Mint Quantity | More leaves require longer drying |
| Dehydrator Efficiency | Newer models dry faster |
| Leaf Thickness | Thicker leaves take more time |
Monitoring the Process
We recommend checking the mint leaves after the first 2 hours, then monitoring progress every 15-20 minutes thereafter. Rotate trays if your dehydrator doesn’t have automatic rotation to ensure even drying throughout all levels.
Properly dried mint leaves will feel brittle and crumble easily between your fingers rather than bending or feeling pliable. Continue the drying process if leaves still show flexibility or moisture content. Once the leaves reach the desired crispness, remove them from the dehydrator and allow complete cooling before storage to prevent condensation in containers.
Storing Your Dried Mint
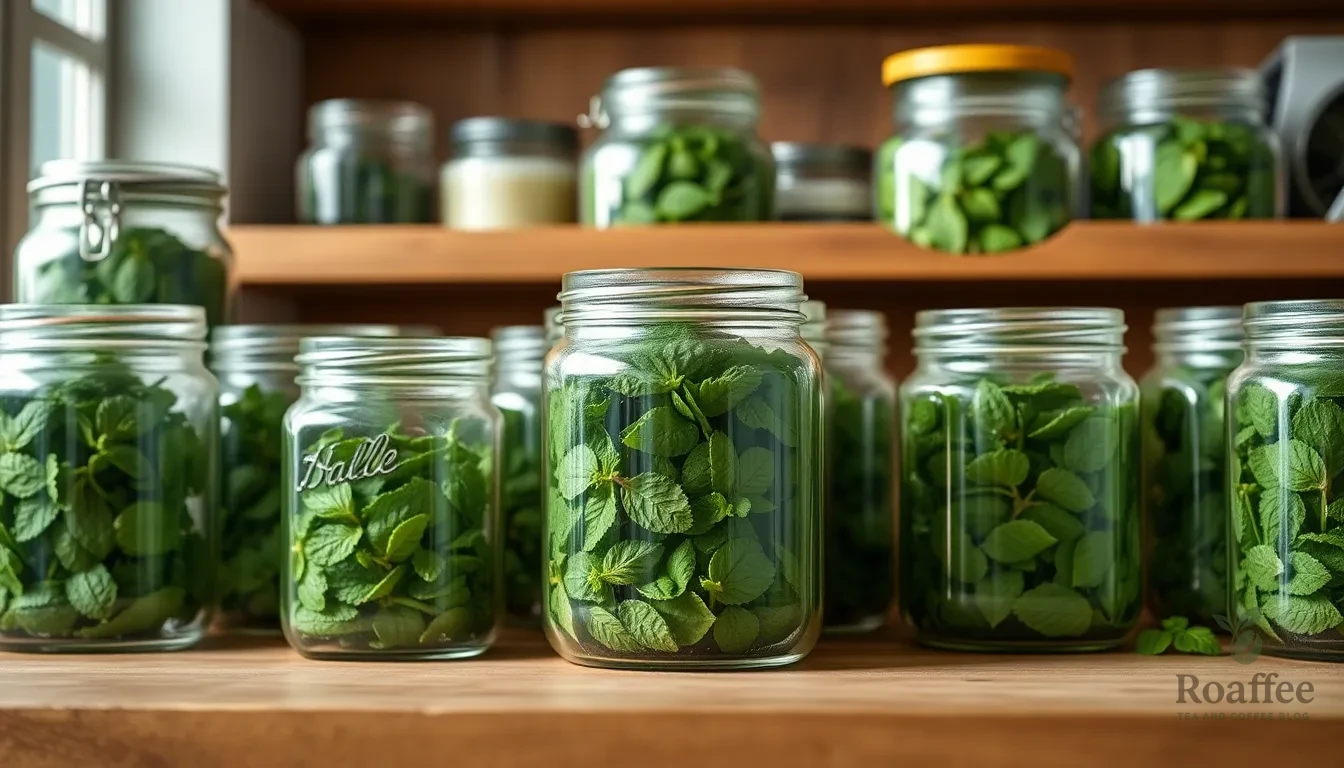
Proper storage determines whether your dried mint maintains its potent flavor and aromatic qualities for months to come. We’ll guide you through the essential storage techniques that preserve the essential oils you worked so hard to capture during the drying process.
Proper Storage Containers
Airtight containers serve as the foundation for successful mint storage. Glass jars with tight-fitting lids protect your dried mint from moisture and air exposure while allowing you to monitor the contents easily. Mason jars work exceptionally well for this purpose since they create a complete seal that prevents flavor loss.
Metal tins with secure lids offer another excellent storage option. These containers block light effectively while maintaining an airtight environment. Ceramic canisters with rubber gaskets provide similar protection and add an attractive element to your pantry storage.
We recommend avoiding plastic containers for long-term storage since they can absorb oils and flavors over time. Store your containers in dark places or choose opaque vessels to prevent light from degrading the mint’s color and essential oils. Keep the leaves whole during storage rather than crushing them immediately since this preserves the oils until you’re ready to use them.
Labeling and Dating
Clear labeling prevents confusion and ensures you use your dried mint at peak quality. Write the drying date and mint variety on waterproof labels using permanent markers. This practice helps you track freshness and rotate your stock effectively.
Include harvest information when possible such as the garden location or supplier. Note the drying method used since different techniques can affect flavor intensity and storage requirements. We suggest using a simple format like “Peppermint – Air Dried – September 2025” for easy identification.
Create a simple inventory system by listing your dried herbs in a notebook or digital file. Update this record each time you harvest and dry new batches. This organizational approach helps you plan future harvests and prevents waste from forgotten containers.
Shelf Life Tips
Properly dried and stored mint maintains its quality for 1-2 years when stored correctly. The first year provides the best flavor and color retention according to storage studies. After this period the mint remains safe to use but may lose some potency.
| Storage Factor | Optimal Condition | Impact on Shelf Life |
|---|---|---|
| Temperature | 60-70°F | Extends freshness by 6-12 months |
| Humidity | Below 10% | Prevents mold and degradation |
| Light Exposure | Dark storage | Maintains color and oils |
| Air Exposure | Airtight seal | Preserves flavor compounds |
Monitor your stored mint regularly for signs of moisture or mold development. Completely dry leaves should remain crispy and crumble easily when touched. Any softness or dark spots indicate moisture problems that require immediate attention.
Freeze excess dried mint in moisture-proof containers when you have more than you can use within a year. This method extends the shelf life without compromising flavor quality. Remove only what you need for immediate use to minimize temperature fluctuations that can cause condensation.
Making Tea with Your Dried Mint

Now that we’ve successfully dried our mint leaves using our preferred method, it’s time to transform them into a delicious and aromatic tea. The process of brewing dried mint tea is simple yet requires attention to detail to extract the maximum flavor and therapeutic benefits.
Brewing Instructions
We recommend using 2 teaspoons of dried mint leaves for every 10-16 ounces of hot water to achieve the perfect balance of flavor and strength. Begin by heating water to just below boiling point, around 190-200°F, as boiling water can destroy the delicate essential oils that give mint tea its distinctive taste.
Place the dried mint leaves in a tea infuser or directly into your teapot, then pour the hot water over the leaves. Allow the tea to steep for 5 minutes to extract optimal flavor without creating bitterness. Longer steeping times may result in a more intense flavor but can also produce a slightly bitter taste.
After steeping, strain the leaves using a fine mesh strainer or remove the tea infuser. We can enjoy our mint tea immediately while hot, or let it cool to room temperature for a refreshing iced version. The tea maintains its flavor profile whether served hot or cold, making it versatile for any season.
| Measurement | Amount |
|---|---|
| Dried mint leaves | 2 teaspoons |
| Hot water | 10-16 oz |
| Water temperature | 190-200°F |
| Steeping time | 5 minutes |
Flavor Combinations
Our dried mint tea serves as an excellent base for various flavor enhancements that complement its natural refreshing qualities. Adding honey creates a smooth, sweet profile that balances the mint’s natural intensity, while lemon slices introduce a bright citrus note that enhances the tea’s refreshing properties.
Maple syrup offers a more complex sweetness with subtle caramel undertones that pair beautifully with mint’s cooling sensation. We can also experiment with fresh ginger slices for a warming spice that creates an interesting contrast to the mint’s coolness.
For those seeking additional therapeutic benefits, combining dried mint with chamomile creates a soothing bedtime blend, while adding dried lavender produces a calming aromatherapy experience. Crushed fresh mint leaves can be added to our dried mint tea for an extra burst of brightness and a more complex flavor profile.
During summer months, we recommend preparing larger batches and serving over ice with fresh cucumber slices and a splash of lime juice for a spa-like refreshment. The versatility of dried mint tea allows us to customize each cup according to our mood and the season.
Conclusion
We’ve explored three proven methods for drying mint leaves that’ll keep your tea supply fresh and flavorful year-round. Whether you choose the gentle air-drying approach the quick oven method or the efficient dehydrator technique you’ll be able to preserve those essential oils that make mint tea so satisfying.
The key to success lies in proper timing during harvest thorough preparation and careful storage. Remember to pick your mint in the morning for maximum oil content and always store your dried leaves in airtight containers away from light and moisture.
Now you’re equipped with everything needed to transform fresh mint into a pantry staple that’ll provide countless cups of aromatic tea. Start with whichever method fits your lifestyle best and enjoy the satisfaction of sipping homemade mint tea whenever the mood strikes.
Frequently Asked Questions
How long does it take to dry mint leaves?
The drying time depends on your chosen method. Air-drying takes about 2 weeks, oven-drying requires approximately 1.5 hours at 176°F, and using a dehydrator takes 2-5 hours at 95-105°F. Air-drying is the slowest but preserves the most essential oils, while dehydrator and oven methods offer faster results.
When is the best time to harvest mint for drying?
Harvest mint in the morning after the dew has dried but before the heat of the day. The ideal time is just before the plant flowers, as this is when essential oil concentration is highest. Look for bright green leaves with firm texture and strong aroma for the best results.
How should I store dried mint leaves?
Store dried mint in airtight containers like glass jars or metal tins to protect from moisture and air exposure. Avoid plastic containers for long-term storage as they can absorb oils. Label containers with dates and store in a cool, dark place. Properly stored dried mint lasts 1-2 years.
How much dried mint should I use for tea?
Use 2 teaspoons of dried mint leaves for every 10-16 ounces of hot water. Heat water to 190-200°F and steep for 5 minutes to extract optimal flavor without bitterness. You can adjust the amount based on your taste preferences and add honey, lemon, or other flavors.
What equipment do I need to dry mint leaves?
For air-drying, you need elastic bands and a drying space. For oven-drying, use baking trays and set temperature to 176°F. For dehydrator method, arrange leaves on trays at 95-105°F. All methods require airtight storage containers like glass jars for preserving the dried mint.
Can I use any type of mint for drying?
Yes, most mint varieties work well for drying. Popular choices include peppermint and spearmint, which offer distinct flavors. Choose healthy leaves that are bright green, firm, and aromatic. Avoid damaged or discolored leaves as they won’t dry properly and may affect the quality of your tea.
How do I know when mint leaves are properly dried?
Properly dried mint leaves should feel crispy and crumble easily when touched. They should be brittle and break apart without bending. The leaves should retain their green color and aromatic scent. If leaves still feel soft or flexible, they need more drying time to prevent mold during storage.

