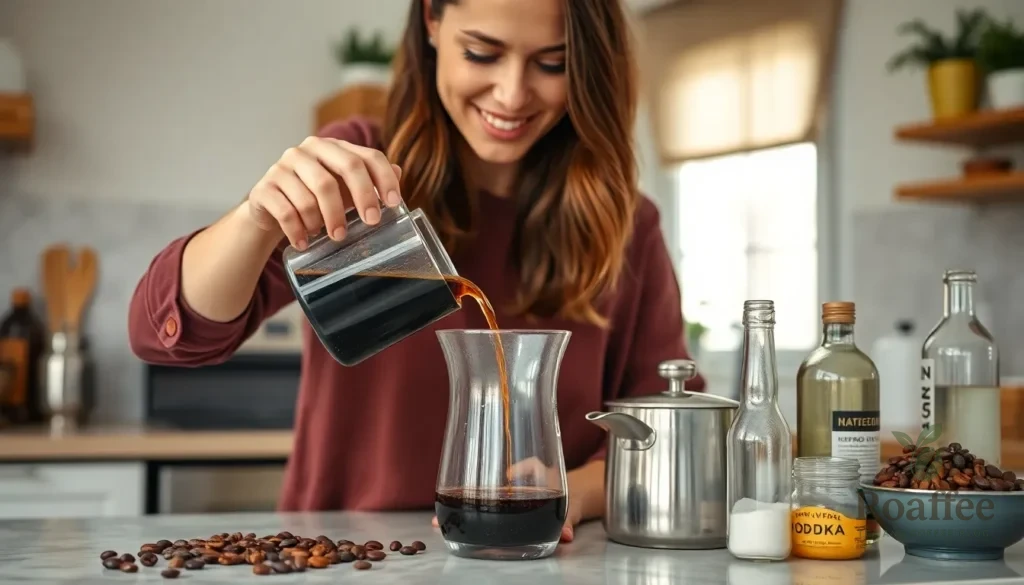
We’ve all been there – standing in the liquor store staring at overpriced coffee liqueurs wondering if there’s a better way. Making your own coffee liquor at home isn’t just possible; it’s incredibly rewarding and costs a fraction of store-bought versions. With just a few simple ingredients and some patience you’ll create a rich smooth coffee liqueur that rivals any premium brand.
The beauty of homemade coffee liquor lies in complete control over flavor intensity and sweetness levels. Whether you’re dreaming of silky espresso martinis or planning to elevate your dessert game this DIY approach delivers superior results. Plus you’ll impress friends and family with your newfound bartending skills.
Ready to transform basic ingredients into liquid gold? Our foolproof method uses quality coffee beans premium vodka and simple syrup to create a luxurious coffee liqueur that’s perfect for sipping neat or mixing into cocktails. Let’s jump into this game-changing recipe that’ll revolutionize your home bar.
Ingredients
Creating exceptional coffee liqueur requires three essential components that work together to produce a rich and flavorful result. We’ll guide you through each ingredient category to ensure your homemade creation rivals any premium store-bought option.
For the Coffee Base
- 1 cup freshly ground dark roast coffee beans (coarsely ground)
- 3 cups filtered water
- 2 tablespoons instant coffee granules (optional, for deeper flavor)
For the Simple Syrup
- 1 cup granulated sugar
- 1 cup water
- 1 vanilla bean (split lengthwise) or 2 teaspoons pure vanilla extract
- 1 cinnamon stick (optional)
For the Alcohol Component
- 2 cups premium vodka (80 proof or higher)
- 1/2 cup dark rum (optional, for complexity)
- 1/4 cup brandy (optional, for smoothness)
Equipment Needed
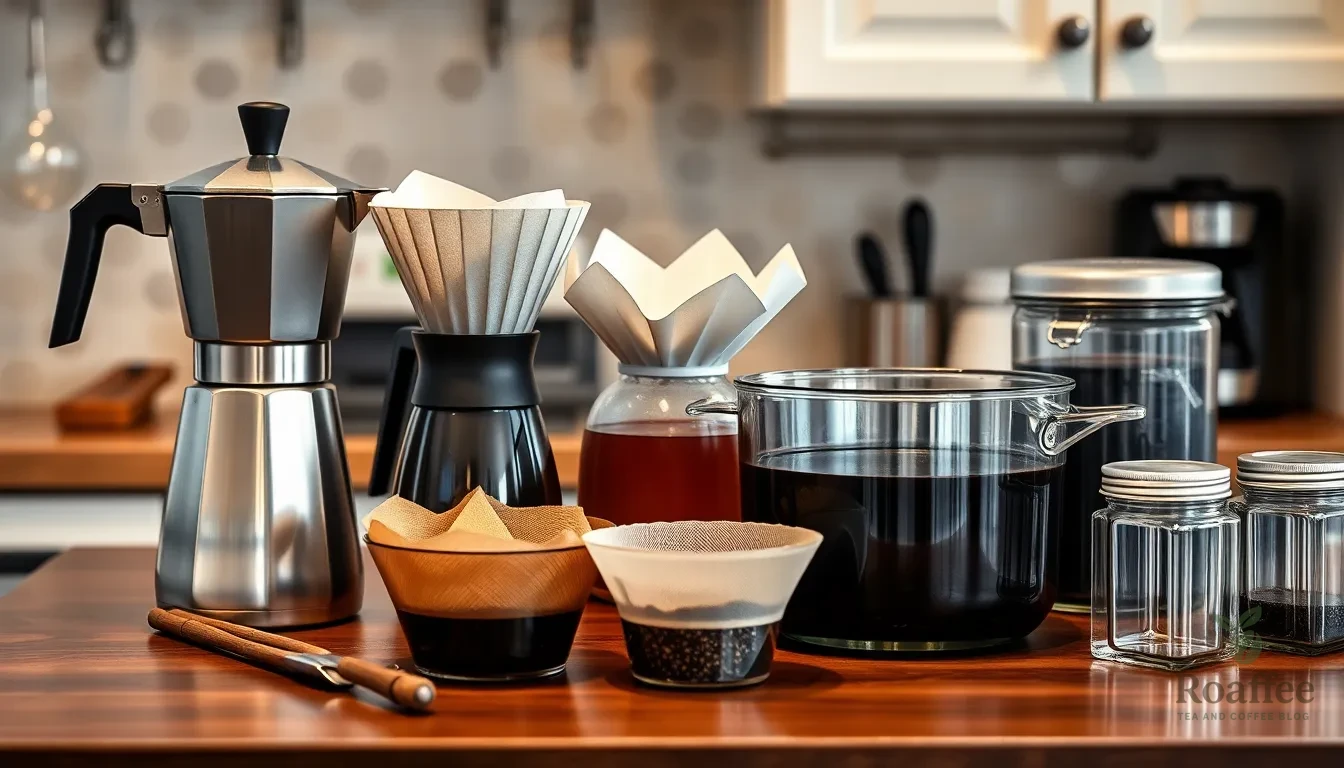
Creating exceptional coffee liqueur at home requires exact equipment that ensures precision and optimal flavor extraction. We’ve compiled a comprehensive list of essential tools based on our research and testing experience.
Coffee Brewing Equipment
A high-quality coffee maker forms the foundation of our liqueur-making process. We recommend using a Moka pot, pour-over setup, or espresso machine to achieve the strong coffee concentrate needed for bold flavor. These methods produce the concentrated coffee base that gives our liqueur its distinctive taste profile.
Mixing and Heating Tools
A medium-sized saucepan or pot becomes essential for creating our simple syrup. We need this to gently heat the sugar and coffee mixture without boiling, which preserves the delicate coffee oils and prevents bitter compounds from developing.
A large mixing container allows us to combine all ingredients properly. We prefer using a glass or stainless steel bowl that can accommodate at least 6 cups of liquid while providing ample room for thorough mixing.
Filtration and Storage
Coffee filters play a crucial role in achieving smooth liqueur texture. We recommend using reusable mesh filters rather than paper filters, as they remove sediment while allowing essential oils to pass through.
Airtight containers or bottles ensure proper storage during the infusion process. We need containers that can hold at least 4 cups of liquid and create a complete seal to prevent oxidation.
Measuring Tools
Precise measuring cups and spoons guarantee consistent results every time. We use both liquid and dry measuring tools to ensure accuracy when combining our coffee base, simple syrup, and alcohol components.
| Equipment Category | Essential Items | Purpose |
|---|---|---|
| Coffee Brewing | Moka pot, pour-over, or espresso machine | Strong coffee concentrate |
| Mixing & Heating | Medium saucepan, large mixing container | Simple syrup creation and ingredient combination |
| Filtration | Reusable mesh coffee filters | Smooth texture achievement |
| Storage | Airtight containers or bottles | Proper infusion and preservation |
| Measuring | Liquid and dry measuring tools | Recipe accuracy |
Instructions
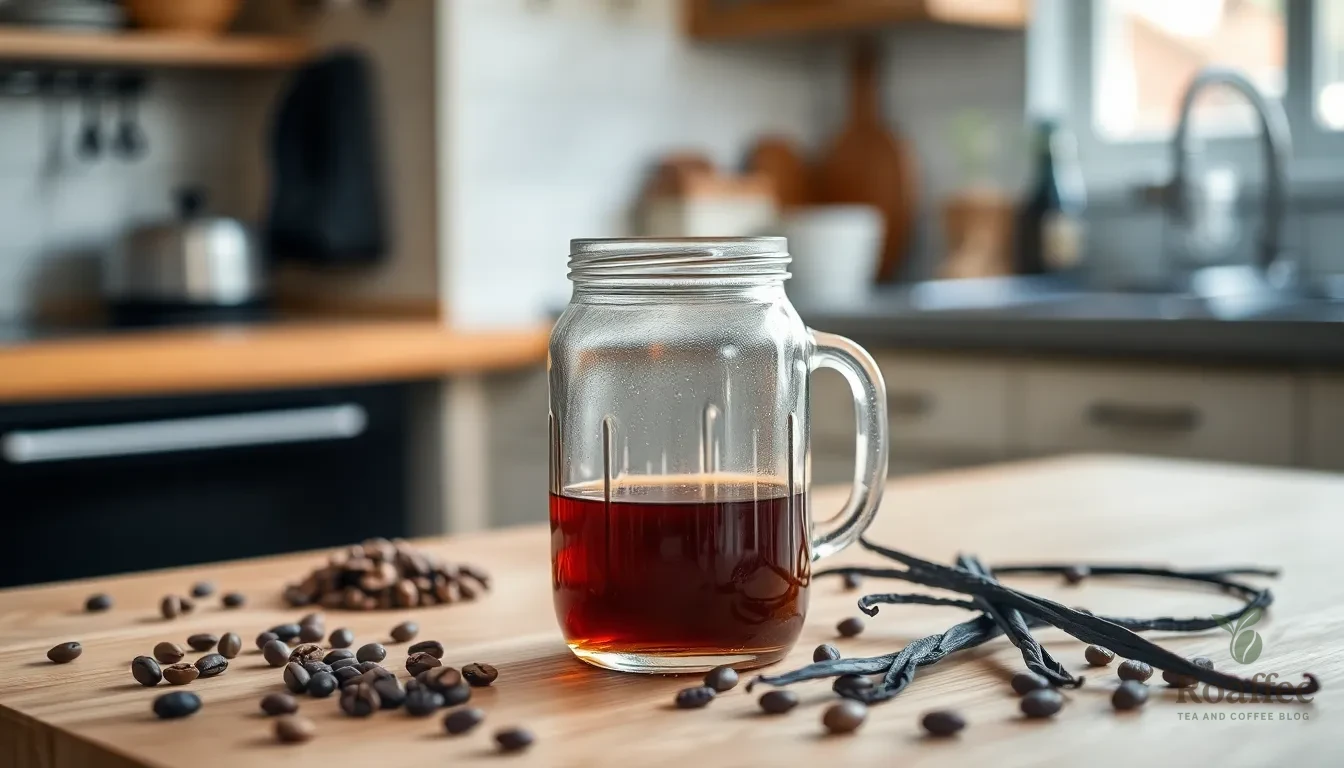
Creating homemade coffee liqueur requires patience and precision, but the process is surprisingly straightforward. We’ll walk you through each step to achieve that perfect balance of rich coffee flavor and smooth sweetness.
Prep the Coffee Base
We begin by creating a concentrated coffee syrup that forms the foundation of our liqueur. Combine 4 cups of water with 2 cups each of brown and white sugar in a large saucepan. Add ¼ cup dried espresso or finely ground dark roast coffee to the mixture.
Bring the mixture to a rolling boil over medium-high heat, stirring constantly to dissolve the sugar completely. Once boiling, reduce the heat to low and let the mixture simmer for approximately one hour. The liquid should reduce by about half and develop a rich, syrupy consistency.
Stir the mixture every 10-15 minutes to prevent burning and ensure even extraction of coffee flavors. The finished syrup should coat the back of a spoon and have a deep, aromatic coffee scent.
Make the Simple Syrup
While the coffee base cools, we prepare additional simple syrup if needed for sweetness adjustments. In a medium saucepan, combine equal parts granulated sugar and water (typically 1 cup each).
Heat the mixture over medium heat, stirring until the sugar dissolves completely. The syrup is ready when it becomes clear and slightly thickened. Remove from heat and allow to cool to room temperature.
This additional syrup allows us to customize the sweetness level according to personal preference without diluting the coffee intensity.
Combine the Ingredients
Once our coffee syrup has cooled completely, we combine it with approximately 3 cups of premium vodka in a large mixing container. The ratio should be roughly 1:1 coffee syrup to vodka, though this can be adjusted based on desired strength.
Add 1-2 vanilla beans (split lengthwise) or 2 teaspoons of pure vanilla extract to enhance the flavor complexity. For additional depth, consider adding ½ cup of dark rum or a splash of brandy.
Stir the mixture thoroughly to ensure all ingredients are well incorporated. The liquid should have a rich, dark brown color and a smooth consistency.
Aging Process
Transfer the mixture to airtight storage containers and place them in a cool, dark location for 3-4 weeks. This aging period allows the flavors to meld and develop the smooth, complex taste characteristic of quality coffee liqueurs.
Stir the mixture once or twice weekly during the aging process to promote even flavor distribution. The liqueur will gradually develop a more refined taste and smoother texture as it ages.
After the aging period, strain the mixture through fine mesh filters or cheesecloth to remove any solid particles, including vanilla beans. The finished liqueur should be crystal clear with a rich amber color and can be stored at room temperature or refrigerated for extended shelf life.
Directions for Proper Storage
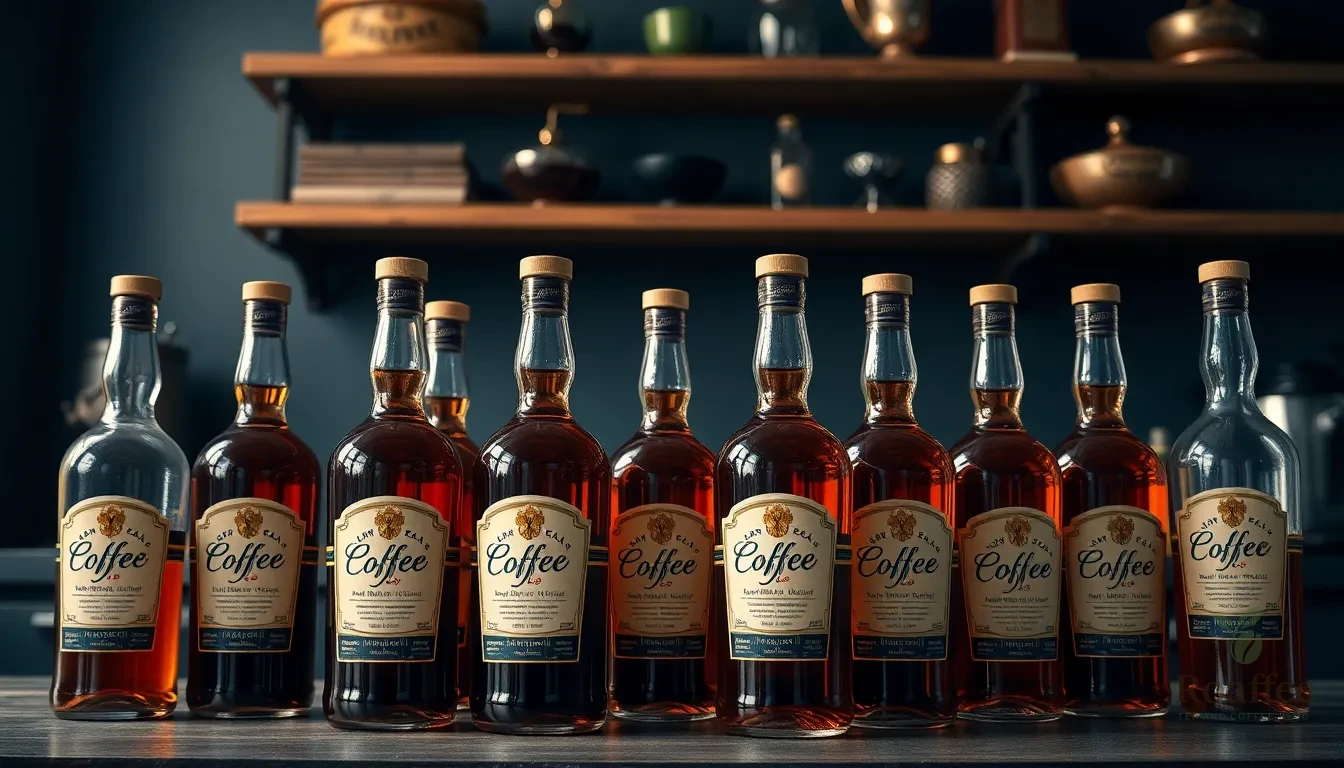
Storing our homemade coffee liqueur correctly ensures we preserve its rich flavor and smooth texture for months to come. We need to place our finished liqueur in a cool, dark location away from direct sunlight and heat sources. Temperature fluctuations can alter the taste profile we worked so hard to achieve during the aging process.
Glass containers provide the best storage solution for our coffee liqueur. We should transfer the strained liquid into clean, airtight glass bottles or mason jars to prevent oxidation and contamination. Plastic containers can absorb flavors and compromise the quality of our liqueur over time.
Our coffee liqueur actually improves with additional aging in proper storage conditions. We can expect the flavors to continue developing and mellowing for several months after the initial 3-4 week aging period. The vanilla notes become more pronounced while the coffee intensity balances perfectly with the alcohol base.
| Storage Factor | Recommendation |
|---|---|
| Temperature | Cool, consistent room temperature (60-70°F) |
| Light Exposure | Dark location away from sunlight |
| Container Type | Sealed glass bottles or mason jars |
| Aging Period | 3-4 weeks minimum, up to 4 months for optimal flavor |
| Consumption Timeline | Within 6-12 months for best quality |
We should label our bottles with the creation date to track aging progress and ensure we consume the liqueur at peak quality. Shaking the container gently before each use helps redistribute any settled particles and maintains consistent flavor throughout. Our properly stored coffee liqueur will maintain its rich amber color and complex flavor profile for extended periods when we follow these storage guidelines.
Make-Ahead Tips
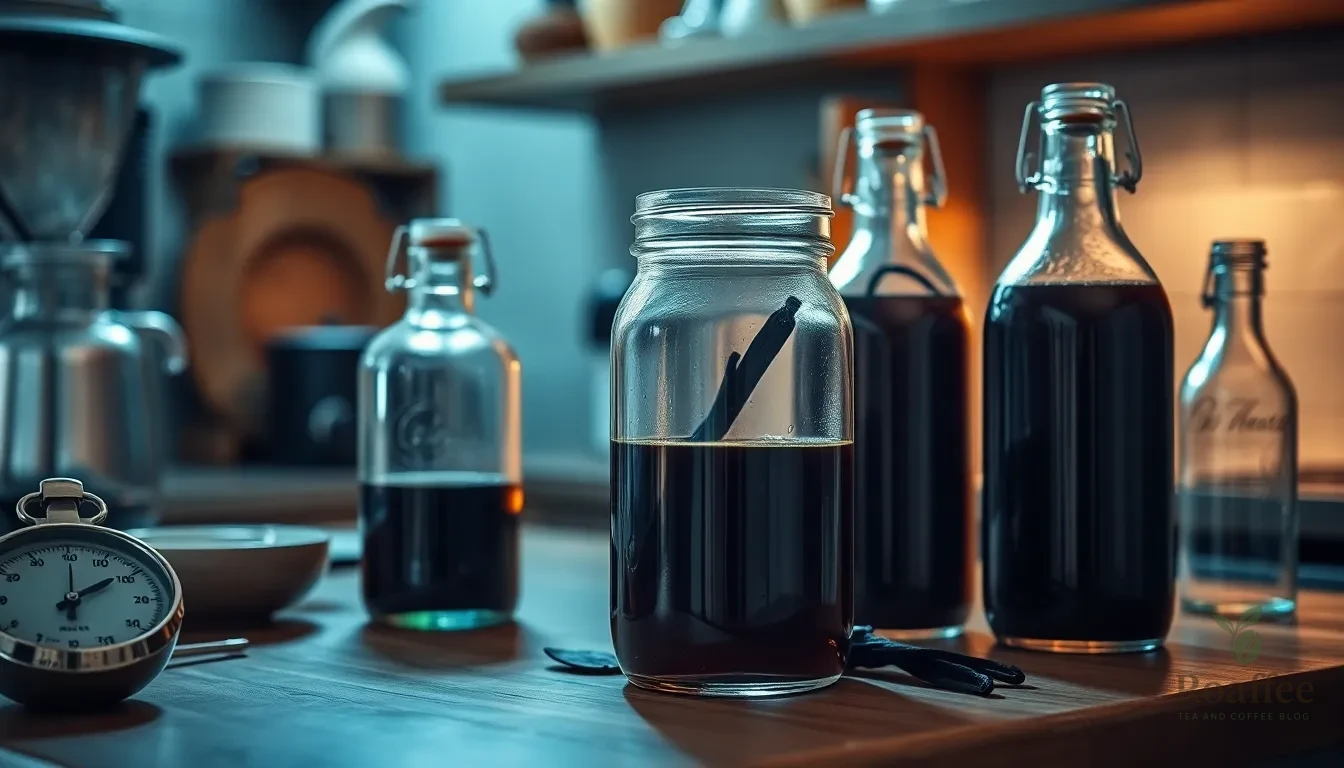
We recommend preparing coffee liqueur well in advance of when you plan to serve it since the aging process dramatically improves both flavor complexity and smoothness. Starting your batch at least 4-6 weeks before your intended use date allows the rich coffee and vanilla notes to fully develop and meld together.
Planning ahead becomes even more advantageous when we consider seasonal timing. Beginning your infusion process in late summer or early fall creates the perfect holiday gift that showcases months of careful aging. We suggest marking your calendar for the 2-3 week mark to remind yourself to strain the initial coffee and vanilla infusion before adding the sugar syrup.
Batch preparation offers important time savings for regular coffee liqueur enthusiasts. We often start a new batch while finishing the previous one to ensure continuous supply. This rotation system means you always have aged liqueur ready while another batch develops its complex flavor profile.
| Timeline | Activity | Storage Location |
|---|---|---|
| Week 1-3 | Initial coffee and vanilla infusion | Cool, dark pantry |
| Week 4 | Strain and add sugar syrup | Sealed glass container |
| Week 5-8 | Final aging and flavor development | Temperature controlled area |
| Month 3+ | Peak flavor achievement | Long-term storage |
Temperature consistency proves crucial during the make-ahead process. We store our developing liqueur in locations that maintain steady temperatures between 60-70°F throughout the aging period. Avoiding temperature fluctuations prevents the expansion and contraction that can affect flavor extraction and overall quality.
Making multiple smaller batches rather than one large batch provides flexibility in experimenting with different flavor profiles. We prepare 500ml batches using various coffee bean origins or vanilla bean types to discover our preferred combinations. This approach lets us perfect our recipe while maintaining a steady supply of finished liqueur.
Advanced planning also includes preparing your storage containers ahead of time. We sterilize glass bottles and jars during the initial infusion period so they’re ready when we need to strain and transfer the liqueur. Having clean containers prepared eliminates any delays in the process that could affect the final product quality.
Serving Suggestions
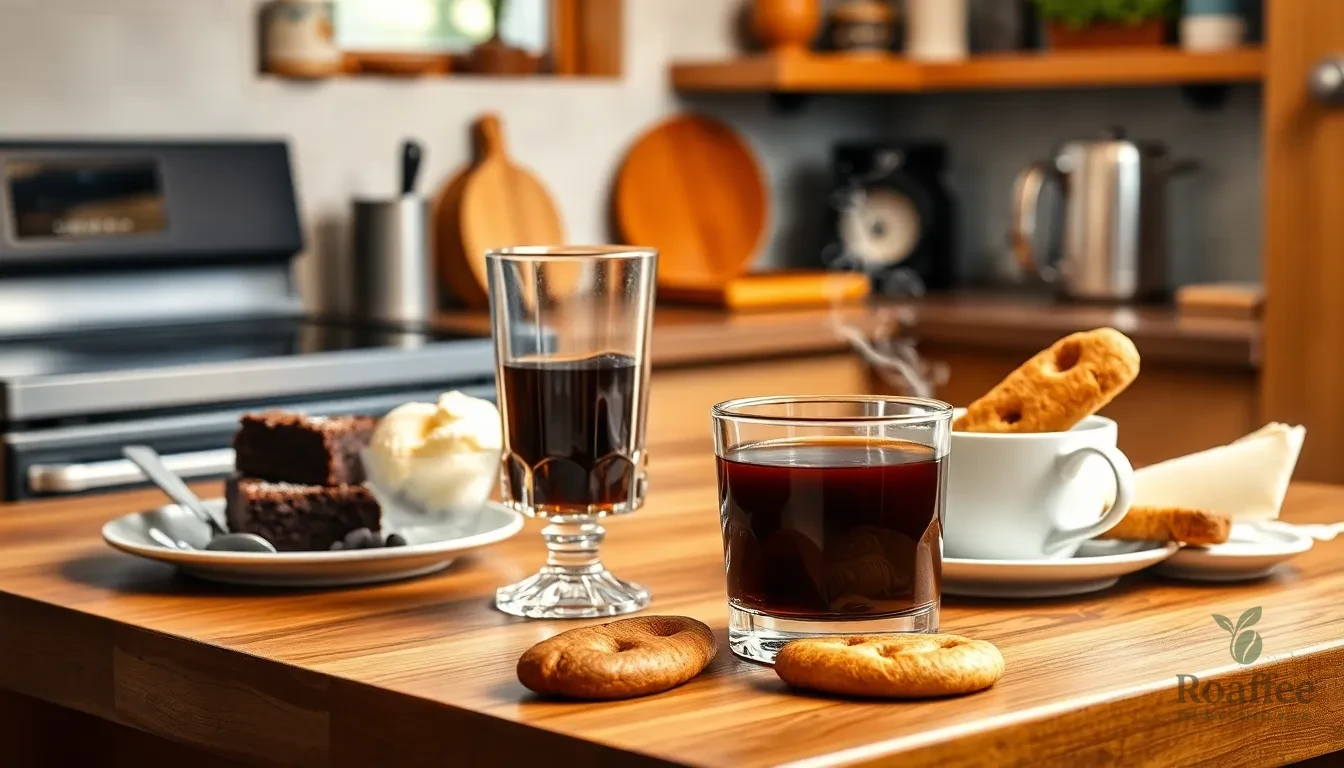
Once we’ve created our homemade coffee liqueur, the real fun begins with exploring the countless ways to enjoy this rich and versatile spirit. We can serve it neat over ice or incorporate it into sophisticated cocktails and dessert pairings that showcase its bold coffee flavor.
Cocktail Ideas
Our homemade coffee liqueur serves as the perfect base for classic cocktails that highlight its rich coffee notes. We recommend starting with the timeless White Russian by combining 2 ounces of our coffee liqueur with 1 ounce of vodka and a splash of heavy cream over ice. The Black Russian offers a simpler approach with just coffee liqueur and vodka in equal parts.
For coffee enthusiasts, we suggest crafting an Irish Coffee using 1 ounce each of our coffee liqueur and Irish whiskey, topped with hot coffee and a layer of lightly whipped cream. The Espresso Martini becomes extraordinary when we shake 2 ounces of our liqueur with 1 ounce of vodka and a shot of fresh espresso, then strain into a chilled martini glass.
We can also create a warming coffee cocktail by adding our liqueur to hot coffee with a splash of amaretto and topping it with whipped cream. This combination brings out the vanilla and coffee notes beautifully while providing a cozy drinking experience.
Dessert Pairings
Our coffee liqueur pairs exceptionally well with chocolate desserts, creating complementary flavor profiles that enhance both elements. We find that drizzling it over chocolate brownies or incorporating it into chocolate cake batter adds depth and richness to these treats.
Vanilla ice cream becomes an elegant dessert when we add a generous splash of our coffee liqueur, creating a delightful contrast between the cold cream and warm coffee flavors. We recommend serving this combination with a sprinkle of cocoa powder or chocolate shavings for added visual appeal.
For sophisticated pairings, we suggest serving our coffee liqueur alongside biscotti, particularly almond or hazelnut varieties that complement the coffee and vanilla notes. The liqueur also enhances caramel desserts like flan or caramelized apple pie, where the coffee flavors balance the sweetness beautifully.
Pastries such as croissants and cinnamon rolls benefit from a light brush of our coffee liqueur, while spiced desserts featuring cinnamon and nutmeg create harmonious flavor combinations that highlight the complexity of our homemade creation.
Troubleshooting Common Issues
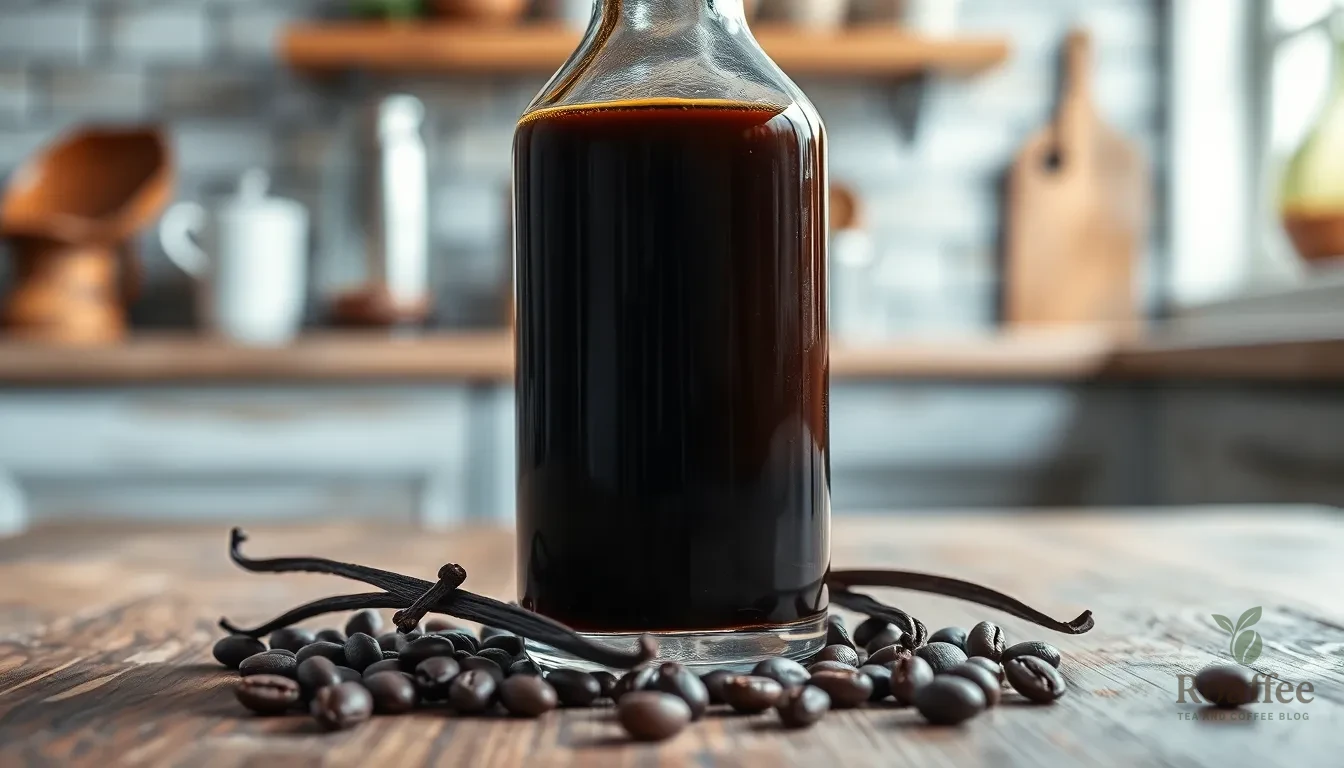
Even experienced home distillers encounter challenges when crafting coffee liqueur. We’ve identified the most common problems and their answers to help you achieve perfect results every time.
Coffee Flavor Problems
Weak Coffee Taste: When your liqueur lacks the rich coffee flavor we expect, the issue typically stems from insufficient coffee concentration. We recommend using a coarser grind and extending the brewing time to extract more robust flavors. Quality coffee beans make a important difference in the final product’s intensity.
Overly Bitter Liqueur: Excessive bitterness often results from using water that’s too hot during the brewing process. We suggest keeping your brewing temperature between 195-205°F to avoid extracting harsh compounds from the coffee grounds. Also, using quality coffee and proper grind size prevents over-extraction.
Sweetness Balance Issues
Insufficient Sweetness: We can easily adjust sweetness levels by modifying the ratio of brown and white sugar in our simple syrup. Brown sugar adds depth and complexity, while white sugar provides clean sweetness. Start with small adjustments and taste test before adding more.
Overly Sweet Result: When the liqueur becomes too sweet, we can balance it by adding a small amount of additional vodka or extending the aging period. The alcohol helps cut through excessive sweetness while aging allows flavors to meld more harmoniously.
Aging and Texture Concerns
Harsh Alcoholic Taste: If your liqueur tastes too alcoholic or harsh, extended aging provides the solution. We recommend aging for at least 4-6 weeks, stirring the mixture once or twice weekly. Longer aging periods allow the alcohol to integrate smoothly with the coffee and sugar components.
Cloudiness Issues: Cloudy liqueur often results from coffee grounds or vanilla bean particles remaining in the mixture. We solve this by straining the liqueur through fine mesh filters or cheesecloth multiple times. While cloudiness doesn’t affect taste, proper straining creates a more professional appearance.
Storage and Preservation Problems
Flavor Degradation: When stored improperly, coffee liqueur can lose its rich flavor profile. We prevent this by using airtight glass containers and storing them in cool, dark locations. Temperature consistency plays a crucial role in maintaining optimal taste.
Separation of Ingredients: Occasional separation is normal, especially during the initial aging period. We recommend gently shaking the container before each taste test or use to redistribute the ingredients evenly throughout the mixture.
Conclusion
Creating your own coffee liqueur opens up a industry of possibilities for improving your cocktails and desserts. We’ve walked you through every step from selecting the right ingredients to perfecting your aging process and storage techniques.
The beauty of homemade coffee liqueur lies in its customization potential. You can adjust sweetness levels experiment with different coffee beans and even add your own flavor twists to create something uniquely yours.
With proper preparation and patience your homemade creation will rival any store-bought version at a fraction of the cost. The rich smooth texture and complex flavors you’ll achieve make this project well worth the effort.
Start your batch today and in just a few weeks you’ll have a premium coffee liqueur ready to impress guests or enjoy as a personal treat.
Frequently Asked Questions
What ingredients do I need to make homemade coffee liqueur?
You’ll need three main components: a coffee base made from freshly ground dark roast coffee beans and filtered water, simple syrup made from granulated sugar and water, and premium vodka as the alcohol base. Optional ingredients include instant coffee granules for intensity, vanilla extract, cinnamon for flavor enhancement, and dark rum or brandy for added complexity.
What equipment is essential for making coffee liqueur at home?
Essential equipment includes a high-quality coffee maker (Moka pot, pour-over, or espresso machine), a medium-sized saucepan for making syrup, a large mixing container, reusable mesh coffee filters for straining, airtight glass containers for storage, and precise measuring tools like measuring cups and spoons to ensure recipe accuracy.
How long does homemade coffee liqueur need to age?
The coffee liqueur needs to age for 3-4 weeks in a cool, dark place to allow flavors to meld properly. However, the liqueur continues to improve with additional aging, with flavors developing for several months after the initial aging period. For optimal results, prepare it 4-6 weeks before serving.
How should I store homemade coffee liqueur?
Store the finished liqueur in clean, airtight glass containers in a cool, dark location to prevent oxidation and contamination. Keep it away from direct sunlight and maintain consistent temperatures. Label bottles with creation dates to track aging progress, and gently shake before each use to maintain consistent flavor.
What cocktails can I make with homemade coffee liqueur?
Popular cocktails include White Russian, Black Russian, Irish Coffee, and Espresso Martini. The liqueur’s versatility makes it perfect for experimenting with various mixed drinks. You can also use it in dessert pairings, drizzling it over vanilla ice cream, chocolate desserts, or enjoying it with biscotti and caramel treats.
What should I do if my coffee liqueur tastes too bitter or weak?
If the liqueur tastes weak, use stronger coffee concentrate or add instant coffee granules during the next batch. For overly bitter liqueur, add more simple syrup to balance the flavors. Always use high-quality coffee beans and proper brewing techniques. Adjust sweetness gradually and taste-test throughout the process.
Can I make coffee liqueur ahead of time for gifts?
Yes, coffee liqueur makes an excellent make-ahead gift. Start the process 4-6 weeks before giving, ideally beginning in late summer or early fall for holiday gifts. The extended aging time enhances flavor complexity and smoothness, making it a thoughtful and impressive homemade present.
