Ever wondered how to transform your favorite morning brew into something completely unexpected? We’re about to show you how to make coffee paper – a unique create that turns ordinary coffee into beautiful, textured sheets perfect for artistic projects and handmade cards.
This ancient technique combines the rich, earthy tones of coffee with traditional papermaking methods to create stunning results. Whether you’re a coffee enthusiast looking for creative ways to repurpose used grounds or a create lover seeking sustainable art supplies, coffee paper offers endless possibilities.
We’ll walk you through this surprisingly simple process that transforms kitchen scraps into gorgeous handmade paper. You’ll discover how coffee’s natural properties create distinctive textures and warm hues that can’t be replicated with store-bought materials. Best of all, this eco-friendly create costs pennies to make and produces professional-quality results that’ll impress everyone who sees your creations.
What Is Coffee Paper
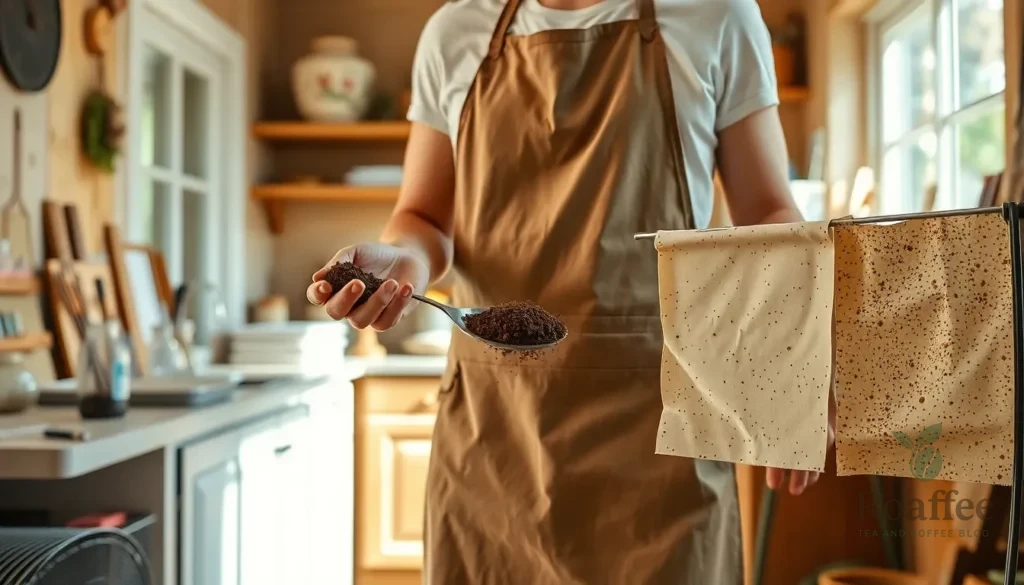
Coffee paper represents a unique fusion of recycled coffee grounds and traditional papermaking techniques. We create this distinctive material by incorporating used coffee grounds into paper pulp during the manufacturing process. The resulting sheets possess a naturally textured surface with subtle brown speckles and an earthy aroma that sets them apart from conventional paper products.
The process transforms waste coffee grounds into functional art supplies through a simple yet effective method. We blend the dried grounds with paper pulp to achieve the desired consistency and texture. Coffee paper maintains the structural integrity of regular paper while offering enhanced visual appeal and sustainability benefits.
This eco-friendly alternative serves multiple purposes in creative projects. We can use coffee paper for scrapbooking, journaling, watercolor painting, and mixed media artwork. The natural coffee particles embedded within the fibers create interesting visual textures that complement both vintage and contemporary design aesthetics.
Coffee paper typically exhibits a cream to light brown base color with darker coffee ground specks distributed throughout. We notice the paper maintains good ink absorption properties while providing a slightly rougher texture than standard paper. The material accepts various art mediums including watercolors, acrylics, pencils, and ink pens without important bleeding or feathering.
The unique characteristics of coffee paper stem from the natural oils and tannins present in coffee grounds. We find these compounds contribute to the paper’s distinctive appearance and subtle fragrance. The finished product offers artists and crafters an environmentally conscious option that reduces waste while creating beautiful handmade sheets perfect for special projects.
Benefits of Making Coffee Paper
Creating coffee paper transforms our everyday brewing routine into an opportunity for sustainable crafting. We discover that this simple process offers many advantages that extend far beyond basic papermaking.
Environmental Impact and Sustainability
Our coffee paper projects give new life to used coffee grounds that would otherwise end up in landfills. We reduce household waste while creating something beautiful and functional. This eco-friendly approach aligns perfectly with sustainable living practices and demonstrates how we can repurpose everyday materials for creative endeavors.
Cost-Effective Creative Solution
We save money by making our own specialty paper instead of purchasing expensive artisan alternatives. Common household materials like printer paper and leftover coffee create professional-looking results at a fraction of the cost. Our investment remains minimal while the creative possibilities expand dramatically.
Aesthetic Appeal and Visual Impact
Coffee paper delivers that coveted vintage look we often seek for artistic projects. The warm brown tones and organic texture patterns create an antique appearance that enhances scrapbooking layouts, handwritten letters, and art journals. We achieve a rustic charm that manufactured papers simply cannot replicate.
Customization and Creative Control
We control every aspect of our coffee paper creation process. Adjusting coffee strength determines color intensity while varying soaking times creates different saturation levels. Adding coffee grounds during the drying phase introduces unique textures that make each sheet one of a kind.
Versatile Application Opportunities
Our homemade coffee paper works beautifully across multiple creative disciplines. We use it for watercolor painting backgrounds, mixed media artwork, and handmade stationery. The natural absorbency maintains excellent ink flow while the textured surface adds visual interest to any project.
Sensory Experience Enhancement
Working with coffee paper engages multiple senses during both creation and use. We enjoy the familiar coffee aroma that subtly lingers on finished sheets. The tactile quality adds depth to our artistic work while creating a more immersive creative experience.
Materials Needed
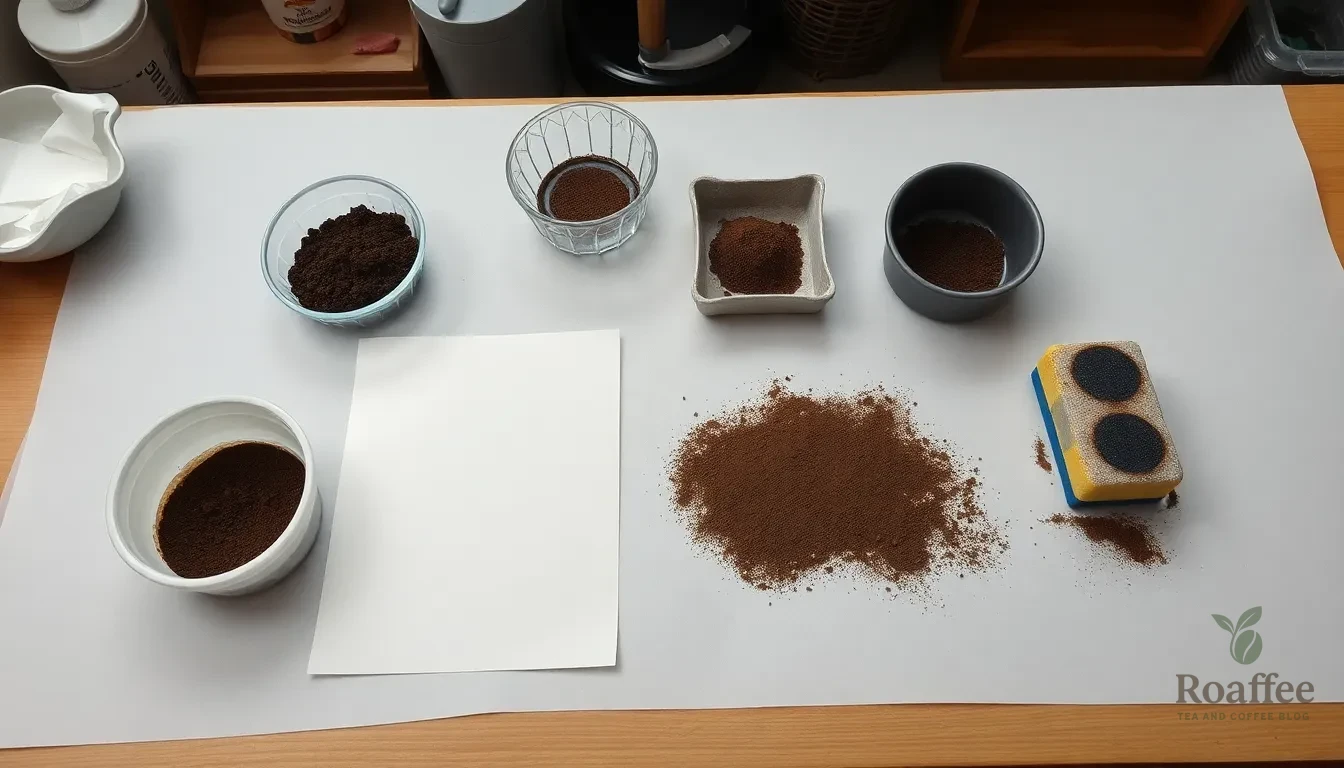
Gathering the right materials sets the foundation for creating beautiful coffee paper that showcases rich textures and earthy tones. We’ll walk you through each essential component needed to transform ordinary paper into stunning coffee-stained sheets.
Coffee Grounds
We recommend using dark roast coffee grounds as your primary material since they produce the richest color and most pronounced visual effects. Fresh or used coffee grounds both work effectively, though used grounds often provide better texture variation and reduce waste from your daily brewing routine.
For liquid application, prepare strong brewed coffee using approximately 1/2 cup of coffee grounds per 4 cups of water for regular grounds. Alternatively, mix 6 tablespoons of instant coffee per 4 cups of water for a more concentrated solution. Allow the coffee to cool completely to room temperature before use to prevent paper damage from heat.
Paper Making Supplies
White copy paper or printer paper serves as the ideal base material for coffee paper projects. These standard papers absorb coffee answers evenly and maintain structural integrity throughout the staining process. Plain white paper towels work exceptionally well for smaller projects or when creating more absorbent textured sheets.
We suggest selecting papers with smooth surfaces initially, as they showcase coffee staining patterns most effectively. Heavier paper weights provide better durability during the soaking process, while lighter papers offer more dramatic color absorption.
Additional Equipment
A shallow dish or container large enough to accommodate your paper sheets is essential for the soaking method. Choose containers with enough depth to fully submerge paper while allowing easy removal without tearing.
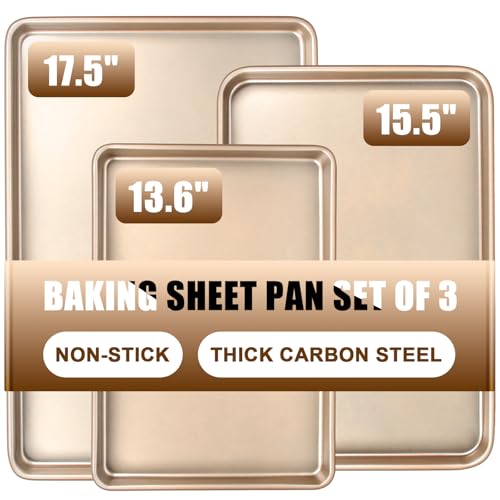
Place a baking sheet or tray nearby for drying purposes, along with clean towels to absorb excess moisture and provide flat drying surfaces. A sponge or brush offers optional application techniques for creating mottled textures and rustic appearances on dry paper surfaces.
These basic tools enable multiple coffee paper techniques, from full immersion soaking to selective brush applications that create unique artistic effects.
Ingredients
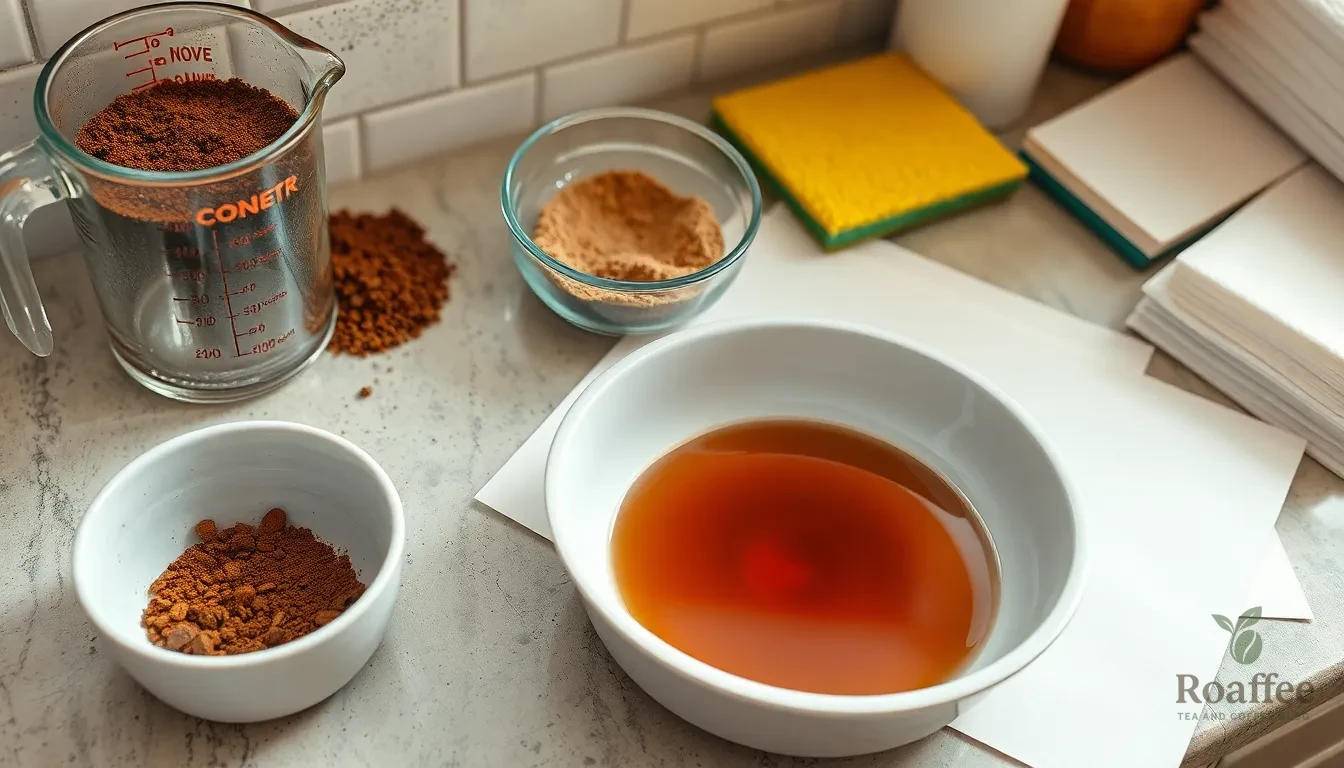
Creating coffee paper requires simple materials that we can easily find in most kitchens and create supplies. We recommend gathering these essential ingredients before beginning our coffee paper project.
Primary Ingredients
- Coffee grounds (2-3 cups used grounds or 1/2 cup fresh grounds)
- Hot water (4-6 cups for brewing solution)
- Paper base (white copy paper, printer paper, or watercolor paper)
Optional Flavor and Texture Enhancers
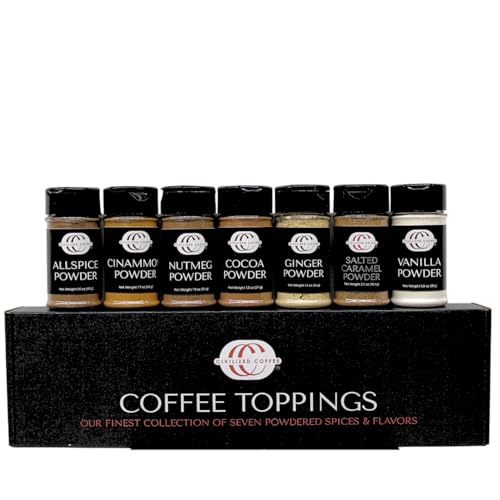
- Cinnamon (1-2 teaspoons for enhanced aroma and color variation)
- Additional coffee grounds (for sprinkling texture effects)
Essential Equipment
- Shallow container (large enough to accommodate paper sheets)
- Sponge or paintbrush (for even application)
- Paper towels (for blotting excess moisture)
- Drying rack or flat surface (for air drying)
| Ingredient Type | Quantity | Purpose |
|---|---|---|
| Coffee grounds | 2-3 cups used or 1/2 cup fresh | Primary coloring agent |
| Hot water | 4-6 cups | Creates coffee solution |
| Paper base | As needed | Foundation material |
| Cinnamon | 1-2 teaspoons | Optional aroma enhancement |
We select regular non-flavored coffee grounds for the most authentic results. Dark roast grounds provide richer color depth and stronger staining properties than lighter roasts. Fresh grounds work well when we want to create a more concentrated coffee solution, while used grounds offer an eco-friendly option that still delivers excellent results.
The paper choice significantly impacts our final product quality. Watercolor paper absorbs coffee solution most effectively, creating even color distribution. Card stock provides durability for heavier applications, while standard copy paper works perfectly for lighter create projects.
Instructions
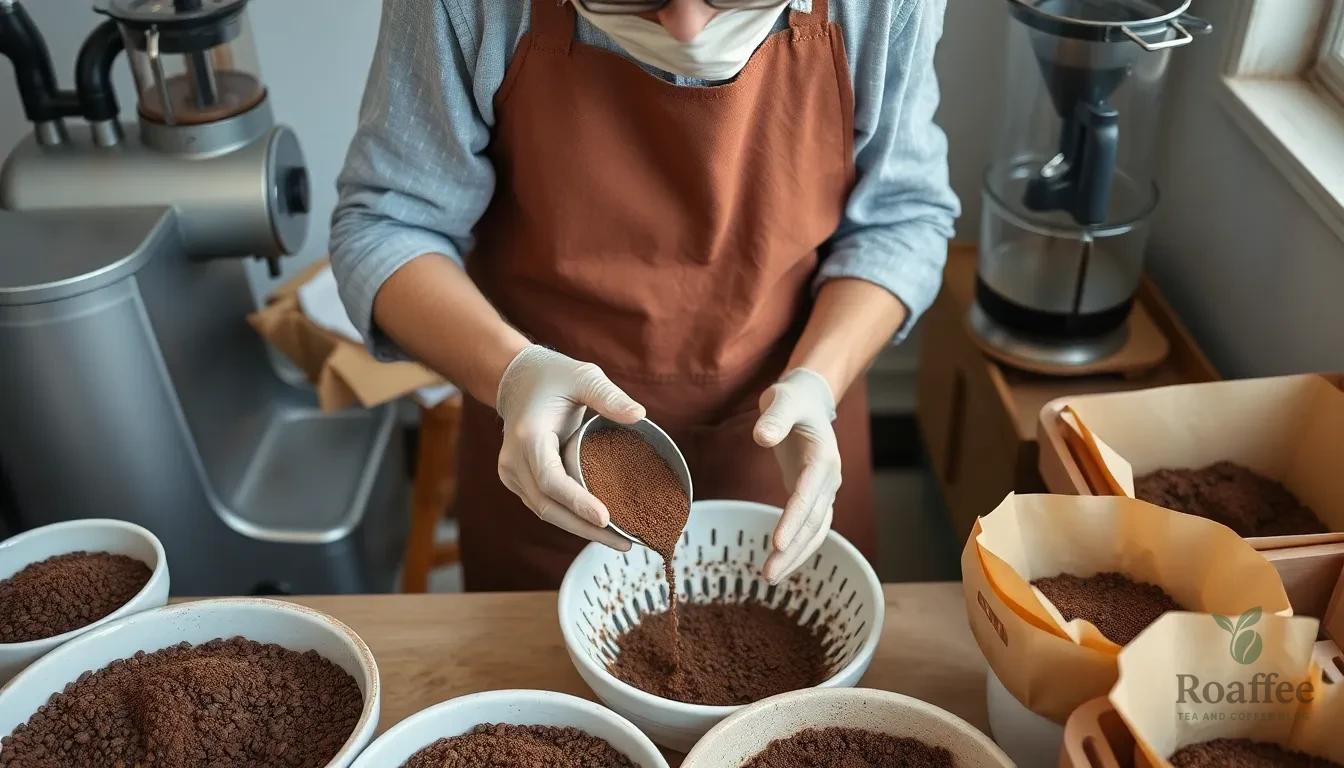
Creating coffee paper involves five essential steps that transform your used coffee grounds into beautiful artisan sheets. We’ll guide you through each phase to ensure professional results.
Prep the Coffee Grounds
We begin by brewing a strong batch of coffee using 3-4 cups of liquid for optimal color saturation. Use your preferred brewing method whether it’s espresso, French press, or a standard coffee maker. Allow the coffee to cool completely to room temperature since hot liquid can scorch the paper fibers and create uneven staining. Strong coffee produces deeper brown tones while milder brews create lighter vintage effects.
Prepare the Paper Pulp
We create our pulp base by combining recycled paper or natural fibers with our coffee mixture. For traditional papermaking, we blend cellulose, glycerine, and alum with coffee husks to form a workable pulp. This mixture requires thorough blending and gentle cooking to break down the fibers properly. The glycerine acts as a binding agent while alum helps preserve the paper’s integrity during the drying process.
Mix Coffee and Pulp
We thoroughly combine the cooled coffee with our prepared pulp mixture until the color distributes evenly throughout. The coffee naturally tints the pulp, creating that distinctive brown aged appearance that makes coffee paper so appealing. For simpler staining projects, we can soak pre-made paper directly in the coffee bath instead of creating pulp from scratch. This step determines the final color intensity of our finished sheets.
Form the Paper Sheets
We pour or dip our coffee-pulp mixture onto a screen or mold to shape individual sheets. The screen allows excess liquid to drain while maintaining the paper’s structure. For pre-made paper, we immerse each sheet fully into the coffee bath, ensuring uniform staining across the entire surface. We can control thickness by adjusting how much mixture we apply to each sheet.
Press and Dry
We gently remove the formed sheets from the mold or coffee bath and press them carefully to eliminate excess water without damaging the fibers. Each sheet gets laid flat on our drying rack for natural air drying or gentle heat application. Adding extra coffee grounds during this stage creates additional texture and visual interest. The drying process typically takes 24-48 hours depending on humidity levels and paper thickness.
Drying Process
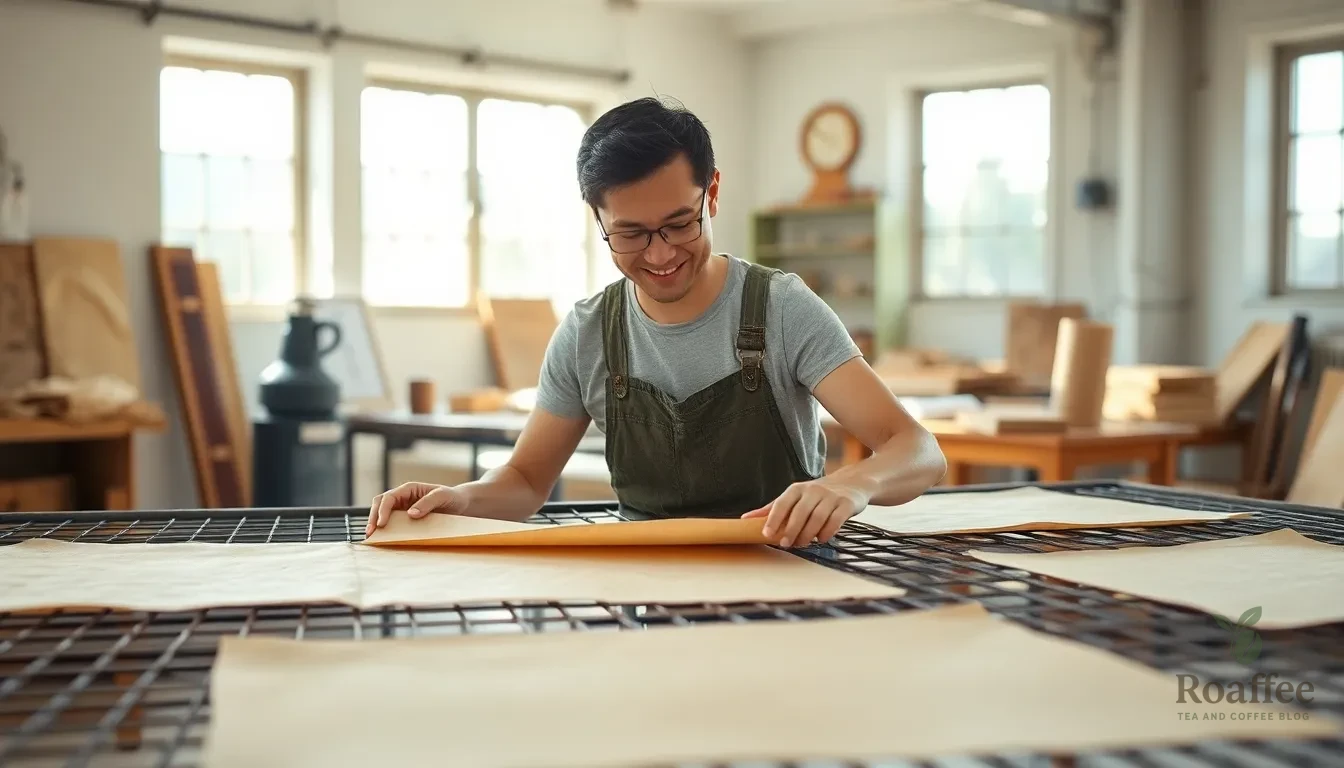
Once we’ve formed our coffee paper sheets, proper drying becomes crucial for achieving the best results. We can choose between two effective drying methods that each offer distinct advantages for our handmade coffee paper.
Air Drying Method
We recommend air drying as our go-to method for most coffee paper projects. This gentle approach allows our sheets to dry naturally at room temperature while preserving their unique texture and character.
To begin air drying, we lay our coffee-stained paper flat on clean paper towels or position them on a drying rack. We ensure the surface remains completely flat to prevent unwanted curling or deformation during the drying process. Our sheets typically require several hours to overnight for complete drying, depending on the thickness and moisture content.
We find this method particularly suitable for delicate papers or heavily soaked sheets that need gentle handling. The natural drying process maintains the organic texture we’ve created while allowing the coffee’s natural oils and tannins to set properly into the paper fibers.
| Drying Aspect | Air Drying Method |
|---|---|
| Drying Speed | Slower (hours to overnight) |
| Paper Texture | May have natural curl and wrinkles |
| Equipment Needed | Flat surface, paper towels |
| Best For | Delicate or heavily soaked paper |
Press Drying Method
We turn to press drying when we need faster results or prefer a smoother finish on our coffee paper. This method combines pressure with controlled drying to create flatter, more uniform sheets.
For press drying, we place our coffee paper between absorbent materials like blotting papers immediately after forming the sheets. We then apply steady pressure using heavy books or a dedicated press to flatten the paper while it dries. This technique helps speed up the drying process while preventing warping and excessive curling.
We particularly recommend this method for handmade sheets created from coffee fiber pulp or when we need our paper to have a professional, smooth appearance. The pressure helps compress the fibers and creates a more consistent surface texture across the entire sheet.
| Drying Aspect | Press Drying Method |
|---|---|
| Drying Speed | Faster, aided by pressure |
| Paper Texture | Flatter, smoother finish |
| Equipment Needed | Heavy press or weights, blotting paper |
| Best For | Formed handmade sheets needing flattening |
Both methods produce excellent results for our coffee paper projects. We select our drying approach based on the exact texture we want to achieve and the time we have available for the process.
Finishing Touches
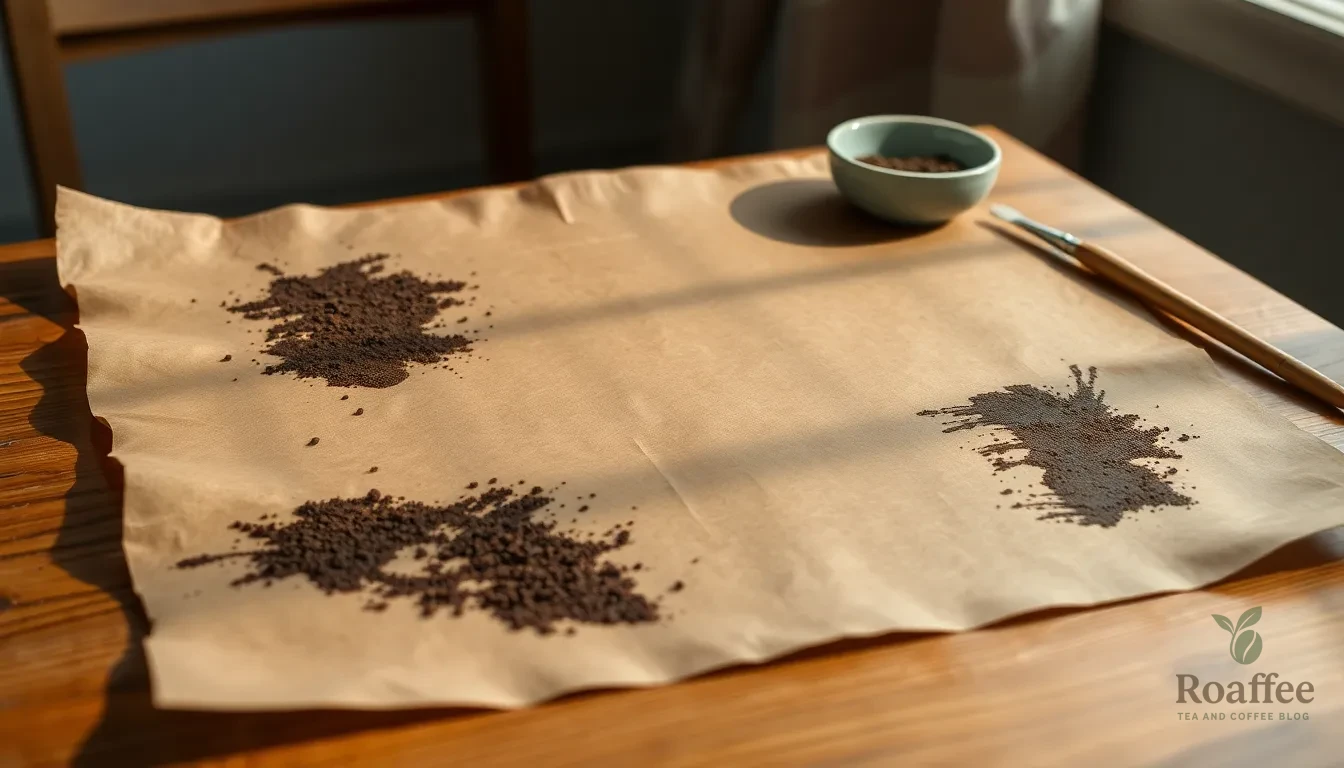
Once our coffee paper sheets have dried completely, we can enhance their appearance and usability with several finishing techniques. The final steps determine the professional quality of our handmade coffee paper.
We begin by gently smoothing each sheet with our hands to flatten any wrinkles or curled edges. This process helps create a more uniform surface while preserving the natural texture that makes coffee paper unique. Light pressure works best to avoid damaging the delicate fibers.
For papers that need additional aging effects, we apply extra coffee selectively using a paintbrush or sponge. Dabbing concentrated coffee solution onto exact areas creates darker spots and enhances the vintage appearance. This technique works particularly well around the edges of our sheets.
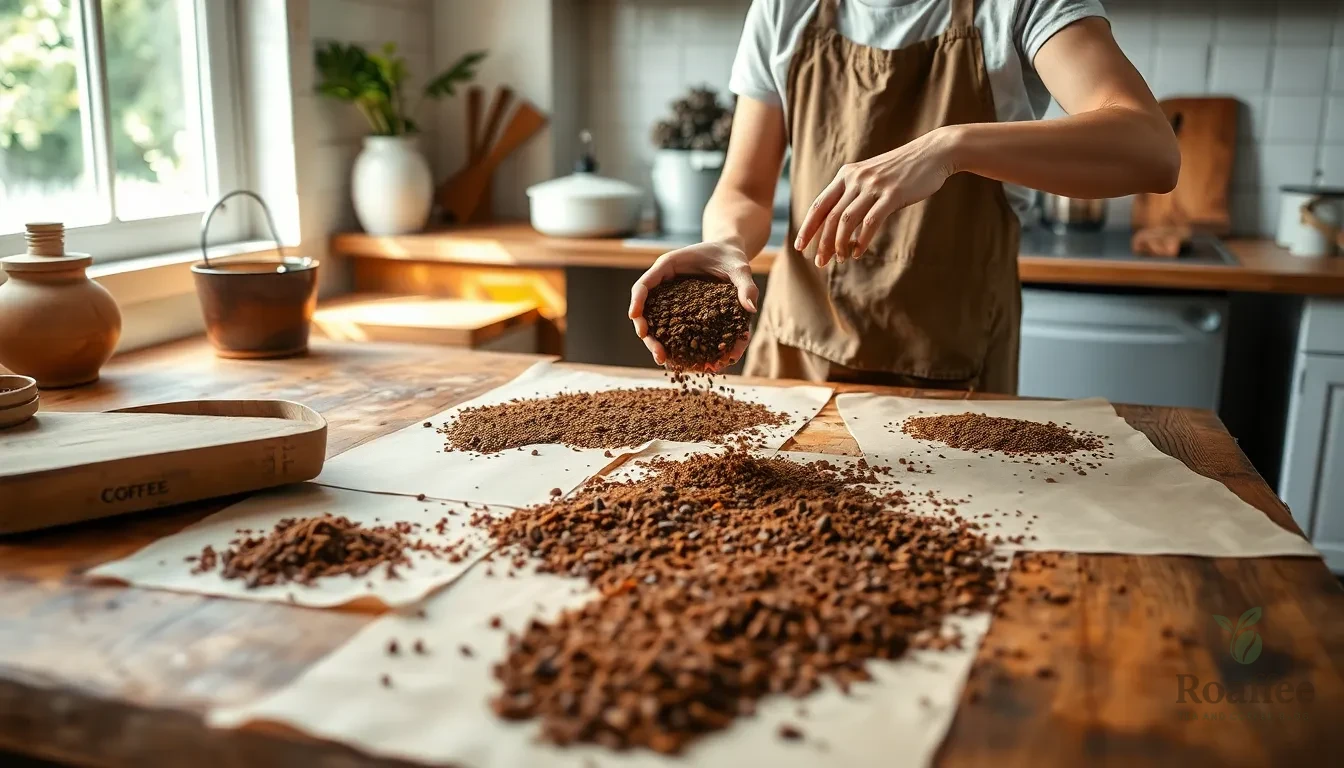
We can add texture by lightly sprinkling dry coffee grounds onto slightly damp areas of the paper before final drying. The grounds adhere to the surface and create interesting speckled patterns that enhance the organic look of our coffee paper.
Pressing finished sheets between heavy books for 24 hours flattens them further and ensures they lay flat when used in projects. We place clean paper towels between our coffee paper and the book pages to prevent any remaining moisture from transferring.
Storage plays a crucial role in maintaining our coffee paper quality. We keep finished sheets in a cool, dry place away from direct sunlight to prevent fading. Storing them flat between acid-free tissue paper preserves their condition for future use.
Testing our coffee paper with different media helps us understand its capabilities. We try various pens, markers, and paints to see how the paper accepts different inks and pigments. This knowledge proves valuable when planning exact artistic projects.
The final inspection involves checking each sheet for any imperfections or areas that need touch-ups. We can address minor issues by adding small amounts of coffee solution to blend uneven areas or by gently sanding rough spots with fine-grit sandpaper.
Storage Tips
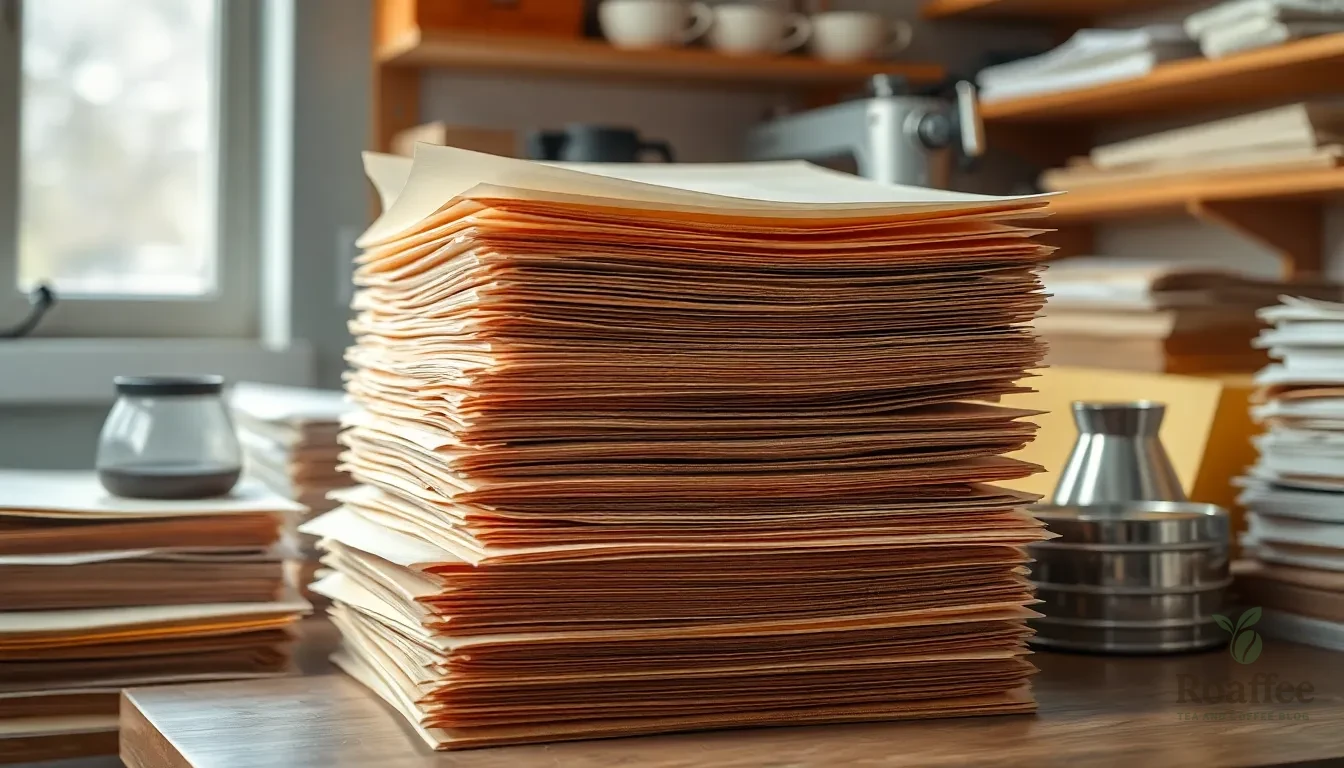
Once our coffee paper has dried completely, we need to store it properly to maintain its quality and prevent damage. The storage environment plays a crucial role in preserving the color and texture we worked so hard to achieve.
We recommend storing coffee paper flat to prevent curling and maintain its shape. Stack sheets between acid-free tissue paper or parchment paper to prevent them from sticking together. This method protects the delicate surface while allowing air circulation between layers.
Temperature and humidity control are essential for long-term preservation. Keep your coffee paper in a dry, cool place away from direct sunlight to preserve the natural brown tones and prevent fading. Excessive moisture can cause the paper to warp or develop mold, while too much heat can make it brittle over time.
We suggest using acid-free folders or plastic sleeves for individual sheet storage. These protective materials prevent chemical reactions that could deteriorate the paper over time. Document storage boxes work well for larger quantities, providing additional protection from dust and light exposure.
For frequently used sheets, consider storing them in a flat file drawer or portfolio case. This approach makes it easy to access your coffee paper while keeping it organized and protected. Label each storage container with the date of creation and any special techniques used for future reference.
Avoid storing coffee paper in areas with temperature fluctuations, such as attics or basements. These environments can cause the paper to expand and contract, leading to permanent damage. A climate-controlled room or closet provides the most stable conditions for preservation.
When handling stored coffee paper, we recommend using clean, dry hands to prevent transferring oils that could stain the surface. If you need to transport the paper, use a rigid portfolio or cardboard backing to prevent bending or folding during transit.
Creative Uses for Coffee Paper
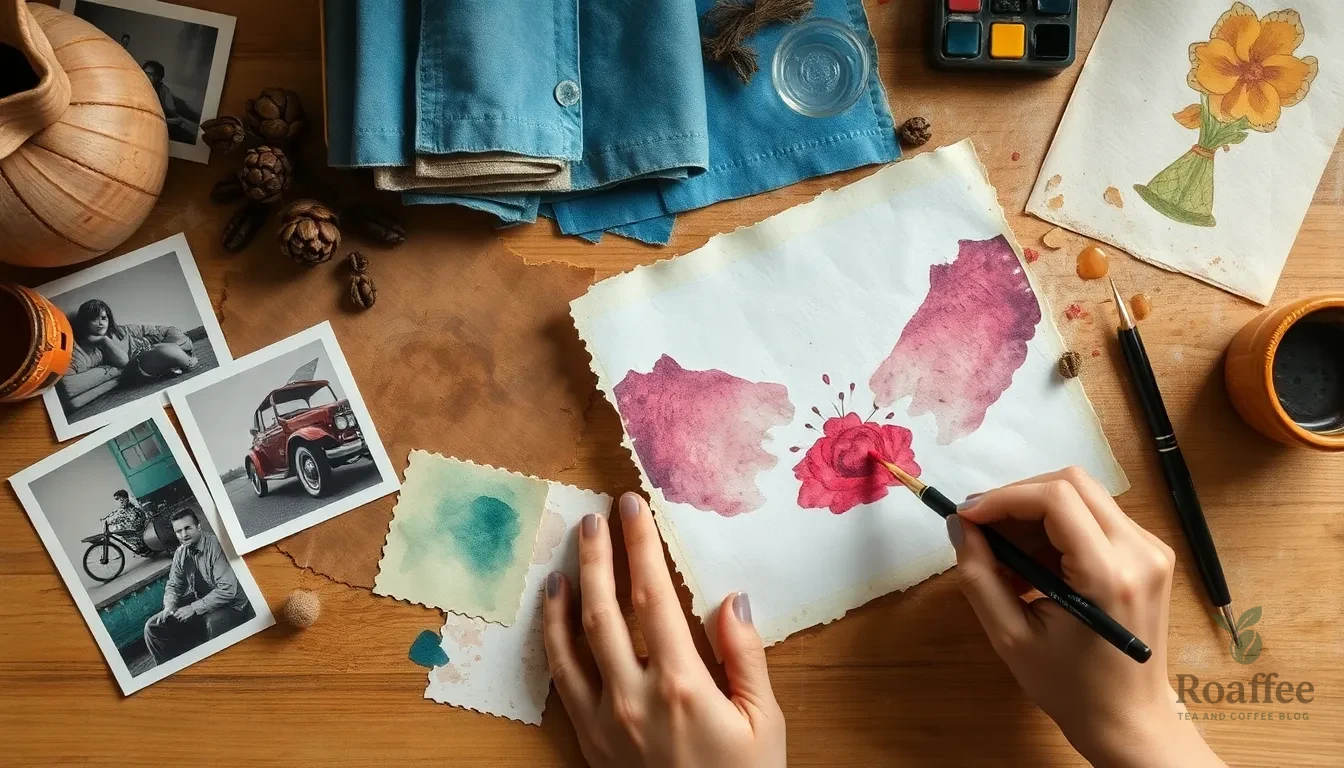
Our handmade coffee paper opens up endless possibilities for creative projects that benefit from its unique vintage appearance and natural texture. We find that this eco-friendly material works exceptionally well across various artistic disciplines and crafting applications.
Journaling and Scrapbooking Projects
Coffee paper transforms ordinary journals into extraordinary keepsakes with its rustic antique look. We recommend using these textured sheets for handmade journals where each page tells a story through its naturally aged appearance. Scrapbooking enthusiasts particularly appreciate how coffee paper adds depth and character to memory books without requiring additional aging techniques.
The natural brown tones complement vintage photographs beautifully while providing excellent ink absorption for both handwritten entries and printed elements. We suggest layering different shades of coffee paper to create dimensional backgrounds that enhance the storytelling aspect of your scrapbook pages.
Artistic Drawing and Painting Applications
Artists discover that coffee paper serves as an exceptional canvas for various creative techniques. We observe that watercolor paints blend seamlessly with the coffee-stained surface, creating unique effects that cannot be achieved on traditional white paper. The natural texture adds visual interest to sketches and drawings while the warm undertones provide a sophisticated foundation for mixed media artwork.
Coffee paper works particularly well for botanical illustrations, industry sketches, and portrait studies where the aged appearance enhances the artistic mood. We find that both wet and dry media adhere excellently to the textured surface, making it versatile for different artistic styles.
Personalized Letters and Stationery
Transform ordinary correspondence into memorable communications using coffee paper for letters and personal stationery. We create stunning handwritten letters that convey a sense of history and thoughtfulness that digital communication cannot match. The unique texture makes each piece of stationery feel special and personal.
Coffee paper bookmarks make thoughtful gifts for book lovers, combining functionality with aesthetic appeal. We recommend cutting the paper into bookmark sizes and adding ribbon or twine for finishing touches that complement the rustic appearance.
Pattern Paper and Decorative Elements
Coffee paper serves as an excellent base for creating custom pattern papers through additional texturing techniques. We achieve remarkable results by sprinkling salt over wet coffee paper or using coffee brushstrokes to create unique textured patterns. These techniques produce one-of-a-kind decorative papers perfect for gift wrapping, card making, or artistic collages.
The natural variation in coffee staining ensures that no two sheets are identical, making each piece of pattern paper truly unique. We find that coffee cup ring marks add authentic vintage touches that enhance the overall aesthetic appeal of creative projects.
| Creative Application | Best Paper Type | Recommended Techniques |
|---|---|---|
| Journaling | Heavyweight typewriter paper | Light coffee staining for readability |
| Watercolor painting | Acid-free paper | Medium to heavy staining for texture |
| Letter writing | Binder paper | Light staining with coffee grounds |
| Pattern making | Regular printer paper | Salt texturing and brush techniques |
Troubleshooting Common Issues
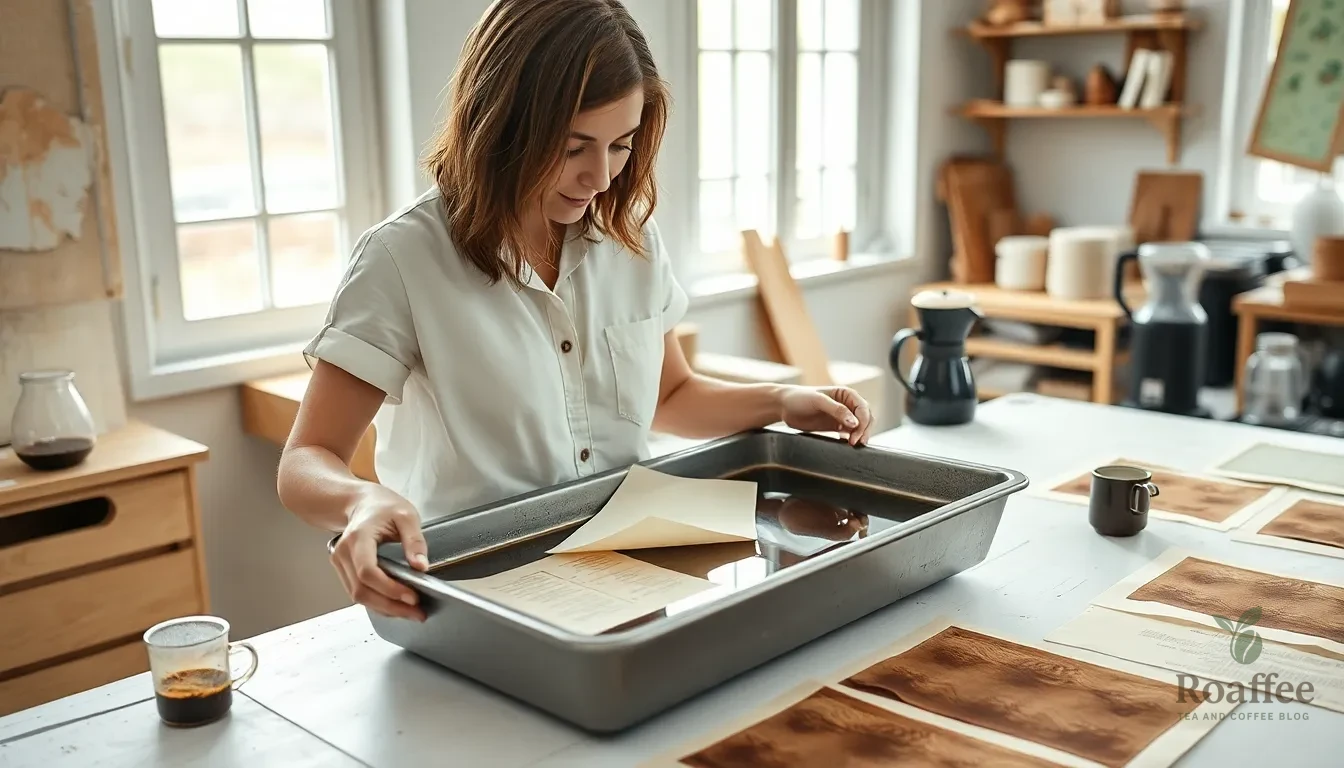
Even experienced crafters encounter challenges when making coffee paper, but we can resolve most problems with simple adjustments to our technique and materials.
Paper Selection Problems
Coated paper rejection becomes our first concern when coffee won’t absorb properly. We must use uncoated paper varieties like plain copy paper, watercolor paper, or coffee filters to ensure proper coffee absorption. Glossy or laminated papers create barriers that prevent the coffee from penetrating the fibers, resulting in uneven staining and poor color development.
Temperature and Timing Issues
Excessive heat damage occurs when we use coffee that’s too hot for delicate papers. We should always allow our brewed coffee to cool completely before applying it to prevent paper tearing or burning. Hot coffee can weaken paper fibers and create unwanted holes or tears in our finished sheets.
Inadequate cooling time leads to similar problems, so we recommend waiting at least 30 minutes after brewing before beginning our staining process.
Soaking and Absorption Challenges
Over-soaking problems weaken paper structure and can cause complete deterioration. We limit soaking time to 5-10 minutes maximum, depending on paper thickness and desired color intensity. Thin papers require shorter soaking periods, while heavier watercolor papers can handle longer exposure times.
Uneven coffee distribution creates blotchy or patchy results across our paper surface. We ensure complete coverage by using shallow trays that accommodate our entire sheet and gently moving the paper during soaking to promote even absorption.
Drying and Warping Answers
Paper warping prevention requires proper drying techniques and controlled environments. We lay soaked papers flat on clean towels or baking sheets, avoiding direct sunlight or heat sources that cause rapid moisture loss and curling. Weighted corners using clean objects help maintain flatness during the drying process.
Slow drying problems occur in humid environments or when papers are too thick with coffee. We can speed up drying by placing papers in well-ventilated areas with good air circulation, but we avoid using direct heat sources that might cause cracking or brittleness.
Texture and Color Adjustments
Insufficient color depth happens when our coffee isn’t strong enough or contact time is too brief. We brew stronger coffee using a 1:4 ratio of grounds to water, or we extend soaking time gradually until we achieve our desired shade. Multiple light applications often produce better results than single heavy treatments.
Unwanted texture issues arise when coffee grounds stick to wet paper surfaces. We can remove excess grounds by gently brushing them off during drying, or we can embrace them as natural texture elements that enhance our paper’s character.
Application Method Corrections
Brush or sponge streaking creates unwanted patterns when we apply coffee unevenly. We use light, overlapping strokes and work quickly while the coffee remains wet to blend edges seamlessly. Sea sponges produce more natural, organic patterns than synthetic brushes for spot applications.
Pooling and drip marks result from excess coffee accumulating in low spots on our drying surface. We blot excess moisture immediately with paper towels and ensure our drying surface remains level throughout the process.
Conclusion
We’ve shown you how to transform ordinary coffee grounds into beautiful handmade paper that’s both eco-friendly and versatile. This sustainable create project lets us repurpose waste materials while creating unique artistic supplies for our creative endeavors.
The beauty of coffee paper lies in its simplicity and endless possibilities. Whether we’re journaling scrapbooking or painting our finished sheets carry that distinctive coffee aroma and warm aesthetic that can’t be replicated with store-bought materials.
With proper storage techniques and a little experimentation we can master this rewarding create. The troubleshooting tips we’ve shared ensure that even beginners can achieve professional-looking results while enjoying the therapeutic process of papermaking.
Now it’s time to gather those coffee grounds and start creating our own custom paper collection. Each sheet tells a story of sustainability creativity and the simple pleasure of making something beautiful with our own hands.
Frequently Asked Questions
What is coffee paper and how is it made?
Coffee paper is a unique, eco-friendly material created by combining recycled coffee grounds with traditional papermaking techniques. It’s made by mixing used coffee grounds with paper pulp and water, then forming sheets that dry with a distinctive textured surface. The process involves brewing strong coffee, creating a pulp base, mixing the components, forming sheets on screens, and air-drying them to create beautiful, sustainable art supplies.
What materials do I need to make coffee paper?
You’ll need 2-3 cups of used coffee grounds (or ½ cup fresh grounds), 4-6 cups of hot water, and base papers like white copy or watercolor paper. Essential equipment includes shallow containers, sponges or paintbrushes, paper towels, and a drying rack. Optional enhancers like cinnamon can add extra texture and fragrance to your finished sheets.
How long does it take for coffee paper to dry?
Coffee paper typically takes 24-48 hours to air dry completely at room temperature. The drying time depends on humidity levels, paper thickness, and ventilation. For faster results, you can use press drying with heavy books, which reduces drying time to 12-24 hours while creating smoother, flatter sheets with a more uniform appearance.
What are the best uses for coffee paper?
Coffee paper is perfect for journaling, scrapbooking, watercolor painting, and mixed media artwork. Its vintage appearance and warm tones make it ideal for personalized letters, stationery, and memory books. Artists appreciate its unique texture for drawing and painting, while crafters use it for creating custom pattern papers and decorative elements in various creative projects.
How should I store coffee paper to maintain its quality?
Store coffee paper flat between acid-free tissue or parchment paper to prevent curling and sticking. Keep it in a cool, dry place away from temperature fluctuations. Use acid-free folders or plastic sleeves for individual sheets, and document storage boxes for larger quantities. Proper storage prevents warping, fading, and damage while preserving the paper’s unique characteristics.
What coffee grounds work best for making coffee paper?
Dark roast coffee grounds produce the richest color and most distinctive texture in coffee paper. Used grounds from your daily brewing work perfectly and add to the eco-friendly aspect. Fresh grounds can also be used but require less water. The natural oils and tannins in coffee grounds contribute to the paper’s unique appearance and subtle fragrance.
Can I customize the color and texture of my coffee paper?
Yes, you can customize coffee paper by adjusting the coffee concentration for lighter or darker tones. Adding spices like cinnamon creates different textures and scents. You can also sprinkle dry coffee grounds on wet sheets for extra texture, or apply additional coffee washes after drying for aging effects. Multiple layers create varied color intensity and visual interest.
What common problems should I watch out for when making coffee paper?
Common issues include using coated paper that won’t absorb properly, applying coffee too hot which can damage paper, and over-soaking that causes deterioration. Prevent warping by drying sheets flat with good air circulation. Ensure even coffee distribution during application and choose appropriate base papers. Allow proper cooling time before application to avoid paper damage.
