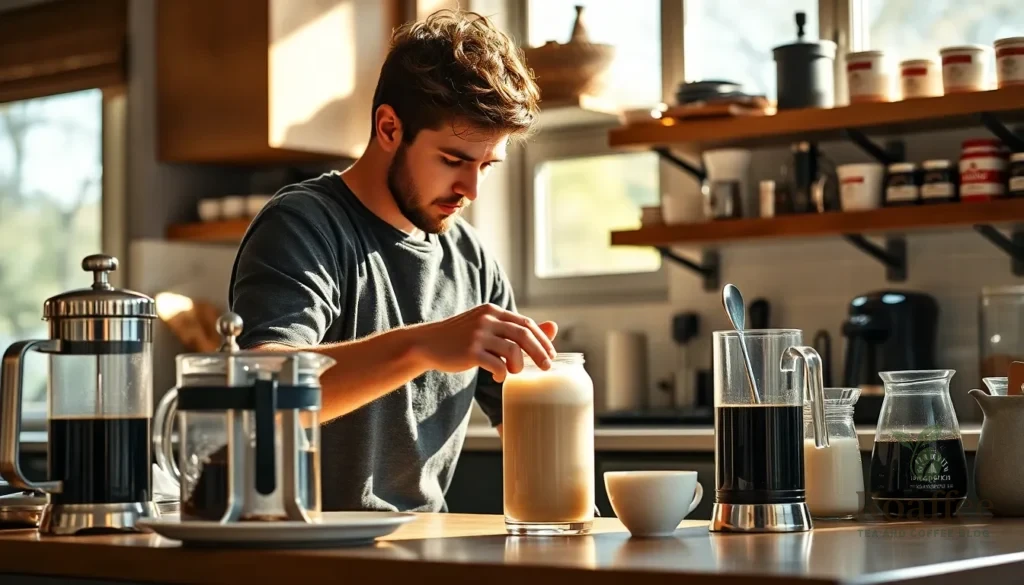
Nothing beats the luxurious feeling of silky smooth foam crowning your morning coffee. We’ve all experienced that disappointing moment when our homemade coffee falls flat compared to our favorite café’s perfectly crafted drinks. The secret lies in mastering the art of creating that dreamy, velvety soft top that transforms an ordinary cup into a coffeehouse-worthy experience.
Whether you’re craving a cappuccino, latte, or simply want to elevate your daily brew, learning how to make the perfect soft foam doesn’t require expensive equipment or barista training. We’ll show you simple techniques that work with tools you already have in your kitchen – from the classic French press method to using a simple jar and some elbow grease.
Ready to impress yourself and your guests? Let’s jump into the foolproof methods that’ll have you creating café-quality foam tops that rival your favorite coffee shop’s creations.
What Is Soft Top for Coffee
Soft top for coffee refers to the creamy, velvety foam layer that sits beautifully on top of your favorite coffee drinks. This luxurious foam creates the signature texture we associate with professional café beverages like cappuccinos, lattes, and macchiatos.
We recognize soft top as steamed milk that has been transformed into a smooth, glossy microfoam through the introduction of air and heat. The process creates tiny, uniform bubbles that give the milk its characteristic silky texture and rich mouthfeel. Unlike the large, airy bubbles found in poorly made foam, quality soft top features microscopic air pockets that blend seamlessly with the milk.
Coffee enthusiasts prize soft top for its ability to enhance both the visual appeal and taste experience of their beverages. The foam acts as an insulator, helping maintain the coffee’s temperature while adding a creamy sweetness that complements the bold flavors of espresso or strong coffee.
Professional baristas achieve soft top using steam wands on espresso machines, but we can create similar results at home using accessible kitchen tools. The key lies in understanding how to incorporate air into milk while maintaining the proper temperature and consistency.
Temperature plays a crucial role in creating perfect soft top. We aim for milk heated to approximately 150-160°F, which allows proteins in the milk to denature and trap air bubbles effectively. Fat content also matters significantly, with whole milk producing the richest, most stable foam due to its higher fat percentage.
The texture should pour smoothly and hold its shape when spooned onto coffee. Quality soft top maintains its structure for several minutes without separating or deflating quickly. This stability distinguishes professional-grade foam from the unstable, bubbly attempts many home brewers initially produce.
Essential Equipment and Tools

Creating perfect soft top for coffee requires exact equipment that transforms ordinary ingredients into luxurious foam. We’ll guide you through the essential tools needed to achieve café-quality results at home.
Coffee Machine or Espresso Maker
We recommend using a coffee machine or espresso maker as the foundation for our soft top creations. These machines provide the consistent base that pairs perfectly with our creamy foam topping. Espresso makers offer the added benefit of built-in steam wands, which can double as frothing tools for creating warm foam variations.
Milk Frother or Steam Wand
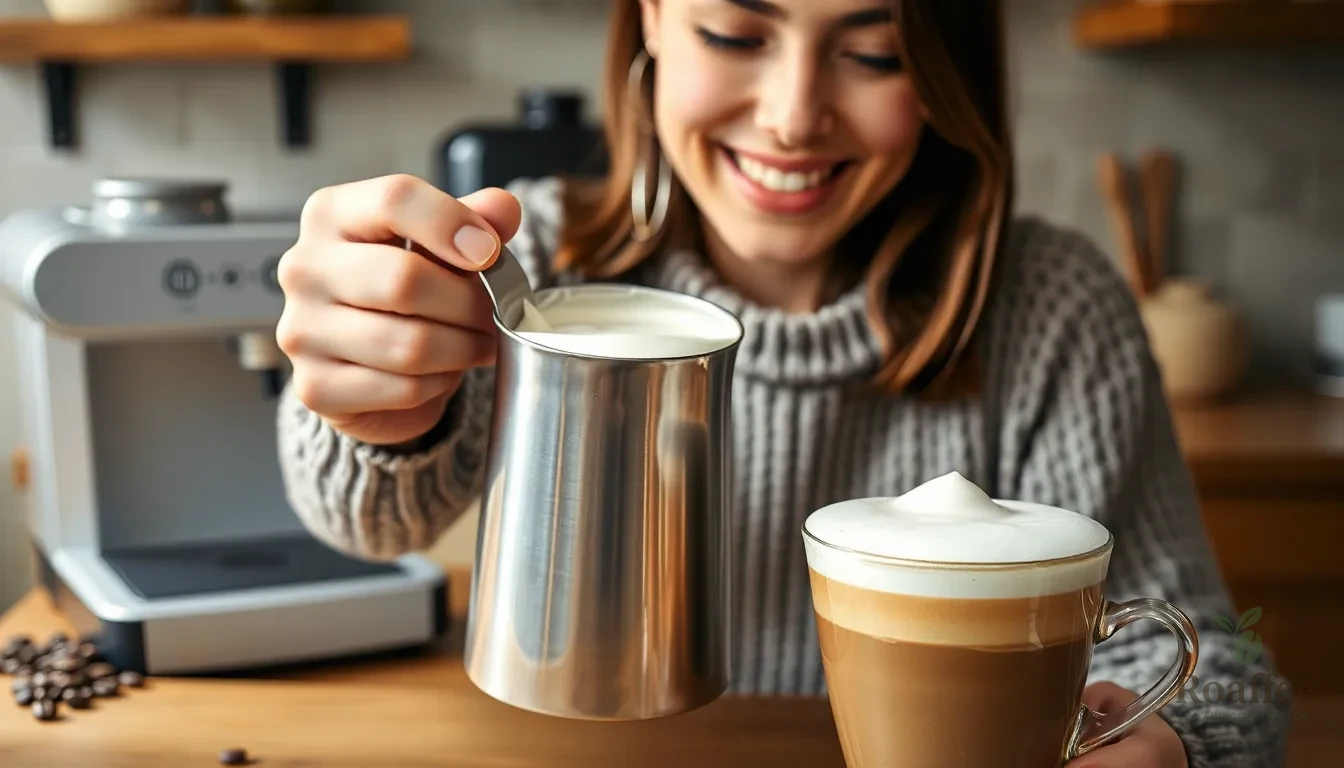
A milk frother or steam wand serves as the most crucial tool for achieving our desired soft top texture. We strongly recommend using a handheld frother for optimal control and results. These portable devices allow us to move the frother up and down under the surface for approximately 30 seconds, creating the perfect consistency.
Steam wands on espresso machines produce silky, velvety foam that’s ideal for soft tops when we want warm foam. We position the wand just below the surface and create microfoam by carefully controlling the steam pressure and movement.
Measuring Tools
Precise measurements ensure consistent results every time we create our soft top. We need measuring cups and spoons to accurately portion our ingredients. A measuring cup becomes essential for combining heavy cream with syrups, while measuring spoons help us add the perfect amount of flavorings like vanilla syrup or caster sugar.
These measuring tools prevent overfilling our frothing container, which should remain about one-third full to accommodate the important volume increase during the frothing process.
Ingredients
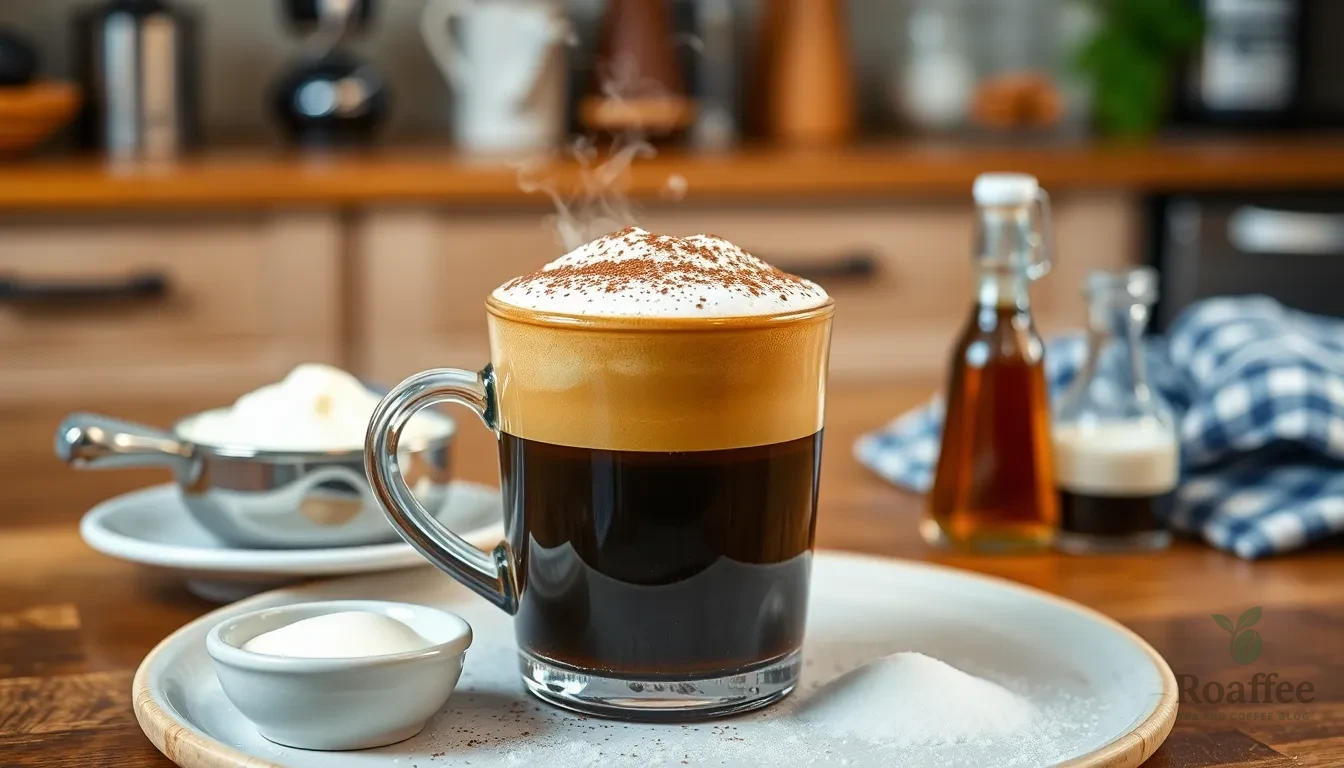
We need just a few simple ingredients to create our luxurious soft top coffee that rivals any café quality drink. Our recipe focuses on achieving that perfect creamy texture using common kitchen staples.
For the Coffee Base
Start with your preferred coffee preparation method to create the foundation for our soft top creation:
- Hot or iced coffee (any variety you enjoy)
- Espresso shots (if using an espresso machine)
- Brewed coffee (regular drip coffee works perfectly)
- Cold brew (for iced soft top beverages)
For the Soft Top
Our soft top requires exact ingredients that work together to create that signature creamy foam with the perfect balance of richness and stability:
- 1/4 to 1/2 cup heavy cream or half-and-half
- 2 to 3 tablespoons buttermilk
- 2 teaspoons caster (superfine) sugar
- 1 to 2 teaspoons vanilla syrup or extract
The buttermilk adds a subtle tang that enhances the overall creaminess while helping stabilize our foam structure. Caster sugar dissolves more easily than regular granulated sugar and helps maintain the foam’s consistency. Vanilla syrup provides that aromatic sweetness that perfectly complements the tang from the buttermilk.
Instructions
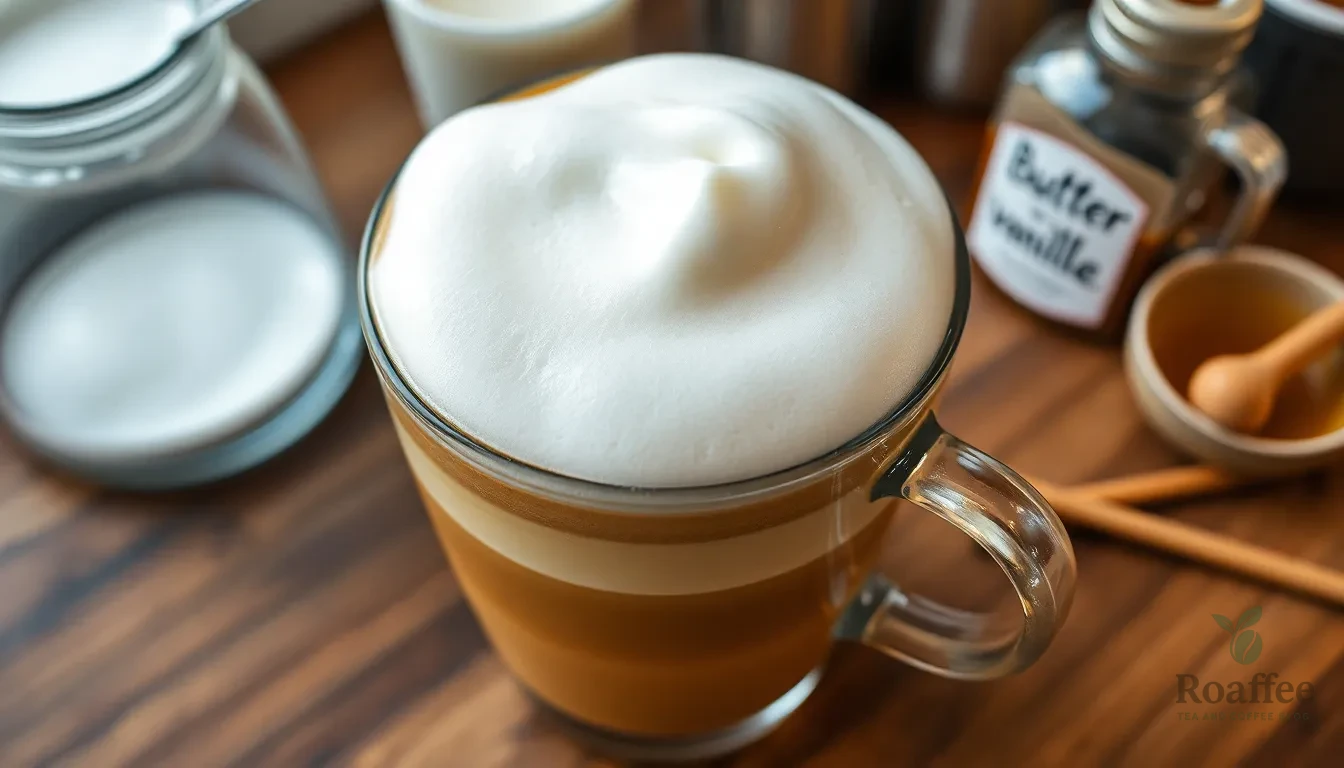
Follow these step-by-step instructions to create a luxurious soft top that transforms your everyday coffee into a café-quality experience. We’ll guide you through each stage to achieve the perfect creamy foam layer.
Prep the Coffee Base
Start by brewing your preferred coffee using any method you enjoy. Hot coffee, cold brew, or iced coffee all work beautifully as the foundation for your soft top creation. The soft top is designed to sit gracefully on top of your coffee, adding texture and creaminess without overpowering the original flavor profile.
Espresso shots provide an excellent base if you prefer a stronger coffee foundation. Pour your prepared coffee into your serving cup, leaving enough room at the top for the soft top layer we’ll create next.
Heat and Froth the Milk
Combine your dairy ingredients in a frothing container, keeping it about one-third full to accommodate volume expansion. We recommend using cold dairy ingredients for optimal frothing results, as they create better foam structure.
For a Dutch Bros-style soft top, measure 2 tablespoons of buttermilk and 3 tablespoons of half-and-half into your container. Add 1/2 teaspoon of vanilla syrup and 2 teaspoons of sugar to the mixture before frothing begins.
Use your handheld milk frother, electric whisk, or blender to create the foam. Froth the mixture for approximately 15-30 seconds until it doubles in volume and develops a light, airy texture.
Create the Perfect Soft Top Texture
Watch for the formation of soft peaks as you continue frothing. The mixture should become light, fluffy, and similar to whipped cream but with a softer consistency. Pull the frother up through the foam periodically to check the texture.
Perfect soft top foam creates peaks that curl softly over themselves without forming stiff peaks. The foam should maintain its structure while remaining smooth and creamy to the touch.
Add flavored syrups like toasted marshmallow or additional vanilla during the frothing process if you desire extra flavor complexity. The texture should feel velvety and pour smoothly when ready.
Assemble Your Coffee
Gently pour or spoon the soft top foam over your prepared coffee base. The foam will float beautifully on top of the coffee, creating an attractive layered appearance that enhances both visual appeal and taste.
Allow the foam to settle naturally on the surface without stirring. The soft top will slowly dissolve with each sip, adding a creamy texture and mellow flavor that reduces acidity and creates a smooth mouthfeel.
Serve immediately while the foam maintains its optimal texture and temperature. The sweet, creamy layer enhances your coffee experience with every sip, delivering that coveted café-quality taste at home.
Directions for Different Coffee Types

Our soft top enhances various coffee beverages with its creamy texture and subtle sweetness. Each coffee type requires exact techniques to achieve the perfect balance of foam and flavor.
Soft Top for Cappuccino
We begin by preparing a traditional cappuccino with one or two espresso shots and steamed milk. The steamed milk should create a velvety microfoam that fills about one-third of your cup. Pour our prepared soft top foam gently over the cappuccino’s surface using a spoon or by carefully tilting the container. The soft top creates a beautiful contrast with the strong espresso and complements the existing milk froth. This combination delivers a luxurious mouthfeel that enhances the cappuccino’s bold coffee flavors without overwhelming them.
Soft Top for Latte
We start with a classic latte foundation by combining espresso shots with steamed milk and a light milk froth. The latte’s smooth milk base provides the perfect canvas for our soft top addition. We add the soft top foam directly onto the surface, where it creates an extra layer of creaminess and subtle sweetness. The soft top works exceptionally well with lattes because it enhances the drink’s already smooth texture while adding a decadent element. This creates a more indulgent mouthfeel that transforms an ordinary latte into a café-quality experience.
Soft Top for Macchiato
We brew a traditional macchiato by pouring espresso over a small amount of milk froth in the cup. The macchiato’s bold espresso character requires careful soft top application to maintain its distinct layers. We add a generous dollop of soft top foam on top, which provides creamy richness that balances the intense espresso flavor. The soft top adds luxurious texture while preserving the macchiato’s signature strong coffee taste and visual appeal. This combination creates a perfect harmony between the bold espresso and the gentle creaminess of our homemade soft top.
Tips for Perfect Soft Top Consistency
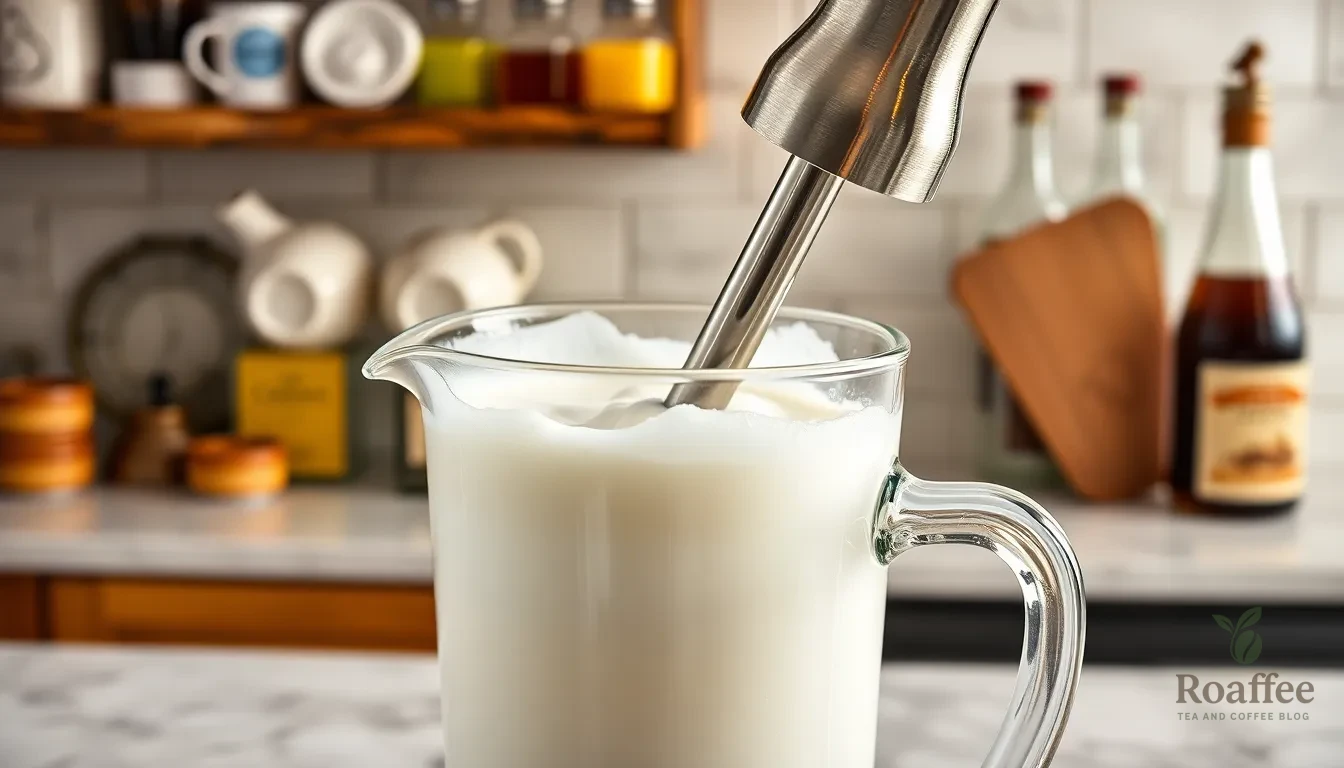
Achieving the perfect soft top consistency requires attention to several key factors that can make or break your coffee experience. We’ve discovered that using cold heavy cream produces significantly better frothing results than room temperature cream, as the cold temperature helps create more stable foam structure.
Cold heavy cream serves as our foundation for optimal texture. The lower temperature allows the proteins in the cream to bind more effectively during the frothing process, creating those coveted soft peaks that curl gently over your frother tip.
Frothing technique plays a crucial role in achieving the ideal consistency. We recommend keeping your handheld frother under the surface of the liquid throughout the entire process. This positioning produces the thick, smooth texture that distinguishes professional-quality soft top from thin, unstable foam.
| Temperature Range | Ingredient | Frothing Time | Result |
|---|---|---|---|
| Cold (35-40°F) | Heavy cream | 30-60 seconds | Optimal soft peaks |
| Room temperature | Heavy cream | 45-75 seconds | Less stable foam |
| Warm | Heavy cream | 60+ seconds | Poor consistency |
Timing matters significantly when creating soft top. We froth our mixture for 30 to 60 seconds until soft peaks form naturally. The perfect consistency appears when the cream softly curls over the frother tip rather than standing straight up like stiff peaks.
Storage becomes important for maintaining quality over time. We store our homemade soft top in an airtight container in the refrigerator for up to two days. This method preserves the texture and prevents the mixture from breaking down or developing off flavors.
Customization options allow us to enhance both flavor and consistency. Adding flavored syrups like Irish cream or vanilla not only improves taste but can also help stabilize the foam structure. We find that Torani Toasted Marshmallow syrup works particularly well for both sweetness and texture enhancement.
The soft top performs best when applied to iced coffee, cold brew, and espresso drinks. These cold beverages provide the perfect temperature contrast that helps maintain the foam’s structure longer than hot applications. We also use soft top successfully on hot chocolate and smoothies for those seeking variety beyond traditional coffee applications.
Troubleshooting Common Issues
Even with the best intentions, creating the perfect soft top can present challenges. We’ve identified the most common problems and their answers to help you achieve consistent results every time.
Too Thick or Too Thin
The consistency of your soft top depends heavily on the ratio of dairy to sweetener and your frothing technique. When your mixture turns out too thick, you’ve likely used too much cream or over-frothed the ingredients. We recommend reducing the cream slightly or cutting back on frothing time to achieve the ideal texture.
Conversely, a thin soft top usually results from insufficient dairy or under-frothing. Add an extra tablespoon of heavy cream or half-and-half to create more body. Extend your frothing time by 10-15 seconds to incorporate more air and build volume.
The syrup ratio also affects consistency significantly. Too much vanilla syrup creates a runny mixture that won’t hold its shape. Start with our recommended 1/2 teaspoon and adjust gradually to find your preferred balance between flavor and texture.
Not Holding Shape
Soft top that deflates quickly indicates improper frothing technique or temperature issues. We find that gradual frothing produces the most stable foam structure. Hold your frother close to the surface and slowly work deeper into the mixture as it expands.
Cold ingredients are essential for achieving foam that maintains its shape. Room temperature or warm dairy lacks the molecular structure needed for stable foam formation. Always use chilled heavy cream and buttermilk straight from the refrigerator.
The frothing container size matters tremendously for shape retention. Fill your jug only one-third full to allow proper expansion. Overfilling prevents adequate air incorporation and results in dense, unstable foam that collapses within minutes.
Temperature Problems
Temperature control affects every aspect of soft top creation. Warm ingredients prevent proper foam formation because the fat molecules lack the tension needed to trap air bubbles effectively. We always use cold dairy ingredients and froth at room temperature for optimal results.
Conversely, ingredients that are too cold can be difficult to froth initially. Remove your dairy from the refrigerator 5-10 minutes before frothing to achieve the ideal starting temperature. This slight warming improves frothing ability while maintaining the molecular structure needed for stable foam.
Your frothing technique should account for temperature changes during the process. Start with gentle movements and gradually increase intensity as the mixture warms slightly from friction. This progressive approach creates the smooth, uniform texture that defines perfect soft top.
Make-Ahead Instructions

We can prepare several components of our soft top coffee ahead of time to streamline our morning routine while maintaining that luxurious café-quality texture. The secret lies in understanding which elements store well and which require fresh preparation.
Our soft top mixture can be prepared up to 24 hours in advance and stored in the refrigerator. We combine the heavy cream, buttermilk, caster sugar, and vanilla syrup in a sealed container and give it a gentle stir. This pre-blended mixture actually benefits from resting time as the flavors meld together beautifully.
The frothing process must happen fresh each time we serve our coffee. Pre-frothed soft top loses its airy texture and deflates within 15 minutes of preparation. We store our prepared mixture in the coldest part of our refrigerator to maintain optimal frothing temperature.
We can also pre-brew our coffee base and store it properly for make-ahead convenience. Cold brew concentrate keeps for up to one week in the refrigerator when stored in an airtight container. Espresso shots can be prepared and stored for up to 24 hours though we recommend consuming them within 12 hours for best flavor.
| Component | Storage Time | Storage Method |
|---|---|---|
| Soft top mixture | 24 hours | Refrigerator in sealed container |
| Cold brew concentrate | 1 week | Airtight container in refrigerator |
| Espresso shots | 12-24 hours | Refrigerator in sealed container |
| Brewed coffee | 3-4 hours | Room temperature or refrigerated |
For busy mornings we portion our soft top mixture into individual serving containers. Each container holds exactly 2 tablespoons buttermilk, 3 tablespoons half-and-half, 1/2 teaspoon vanilla syrup, and 2 teaspoons caster sugar. This pre-portioning eliminates measuring time and ensures consistent results every time.
We always bring our refrigerated soft top mixture to room temperature for about 5 minutes before frothing. This slight warming improves the frothing process and helps achieve those perfect soft peaks we desire. The mixture should feel cool to the touch but not ice cold when we begin frothing.
When ready to serve we simply pour our pre-made mixture into our frothing pitcher and froth for 30 seconds using our handheld frother. The pre-blended ingredients create an even more stable foam than freshly mixed components because the sugar has fully dissolved and the flavors have integrated completely.
Storage and Serving Suggestions
We recommend storing your prepared soft top mixture in an airtight container in the refrigerator for optimal freshness. The mixture maintains its quality for up to 2 days when properly stored, allowing you to prepare it in advance for multiple coffee sessions. Before each use, we suggest bringing the mixture to room temperature for about 10 minutes to ensure easier frothing and better texture development.
Proper Storage Techniques
Our testing shows that glass containers work best for storing the soft top mixture, as they prevent flavor absorption and maintain the integrity of the dairy components. Always seal the container tightly to prevent the mixture from absorbing refrigerator odors. Label your container with the preparation date to track freshness, and never store pre-frothed soft top as it loses its airy texture within minutes.
Ideal Serving Applications
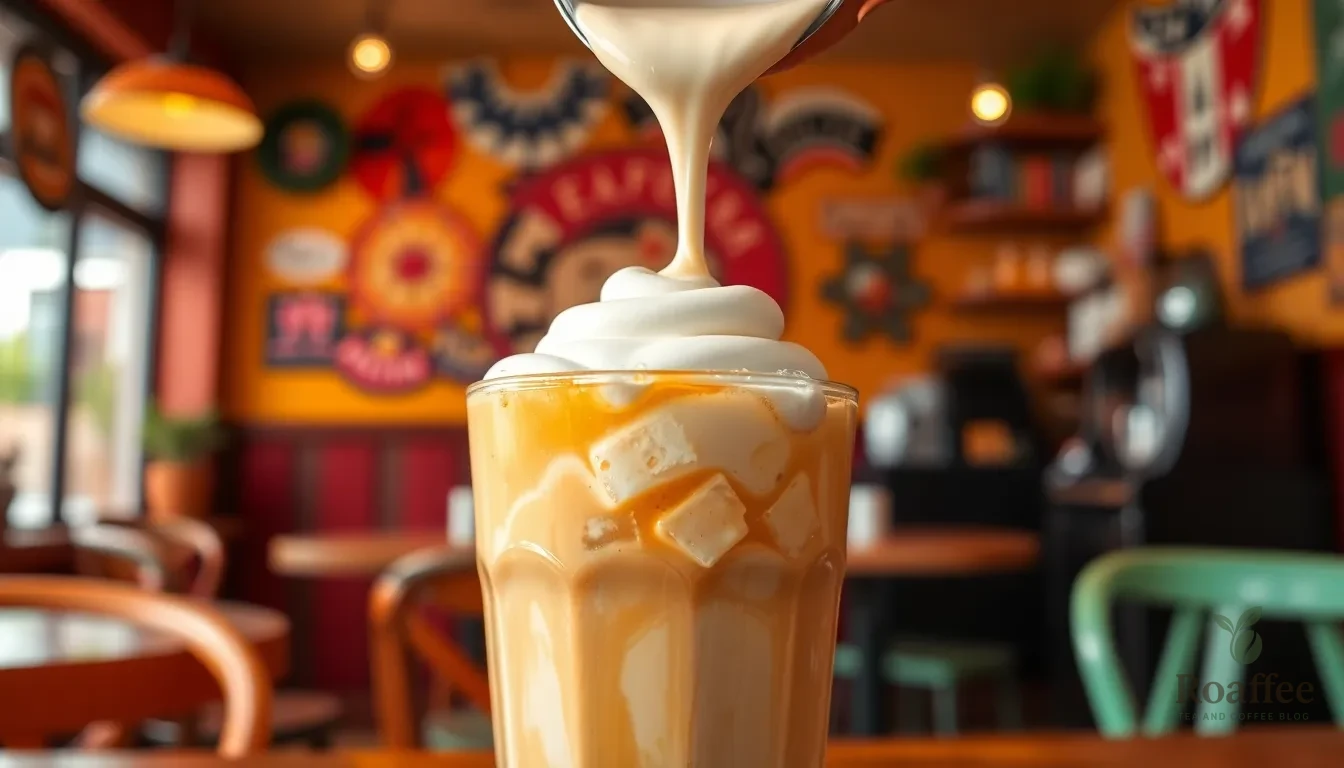
We find that soft top performs exceptionally well on iced coffee drinks, where the cool temperature prevents rapid melting and maintains the creamy texture longer. Cold brew becomes particularly luxurious when topped with our soft top mixture, as the bold coffee flavors balance beautifully with the sweet, tangy cream. Espresso-based drinks like iced macchiatos and lattes transform into café-quality beverages when we add this homemade topping.
Creative Serving Options
Beyond traditional coffee applications, we enjoy experimenting with soft top on hot chocolate, where it creates a marshmallow-like experience without the stickiness. Iced tea receives an unexpected upgrade when we add a dollop of vanilla-flavored soft top, creating a unique dessert-like beverage. Smoothies become more indulgent when we float soft top on the surface, adding both visual appeal and creamy richness to fruit-based drinks.
Serving Temperature Guidelines
| Beverage Type | Ideal Temperature | Soft Top Performance |
|---|---|---|
| Iced Coffee | 35-45°F | Excellent stability |
| Cold Brew | 32-40°F | Maximum texture retention |
| Hot Coffee | Below 140°F | Moderate melting |
| Hot Chocolate | 120-130°F | Quick incorporation |
We recommend serving soft top immediately after frothing for the best visual presentation and texture experience. The foam maintains its structure for approximately 5-10 minutes on cold beverages, giving you adequate time to enjoy the full café experience at home.
Conclusion
We’ve covered everything you need to transform your home coffee experience with the perfect soft top. From understanding the science behind creating that luxurious foam to mastering the techniques that deliver consistent results every time.
The beauty of this method lies in its simplicity and versatility. Whether you’re crafting an iced coffee masterpiece or experimenting with hot chocolate variations the fundamentals remain the same. With proper storage techniques and make-ahead tips you can streamline your morning routine without sacrificing quality.
Now it’s time to put these skills into practice. Your guests will be impressed and you’ll save money while enjoying café-quality drinks from the comfort of your kitchen. The perfect soft top awaits – grab your ingredients and start creating your signature coffee experience today.
Frequently Asked Questions
What is a soft top for coffee?
A soft top is a creamy, velvety foam layer that enhances the texture and visual appeal of coffee drinks like cappuccinos, lattes, and macchiatos. It’s created by transforming steamed milk into smooth microfoam through the introduction of air and heat, resulting in tiny, uniform bubbles that provide a rich mouthfeel and luxurious café-quality experience.
What equipment do I need to make soft top at home?
You’ll need a coffee machine or espresso maker as your foundation, a handheld milk frother for achieving the desired texture, and precise measuring tools like measuring cups and spoons. The basic kitchen equipment allows you to create café-quality foam without expensive professional equipment or specialized training.
What ingredients are required for making soft top?
For the coffee base, use your preferred method (hot/iced coffee, espresso, or cold brew). For the soft top itself, you’ll need heavy cream or half-and-half, buttermilk, caster sugar, and vanilla syrup or extract. The buttermilk adds tang and stability, while caster sugar dissolves easily for smooth consistency.
What’s the ideal milk temperature for frothing?
The optimal temperature for frothing milk is approximately 150-160°F. Using cold dairy initially provides better frothing results, and whole milk yields the best foam due to its higher fat content. Temperature control is critical for achieving the perfect texture and preventing the foam from deflating quickly.
How long can I store the soft top mixture?
The soft top mixture can be prepared up to 24 hours in advance and stored in airtight glass containers in the refrigerator for up to 2 days. However, the frothing process should be done fresh, as pre-frothed soft top loses its texture quickly. Bring the mixture to room temperature before frothing for best results.
Which coffee types work best with soft top?
Soft top performs exceptionally well on iced coffee, cold brew, and espresso drinks. It can enhance cappuccinos by creating beautiful contrast, add extra creaminess to lattes, and balance the intense flavor in macchiatos. You can also use it creatively on hot chocolate, iced tea, and smoothies for variety.
How do I troubleshoot soft top consistency issues?
If your soft top isn’t holding its shape, ensure you’re using cold ingredients and proper frothing technique. Adjust the dairy-to-sweetener ratio if needed, and don’t overfill your frothing container—keep it about one-third full to accommodate volume increases. Focus on achieving soft peaks with light, airy texture.
Can I make soft top without expensive equipment?
Yes! You can create café-quality soft top using common kitchen tools like a French press or even a jar. The article emphasizes that mastering this skill doesn’t require expensive equipment or professional training—just simple techniques and the right ingredients to elevate your home coffee experience.
