Nothing beats the rich aroma of freshly roasted coffee beans filling your kitchen. We’ve all experienced that moment when you open a bag of premium coffee and wonder how those perfect beans achieved their deep color and complex flavor profile. The secret lies in the roasting process – and you don’t need expensive equipment to master it at home.
Roasting your own coffee beans transforms ordinary green beans into the aromatic treasures we crave every morning. We’ll guide you through the essential techniques that turn raw coffee into liquid gold. Whether you’re using a simple skillet or investing in a dedicated roaster, understanding the fundamentals makes all the difference.
The journey from green to brown isn’t just about heat – it’s about timing, temperature control, and recognizing the subtle cues that indicate perfect roasting. Once you master these basics, you’ll never want to buy pre-roasted beans again.
Equipment Needed
Roasting coffee beans at home requires surprisingly minimal equipment to get started. We’ll guide you through the essential tools and helpful additions that will elevate your home roasting experience.
Essential Roasting Equipment
Roasting Vessel
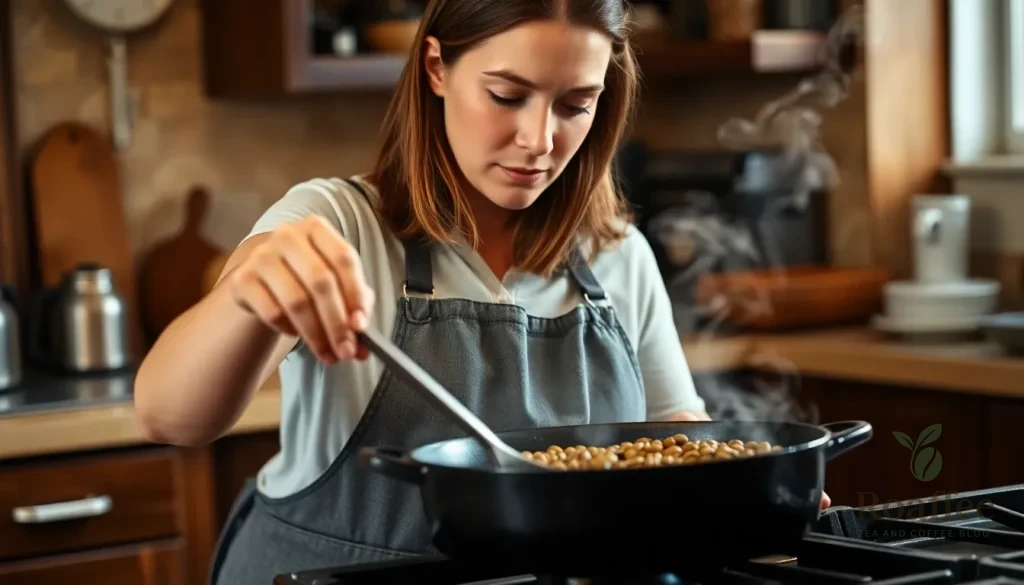
We recommend starting with a cast iron skillet or heavy-bottomed pan as your primary roasting vessel. These distribute heat evenly and maintain consistent temperatures throughout the roasting process. Alternatively, a popcorn popper (hot air type) works exceptionally well for beginners and provides excellent airflow control.
Heat Source
A gas stove offers the best temperature control for skillet roasting. Electric stoves work but require more attention to prevent overheating. Outdoor gas grills provide excellent ventilation and high heat capacity for larger batches.
Wooden Spoon or Spatula
Constant stirring prevents uneven roasting and scorching. We prefer wooden utensils as they won’t conduct heat or scratch your roasting vessel. A long-handled spoon keeps your hands safely away from the hot surface.
Colander or Cooling Tray
Rapid cooling stops the roasting process at the perfect moment. Two metal colanders work perfectly for tossing beans back and forth. A large baking sheet also serves this purpose effectively.
Timer
Precise timing determines roast levels and consistency. We use a digital timer to track each stage of the roasting process. This becomes crucial when developing your preferred roast profiles.
Optional Tools for Better Results
Kitchen Scale
Measuring beans by weight ensures consistent batch sizes and repeatable results. We recommend a scale that measures in grams for precision. This tool helps track your bean-to-final-product ratios.
Thermometer
An infrared thermometer monitors bean temperature during roasting. This tool helps identify first crack and second crack temperatures. We find this particularly useful for developing consistent roast profiles.
Fine Mesh Strainer
Removing chaff becomes easier with a fine mesh strainer after cooling. This tool helps clean your beans and prevents chaff from affecting flavor. We use this step for a cleaner final product.
Storage Containers
Airtight containers preserve freshness after roasting. Glass jars with tight-fitting lids work excellently for short-term storage. We recommend containers that block light to maintain bean quality.
Notebook or App
Recording roast times and temperatures helps replicate successful batches. We track bean origins, roast levels, and tasting notes. This documentation becomes invaluable for improving your technique.
Ingredients
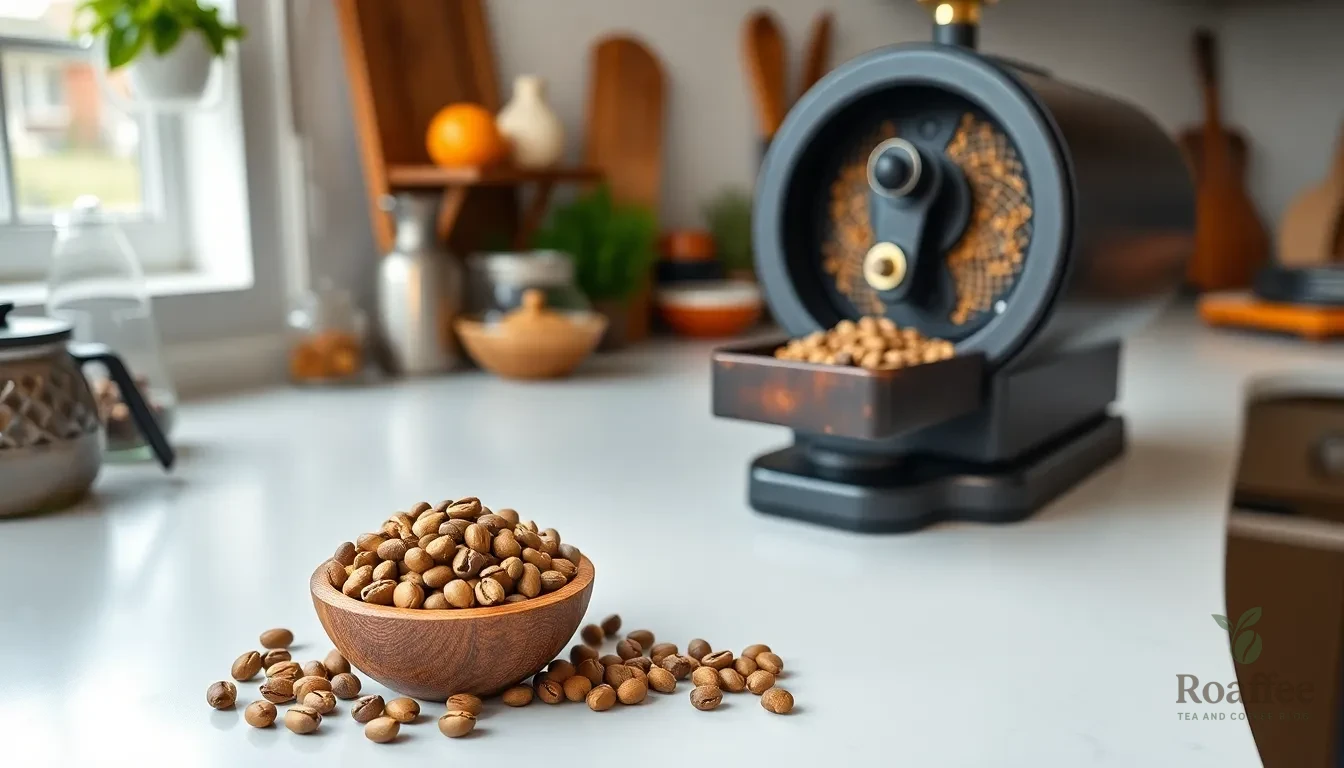
We need surprisingly few ingredients to roast coffee beans at home. Our primary requirement is high-quality green coffee beans, which serve as the foundation for our roasting journey.
Essential Ingredients
- ½ pound (227 g) green coffee beans – This quantity works perfectly for most home roasting equipment and provides enough beans for multiple brewing sessions
- Optional: Small amount of vegetable oil – Only needed if using certain roasting methods that require minimal lubrication
Green Coffee Bean Selection
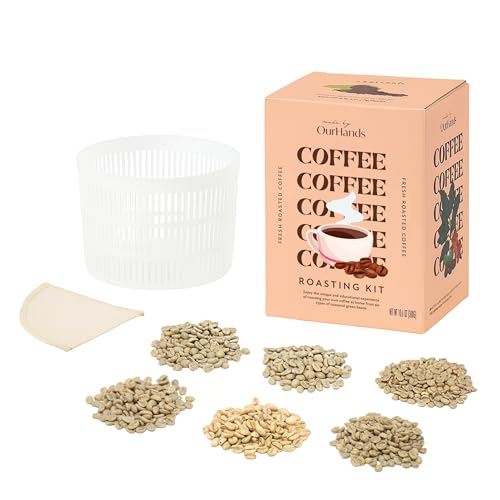
We recommend starting with single-origin green coffee beans for consistent results. These unroasted beans should appear uniform in size and color, with a fresh, grassy aroma that indicates proper storage and handling.
| Bean Characteristics | What to Look For |
|---|---|
| Moisture Content | Approximately 10% for optimal roasting |
| Color | Consistent green hue without brown spots |
| Size | Uniform bean size for even roasting |
| Aroma | Fresh, grassy scent without musty odors |
Quantity Considerations
We suggest roasting in small batches of ½ pound or less to maintain control over the roasting process. This amount allows our equipment to heat the beans evenly while preventing overcrowding that could lead to uneven roasting results.
The beauty of home roasting lies in its simplicity. We transform these basic green beans through careful application of heat and timing, creating the complex flavors and aromas that make exceptional coffee.
Preparation Steps
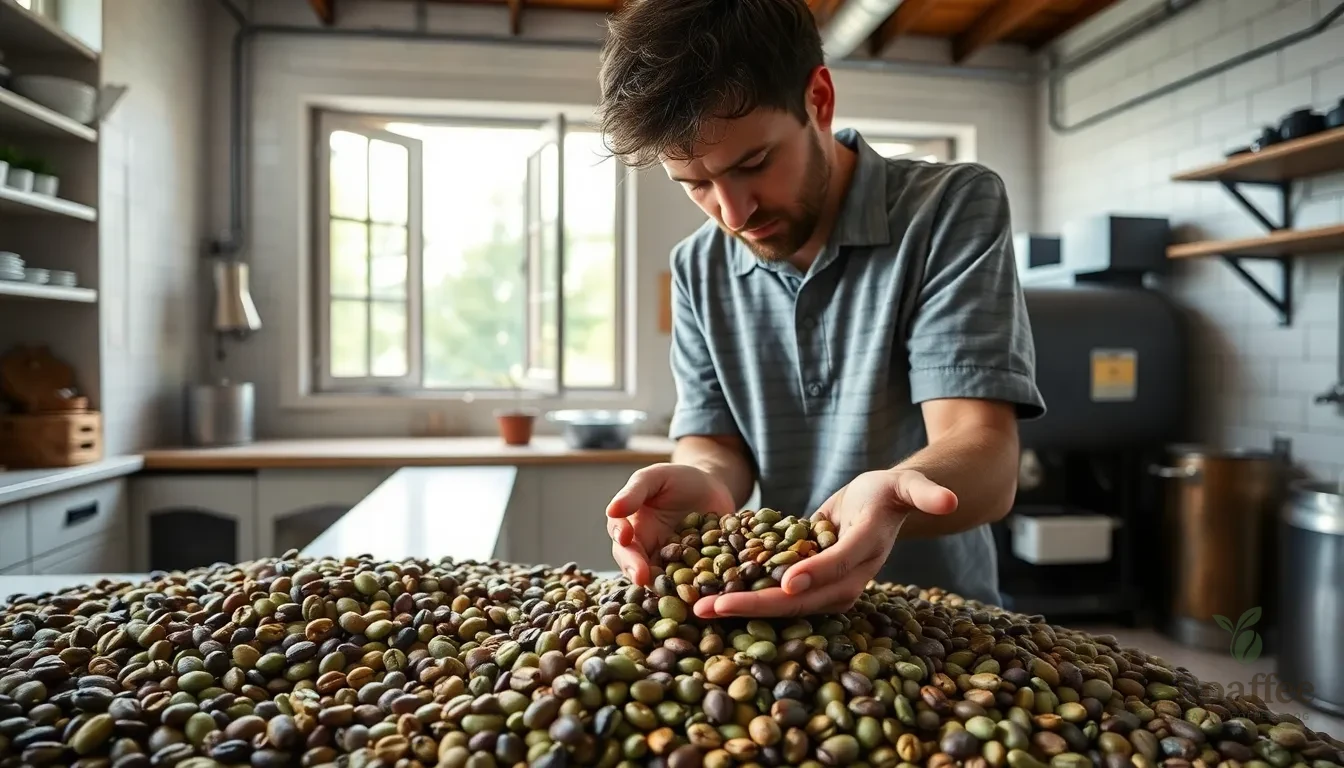
Before we begin roasting our coffee beans, we need to complete essential preparation steps that ensure consistent and flavorful results. These preliminary tasks set the foundation for successful home roasting.
Selecting Your Green Coffee Beans
We recommend starting with high-quality, raw green coffee beans sourced from regions or varieties that match our flavor preferences. The quality of our final roast depends heavily on bean origin and the condition of our green beans.
Our beans should be fresh, uniform in size and color, and completely free of defects to achieve consistent roasting results. We look for beans that maintain their natural green hue without any discoloration or visible damage.
The moisture content of our green beans should be around 10% to ensure proper roasting. Fresh beans emit a subtle grassy scent that indicates they’re ready for roasting.
We choose beans that are uniform in size to prevent uneven roasting during the process. Consistent sizing allows all beans to roast at the same rate and reach the desired level simultaneously.
Setting Up Your Roasting Space
Ventilation remains our top priority when preparing our roasting space. Coffee roasting produces smoke and chaff (silverskin flakes), so we need a well-ventilated area with proper airflow.
We ideally roast outdoors or in a kitchen with open windows and extractor fans running. Indoor roasting without adequate ventilation can quickly fill our space with smoke and create an unpleasant environment.
Our roasting space requires enough room to handle equipment safely and to cool the beans after roasting. We ensure we have adequate counter space and access to our cooling equipment.
Weather and ambient temperature directly affect our roasting times. Colder or humid air can extend roast time, so we adjust our approach based on environmental conditions.
We position our roasting equipment away from smoke detectors and ensure we have easy access to all tools we’ll need during the process. Our workspace should be clean and organized before we begin roasting.
Instructions
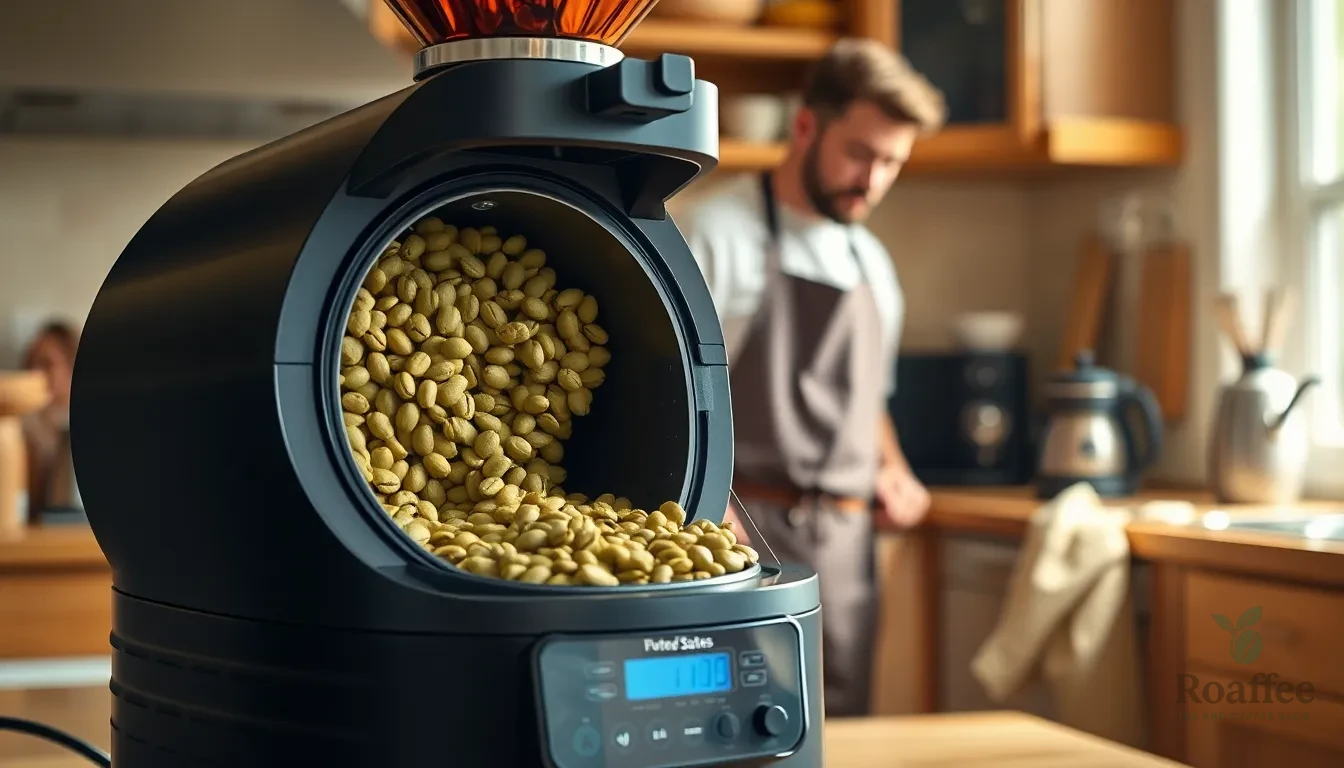
With our equipment ready and beans selected, we’ll guide you through the step-by-step process of roasting coffee beans at home. Follow these detailed instructions to achieve consistent and flavorful results.
Pre-Heating Your Equipment
Start by preheating your roasting device to the appropriate temperature before adding any beans. For home coffee roasters, we recommend heating to 220°C (430°F) for optimal results. Oven users should preheat to 375°F (190°C) instead.
Proper preheating ensures the beans begin roasting immediately upon contact with heat. This prevents uneven roasting and creates the consistent heat distribution essential for quality results. Allow your equipment to reach the target temperature completely before proceeding to the next step.
Loading the Beans
Weigh your green coffee beans to ensure consistent batch size for repeatable results. We recommend starting with 100 grams for home roasting, though this varies based on your roaster’s capacity. Measure carefully since batch consistency directly affects roasting quality.
Load the beans into your preheated roaster or spread them evenly across a baking sheet if using an oven. The beans initially contain about 10% moisture content, which must be carefully dried during the roasting process. Distribute them in a single layer to ensure even heat exposure.
Monitoring the Roasting Process
The roasting process consists of three distinct stages that require careful monitoring:
| Stage | Temperature Range | Duration | Key Characteristics |
|---|---|---|---|
| Drying Stage | Up to 160°C | Up to 8 minutes | Beans turn from green to yellow |
| Roasting (Browning) Stage | 200-230°C | Up to 15 minutes | Maillard reaction occurs, first crack heard |
| Development Stage | Varies by desired roast | 2-5 minutes | Second crack may occur, final flavor development |
Drying Stage: Heat the beans to approximately 160°C to remove moisture content. The beans transform from green to yellow during this phase. Proper drying prevents burning and prepares the beans for flavor development.
Roasting (Browning) Stage: Temperature increases to 200-230°C as the Maillard reaction begins. Sugars and amino acids react to create the distinctive aromas and flavors we associate with roasted coffee. Listen for the “first crack,” a distinct popping sound indicating the beans are expanding as moisture evaporates.
Development Stage: This final stage determines your roast level through careful temperature and timing control. Monitor the rate of temperature rise and listen for additional cracks to identify your desired roast level. The beans progress through color changes from yellow to light brown to dark brown.
Use tools like temperature probes and roasting software such as Artisan to control the roasting curve and optimize flavor development throughout the process.
Recognizing Roast Levels
Understanding roast levels helps you achieve your preferred flavor profile:
Light Roast: Stop roasting just past the first crack when beans appear light brown. This roast level preserves more acidity and complex flavors while maintaining the beans’ origin characteristics.
Medium Roast: Continue roasting between the first and second crack for balanced acidity and body. This level offers the most versatile flavor profile for various brewing methods.
Dark Roast: Roast at or past the second crack until beans become dark brown or black. These beans develop more bitter and smoky flavors with reduced acidity and origin characteristics.
Each roast level significantly affects the coffee’s final flavor profile, aroma intensity, and body weight. Choose based on your taste preferences and intended brewing method.
Roasting Stages
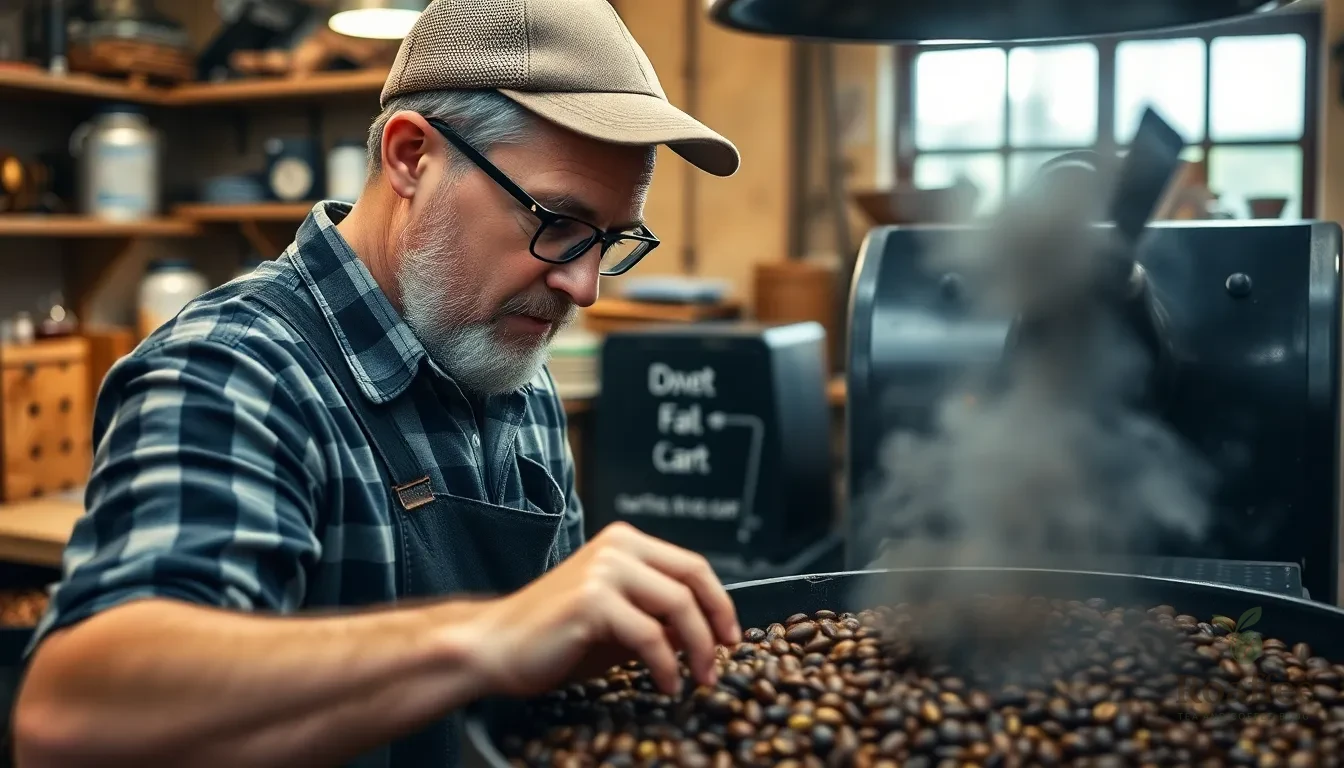
Understanding the four distinct stages of coffee roasting allows us to control the flavor development process precisely. Each stage brings unique transformations that determine our final cup’s character.
Drying Phase
Green coffee beans contain approximately 10% moisture that must be evaporated before proper roasting begins. We heat the beans to around 160°C inside our roasting vessel for up to 8 minutes during this initial stage. The beans transform from their original green color to a yellowish hue as moisture escapes. This stage prepares the beans for further roasting without burning the delicate cellular structure.
First Crack
Internal moisture vaporizes into steam as we continue heating, building pressure until the beans crack audibly. This first crack occurs at temperatures around 196°C-204°C and marks a important chemical transformation called the Maillard reaction. Amino acids and sugars react during this stage, producing hundreds of flavor and aroma compounds that define our coffee’s character. The beans signal they’re nearing an edible state with developing complex aromas.
Development Phase
Immediately after the first crack, we enter the development phase where careful control shapes our coffee’s final flavor profile. We manipulate temperature, airflow, and time to caramelize sugars and balance acidity, sweetness, and body. This phase influences whether our coffee will be light, medium, or dark roasted. Temperature ranges from 200-230°C during this critical stage that typically lasts up to 15 minutes.
Second Crack
Continued roasting brings the beans to the second crack stage at approximately 224°C. The bean’s cellulose structure breaks down further, oils surface, and a darker roasted character develops. We hear the audible second crack signaling a darker roast profile, but this stage requires careful monitoring to avoid burning or even igniting the beans. Once we achieve our desired roast level, we rapidly cool the beans to stop the roasting process and preserve the developed flavors.
Cooling and Storage
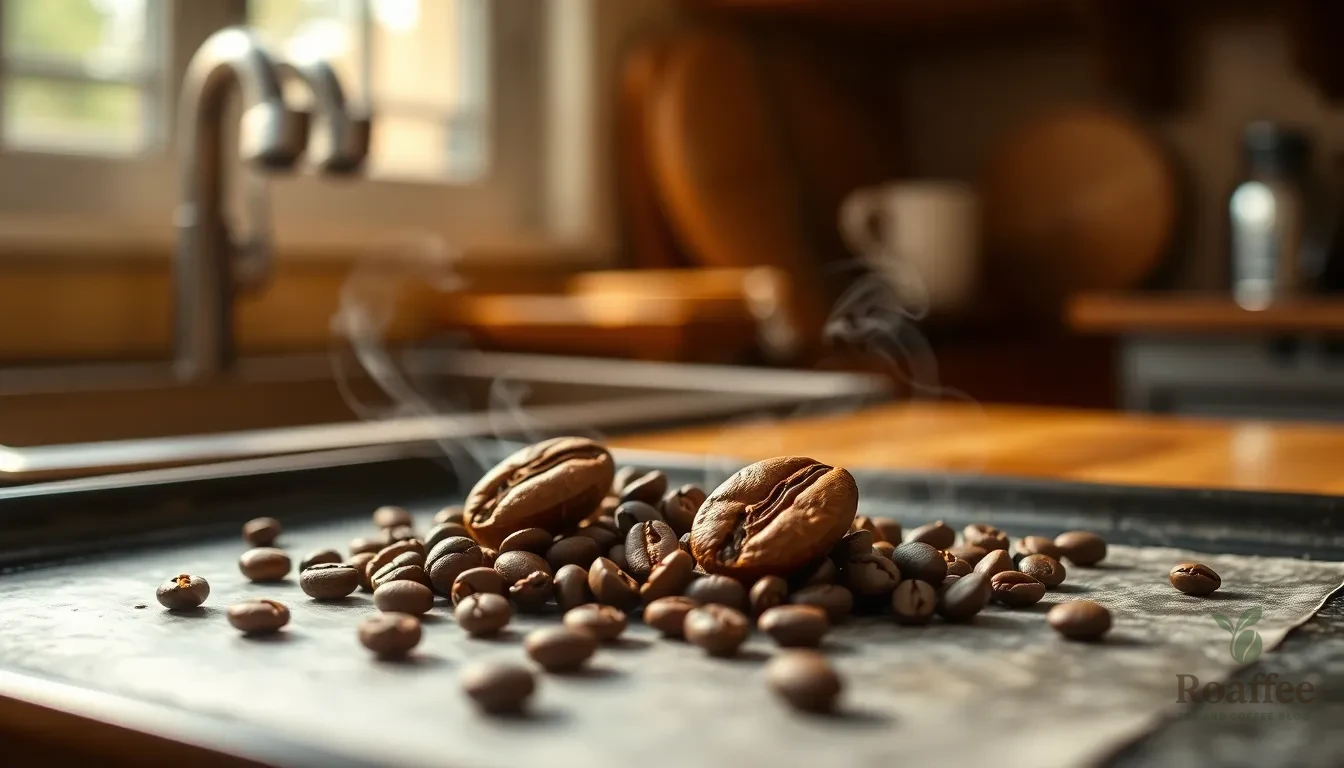
After completing the roasting process, we must act quickly to preserve the complex flavors and aromas we’ve developed. The cooling and storage phases are just as critical as the roasting itself for achieving exceptional coffee quality.
Proper Cooling Techniques
We need to cool our freshly roasted beans immediately to halt the roasting process and prevent over-roasting. Transfer the hot beans to a cooling tray where air circulation can work effectively, or use external fans to accelerate the cooling process.
Rapid cooling preserves the delicate flavors and aromas that developed during roasting. We recommend circulating air around the beans using a fan or by gently shaking the cooling tray to ensure even temperature reduction throughout the batch.
Once our beans reach room temperature, we must allow them to rest or “degass” for optimal flavor development. This resting period should last at least 12 hours, though we can extend it up to two or three days for home-roasted beans to achieve full flavor maturation.
Storage Guidelines
We store our roasted coffee beans in airtight containers placed in cool, dry, and dark locations to minimize exposure to oxygen, moisture, heat, and light. These elements degrade coffee quality and diminish the flavors we worked so hard to develop.
| Storage Factor | Recommendation | Duration |
|---|---|---|
| Temperature | Room temperature | Optimal freshness |
| Humidity | Low humidity environment | Prevent moisture damage |
| Light exposure | Dark storage area | Preserve flavor compounds |
| Air exposure | Airtight containers | Up to 6 weeks freshness |
Refrigeration or freezing introduces moisture and unwanted odors that affect taste, so we avoid these storage methods entirely. Our properly stored roasted beans maintain freshness and flavor optimally for up to six weeks after roasting.
We keep rested coffee beans at room temperature with low humidity before any longer-term storage to ensure the best flavor retention. This approach maximizes the quality of our home-roasted coffee and preserves the unique characteristics we’ve carefully developed through our roasting process.
Troubleshooting Common Issues
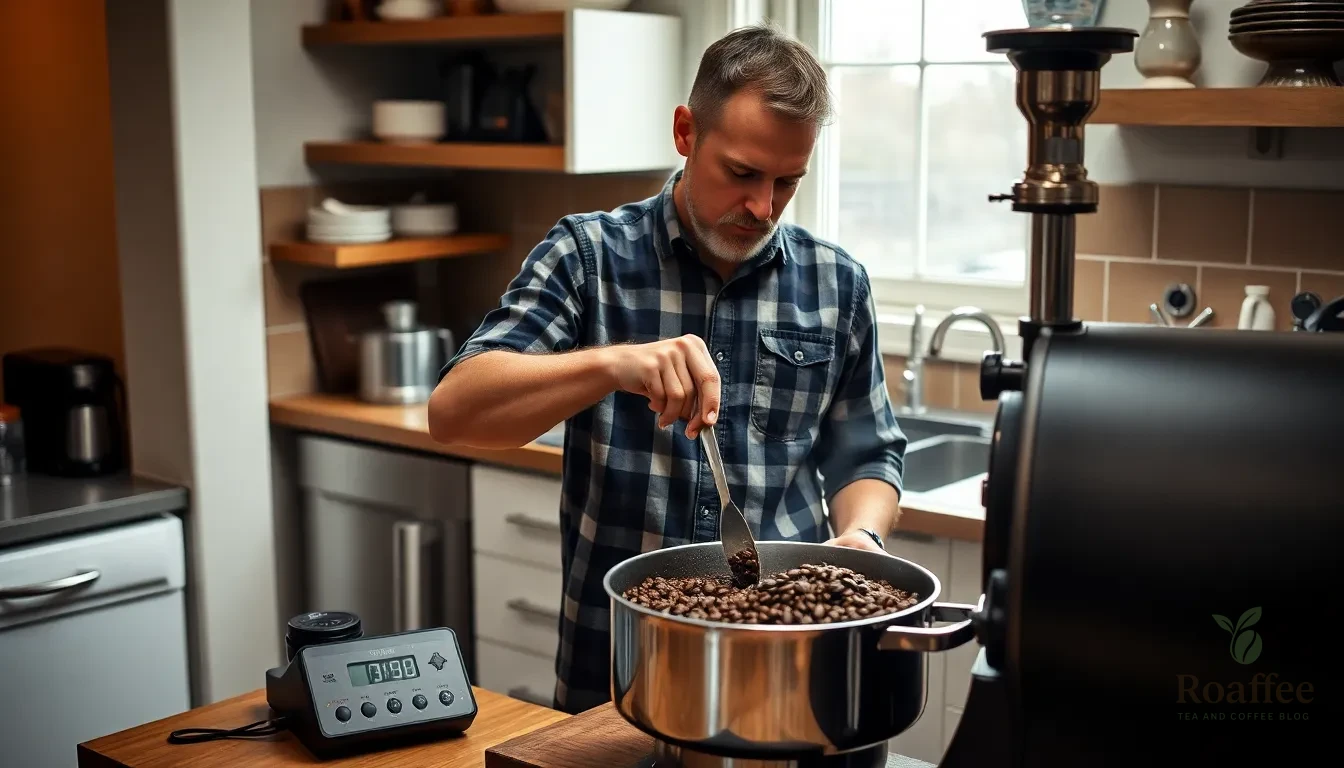
Even experienced home roasters encounter challenges during the roasting process. Understanding these common problems and their answers helps us achieve consistent results with every batch.
Uneven Roasting
Uneven roasting occurs when heat distribution fails to reach all beans uniformly during the roasting process. This inconsistency results in some beans appearing lighter or darker than others within the same batch.
We can prevent uneven roasting by ensuring our equipment maintains consistent heat throughout the roasting chamber. Proper agitation becomes critical during the roasting process as beans need constant movement to receive equal heat exposure. Stirring continuously with our wooden spoon or spatula helps distribute heat evenly across all beans.
Our roasting equipment requires regular calibration to maintain optimal performance. We should roast within the recommended load capacity of our chosen roasting method to avoid overcrowding the roasting surface. Quality roasting machines designed for uniform heat distribution provide the best results for achieving consistent roast levels.
| Roasting Method | Maximum Batch Size | Agitation Frequency |
|---|---|---|
| Pan Roasting | ½ pound | Every 30 seconds |
| Hot Air Popper | ¼ pound | Continuous |
| Drum Roaster | 1 pound | Every 45 seconds |
Over-Roasting Problems
Over-roasting creates bitter or burnt flavors that mask the natural characteristics of our coffee beans. This problem typically stems from excessive heat application or extending the roasting time beyond the optimal roast level.
We must monitor temperature precisely throughout the entire roasting process to avoid exceeding our desired roast profile. Maintaining detailed logs of our roasting profiles allows us to replicate successful roasts and identify problematic patterns. Temperature control becomes especially important during the development phase when chemical changes occur rapidly.
Investing in roasters with built-in temperature control systems and automatic shut-off features helps prevent accidental burning. We should establish clear timing protocols for each roast level to avoid extending the roasting process beyond optimal parameters. Digital timers provide the precision needed to stop roasting at the perfect moment.
Under-Roasting Issues
Under-roasting produces sour, grassy, or bland flavors that fail to develop the complex characteristics we expect from properly roasted coffee. This problem occurs when beans receive insufficient roasting time or temperatures remain too low during critical development stages.
We need to ensure our beans reach the proper roast development stage by carefully extending roasting time when necessary. Adjusting heat settings allows for the essential chemical changes that transform green coffee beans into flavorful roasted coffee. The first crack serves as our primary indicator that roasting has progressed sufficiently.
Paying attention to the exact characteristics of our green beans helps us optimize the roast level for each variety. Different bean origins require varying roasting approaches to achieve their full flavor potential. We should extend the development phase when beans show signs of under-development such as pale color or lack of aromatic compounds.
Make-Ahead Tips
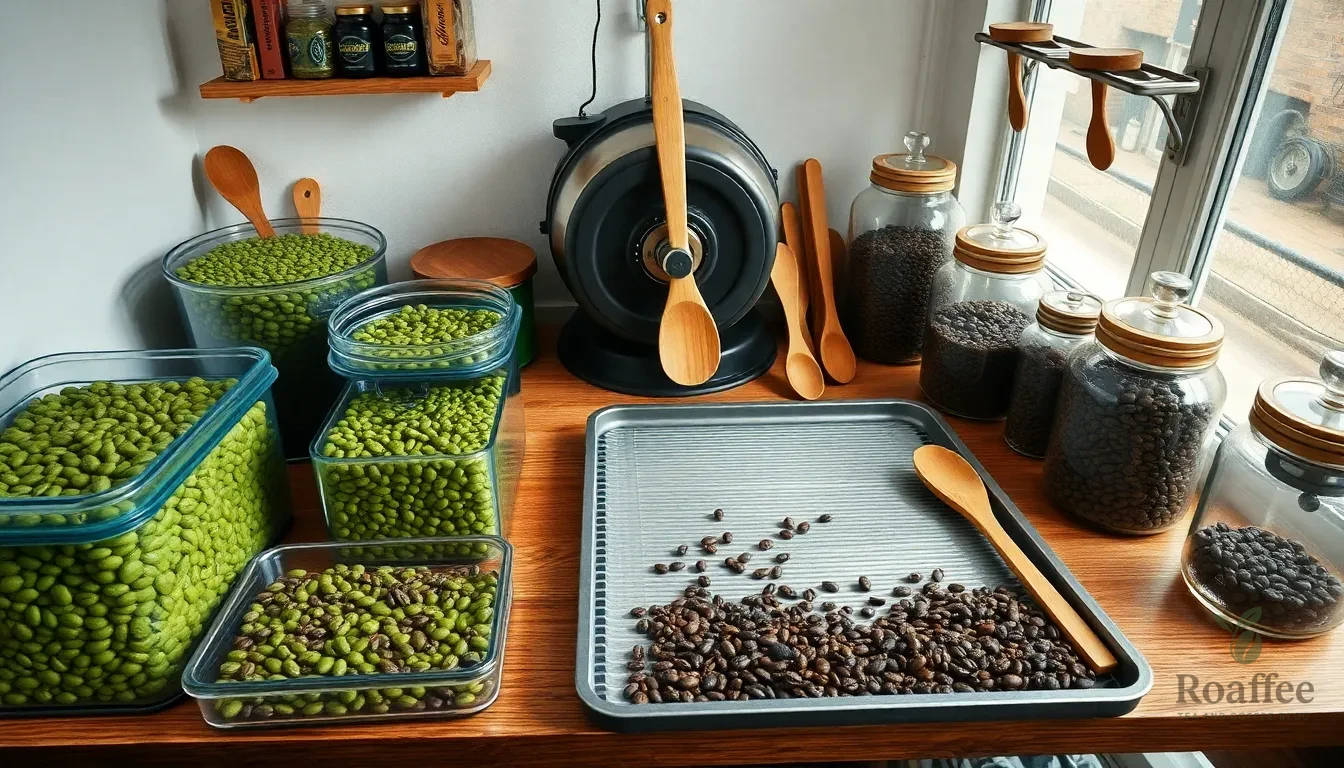
Planning ahead transforms your coffee roasting experience from chaotic to controlled. We recommend ordering green coffee beans in advance since they maintain their quality for up to 12 months when stored properly in a cool, dry place. This extended shelf life allows us to purchase beans in bulk and experiment with different origins throughout the year.
Setting up your roasting space beforehand eliminates last-minute scrambling. We suggest designating a exact area with proper ventilation and organizing all equipment before you begin. Having your cooling tray, wooden spoons, and storage containers ready ensures smooth transitions between roasting stages.
Batch planning maximizes efficiency and consistency. We recommend roasting multiple small batches of ½ pound each during one session rather than attempting larger quantities. This approach lets us maintain better control over each roast while building up our coffee supply for the coming weeks.
Pre-roast bean preparation saves valuable time during the actual roasting process. We always inspect and sort our green beans 24 hours before roasting, removing any defective or discolored beans. This quality control step ensures even roasting and prevents off-flavors from compromising our final product.
Environmental considerations play a crucial role in successful roasting. We check weather conditions and plan indoor roasting sessions during stable temperatures between 68-72°F. Outdoor roasting works best on calm days with minimal wind, allowing for consistent heat distribution throughout the process.
Creating flavor profiles in advance helps us achieve repeatable results. We document our preferred roast levels and timing for different bean origins, building a reference guide for future roasting sessions. This systematic approach eliminates guesswork and ensures we can recreate our favorite flavors consistently.
Storage container preparation streamlines the post-roasting process. We clean and thoroughly dry our airtight containers before roasting day, ensuring no residual moisture or odors affect our freshly roasted beans. Having these containers ready allows immediate transfer of cooled beans, preserving their optimal flavor development.
Conclusion
We’ve equipped you with everything needed to start your home coffee roasting journey. From selecting quality green beans to mastering the four roasting stages your path to exceptional coffee is now clear.
Remember that practice makes perfect when it comes to roasting. Each batch teaches you something new about heat control timing and flavor development. Don’t be discouraged if your first few attempts aren’t perfect – even experienced roasters continue learning.
The investment in home roasting pays dividends in both flavor and satisfaction. You’ll never look at store-bought coffee the same way once you’ve tasted the difference freshly roasted beans make. Your morning cup will transform from routine to ritual.
Start small experiment often and trust your senses. Your taste buds will guide you toward the perfect roast profile that matches your preferences perfectly.
Frequently Asked Questions
What equipment do I need to start roasting coffee beans at home?
You need minimal equipment to begin home roasting. A cast iron skillet or hot air popcorn popper serves as your primary roasting vessel. Essential tools include a wooden spoon for stirring, a colander for cooling, and a digital timer. Optional but helpful items are a kitchen scale, thermometer, fine mesh strainer, airtight storage containers, and a notebook for tracking roast profiles.
How much green coffee should I roast at once?
Start with ½ pound or less of green coffee beans per batch. Smaller batches allow better control over the roasting process and ensure even heat distribution. This quantity is manageable for beginners and helps you develop your roasting skills while maintaining consistent results throughout the batch.
What should I look for when buying green coffee beans?
Choose high-quality, single-origin green coffee beans that are uniform in size and color. Look for beans with approximately 10% moisture content, a consistent green hue, and a fresh, grassy scent. Avoid beans with visible defects, irregular sizes, or stale odors, as these factors can negatively impact your final roasted coffee quality.
How do I know when my coffee beans are properly roasted?
Listen for the “first crack” and “second crack” sounds during roasting. First crack indicates light to medium roasts, while second crack signals darker roasts. Visual cues include color changes from green to yellow to brown. The beans should also develop a coffee-like aroma and lose their grassy smell during the roasting process.
How should I cool and store my freshly roasted coffee beans?
Cool beans immediately after roasting using a cooling tray or external fans to prevent over-roasting. Let them rest for at least 12 hours before brewing to allow optimal flavor development. Store in airtight containers in cool, dry, dark locations. Avoid refrigeration or freezing, and use within six weeks for best quality.
What are the main stages of coffee roasting?
The four main stages are: drying phase (evaporating moisture), first crack (beginning of flavor development), development phase (flavor manipulation through temperature and time control), and second crack (transition to darker roasts). Each stage has specific temperature ranges and characteristics that influence your coffee’s final flavor profile.
How can I prevent uneven roasting?
Ensure consistent heat distribution and proper agitation throughout the roasting process. Use a wooden spoon to stir beans regularly, maintain steady heat levels, and roast in small batches. Pre-heat your equipment properly and create a well-ventilated roasting space to maintain consistent environmental conditions during the roasting process.
What’s the best way to prepare for a home roasting session?
Order green coffee beans in advance and set up your roasting space beforehand. Ensure proper ventilation by opening windows or using extractor fans. Plan to roast multiple small batches for efficiency, prepare your cooling equipment, and have storage containers ready. Consider weather conditions and ambient temperature, as these factors can affect roasting times.

