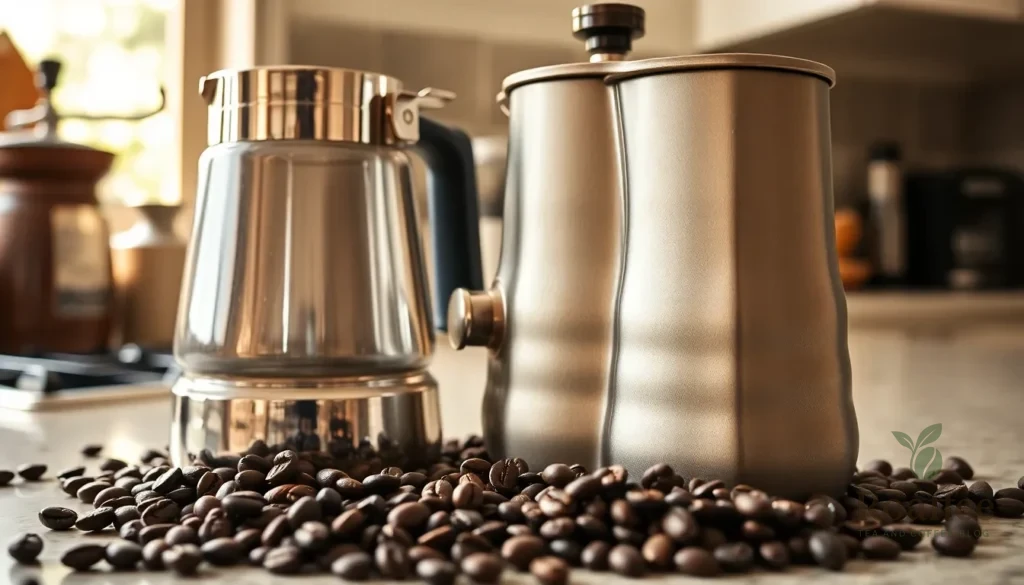
There’s something truly magical about the rhythmic bubbling sound of a percolator brewing coffee on a quiet morning. This classic brewing method has been making rich, robust coffee for over a century, and we’re excited to share why it’s making such a strong comeback in today’s coffee culture.
Percolator coffee isn’t just about nostalgia – it’s about creating a bold, full-bodied cup that modern drip machines simply can’t match. The unique brewing process circulates hot water through coffee grounds multiple times, extracting deep flavors and creating that distinctive strength coffee lovers crave.
Whether you’ve inherited your grandmother’s stovetop percolator or you’re curious about trying this time-tested method, we’ll guide you through every step of the process. From selecting the right grind size to mastering the perfect brewing time, you’ll discover how to create café-quality coffee that rivals any expensive coffee shop brew.
What You’ll Need
Before we jump into the brewing process, let’s gather all the essential equipment and ingredients required for making exceptional percolator coffee. Having everything prepared beforehand ensures a smooth brewing experience and consistent results.
Equipment
We recommend using a stovetop percolator for the most authentic brewing experience. The percolator should have a clear glass knob or transparent section so we can monitor the brewing process. A reliable heat source like a gas or electric stovetop works best for controlling temperature.
Essential equipment includes:
- Stovetop percolator (6 to 12 cup capacity)
- Heat source (gas or electric stovetop)
- Coffee grinder (burr grinder preferred)
- Measuring spoons
- Timer
- Heat resistant gloves or pot holders
- Clean kitchen towel
Ingredients
Quality coffee beans form the foundation of great percolator coffee. We need coarsely ground coffee to prevent over extraction and bitter flavors. Fresh, cold water creates the cleanest taste profile.
Required ingredients include:
- Whole coffee beans (medium to dark roast recommended)
- Cold, filtered water
- Optional: sugar, cream, or milk for serving
The coffee to water ratio should be approximately 1 tablespoon of coarsely ground coffee per 6 ounces of water. This ratio can be adjusted based on personal taste preferences for stronger or milder coffee.
Preparing Your Percolator
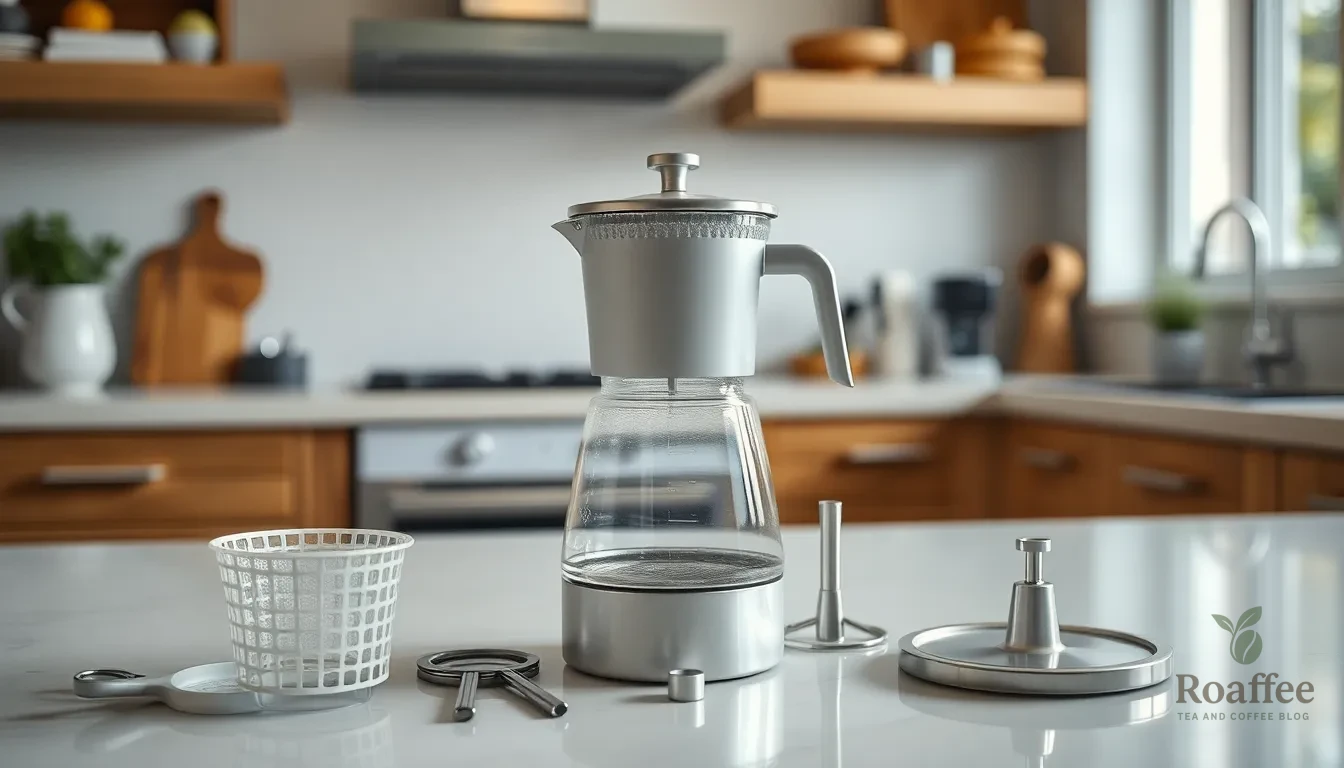
Before we begin brewing our perfect cup of coffee, proper preparation ensures optimal flavor extraction and consistent results. Let’s walk through the essential steps to get your percolator ready for brewing.
Cleaning the Percolator
We always start with a clean percolator to prevent any residual flavors from affecting our fresh brew. Disassemble all removable parts including the filter basket, stem, and spreader plate. Wash each component thoroughly with warm soapy water to remove any coffee oils or residue buildup.
For deeper cleaning or stubborn stains, we recommend running a brewing cycle with a baking soda solution or vinegar-water mixture. This process removes mineral deposits and coffee stains that can impact flavor. After cleaning, rinse all parts thoroughly with fresh water to eliminate any cleaning solution residue.
Dry each component completely before reassembling to prevent water spots and ensure proper function. We suggest air drying or using a clean towel to speed up the process.
Assembling the Parts
Start by placing the percolator tube into the bottom of the water chamber, ensuring it sits securely in the center. The tube should extend from the bottom of the percolator to near the top without touching the lid.
Next, slide the filter basket down the tube until it rests snugly in its designated position. The basket should sit level and stable to ensure even water distribution during brewing.
Position the spreader plate on top of the tube if your percolator includes one. This component helps distribute the hot water evenly over the coffee grounds for consistent extraction.
Finally, secure the lid according to your manufacturer’s instructions. We emphasize proper fitting to prevent leaks and ensure the percolation process works correctly. Check that all seals are tight and the lid locks firmly in place before proceeding to add water and coffee grounds.
Measuring Coffee and Water
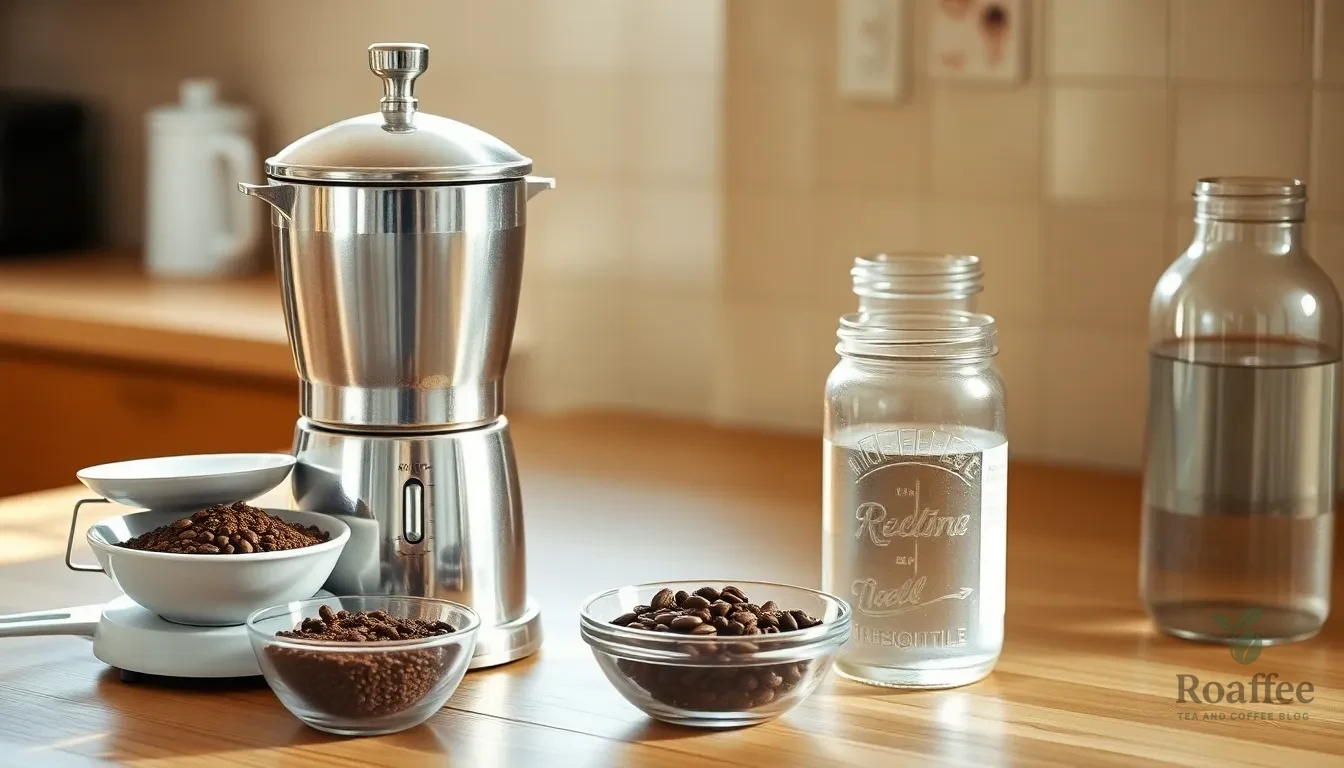
Precise measurements form the foundation of exceptional percolator coffee. We achieve the best results by using accurate ratios and proper preparation techniques.
Coffee to Water Ratio
We recommend using a kitchen scale for the most accurate measurements when brewing percolator coffee. A standard ratio of 30 grams of ground coffee to 500 grams of water (approximately 2 cups) produces a well-balanced brew that showcases the percolator’s unique characteristics.
The traditional measurement of 1 tablespoon of coffee per 1 cup of water translates to a weight ratio of approximately 1:16 to 1:18. This ratio delivers a robust flavor profile that percolator enthusiasts appreciate without overwhelming bitterness.
| Coffee Amount | Water Amount | Ratio | Strength |
|---|---|---|---|
| 30 grams | 300 grams | 1:10 | Strong |
| 30 grams | 500 grams | 1:16 | Balanced |
| 30 grams | 540 grams | 1:18 | Mild |
We fill the percolator’s water chamber with cold filtered water up to the desired mark. Adjusting the ratio according to personal taste preferences allows for customization of brew strength. More coffee creates a bolder cup while reducing the coffee amount produces a milder flavor.
Grinding Your Coffee Beans
We always use coarsely ground coffee for percolator brewing to prevent over-extraction and bitter flavors. The coarse grind size allows proper water flow through the grounds without creating excessive resistance or clogging the filter basket.
Medium-coarse grinding works well as an alternative that still maintains optimal extraction while preventing fine particles from passing through the filter. We grind beans just before brewing to preserve maximum freshness and flavor compounds.
The consistent particle size ensures even water distribution throughout the brewing process. We avoid fine grinds that can lead to over-extraction as the water repeatedly circulates through the grounds during percolation.
Setting Up the Percolator
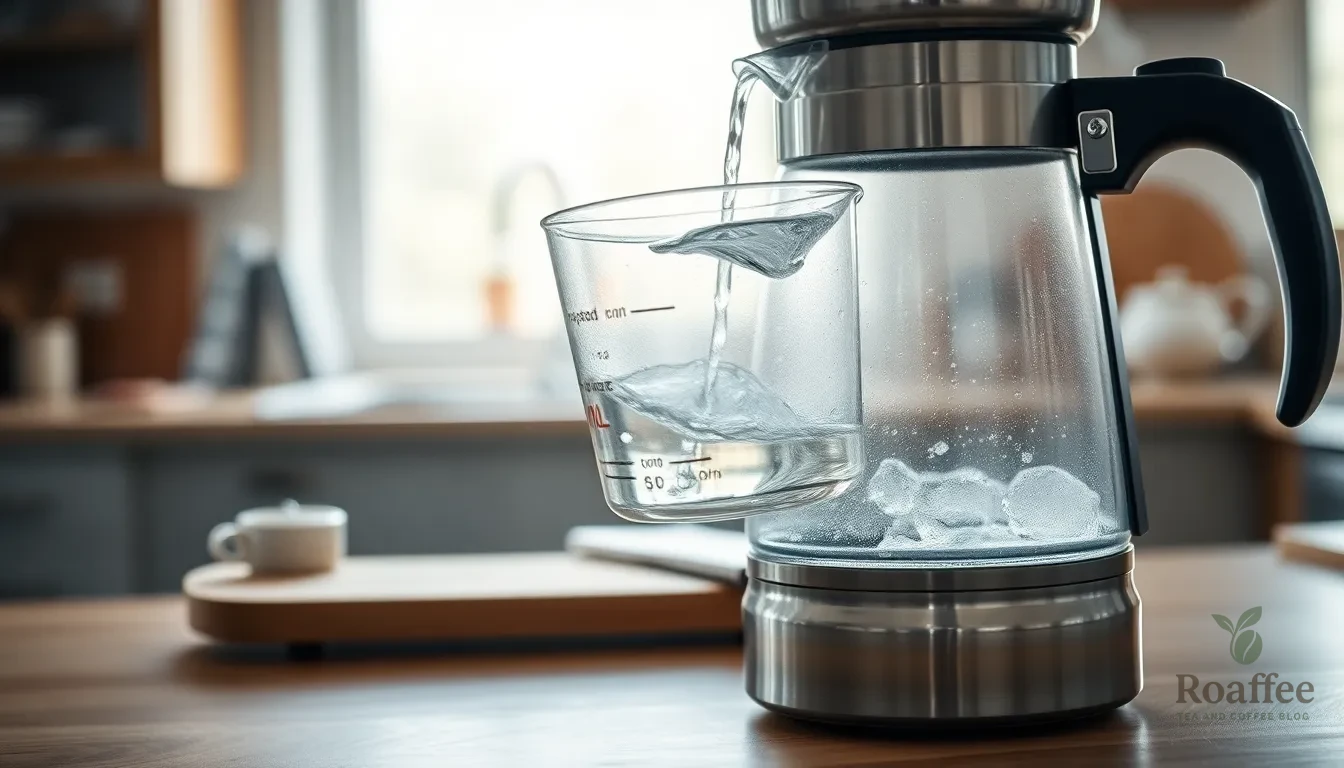
With our coffee grounds measured and ready, we can now assemble the percolator for brewing. This critical stage determines how effectively our coffee will extract during the percolation process.
Adding Water to the Base
We begin by determining the exact number of cups we want to brew, keeping in mind that a standard coffee cup measures approximately 6 ounces. Cold water works best for percolator brewing because it allows for gradual heating and proper extraction. We pour the measured water into the lower chamber of the percolator, ensuring the level stays just below the spout or designated fill line.
Our water measurement should align with our coffee ratio of 500 grams of water per 30 grams of ground coffee. We avoid overfilling the reservoir as this can cause water to overflow during the percolation process. The water temperature should be cold when we start, allowing the heating process to bring out the best flavors from our coffee grounds.
Inserting the Coffee Basket
We carefully place the percolator stem into the water reservoir, ensuring it sits securely at the bottom. The stem must be positioned correctly to allow proper water circulation through the system. We then fit the coffee basket over the stem, making sure it locks into place without any wobbling or loose connections.
Proper basket positioning is essential for even water distribution during brewing. We check that the basket sits level and that the stem extends fully through the center opening. The basket should rest firmly against the stem to prevent any movement during the percolation process.
Adding Ground Coffee
We add our coarsely ground coffee to the basket using the established ratio of approximately 1 tablespoon per 8 ounces of water. For our standard measurement, this translates to 30 grams of ground coffee for 500 grams of water. We distribute the grounds evenly across the basket to ensure uniform water contact during brewing.
The grind size plays a crucial role in preventing over-extraction and bitterness. We avoid using fine grinds that could pass through the basket or create excessive resistance to water flow. Our medium-coarse grind allows optimal water circulation while maintaining the robust flavor profile that makes percolator coffee distinctive. We gently level the grounds without pressing them down, maintaining proper space for water to flow freely through the coffee bed.
Brewing Process
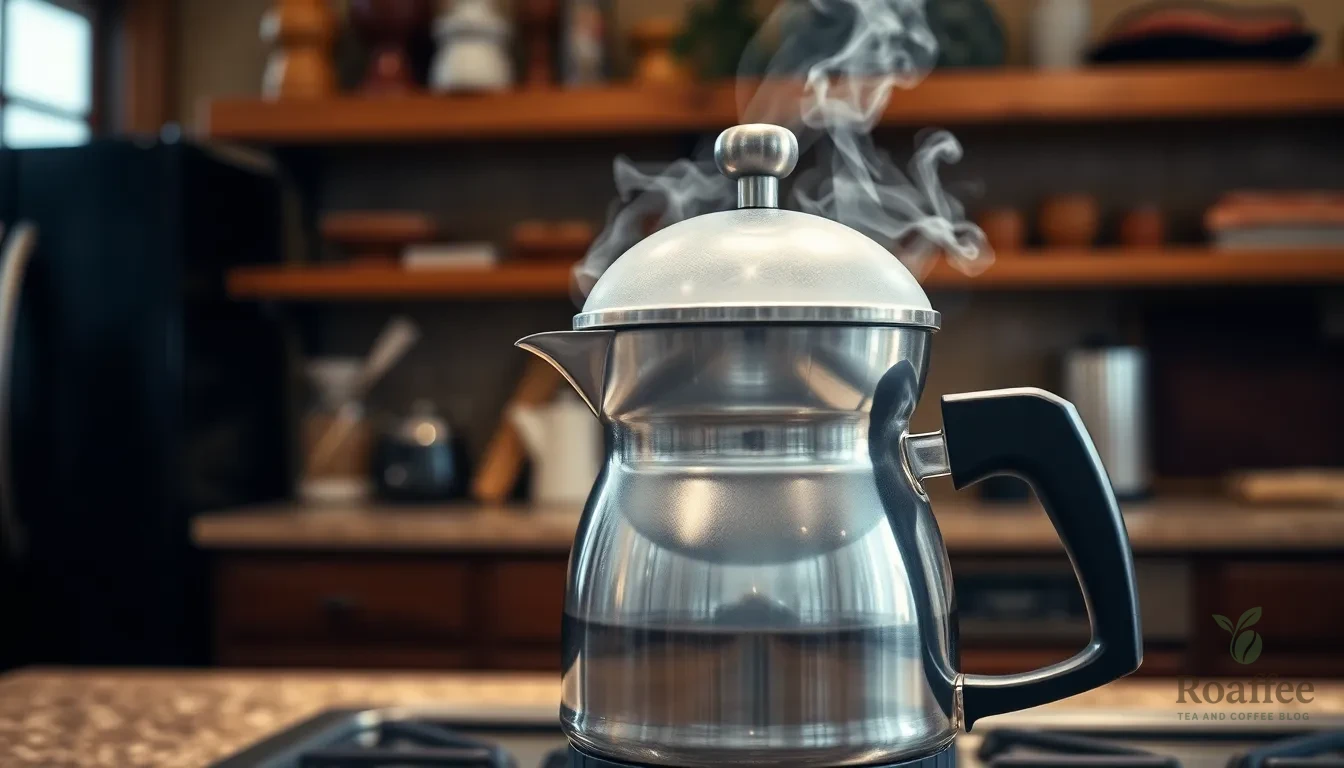
Once we’ve properly assembled our percolator and added the coffee grounds, we’re ready to begin the actual brewing process. The key to perfect percolator coffee lies in managing heat, timing, and careful observation throughout the brewing cycle.
Heat Settings and Timing
We start by placing our percolator on a heat source set to low or medium-low heat. The goal is to achieve gentle bubbling without rapid rolling boils, which can over-extract the coffee and create bitterness.
Once we see clear bubbles rising through the coffee chamber (visible through the glass knob or clear lid), we begin timing our brew. Most percolator coffee reaches optimal extraction between 7 to 10 minutes, depending on our strength preference. We adjust the heat as necessary to maintain steady percolation without loud boiling noises.
| Brewing Time | Strength Level | Heat Setting |
|---|---|---|
| 7 minutes | Medium strength | Low to medium-low |
| 8-9 minutes | Strong | Low to medium-low |
| 10 minutes | Extra strong | Low to medium-low |
Monitoring the Percolation
We watch the color of the coffee as it cycles through the top glass knob throughout the brewing process. The coffee starts light and gradually darkens as extraction progresses, giving us a visual indicator of brewing strength.
We listen for steady bubbling sounds rather than loud rolling boils to ensure we’re maintaining the correct heat level. The percolation should sound rhythmic and consistent, not violent or erratic. This steady bubbling indicates that water is circulating properly through the coffee grounds without over-extracting.
Recognizing When It’s Done
After approximately 7 minutes, our coffee generally reaches a well-balanced flavor profile. Longer brewing up to 10 minutes yields stronger coffee for those who prefer a more robust cup.
We remove the percolator from heat before it starts boiling rapidly to prevent over-extraction, which causes unwanted bitterness and acidity. The coffee should have achieved a rich, dark color visible through the glass knob when ready.
We let the coffee settle for a moment after removing it from heat to avoid pouring grounds into our cup. This brief settling period allows any loose grounds to sink to the bottom of the basket.
Serving Your Coffee
We reach the final stage of our percolator brewing journey where timing and proper technique ensure the perfect cup. The way we handle our freshly brewed coffee in these last moments determines whether we enjoy a smooth flavorful experience or encounter unwanted bitterness.
Removing from Heat
We must immediately remove our percolator from the heat source once the brewing time reaches 7 to 10 minutes. This critical step stops the extraction process and prevents our coffee from becoming over-extracted and bitter. The moment we see the coffee reaching our desired strength through the glass knob we take action without delay.
Our percolator retains important heat even after removal from the stove. We carefully lift the unit using heat-resistant gloves or pot holders to protect our hands from the hot metal surfaces. The base and sides of the percolator will remain extremely hot for several minutes after brewing completes.
We avoid leaving our coffee on the heat source for extended periods as this continues the percolation process. Over-extraction occurs when hot water cycles through the grounds repeatedly creating harsh bitter flavors that overwhelm the coffee’s natural characteristics.
Letting It Settle
We allow our freshly brewed coffee to settle for 2 to 3 minutes after removing it from heat. This brief waiting period lets the coffee grounds settle to the bottom of the percolator and allows the temperature to stabilize for optimal serving.
During this settling time we resist the urge to immediately pour our coffee. The grounds need time to stop swirling and sink away from the pouring spout. This prevents coffee grounds from ending up in our cups and ensures a clean smooth drinking experience.
We carefully remove the coffee basket and stem assembly from the percolator after the settling period. This step eliminates any remaining grounds that might otherwise continue extracting and affecting the flavor. The basket lifts out easily once the coffee has cooled slightly.
| Serving Step | Timing | Purpose |
|---|---|---|
| Remove from heat | Immediately after 7-10 minutes | Stop extraction process |
| Let settle | 2-3 minutes | Allow grounds to settle |
| Remove basket | After settling | Prevent continued extraction |
| Pour carefully | Once settled | Avoid grounds in cup |
We pour our coffee slowly and deliberately to maintain the clarity we achieved through proper settling. The last few drops often contain the most concentrated flavor and should be avoided if we prefer a milder taste. Our perfectly brewed percolator coffee is now ready to serve and enjoy.
Cleaning and Maintenance
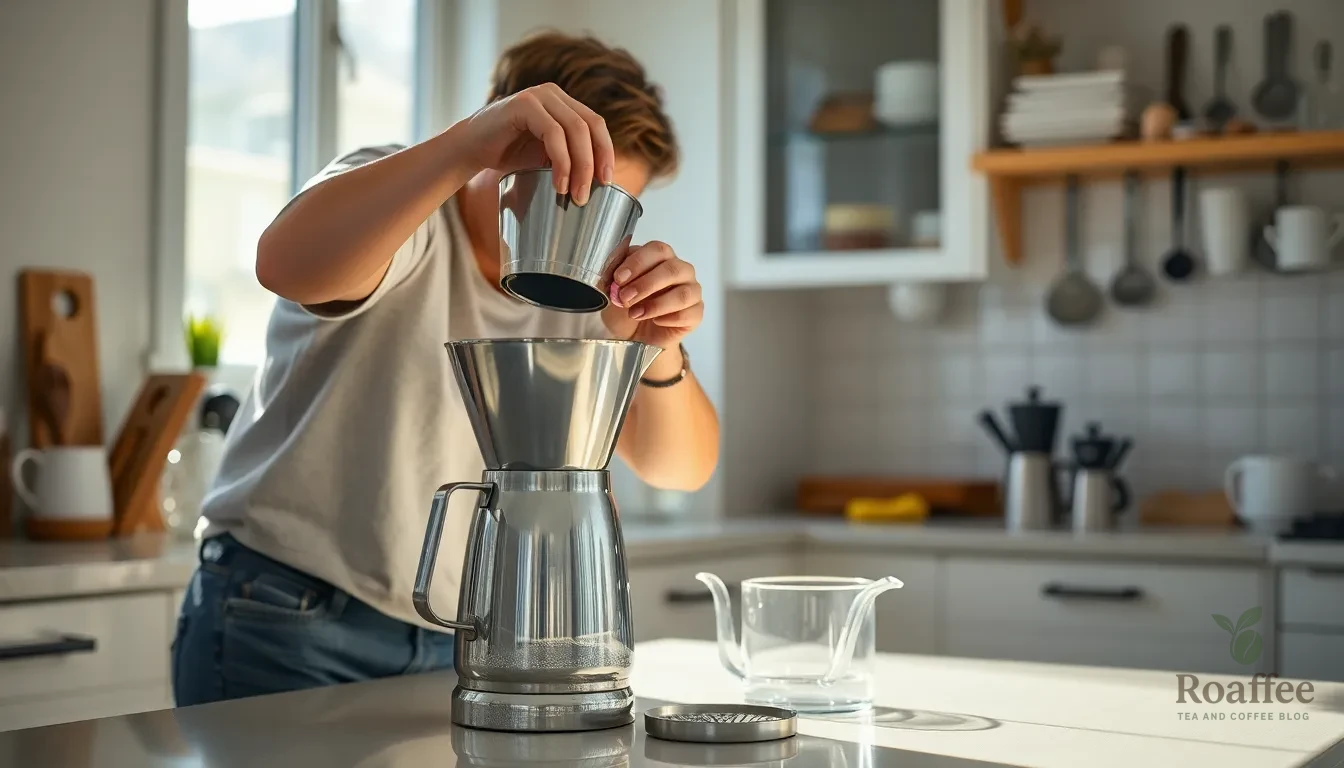
Proper cleaning and maintenance ensure your percolator delivers exceptional coffee while extending its lifespan. We’ll guide you through both immediate and deep cleaning techniques that keep your equipment performing at its best.
Immediate Cleaning Steps
After each brewing session we recommend starting the cleaning process while the percolator is still warm but not hot. Allow the equipment to cool slightly before disassembling all removable parts including the basket, stem, and lid.
Rinse each component promptly with warm water and mild detergent to remove coffee oils and grounds that can affect future brews. Coffee oils become more difficult to remove when they cool and set on surfaces.
Use a soft sponge or brush to clean the basket and stem thoroughly, paying special attention to the small holes in the basket where grounds can accumulate. Scrub gently to avoid scratching the metal surfaces.
Rinse all parts well to remove soap residue completely before drying each component. Soap residue can create off-flavors in your next batch of coffee.
Dry all parts completely before reassembling to prevent water spots and potential bacterial growth. Store the percolator with all parts properly assembled or separated in a clean, dry location.
Deep Cleaning Tips
Weekly deep cleaning removes oil stains, residue, and mineral buildup that regular washing cannot eliminate. Fill the pot with equal parts water and white vinegar for this process.
Run the percolator through a complete brewing cycle using this vinegar solution instead of coffee grounds. This process dissolves mineral deposits and removes stubborn coffee oils from internal surfaces.
Rinse the entire system thoroughly with fresh water after the vinegar cycle, running at least two complete water-only cycles to eliminate any vinegar taste. Some percolators may require additional rinses depending on the severity of buildup.
Soak removable parts in warm soapy water or vinegar solution for 15-30 minutes when dealing with particularly stubborn stains. Long narrow brushes work effectively for cleaning inside the stem and other hard-to-reach areas.
Avoid abrasive cleaners or scrubbing pads that can damage the percolator’s surfaces and affect its performance. Many percolator parts are dishwasher-safe, making regular maintenance even more convenient.
Descale your percolator monthly with vinegar to prevent mineral buildup that can affect heat distribution and brewing efficiency. Regular descaling maintains optimal water flow through the percolation system.
Troubleshooting Common Issues
Even experienced coffee enthusiasts encounter challenges when brewing with a percolator. Understanding how to identify and fix these common problems ensures we consistently enjoy rich, flavorful coffee from our percolator.
Weak Coffee Answers
Weak coffee typically results from insufficient coffee grounds or inadequate brewing time. We recommend increasing our coffee grounds proportionately to water when the brew tastes thin or lacks body. Our standard ratio of 30 grams of coffee to 500 grams of water provides a balanced foundation, but we can adjust this ratio upward for stronger flavor.
Extending percolation time helps extract more flavor compounds from the coffee grounds. We should brew for 7 to 10 minutes, monitoring the strength by briefly lifting the lid if needed. The color visible through the glass knob serves as our visual guide for determining when the coffee reaches optimal strength.
Fresh, coarsely ground coffee significantly impacts extraction quality. We must use recently ground beans rather than pre-ground coffee that may have lost its potency. The coarse grind size allows proper water circulation while preventing over-extraction during the longer brewing process.
Over-Extraction Problems
Over-extraction occurs when coffee brews too long or at excessive temperatures, creating bitter, harsh flavors. This problem develops when the brewing process continues beyond 10 minutes or when we maintain high heat throughout the entire brewing cycle.
We can prevent over-extraction by reducing our brewing time to approximately 7 to 8 minutes. Monitoring the percolation process closely allows us to stop brewing when the coffee reaches the desired strength. The glass knob provides visual feedback about color intensity, helping us determine the optimal stopping point.
Using coarser grounds slows the extraction process and reduces bitterness. We should avoid fine grinds that allow water to extract compounds too quickly during the percolation cycle. Lowering heat once boiling begins prevents continuous high temperature cycling that can lead to over-extraction.
Temperature control remains crucial for preventing bitter coffee. We reduce heat to low or medium-low once the water begins percolating to maintain gentle bubbling rather than aggressive boiling. This controlled approach ensures proper extraction without drawing out undesirable bitter compounds from the coffee grounds.
Tips for Perfect Percolator Coffee
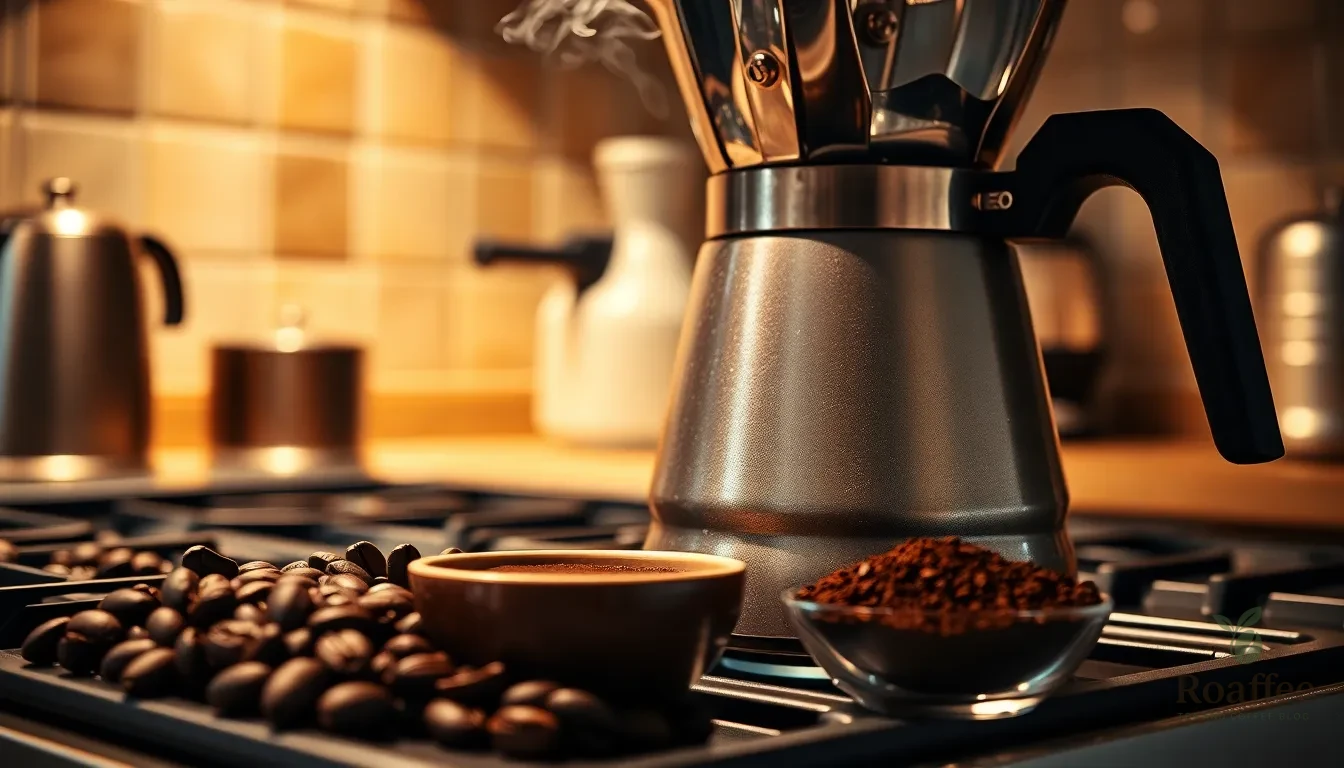
Mastering the art of percolator brewing requires attention to exact details that distinguish exceptional coffee from ordinary results. We’ve gathered essential techniques to help you achieve consistently delicious coffee with your percolator.
Start with Cold Water for Superior Extraction
Always begin with cold water when filling your percolator’s water chamber. Many brewing enthusiasts recommend starting with hot water to reduce brewing time, but cold water allows for better control over the extraction process. We measure approximately 6 to 8 ounces of water per cup of coffee we plan to brew.
Maintain the Ideal Coffee-to-Water Ratio
Our preferred ratio combines 1 tablespoon of coffee per 8 ounces of water, though we often adjust this to 30 grams of coffee per 300 to 500 grams of water for more precise measurements. This ratio creates a balanced brew that captures the full flavor profile without overwhelming bitterness.
Choose Coarse Grind for Optimal Results
Coarse ground coffee prevents over-extraction and reduces sediment in your final cup. We avoid fine grinds that can lead to bitter, muddy coffee and instead select particles similar in size to sea salt. Fresh grinding immediately before brewing maximizes flavor extraction.
Control Heat for Gentle Percolation
Low to medium heat produces the best results when brewing percolator coffee. We start with gentle heat and maintain a steady simmer rather than allowing the coffee to boil. Visible bubbles should rise through the knob intermittently, indicating proper percolation without aggressive boiling.
Monitor Brewing Time Carefully
Perfect percolator coffee requires 7 to 10 minutes of brewing time. We begin timing once we see the first bubbles appear through the glass knob. Shorter brewing times result in weak coffee, while extended brewing beyond 10 minutes creates bitter, over-extracted flavors.
Use Visual Cues for Strength Assessment
The glass knob on top of your percolator provides an excellent window for monitoring coffee strength. We watch as the coffee color gradually darkens from light amber to rich brown. This visual guide helps us determine when the coffee reaches our desired strength without relying solely on timing.
Avoid Rapid Boiling at All Costs
Boiling coffee destroys delicate flavors and creates harsh, bitter notes. We remove the percolator from heat immediately when bubbling becomes too aggressive. Gentle, consistent percolation preserves the coffee’s natural oils and aromatic compounds.
Allow Settlement Before Pouring
After removing the percolator from heat, we let it settle for 2 to 3 minutes before pouring. This brief waiting period allows any remaining grounds to settle, resulting in clearer coffee with minimal sediment in your cup.
Conclusion
Mastering the art of percolator coffee brewing opens up a industry of rich, bold flavors that modern drip machines simply can’t replicate. We’ve covered everything from selecting the right equipment to perfecting your brewing technique, ensuring you have all the tools needed for success.
The key to exceptional percolator coffee lies in attention to detail – from using the proper coffee-to-water ratio to monitoring your brewing time carefully. With practice, you’ll develop an intuitive sense for when your coffee reaches that perfect strength and flavor profile.
Remember that each percolator and coffee preference is unique, so don’t be afraid to experiment with different ratios and brewing times. The investment in quality beans and proper maintenance will reward you with consistently delicious coffee that rivals any café.
Now it’s time to put these techniques into practice and enjoy the satisfying ritual of brewing your own perfect cup of percolator coffee.
Frequently Asked Questions
What is the ideal coffee-to-water ratio for percolator brewing?
The standard ratio is approximately 1 tablespoon of coarsely ground coffee per 6 ounces of water, or 30 grams of coffee to 500 grams of water (about 2 cups). This creates a well-balanced brew, but you can adjust the ratio based on your taste preferences for stronger or milder coffee.
How long should I brew coffee in a percolator?
The optimal brewing time for percolator coffee is between 7 to 10 minutes. Start timing once you see gentle bubbling begin. Monitor the coffee color through the glass knob and remove from heat before it reaches a rapid boil to prevent bitterness.
What grind size should I use for percolator coffee?
Always use a coarse grind for percolator coffee. Fine grinds can lead to over-extraction and bitterness during the percolation process. The larger particle size ensures even water distribution and prevents grounds from passing through the filter basket into your cup.
How do I know when my percolator coffee is ready?
Watch the glass knob on top of the percolator to monitor the coffee color as it darkens during extraction. The coffee is ready when it reaches your desired strength, typically after 7-10 minutes of gentle bubbling. Remove from heat before rapid boiling occurs.
Why is my percolator coffee weak or bitter?
Weak coffee usually results from insufficient coffee grounds or inadequate brewing time. Increase your coffee-to-water ratio or extend brewing time. Bitter coffee indicates over-extraction from brewing too long, using too fine a grind, or excessive heat causing rapid boiling.
How should I clean my percolator?
After each use, rinse all components with warm water and mild detergent. For deep cleaning, use a vinegar solution to remove mineral buildup and coffee oils. Descale monthly and avoid abrasive cleaners. Ensure all parts are completely dry before reassembling.
Can I use any type of coffee beans in a percolator?
Medium to dark roast whole coffee beans work best for percolator brewing. Grind the beans just before brewing to maintain freshness. The bold percolation process complements the robust flavors of darker roasts while producing a full-bodied cup.
What heat setting should I use for percolator brewing?
Start with low to medium-low heat to achieve gentle bubbling. This allows for optimal extraction without over-boiling. Avoid high heat settings that cause rapid boiling, as this can lead to bitter, over-extracted coffee and potential equipment damage.
