We’ve fallen head over heels for Japanese coffee jelly – a dessert that perfectly captures Japan’s love affair with coffee culture. This wobbly, translucent treat transforms your morning brew into an elegant dessert that’s surprisingly simple to make at home.
Coffee jelly became a sensation in Japan during the 1960s and has remained a beloved café staple ever since. Unlike heavy Western desserts, this refreshing treat offers a light, sophisticated way to enjoy coffee’s bold flavors. The silky gelatin texture creates an almost ethereal experience as it melts on your tongue, delivering pure coffee essence in every bite.
What makes this dessert truly special is its versatility – we love serving it topped with whipped cream for a classic presentation, or enjoyed simply on its own for a guilt-free indulgence. Whether you’re hosting a dinner party or craving something uniquely satisfying, this Japanese coffee jelly recipe will become your new favorite way to end a meal.
What Is Japanese Coffee Jelly?
Japanese coffee jelly transforms liquid coffee into a delicate dessert through the magic of gelatin. This translucent treat captures the essence of freshly brewed coffee while providing a completely different textural experience that surprises first-time tasters.
The dessert’s foundation relies on unflavored gelatin powder that sets strong coffee into a firm yet tender consistency. We achieve this by dissolving gelatin in hot coffee mixed with sugar to create a balanced sweet and bitter flavor profile. The mixture then chills in the refrigerator for several hours until it reaches the perfect wobble.
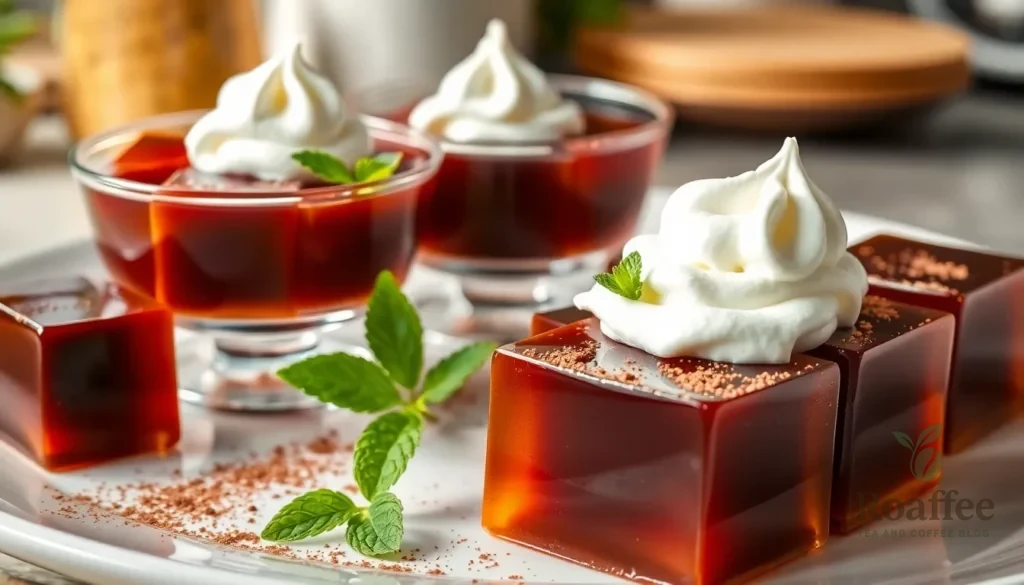
Coffee jelly’s appearance resembles dark amber gems when cut into cubes. The gelatin creates a smooth surface that reflects light beautifully while maintaining enough structure to hold its shape on a spoon. Each piece delivers concentrated coffee flavor that gradually melts on the tongue.
Traditional serving methods include cutting the set jelly into uniform cubes and placing them in individual glasses or bowls. Many Japanese cafes serve coffee jelly topped with freshly whipped cream or a dollop of vanilla ice cream. Others prefer to enjoy it plain to appreciate the pure coffee taste without additional sweetness.
The dessert’s versatility extends beyond basic preparation. Some variations incorporate milk or cream directly into the gelatin mixture for a creamier result. Others layer different coffee strengths to create visual depth. Advanced preparations might include adding coffee liqueur or espresso powder for intensified flavor.
Coffee jelly’s texture sets it apart from other coffee desserts. Unlike puddings or mousses that feel heavy the gelatin creates an almost weightless sensation. The jelly breaks apart easily with a spoon yet maintains enough structure to provide satisfying chewiness.
Ingredients

We’ve carefully selected ingredients that create the perfect balance of coffee flavor and silky texture. These simple components transform into an elegant dessert that captures the essence of Japanese coffee culture.
For the Coffee Jelly
- 2 cups water
- 2-4 tablespoons instant coffee (or 2 cups strong brewed coffee)
- 1 teaspoon agar agar powder (vegetarian alternative to gelatin) or 10 grams gelatin powder
- 4-6 tablespoons granulated sugar
For the Whipped Cream Topping
- ½ cup whipping cream (use non-dairy for a vegan option)
- Optional: dark chocolate shavings or grated milk chocolate for garnish
- Optional: fresh mint leaves for garnish
Equipment Needed
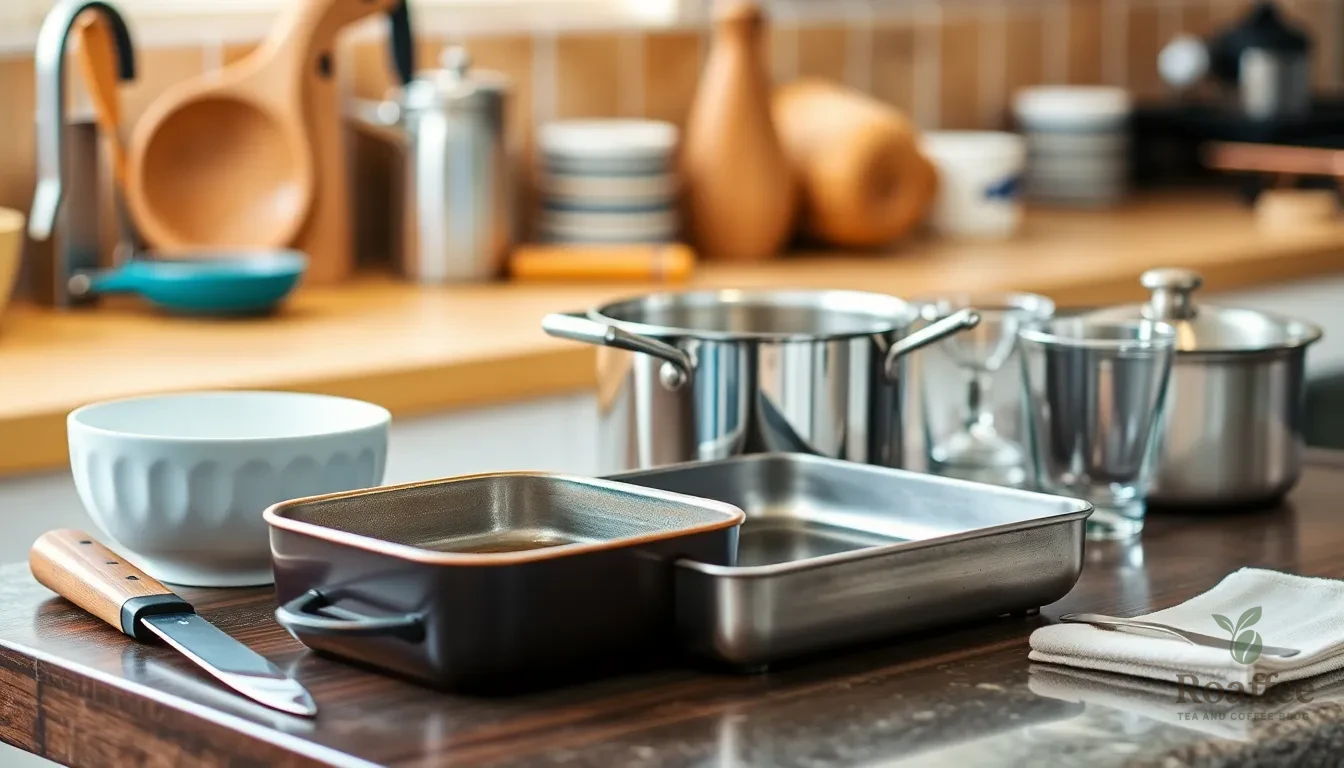
Creating perfect Japanese coffee jelly requires minimal equipment that most home cooks already have in their kitchen. We’ve organized this essential equipment list to help you prepare efficiently before starting the recipe.
Basic Equipment:
- Small mixing bowl for blooming gelatin
- Saucepan for heating coffee mixture
- Spoon or whisk for stirring
- Square pan or shallow dish (8″ x 8″ or 25×20 cm) for setting the jelly
- Sharp knife for cutting clean jelly cubes
- Serving glasses or cups for presentation
Optional Equipment:
- Measuring cups and spoons for precise ingredient ratios
- Fine mesh strainer to remove any coffee grounds
- Rubber spatula for easy mixture transfer
The square pan serves as our primary setting vessel where the coffee mixture transforms into silky jelly. We recommend greasing this pan lightly to ensure the jelly releases easily when cutting. A shallow dish works equally well and allows for faster cooling time in the refrigerator.
Your saucepan should be large enough to accommodate the coffee mixture without boiling over. Medium size pans work perfectly for this recipe. The small mixing bowl becomes crucial for properly blooming the gelatin, which ensures smooth texture without lumps.
Sharp knives create clean cuts through the set jelly, producing those signature amber cubes that make Japanese coffee jelly so visually appealing. Serving glasses showcase the jelly’s translucent beauty, especially when topped with whipped cream or other garnishes.
Most home kitchens already contain these basic tools, making Japanese coffee jelly an accessible dessert for any cooking skill level. Quality equipment ensures consistent results, but expensive specialty tools aren’t necessary for this traditional recipe.
Instructions
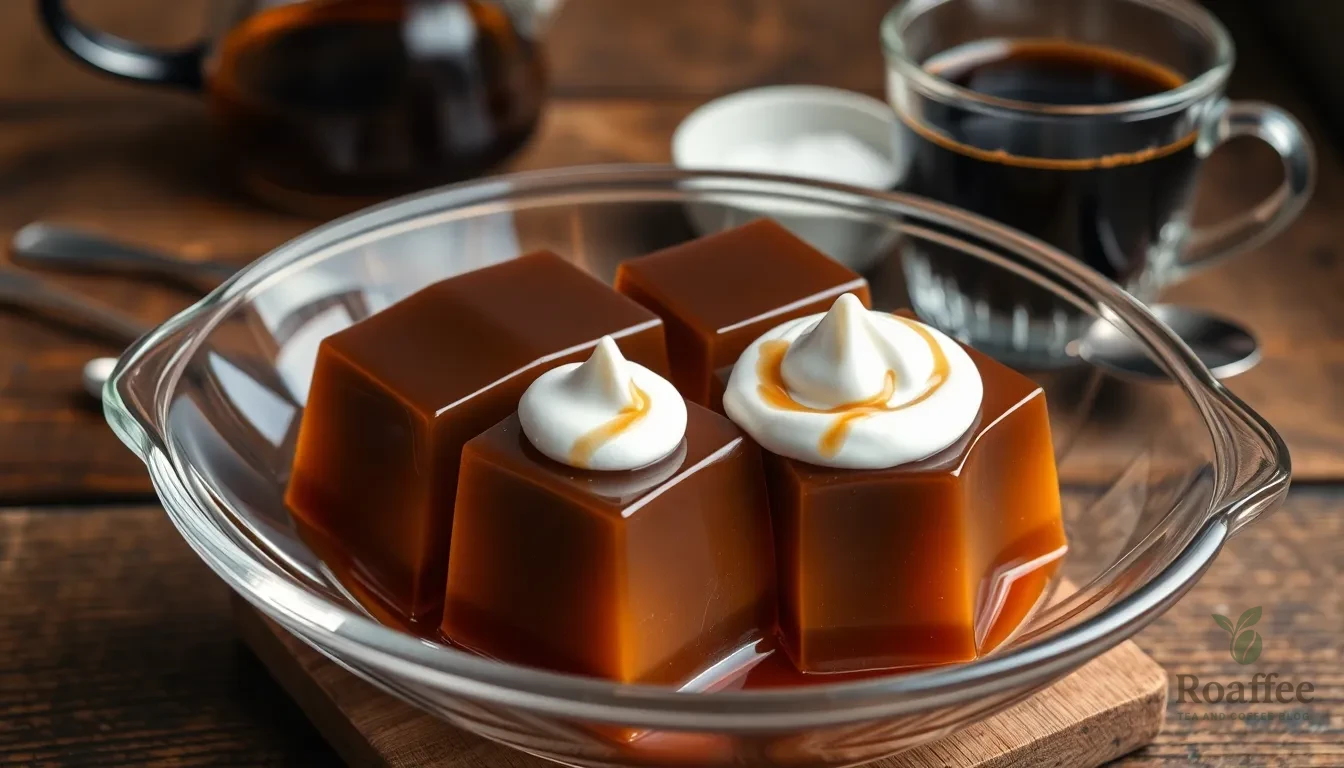
We’ll walk you through creating authentic Japanese coffee jelly using a straightforward four-step process. These detailed instructions ensure perfect results every time.
Prep the Coffee Base
We begin by brewing 2 cups of strong coffee using espresso or regular strong coffee for the most robust flavor. Alternatively, we can dissolve 3-4 tablespoons of instant coffee in 2 cups of boiling water to achieve the same intensity. The key lies in creating a coffee base that’s stronger than what we’d typically drink since the gelatin will dilute some of the flavor.
Once our coffee is ready, we sweeten it by stirring in 4 tablespoons of granulated sugar while the liquid remains hot. This timing ensures the sugar dissolves completely without leaving any gritty texture. We can adjust the sweetness to our preference, keeping in mind that the final dessert should balance the coffee’s natural bitterness.
Dissolve the Gelatin
We place 10 grams of gelatin powder in a small bowl with approximately 2 tablespoons of cold water. This blooming process takes 5 minutes and allows the gelatin to soften properly, which is crucial for achieving the perfect texture.
After the gelatin has bloomed, we microwave the mixture for about 15 seconds or gently warm it on low heat until the gelatin dissolves completely. We must ensure no lumps remain since they would create an uneven texture in our finished jelly. The dissolved gelatin should appear clear and smooth.
Combine and Set
We stir the dissolved gelatin into our hot coffee base until the mixture combines thoroughly. This step requires gentle but consistent stirring to distribute the gelatin evenly throughout the coffee. We then pour the mixture into a mold or divide it among small serving cups, depending on our preferred presentation style.
The mixture needs to cool to room temperature before we cover it with plastic wrap or a lid. This cooling period prevents condensation from forming on the surface, which could affect the jelly’s appearance and texture.
Chill the Jelly
We refrigerate the covered jelly for 2 to 4 hours until it sets completely. The jelly should feel firm to the touch and hold its shape when we gently shake the container. During this time, the gelatin transforms our liquid coffee into the signature wobbling texture that defines Japanese coffee jelly.
Once set, we cut the jelly into cubes if we made it in a larger mold. We serve the chilled jelly traditionally with heavy cream, milk, sweetened condensed milk, or a dollop of whipped cream to balance the coffee’s natural bitterness. The finished jelly can be stored in the refrigerator for up to 5 days, though we should avoid freezing it as the texture will deteriorate.
Directions for Serving
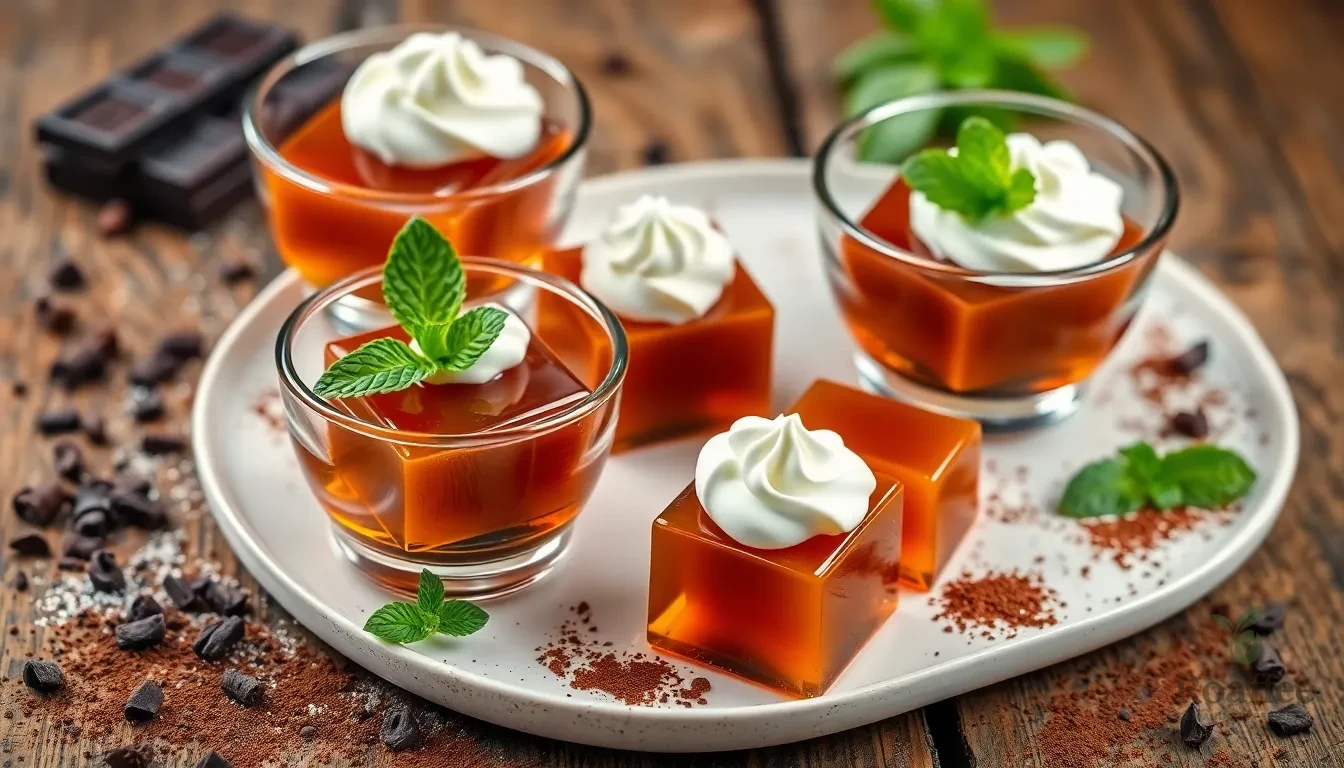
Once our coffee jelly has set to perfection we can transform it into an elegant dessert presentation. The serving process involves preparing fresh whipped cream and carefully cutting the jelly into beautiful cubes.
Prepare the Whipped Cream
We start by whipping ½ cup of heavy whipping cream until soft peaks form. The cream should hold its shape without being overwhipped or turning grainy. For added sweetness we can incorporate a teaspoon of sugar or vanilla extract during the whipping process.
Vegan cooks can substitute non-dairy whipping cream for the same luxurious texture. The cream should be chilled before whipping to achieve the best results. We recommend using a clean bowl and whisk to ensure proper volume and consistency.
Cut and Serve the Jelly
We remove the set jelly from the refrigerator and examine its firm wobble. Using a sharp knife we slice the jelly into uniform cubes for an attractive presentation. Clean cuts prevent ragged edges that might detract from the dessert’s elegant appearance.
Next we place the jelly cubes into individual serving bowls or glasses. Each portion should showcase the beautiful amber color of the coffee jelly. We top each serving with a generous dollop of our freshly whipped cream.
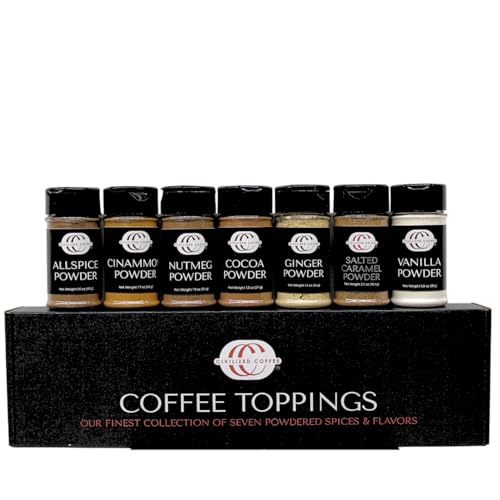
For enhanced presentation we can garnish with dark chocolate shavings, cocoa powder, cinnamon, fresh mint leaves, or coffee beans. These additions provide extra flavor and visual appeal. Some prefer to serve with milk or condensed milk poured alongside for additional sweetness and creaminess.
Make-Ahead Instructions
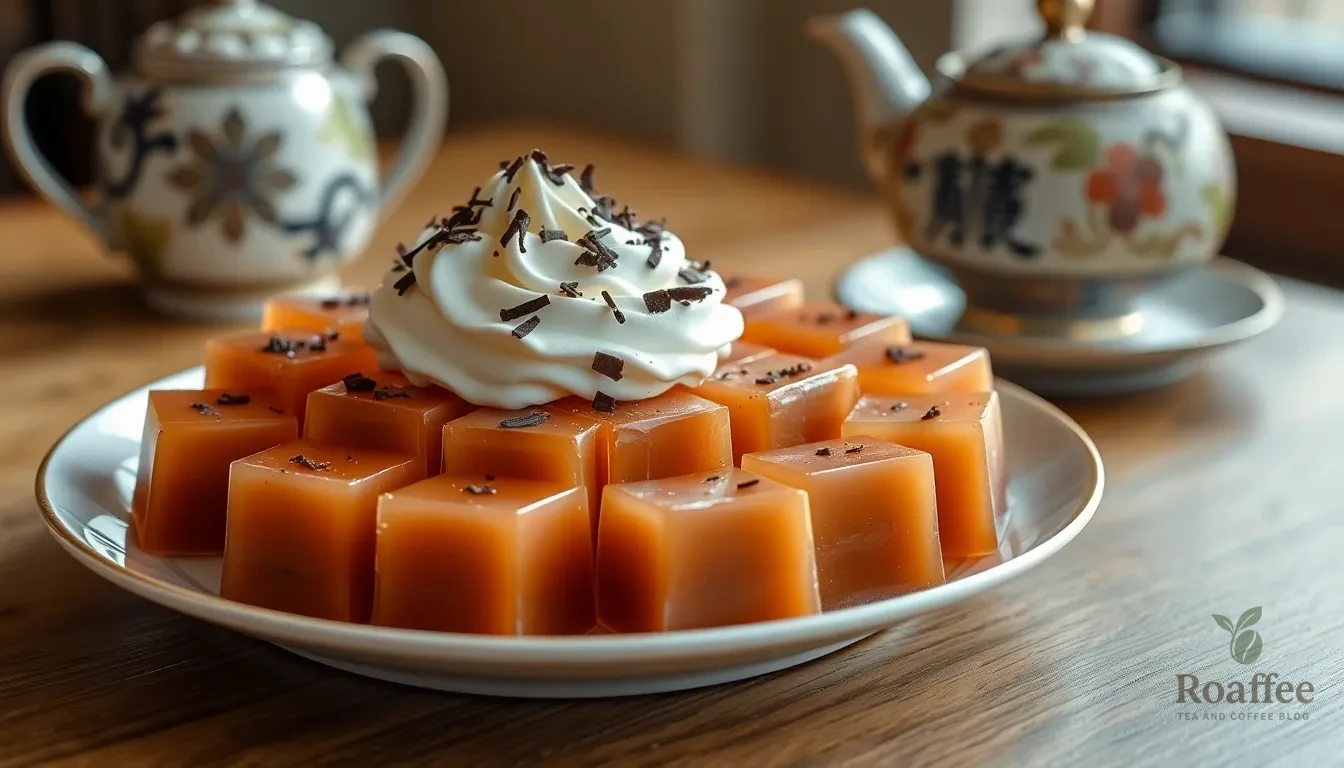
Japanese coffee jelly proves ideal for entertaining since we can prepare it days before serving guests. The jelly base keeps beautifully in the refrigerator for up to 5 days when stored properly with plastic wrap covering the surface.
We recommend preparing the entire jelly mixture and allowing it to set completely before storing. Once the mixture has cooled slightly after combining all ingredients, pour it into your chosen containers or a greased pan. Cover the surface directly with plastic wrap to prevent a skin from forming, then refrigerate for the minimum 3-6 hours until fully set.
For optimal results, we suggest cutting the jelly into cubes only when ready to serve. This prevents the pieces from losing their sharp edges and maintains the dessert’s elegant appearance. Store uncut jelly in the original pan or container, keeping it covered in the refrigerator.
Toppings require separate preparation and storage to maintain their quality. Whipped cream should be prepared fresh on the day of serving, as it loses volume and texture when stored for extended periods. But, we can prepare chocolate shavings up to 3 days in advance and store them in an airtight container in the refrigerator.
When planning ahead, consider portioning the jelly into individual serving glasses or bowls before refrigerating. This approach eliminates the need for cutting and transferring on serving day, making presentation effortless.
The nutritional profile remains consistent regardless of storage time, with each serving containing approximately 68-157 calories depending on chosen toppings. Sugar content stays at 12-15 grams per serving, while fat content remains minimal unless cream is added.
Greasing the pan before pouring proves essential for easy removal and clean cutting when the time comes to serve. This simple step prevents sticking and ensures professional-looking jelly cubes that maintain their shape during plating.
Storage Tips
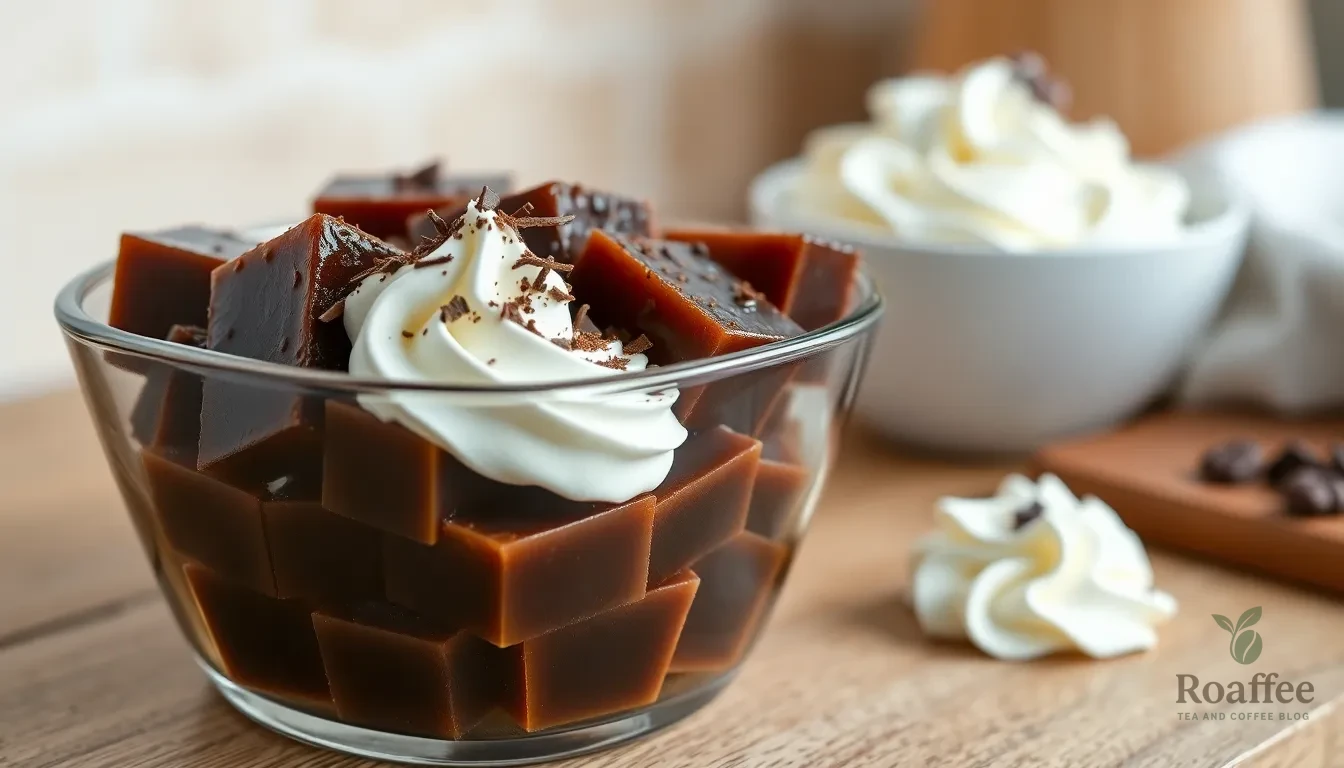
We recommend covering each coffee jelly container or individual serving with a lid or plastic wrap immediately after the jelly sets. This protective covering prevents a skin from forming on the surface and maintains the dessert’s smooth texture throughout storage.
Refrigerate our coffee jelly for up to 5 days to ensure optimal freshness and flavor. The gelatin structure remains stable during this period, preserving the dessert’s characteristic wobble and clean coffee taste. Some variations may last up to 14 days depending on preparation methods, but we find the best quality occurs within the first five days.
| Storage Method | Duration | Quality |
|---|---|---|
| Refrigerated with cover | 5 days | Optimal |
| Refrigerated without cover | 2-3 days | Good |
| Room temperature | Not recommended | Poor |
We strongly advise against freezing coffee jelly as the freezing and thawing process deteriorates its delicate texture. The gelatin breaks down during the freeze-thaw cycle, resulting in a watery, grainy consistency that completely changes the dessert’s appealing mouthfeel.
Store cut jelly cubes in airtight containers to maintain their shape and prevent them from absorbing refrigerator odors. Layer the cubes carefully to avoid crushing, and place parchment paper between layers if stacking multiple levels.
Prepare whipped cream toppings fresh on the day of serving rather than storing them with the jelly. The cream can separate or lose its fluffy texture when stored for extended periods, diminishing the overall dessert experience.
Keep chocolate shavings and other garnishes in separate containers until ready to serve. This separation prevents the garnishes from becoming soggy and ensures each component maintains its intended texture and appearance.
Serving Suggestions
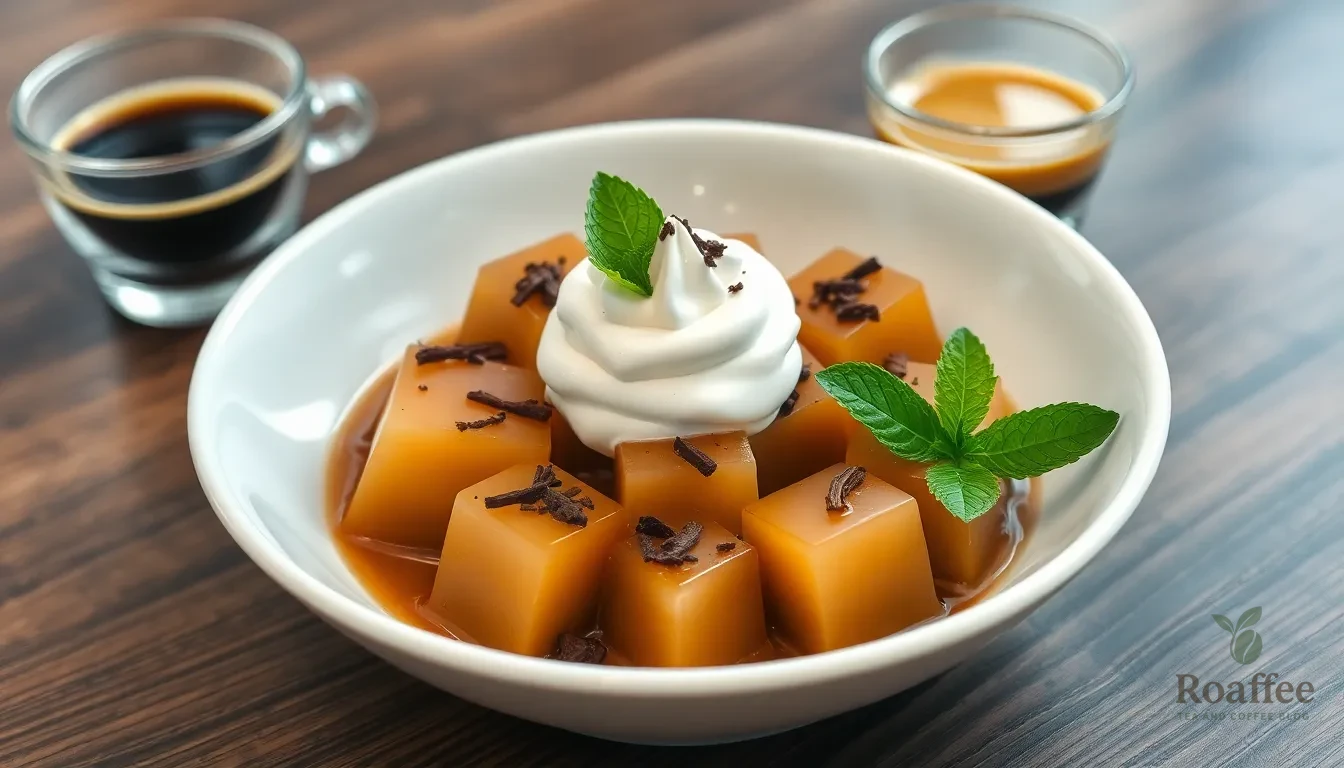
We transform our perfectly set coffee jelly into an elegant dessert experience through thoughtful presentation and complementary toppings. The classic approach involves cutting the jelly into uniform cubes and arranging them in clear glass cups or bowls to showcase their amber beauty.
Traditional Japanese service pairs coffee jelly cubes with a generous dollop of freshly whipped cream on top. The cream’s sweetness balances the coffee’s bold flavor while creating a delightful contrast in texture. For those seeking extra indulgence, we recommend drizzling condensed milk over the jelly cubes before adding the whipped cream.
Modern variations include serving coffee jelly in parfait-style glasses layered with whipped cream and chocolate shavings. We often garnish each serving with dark chocolate shavings that complement the coffee’s richness. Fresh mint leaves add a pop of color and a refreshing aroma that enhances the overall experience.
For a more casual presentation, we serve coffee jelly cubes in individual ramekins topped with a spoonful of vanilla ice cream. The temperature contrast between the chilled jelly and cold ice cream creates an interesting sensory experience. Coconut milk offers a dairy-free alternative that adds tropical notes to the dessert.
Coffee enthusiasts appreciate serving coffee jelly alongside a small cup of espresso for an intensified coffee experience. We sometimes dust the whipped cream with cocoa powder or cinnamon for added warmth and visual appeal. A few coffee beans scattered around the serving dish make an elegant garnish that hints at the dessert’s primary flavor.
The beauty of coffee jelly lies in its versatility as both a standalone dessert and a component in more elaborate presentations. We often serve it as a palate cleanser between courses or as a light finish to heavy meals. Each serving method highlights different aspects of this uniquely Japanese treat while maintaining its essential character.
Variations and Flavor Options
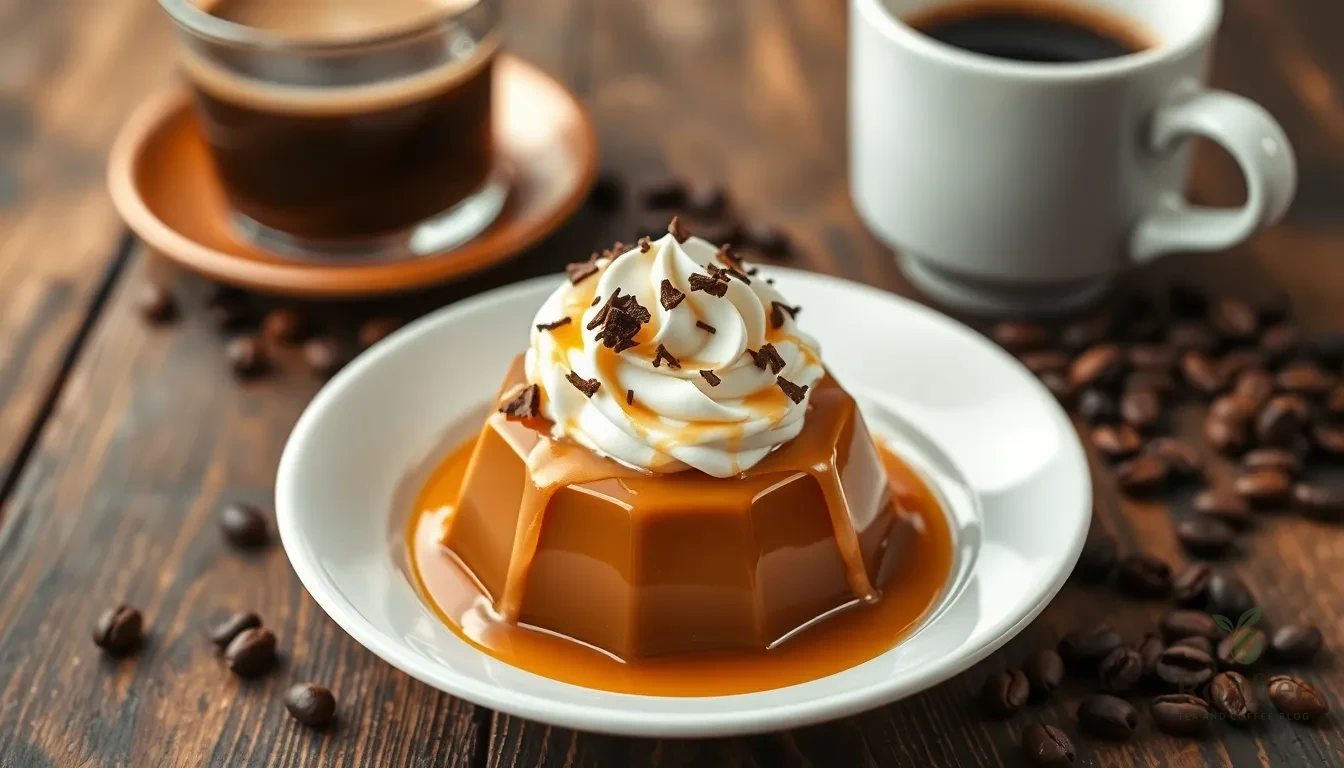
We can transform our basic coffee jelly recipe into countless delicious variations by experimenting with different coffee types and creative toppings. These adaptations allow us to customize the dessert to match our personal taste preferences and create unique flavor experiences.
Different Coffee Types
The foundation of our coffee jelly’s flavor depends entirely on the coffee we choose. Espresso powder creates the most intense and concentrated flavor profile, delivering a bold coffee taste that coffee enthusiasts particularly enjoy. Strong brewed coffee offers a more nuanced flavor experience, allowing us to showcase the unique characteristics of our favorite coffee beans.
Instant coffee crystals provide convenience without sacrificing taste, making them perfect for quick preparation. We can adjust the coffee strength by varying the ratio of coffee to water, with stronger concentrations producing more pronounced coffee flavors in our finished jelly.
Different coffee varieties bring distinct flavor notes to our dessert. Medium roast coffees contribute balanced flavors with subtle sweetness, while dark roasts deliver deeper, more robust tastes. Cold brew concentrate creates an exceptionally smooth coffee jelly with reduced acidity and bitter notes.
Alternative Toppings
Traditional Japanese presentations feature whipped cream as the classic topping, whether we prepare it fresh at home or use quality canned versions. This creamy addition balances the coffee’s natural bitterness while adding luxurious texture contrast.
Sweetened condensed milk transforms our coffee jelly into an indulgent treat, providing creamy sweetness that complements the coffee’s bold flavors. We can dilute the condensed milk with regular milk or half and half to achieve our preferred level of sweetness.
Ice cream elevations take our dessert to new heights. Vanilla, coffee, or mocha flavored ice cream creates delightful temperature contrasts while enriching the overall creaminess. The combination of chilled jelly with cold ice cream provides an exceptional textural experience.
For sophisticated adult versions, we can incorporate coffee liqueurs like Baileys, Kahlúa, or RumChata. These spirits blend beautifully into whipped cream or work perfectly as elegant drizzles over our jelly cubes, adding complexity and richness.
Creative texture additions include chocolate shavings, chocolate sauce, or even matcha flavored ice cream for fusion variations. Crunchy elements like toasted nuts or cornflakes provide interesting textural contrasts, while flavored syrups offer additional sweetness layers.
Simple milk or cream poured directly over our jelly cubes creates a smooth, understated finish that allows the coffee flavors to shine through without overwhelming the palate.
Troubleshooting Common Issues

Even experienced cooks encounter challenges when preparing Japanese coffee jelly. We’ve identified the most frequent problems and their answers to help you achieve perfect results every time.
Lumpy Gelatin Formation
Clumpy gelatin ruins the smooth texture that makes coffee jelly so appealing. Always sprinkle gelatin powder over cold water rather than adding water to the powder. This prevents the formation of stubborn lumps that refuse to dissolve completely. Allow the gelatin to bloom for 5 minutes before heating to ensure even distribution throughout your mixture.
Weak Coffee Flavor
Coffee jelly should deliver a robust coffee taste that balances beautifully with cream toppings. Use coffee that’s stronger than your usual preference since the setting process dilutes the flavor intensity. We recommend using 2-4 tablespoons of instant coffee per 2 cups of water for optimal taste concentration.
Difficulty Removing Jelly from Molds
Stuck jelly creates frustrating cleanup and damaged presentation. Grease your molds or pans thoroughly before pouring the coffee mixture. This simple step ensures clean removal and maintains those perfect cube shapes that make coffee jelly so visually appealing.
Texture Dissatisfaction
Different setting agents produce varying textures to suit personal preferences. Gelatin or agar-agar creates a softer, jiggly consistency that melts smoothly on the tongue. Kanten powder produces a firmer jelly with the traditional Japanese texture that many prefer. Choose your setting agent based on your desired final texture.
Skin Formation on Surface
A tough skin forming on top of your jelly indicates improper cooling or storage. Cover the jelly immediately after it begins to set to prevent air exposure. Use plastic wrap pressed directly onto the surface or secure lids on individual containers to maintain that smooth, glossy finish.
Uneven Setting
Jelly that sets unevenly creates an unprofessional appearance and inconsistent texture. Ensure your coffee mixture reaches room temperature before refrigerating to promote uniform setting. Pour the mixture into level containers and avoid moving them during the initial setting process.
Conclusion
We’ve shared everything you need to create this elegant Japanese dessert that transforms simple coffee into something truly special. Coffee jelly offers a refreshing alternative to heavy desserts while delivering that satisfying coffee kick we all crave.
The beauty of this recipe lies in its simplicity and flexibility. Whether you’re hosting a dinner party or treating yourself to something different you’ll find this dessert adapts perfectly to any occasion. The make-ahead nature means you can prepare it days in advance without sacrificing quality.
Once you master the basic technique you’ll discover endless possibilities for customization. From different coffee varieties to creative toppings the combinations are limited only by your imagination. We’re confident this Japanese coffee jelly will become your go-to dessert for impressing guests and satisfying your sweet tooth.
Frequently Asked Questions
What is Japanese coffee jelly?
Japanese coffee jelly is a light, elegant dessert that originated in the 1960s. It transforms liquid coffee into a delicate treat using gelatin, creating a silky texture that melts in your mouth. The dessert captures the essence of freshly brewed coffee while providing a unique textural experience that’s lighter than traditional puddings or mousses.
What ingredients do I need to make coffee jelly?
You’ll need 2 cups of water, 2-4 tablespoons of instant coffee (or 2 cups strong brewed coffee), 1 teaspoon of agar agar powder or 10 grams of gelatin powder, and 4-6 tablespoons of granulated sugar. For toppings, use ½ cup of whipping cream and optional garnishes like chocolate shavings or mint leaves.
How long does coffee jelly last in the refrigerator?
Coffee jelly can be stored in the refrigerator for up to 5 days when properly covered. Cover it with plastic wrap or a lid immediately after setting to prevent skin formation. Cut the jelly into cubes only when ready to serve to maintain its elegant appearance and texture.
Can I make coffee jelly ahead of time?
Yes, Japanese coffee jelly is perfect for make-ahead preparation. You can prepare it days in advance and store it covered in the refrigerator for up to 5 days. However, prepare toppings like whipped cream fresh on the day of serving, and cut the jelly into cubes just before presentation.
What equipment do I need to make coffee jelly?
You’ll need basic kitchen tools: a small mixing bowl, saucepan, spoon or whisk, square pan or shallow dish, sharp knife, and serving glasses. Optional tools include measuring cups, fine mesh strainer, and rubber spatula. Most home kitchens already contain these items, making this dessert accessible for all skill levels.
How do I prevent lumpy gelatin in my coffee jelly?
To prevent lumpy gelatin, sprinkle the gelatin powder over cold water and allow it to bloom for 5-10 minutes before heating. Never add gelatin directly to hot liquid. Always dissolve the bloomed gelatin completely before combining it with the coffee mixture for a smooth, uniform texture.
Can I freeze coffee jelly?
No, freezing coffee jelly is not recommended as it deteriorates the texture and affects the dessert’s signature silky consistency. The gelatin structure breaks down when frozen, resulting in a watery, unpleasant texture when thawed. Always store coffee jelly in the refrigerator instead.
What are some popular serving suggestions for coffee jelly?
Coffee jelly is traditionally served in clear glass cups topped with freshly whipped cream or drizzled with condensed milk. Modern variations include parfait-style presentations with layers of cream and chocolate shavings, or serving with vanilla ice cream for temperature contrast. Garnish with cocoa powder, cinnamon, or coffee beans for visual appeal.
How many calories are in coffee jelly?
Each serving of coffee jelly contains approximately 68-157 calories, depending on the toppings used. The jelly itself is relatively low in calories, with most calories coming from added sugar and cream toppings. The exact calorie count varies based on your choice of sweeteners and garnishes.
What coffee works best for coffee jelly?
Strong coffee works best for coffee jelly to ensure robust flavor. You can use espresso, strong brewed coffee, or instant coffee. The choice affects the flavor profile – try medium or dark roasts, or even cold brew concentrate. Use stronger coffee than usual since the gelatin dilutes the intensity slightly.

