We’ve all heard about kombucha’s incredible health benefits, but there’s something truly magical about brewing your own fizzy, probiotic-rich tea at home. This ancient fermented beverage has been captivating taste buds for over 2,000 years, and we’re about to show you exactly how to master this art in your own kitchen.
Making kombucha isn’t just about saving money – it’s about creating a living, breathing culture that’ll reward you with endless batches of gut-healthy goodness. We’ll walk you through every step of the fermentation process, from nurturing your SCOBY (that’s your symbiotic culture of bacteria and yeast) to achieving that perfect tangy-sweet balance.
Ready to transform simple tea and sugar into liquid gold? Our foolproof kombucha recipe will have you brewing like a pro in just seven days, with endless flavor possibilities waiting to be explored.
What You’ll Need to Get Started
Before we jump into brewing our first batch of kombucha, let’s gather the essential equipment and ingredients. Having everything ready ensures a smooth brewing process and sets us up for success.
Equipment and Supplies
We need exact tools and materials to create the perfect environment for our SCOBY to thrive. Each piece of equipment plays a crucial role in the fermentation process.
Essential Equipment:
- 1 gallon glass jar (wide-mouth preferred)
- Non-metal strainer or cheesecloth
- Wooden spoon for stirring
- Rubber band or string for securing
- Glass bottles for second fermentation (16 oz swing-top bottles work best)
- pH strips or digital pH meter
- Kitchen scale for accurate measurements
Additional Supplies:
- Coffee filters or breathable cloth
- Funnel for bottling
- Labels for dating batches
- Thermometer to monitor temperature
Glass containers are our top choice because they don’t react with the acidic kombucha. Metal utensils can damage the SCOBY, so we stick to wood or plastic alternatives. The wide-mouth jar makes it easier to handle our SCOBY and allows proper air circulation.
Choosing Your Tea and Sugar
Our tea and sugar selection directly impacts the final flavor and the health of our SCOBY. The right combination feeds our culture while creating the perfect base for fermentation.
Best Tea Options:
- Black tea (provides strong nutrients for SCOBY)
- Green tea (adds antioxidants and lighter flavor)
- White tea (delicate taste with gentle fermentation)
- Oolong tea (balanced flavor profile)
- Blend of black and green tea (our recommended starter mix)
Sugar Requirements:
- Organic cane sugar (ideal choice for SCOBY health)
- White granulated sugar (works well as alternative)
- Avoid: artificial sweeteners, honey, or coconut sugar
We recommend starting with a 50/50 blend of black and green tea for beginners. This combination provides adequate nutrients for our SCOBY while creating a balanced flavor profile. The sugar feeds the beneficial bacteria and yeast during fermentation, so we never skip this crucial ingredient.
Our SCOBY thrives on the tannins and nutrients found in real tea. Herbal teas alone won’t provide sufficient nutrition, though we can add them for flavor in small amounts alongside our base tea blend.
Ingredients
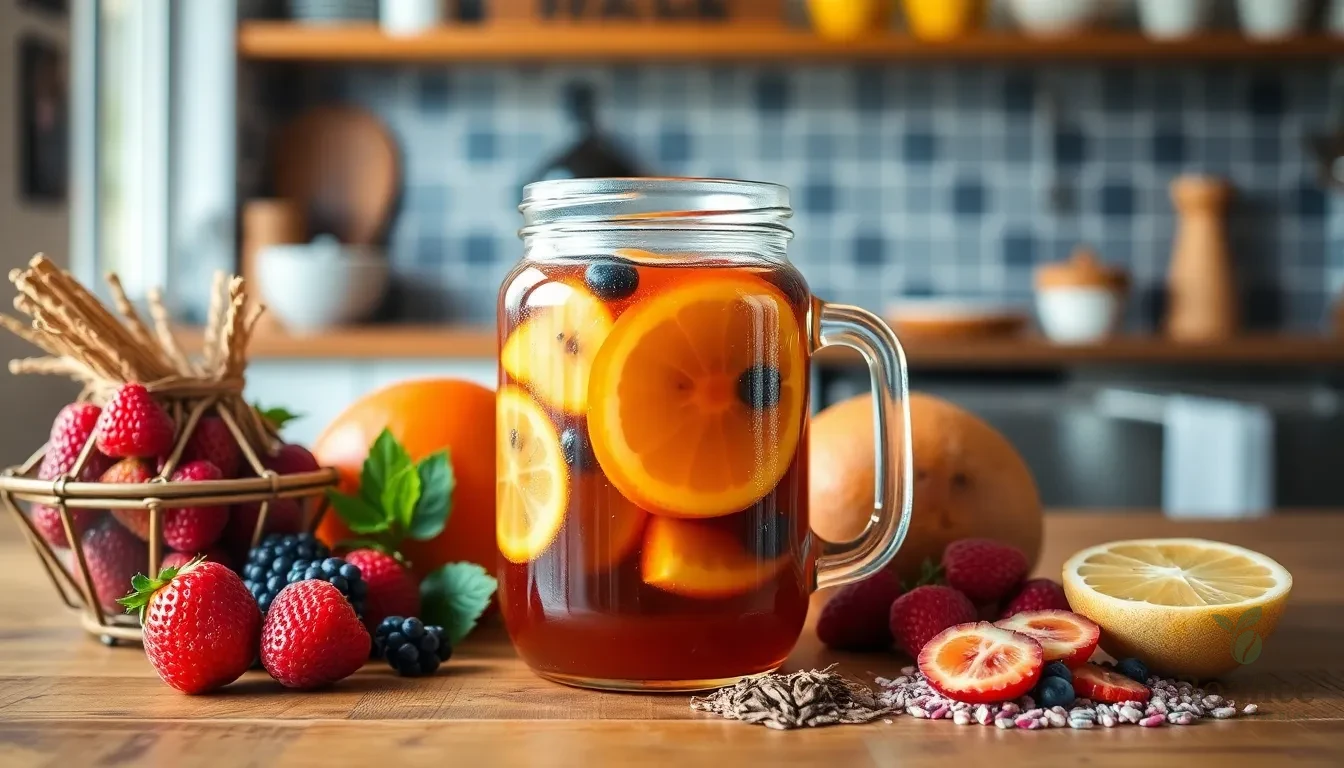
We’ve organized our kombucha ingredients into two distinct phases to guide you through the complete brewing process. The first fermentation creates the foundational kombucha while the second fermentation adds flavor and carbonation.
For the First Fermentation
- 14 cups water (about 3.3 liters)
- 8 bags black or green tea, or 2 tablespoons loose leaf tea
- 1 cup white sugar (approximately 200 grams)
- 2 cups unflavored kombucha (starter tea), either from a previous batch or store-bought unpasteurized (about 470 mL)
- 1 SCOBY (symbiotic culture of bacteria and yeast)
For the Second Fermentation (Optional)
- Kombucha from the first fermentation
- Sweeteners or flavorings such as:
- Fresh fruit (berries, citrus, or tropical fruits)
- Dried hibiscus flowers
- Fresh ginger root
- Honey
- Herbs and spices (mint, cinnamon, or cardamom)
Instructions
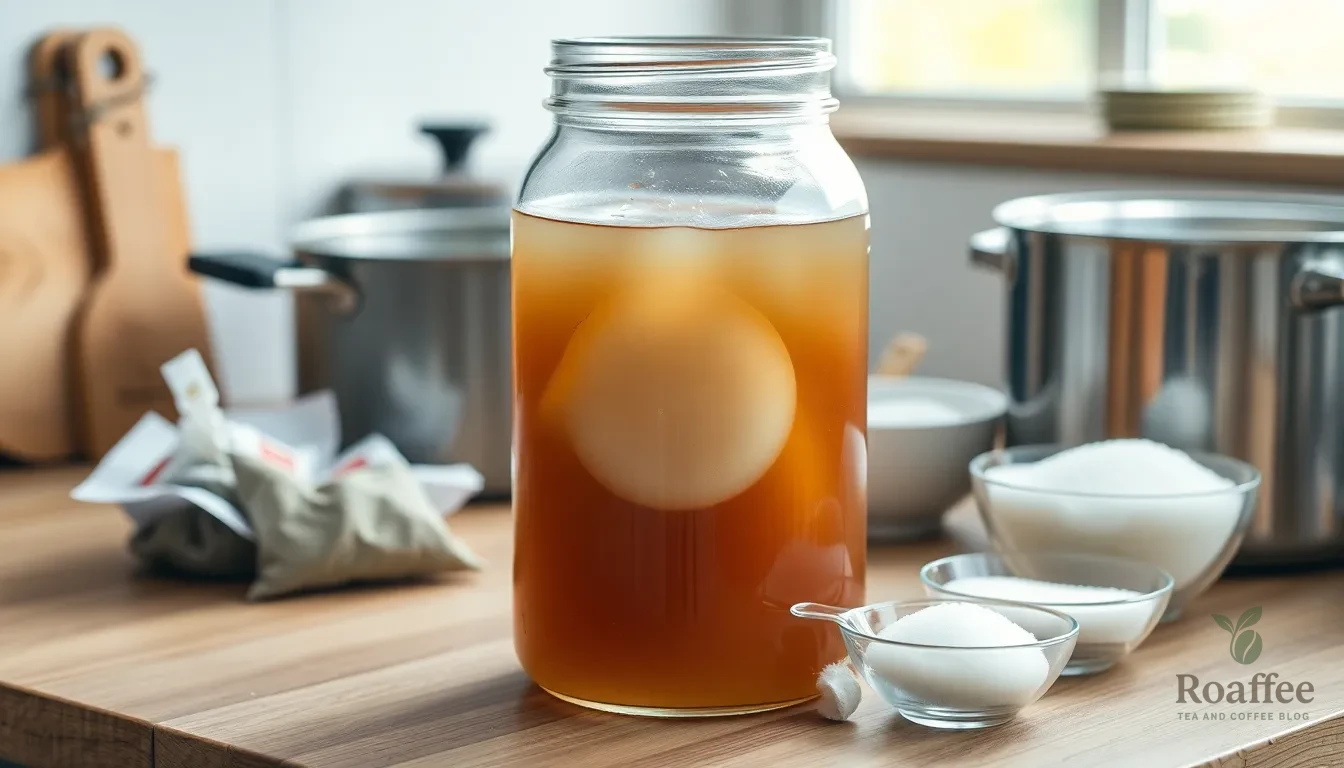
Follow these step-by-step instructions to brew your own kombucha at home. We’ll guide you through each phase of the fermentation process to ensure perfect results.
Preparing Your Sweet Tea Base
Boil 14 cups of water in a large pot until it reaches a rolling boil. Add 1 cup of white sugar to the boiling water and stir continuously until the sugar completely dissolves. Remove the pot from heat and immediately add 8 tea bags or equivalent loose tea leaves to the hot water.
Steep the tea for exactly 15 minutes to extract optimal nutrients for your SCOBY. Remove all tea bags or strain out loose tea leaves completely to prevent any particles from affecting fermentation. Allow the sweet tea to cool to room temperature before proceeding – the liquid should feel comfortable to touch when you test it with your finger.
Cooling and Adding the SCOBY
Pour the cooled sweet tea into your 1-gallon glass fermenting jar carefully to avoid splashing. Add 2 cups of unflavored starter kombucha from your previous batch or store-bought kombucha to the sweet tea. Gently place your SCOBY on top of the liquid with the smooth side facing upward.
Cover the jar opening with a tightly woven cloth or coffee filter to allow proper airflow while keeping contaminants out. Secure the covering with a rubber band around the jar rim to create a tight seal that prevents fruit flies and dust from entering.
First Fermentation Process
Store your fermenting kombucha at room temperature between 70-75°F away from direct sunlight. Choose a location with consistent temperature and minimal vibration for optimal fermentation conditions. Allow the kombucha to ferment for 7 to 12 days depending on your taste preferences.
During this fermentation period the SCOBY consumes the sugar and transforms the sweet tea into tangy kombucha while producing beneficial acids and light carbonation. Longer fermentation times typically result in more acidic and less sweet kombucha with stronger probiotic benefits.
Tasting and Testing
Begin tasting your kombucha on day 7 by gently inserting a clean straw beneath the SCOBY to extract a small sample. Taste the kombucha daily after this point to monitor the flavor development and acidity levels. Look for a balanced taste between sweetness and tartness that appeals to your palate.
Stop the first fermentation when the kombucha reaches your desired flavor profile – this typically occurs between days 7 and 12. The kombucha should taste pleasantly tangy with minimal residual sweetness when ready for the next phase.
Second Fermentation for Flavor and Fizz
Remove your SCOBY along with 2 cups of kombucha to reserve as starter for your next batch. Pour the remaining kombucha into sealable glass bottles leaving approximately 1 inch of headspace at the top. Add your chosen flavorings such as fresh fruit juice, ginger, herbs, or dried flowers to each bottle.
Seal the bottles tightly and leave them at room temperature for 2 to 4 days to develop natural carbonation. Monitor the bottles daily and refrigerate once they reach your desired level of fizziness to halt fermentation.
Bottling and Final Fermentation
Refrigerate your flavored kombucha once the second fermentation completes to preserve flavor and control carbonation levels. Store the bottles in the refrigerator for up to several weeks while maintaining their probiotic benefits and taste quality.
Always maintain proper sanitation throughout the entire process by cleaning all equipment with hot soapy water before use. Reserve your SCOBY and starter kombucha in a clean glass container to begin your next batch immediately or store for future brewing sessions.
Directions for Ongoing Batches

Once you’ve mastered your first batch of kombucha, establishing a sustainable brewing routine becomes your next priority. We’ll guide you through two essential approaches that ensure consistent production and healthy SCOBY maintenance.
Maintaining Your SCOBY
Our SCOBY requires proper care to remain healthy and productive for future batches. Always handle your SCOBY with thoroughly clean hands to prevent harmful bacteria from contaminating your culture. The living organism thrives when kept in its natural environment, so we recommend leaving it in the fermentation vessel during continuous brewing rather than removing it repeatedly.
Store extra SCOBYs in kombucha liquid inside the refrigerator if you’re not using them immediately. This preservation method keeps backup cultures viable for months. We use starter tea from previous fermented batches to jumpstart each new brewing cycle, which maintains the proper pH balance and reduces contamination risks.
Never expose your SCOBY to metal utensils or containers, as this can damage the delicate balance of bacteria and yeast. The culture naturally thickens and may develop brown stringy formations, which indicates healthy fermentation activity rather than contamination.
Continuous Brew Method
We prefer the continuous brew method for its convenience and reduced contamination risk compared to traditional batch brewing. This approach requires a large glass or ceramic vessel equipped with a spigot at the bottom, allowing us to draw off finished kombucha without disturbing the entire batch.
Pour your sweetened tea mixture into the vessel and add both the SCOBY and starter liquid. Cover the container with breathable cloth secured by a rubber band to prevent dust and insects while allowing proper airflow. Position the vessel at room temperature away from direct sunlight for optimal fermentation conditions.
After the initial fermentation period of 7 to 21 days, we draw off only the amount of kombucha needed through the spigot. Leave approximately 30% of the brew in the vessel to maintain active fermentation culture and minimize contamination risks. Replenish the vessel by pouring fresh sweetened tea into the top, maintaining a near-constant volume for continuous production.
| Continuous Brew Benefits | Traditional Batch Method |
|---|---|
| Less handling required | Frequent SCOBY removal |
| Reduced contamination risk | Higher contamination potential |
| Constant kombucha supply | Intermittent production |
| Easier management | More time-intensive |
This method eliminates the need for frequent cleaning and handling while providing a steady supply of fresh kombucha. We find that continuous brewing produces more consistent flavors and maintains stronger SCOBY health over extended periods.
Storage and Serving
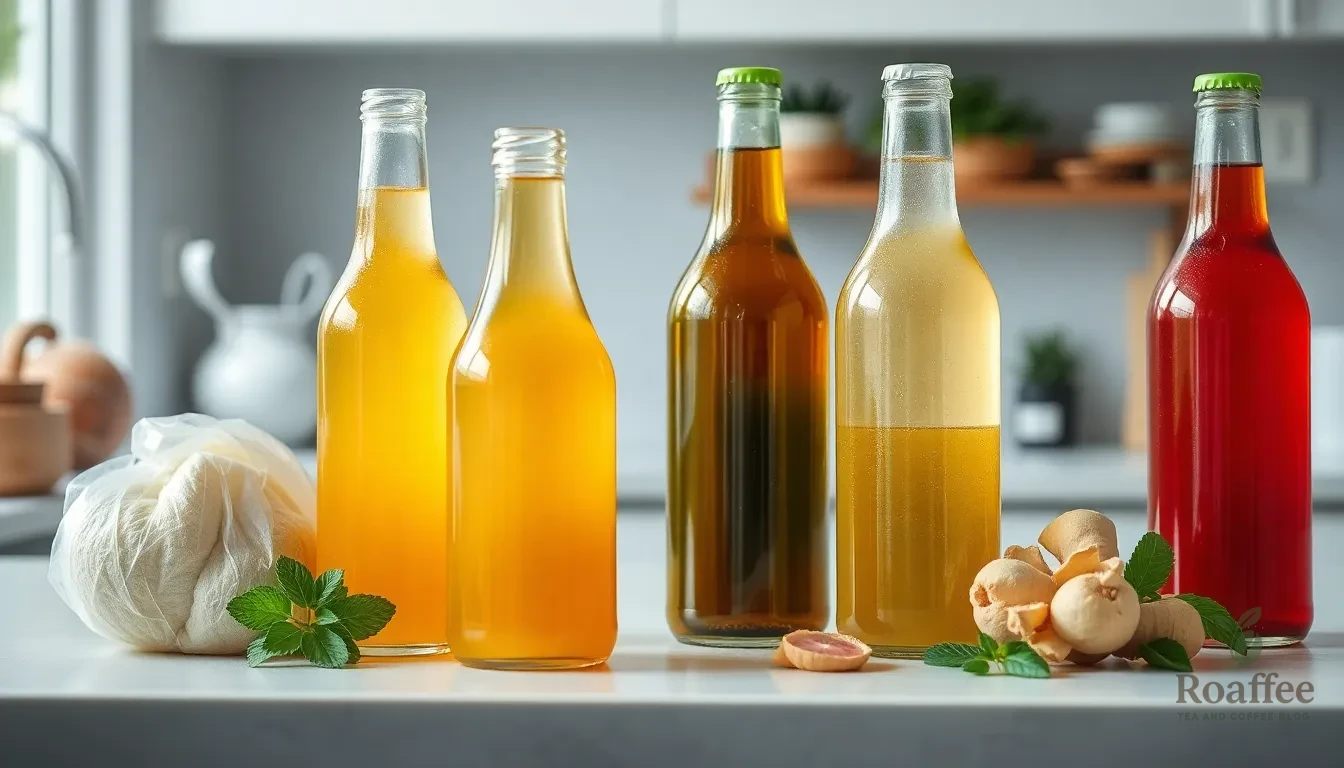
Proper storage and serving techniques ensure your homemade kombucha maintains its probiotic benefits and delicious flavor. We’ll guide you through the essential practices that keep your kombucha fresh and enjoyable.
Proper Storage Techniques
During First Fermentation
We store our fermenting kombucha at room temperature between 68-85°F for optimal SCOBY activity. Our fermentation vessel needs a breathable cloth cover secured with a rubber band to allow oxygen flow while preventing contaminants from entering. Direct sunlight should be avoided as it can disrupt the fermentation process and potentially harm the SCOBY culture.
After Fermentation
Once fermentation completes we remove the SCOBY and transfer the finished kombucha to airtight glass bottles. This step prepares the kombucha for second fermentation or immediate cold storage depending on our preferences.
Refrigeration Guidelines
| Storage Method | Temperature | Duration | Purpose |
|---|---|---|---|
| Room Temperature Fermentation | 68-85°F | 7-21 days | Active fermentation |
| Refrigerated Storage | 32-40°F | 2-3 months | Slow fermentation and preserve flavor |
| Second Fermentation | Room Temperature | 2-4 days | Build carbonation |
We refrigerate finished kombucha to slow fermentation and maintain optimal flavor profiles. Cold storage preserves carbonation levels when present and prevents over-fermentation that could lead to excessive sourness.
Sanitation Practices
Clean sanitized glass containers and utensils throughout the process prevent contamination that could spoil our kombucha. We use glass or ceramic vessels exclusively as these materials won’t react with the acidic kombucha and maintain the integrity of our brew.
How to Serve Your Kombucha
Optimal Serving Temperature
We serve kombucha chilled straight from the refrigerator or poured over ice for maximum refreshment. The cold temperature enhances the crisp tangy flavor that makes kombucha so enjoyable.
Flavoring Options
Second fermentation allows us to create unique flavor combinations using fruit juices herbs or spices before bottling. Popular additions include ginger lemon berries or mint that complement the natural tartness of fermented tea.
Serving Vessels
Glass or food-safe cups preserve the kombucha’s flavor and carbonation better than plastic containers. We recommend avoiding metal containers as they can react with the acidic kombucha and alter the taste.
Batch Continuation
Each serving session provides an opportunity to retain some kombucha and the SCOBY from our current batch for future brewing cycles. This practice ensures we always have starter tea and healthy culture ready for our next fermentation round.
Troubleshooting Common Issues
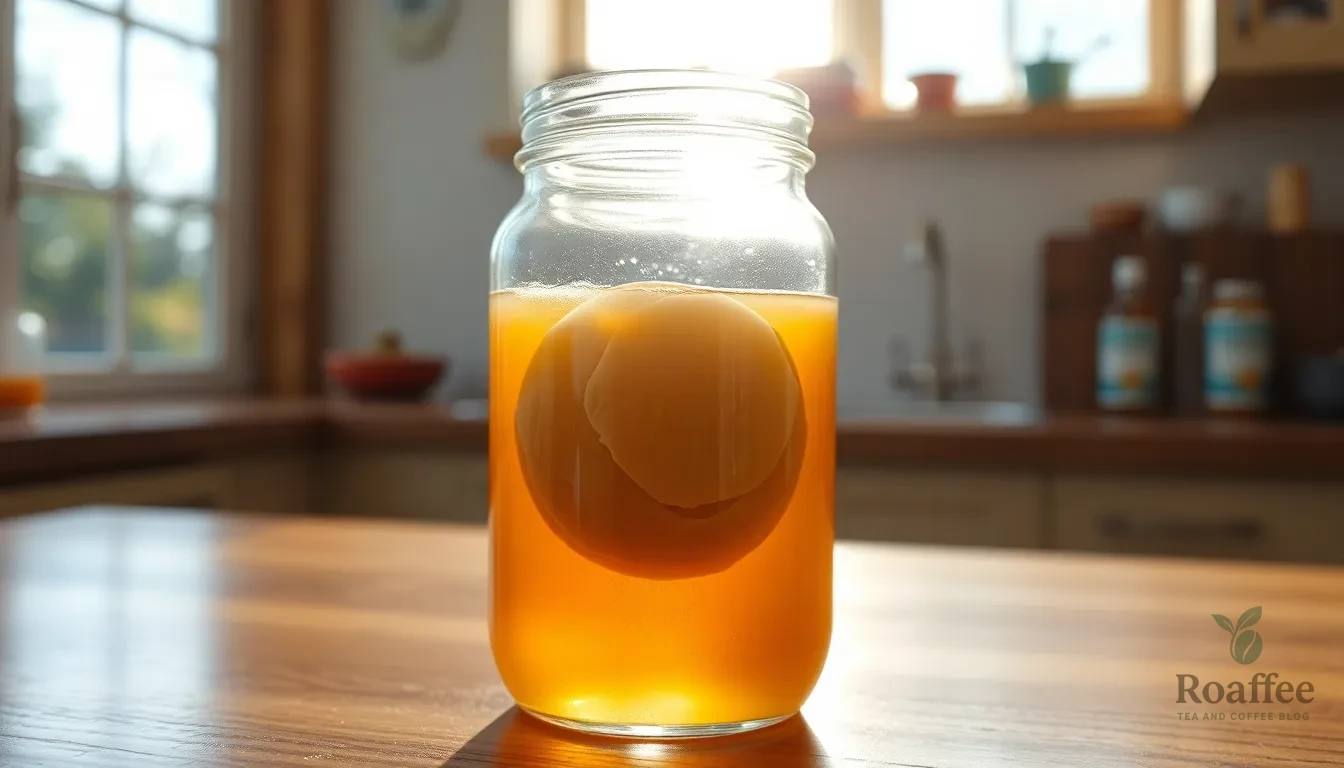
Even with careful attention to your brewing process, you may encounter challenges along the way. Understanding these common problems and their answers will help ensure consistent kombucha production and maintain optimal SCOBY health.
SCOBY Health Problems
Poor quality or improperly stored SCOBYs can significantly impact your brewing success. When SCOBYs are stored incorrectly or damaged, they produce weak or off-flavor brews, slow fermentation, or may fail to form a new healthy SCOBY layer during the brewing process.
Storing SCOBYs in the refrigerator or rinsing them with water can harm their viability. These practices disrupt the delicate balance of bacteria and yeast that makes your SCOBY effective. Instead, we recommend keeping your SCOBY in room temperature kombucha liquid when not actively brewing.
Adding flavorings like berries during the first ferment can damage your SCOBY due to antimicrobial properties or mold spores present in fresh fruits. Reserve all flavorings for the second fermentation to protect your culture’s health and maintain its fermentation strength.
Mold contamination poses a serious threat to your brewing operation. Penicillium or Aspergillus species can contaminate homemade batches, especially when the pH doesn’t drop quickly enough during the initial fermentation phase. Using adequate starter tea helps create the acidic environment necessary to prevent mold growth.
Flavor and Fermentation Issues
Using too little or weak starter tea creates multiple problems in your brewing process. This common mistake prolongs fermentation time and leads to flat, weak-tasting kombucha that lacks the characteristic tang and complexity you expect.
Temperature plays a crucial role in fermentation speed and quality. Colder brewing conditions require increasing your starter tea volume to maintain robust fermentation activity. We recommend maintaining temperatures between 68-78°F for optimal results.
Improper acidification leaves your brew vulnerable to mold growth and off-flavors. Using at least 1 cup of starter tea per culture ensures proper pH levels from the start. This practice creates an inhospitable environment for harmful bacteria while supporting beneficial fermentation.
Avoid substituting vinegar for proper kombucha starter liquid. While vinegar provides acidity, it lacks the balanced microorganisms your SCOBY depends on for healthy fermentation. Always use unflavored, properly fermented kombucha as your starter liquid to maintain the complex microbial network essential for quality brewing.
Conclusion
We’ve guided you through every step of creating your own kombucha tea recipe at home. From selecting the right ingredients to mastering both batch and continuous brewing methods you now have all the tools needed to start your fermentation journey.
The beauty of homemade kombucha lies in its versatility and the satisfaction of nurturing a living culture. With proper SCOBY care and consistent brewing practices you’ll soon be enjoying endless flavor combinations while reaping the probiotic benefits.
Remember that kombucha brewing is as much an art as it is a science. Each batch teaches you something new about timing flavor balance and fermentation. Trust the process embrace experimentation and you’ll be rewarded with a refreshing homemade beverage that’s uniquely yours.
Frequently Asked Questions
What is kombucha and why should I brew it at home?
Kombucha is a fermented tea beverage rich in probiotics that supports digestive health. Brewing at home allows you to control ingredients, save money, and customize flavors to your taste. The process involves nurturing a SCOBY (symbiotic culture of bacteria and yeast) that transforms sweet tea into tangy, effervescent kombucha in just 7-12 days.
What equipment do I need to start brewing kombucha?
Essential equipment includes a 1-gallon glass jar, non-metal strainer, wooden spoon, and glass bottles for second fermentation. Use only glass containers to avoid reactions with acidic kombucha. Wooden or plastic utensils protect the SCOBY from metal damage. Additional items like a breathable cloth cover and rubber bands complete your basic setup.
What ingredients are required for kombucha brewing?
You need black or green tea (or a blend), organic cane sugar, a healthy SCOBY, and starter kombucha from a previous batch. Avoid artificial sweeteners, honey, or flavored teas during first fermentation as they can harm the SCOBY. Real tea provides essential nutrients for the culture, while sugar feeds the fermentation process.
How long does it take to brew kombucha at home?
The first fermentation takes 7-12 days at room temperature. After removing the SCOBY, a second fermentation for flavoring and carbonation lasts 2-4 days. Total brewing time is typically 9-16 days from start to finish, depending on your taste preferences and desired carbonation level.
Can I flavor my homemade kombucha?
Yes, but only during the second fermentation after removing the SCOBY. Add fruits, herbs, spices, or juices to individual bottles before sealing for carbonation. Popular flavors include ginger, berries, citrus, and herbs. Never add flavorings during first fermentation as they can damage the SCOBY.
How do I know when my kombucha is ready to drink?
Taste your kombucha daily after day 7 of first fermentation. It should have a tangy, slightly sweet flavor with mild effervescence. The liquid should smell vinegary but pleasant. If too sweet, ferment longer. If too sour, harvest earlier next time. Trust your taste buds to determine the perfect balance.
What is the continuous brew method?
Continuous brewing uses a large glass or ceramic vessel with a spigot, allowing you to draw finished kombucha while maintaining active fermentation. This method reduces contamination risk, requires less handling, produces consistent flavors, and keeps the SCOBY healthier. It’s ideal for regular kombucha drinkers wanting a steady supply.
How should I store my finished kombucha?
Store kombucha in airtight glass bottles in the refrigerator to preserve probiotics and carbonation. Keep bottles away from direct sunlight and consume within 2-3 weeks for best quality. Properly stored kombucha maintains its flavor and health benefits while preventing over-fermentation.
How do I maintain a healthy SCOBY?
Handle SCOBYs with clean hands only. Store extras in kombucha liquid at room temperature, never in the refrigerator. Don’t rinse SCOBYs with water. Always use adequate starter tea (10-20% of batch volume) to maintain proper pH. Keep SCOBYs in their liquid between batches to preserve health.
What are common kombucha brewing mistakes to avoid?
Never add flavorings during first fermentation, as they harm the SCOBY. Don’t refrigerate SCOBYs or rinse them with water. Avoid using insufficient starter tea, which can lead to mold growth. Don’t use metal utensils or containers. Maintain proper temperature (68-78°F) and avoid disturbing the SCOBY during fermentation.


