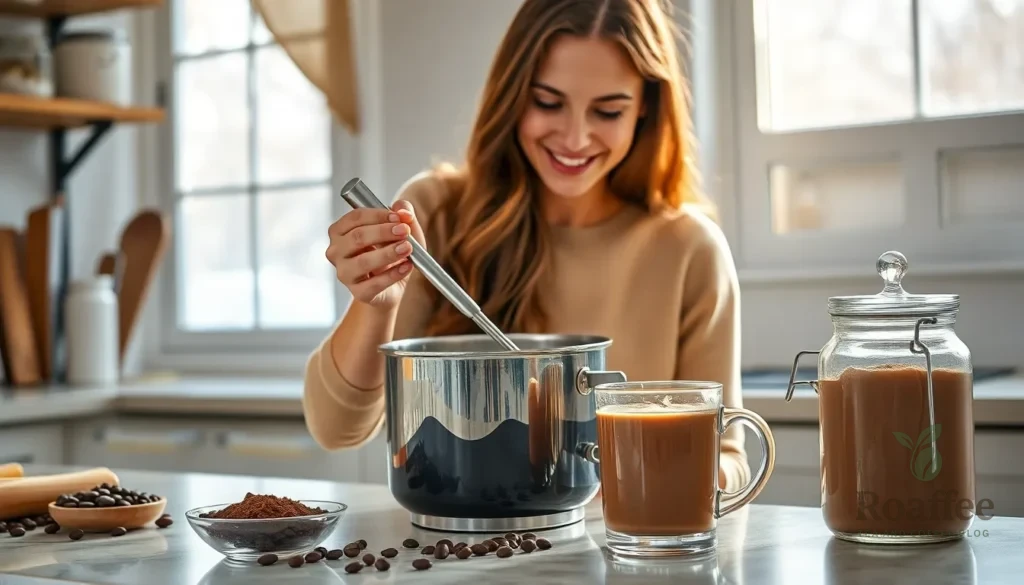
We’ve all been there – standing in the coffee aisle staring at overpriced store-bought creamers packed with artificial ingredients and wondering if there’s a better way. The good news is that creating your own mocha coffee creamer at home is incredibly simple and gives you complete control over every ingredient that goes into your morning cup.
This homemade mocha creamer recipe combines the rich flavors of chocolate and coffee into a silky smooth creamer that’ll transform your daily brew into a coffeehouse-worthy treat. We’re talking about that perfect balance of sweet cocoa and bold coffee notes that makes each sip feel like a luxurious indulgence.
What makes this recipe truly special is how customizable it is – you can adjust the sweetness level and choose your preferred type of milk or cream base. Plus you’ll save money while avoiding all those unpronounceable additives found in commercial versions. Let’s jump into creating this delicious DIY mocha creamer that’ll elevate your coffee game forever.
Ingredients
Our homemade mocha coffee creamer requires just a few simple ingredients that you likely already have in your kitchen. Each component plays a crucial role in creating that perfect balance of rich chocolate and robust coffee flavor.
For the Coffee Base
- 1 cup strong brewed coffee (cooled to room temperature)
- 2 tablespoons instant coffee granules
- 1 tablespoon coffee extract (optional for enhanced flavor)
For the Chocolate Component
- 3 tablespoons unsweetened cocoa powder
- 2 tablespoons chocolate syrup
- 1 teaspoon vanilla extract
- 1/4 cup powdered sugar (adjust to taste)
For the Creamy Base
- 1 cup whole milk
- 1/2 cup heavy cream
- 1/4 cup sweetened condensed milk
- 2 tablespoons brown sugar
- Pinch of salt
Equipment Needed
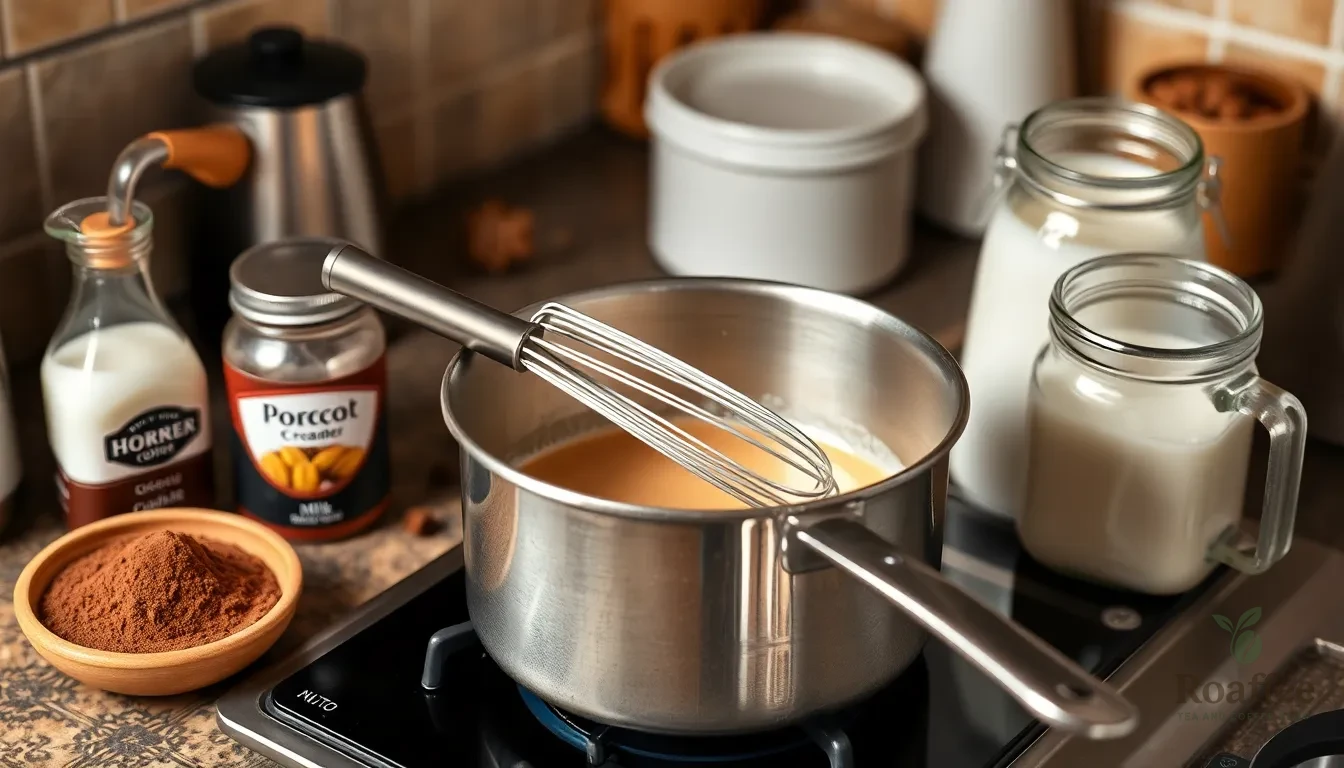
Creating our homemade mocha coffee creamer requires minimal kitchen equipment that most home cooks already have on hand. We’ll need a medium saucepan as our primary cooking vessel to gently heat and blend our ingredients without scorching the delicate milk proteins.
A whisk becomes essential for achieving that smooth, lump-free consistency we desire. This tool helps us properly incorporate the cocoa powder and prevents any unwanted clumps from forming in our finished creamer.
Storage is crucial for maintaining freshness, so we recommend having an airtight container or glass jar ready. These containers keep our creamer fresh for up to one week in the refrigerator while preventing any unwanted flavors from seeping in.
For those who enjoy frothy, café-style coffee drinks, a handheld frother or steam wand serves as an excellent optional addition. These tools transform our homemade creamer into a luxurious, foamy texture that rivals professional coffee shops.
The beauty of this recipe lies in its simplicity—we don’t need any specialized or expensive equipment. Most home kitchens already contain these basic tools, making this an accessible project for coffee enthusiasts at any skill level.
Instructions
We’ll guide you through creating this luxurious homemade mocha coffee creamer in five simple steps. Each step builds upon the previous one to ensure perfect flavor balance and smooth texture.
Prep the Coffee Concentrate
Strong coffee forms the foundation of our mocha creamer’s robust flavor. Brew 1 cup of strong coffee using your preferred method or prepare 2 shots of espresso for more intense coffee notes. Allow the coffee to cool to room temperature before incorporating it into the creamer mixture. This concentrated coffee base will provide the authentic mocha taste we’re seeking.
Prepare the Chocolate Mixture
Combine 3 tablespoons of cocoa powder with 1/4 cup of brown sugar in a medium saucepan. Add 1/2 cup of water to the dry ingredients and place over medium heat. Stir constantly until the sugar dissolves completely and the mixture becomes smooth and glossy. Remove from heat immediately once the chocolate syrup forms to prevent any bitter burnt flavors from developing.
Combine the Base Ingredients
Pour 1 cup of heavy cream and 1 cup of whole milk into a large mixing bowl or directly into the saucepan with the chocolate mixture. Add 1/2 cup of sweetened condensed milk for extra richness and sweetness. Slowly incorporate the cooled coffee concentrate while stirring gently. Add 1 teaspoon of vanilla extract and a pinch of salt to enhance all the flavors.
Mix Everything Together
Whisk all ingredients vigorously until the mixture reaches a completely smooth consistency. Taste and adjust sweetness by adding more brown sugar if desired. Continue whisking for 2-3 minutes to ensure the chocolate mixture fully incorporates with the dairy base. The creamer should have a silky texture without any lumps or separation.
Store Properly
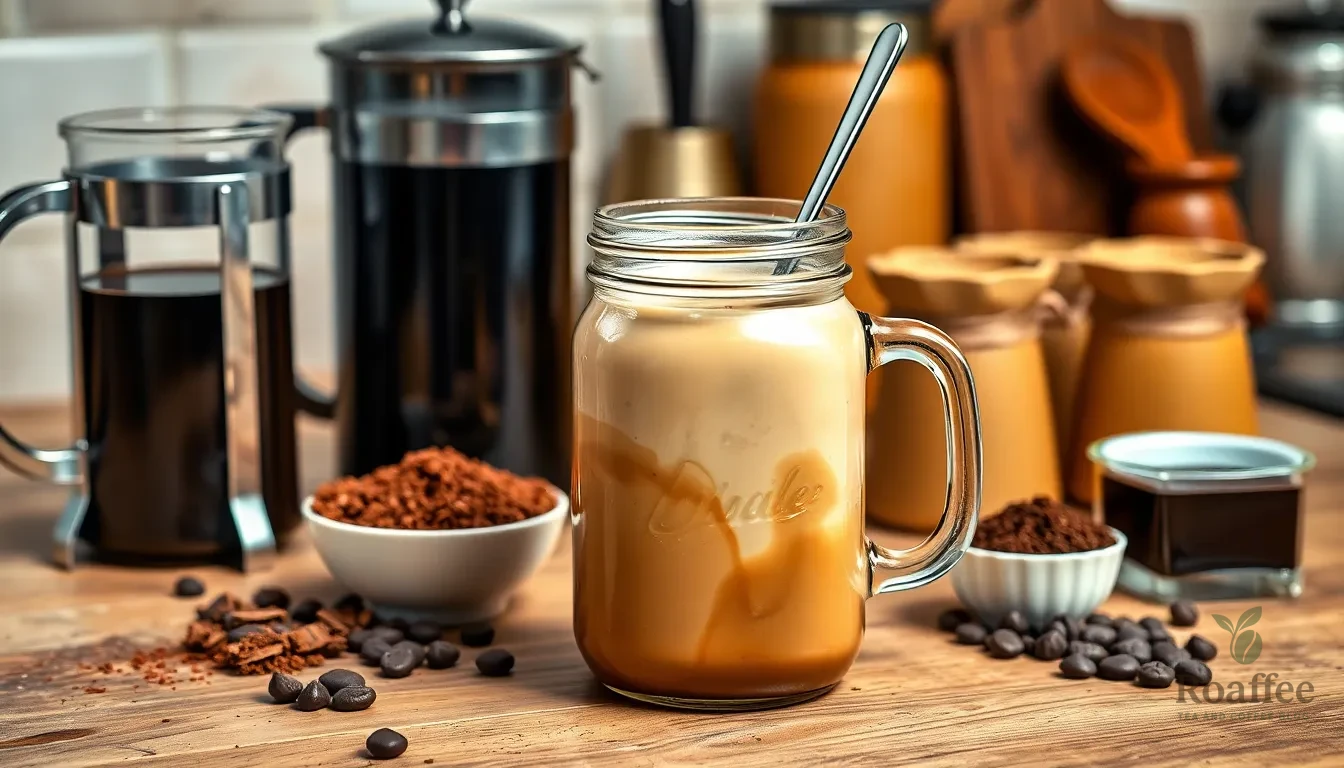
Transfer the finished creamer to an airtight glass jar or container. Refrigerate immediately and use within 5-7 days for optimal freshness and flavor. Shake the container well before each use since natural separation may occur during storage. The creamer can be gently warmed before adding to hot coffee if you prefer a temperature-matched addition.
Directions for Use
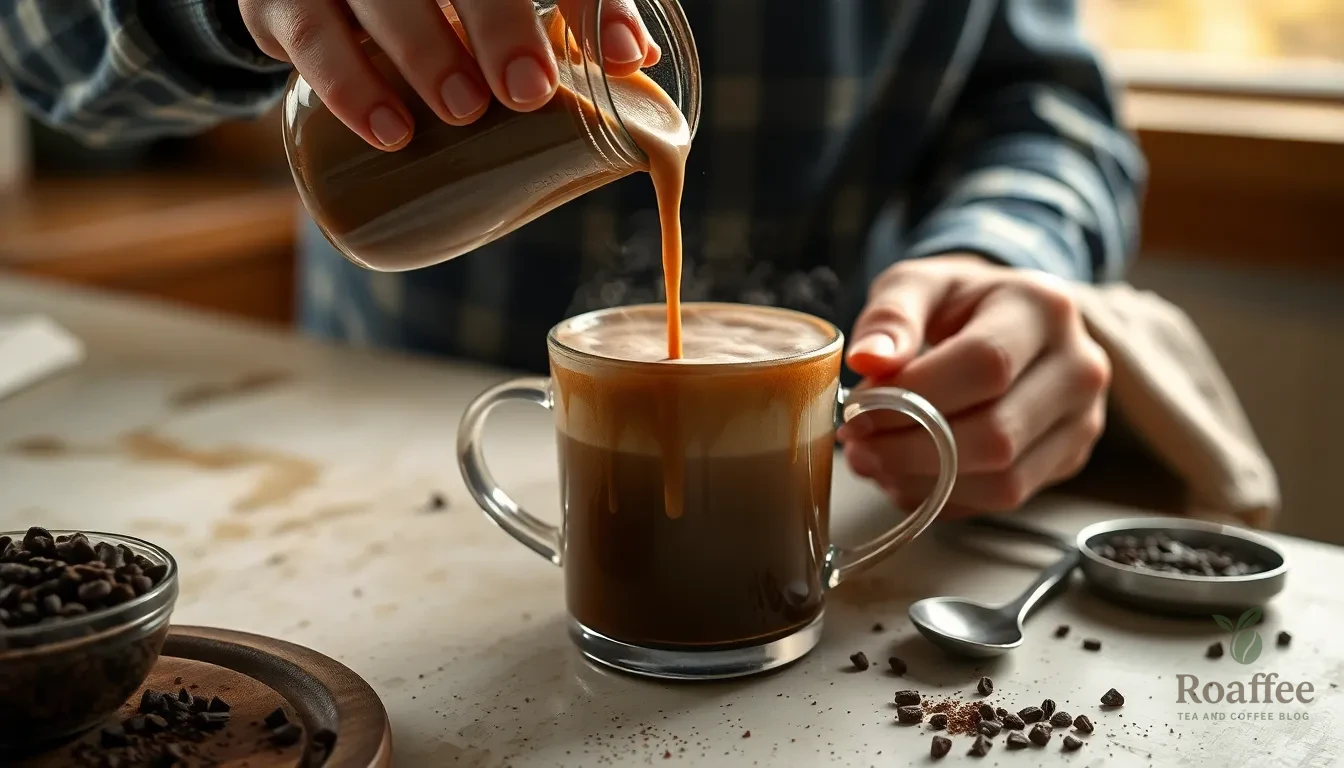
Now that we’ve prepared our homemade mocha coffee creamer, let’s explore the best ways to incorporate it into our daily coffee routine. Proper usage ensures we get the most flavor from our carefully crafted creamer.
How to Add to Coffee
We always recommend shaking the creamer well before adding it to coffee, especially after refrigeration, as cocoa powder may settle at the bottom. The chocolate particles naturally separate over time, so vigorous shaking redistributes them evenly throughout the mixture.
Pour the creamer into hot coffee as desired and stir well to mix thoroughly with the brew. We find that adding the creamer slowly while stirring creates the smoothest integration. For those who enjoy frothy coffee drinks, we suggest using a handheld frother or steam wand to create a luxurious texture that rivals coffee shop beverages.
Cold brew enthusiasts can also enjoy our mocha creamer by adding it directly to iced coffee. The creamer blends beautifully with both hot and cold preparations, making it versatile for year-round enjoyment.
Recommended Serving Size
We recommend starting with 1 to 2 tablespoons per 8 oz cup of coffee to achieve the perfect mocha flavor without overpowering the coffee’s natural taste. This measurement provides the ideal balance between richness and coffee intensity.
| Coffee Size | Recommended Creamer Amount |
|---|---|
| 8 oz cup | 1-2 tablespoons (15-30 ml) |
| 12 oz mug | 2-3 tablespoons (30-45 ml) |
| 16 oz travel mug | 3-4 tablespoons (45-60 ml) |
Personal preference plays a important role in determining the perfect amount. We encourage experimenting with different quantities to find your ideal flavor profile. Some coffee lovers prefer a subtle chocolate hint, while others enjoy a rich, dessert-like experience. The beauty of homemade creamer lies in this customization ability.
Storage Instructions
Proper storage keeps our homemade mocha coffee creamer fresh and flavorful for extended periods. We can choose between refrigerator and freezer methods depending on our usage preferences and desired shelf life.
Refrigerator Storage
Store the creamer in an airtight container or jar immediately after preparation to maintain optimal freshness. Our homemade mocha coffee creamer will keep in the refrigerator for 1-2 weeks depending on the exact ingredients we use.
The cocoa powder naturally settles over time, so we need to shake or stir the container well before each use to re-mix any separation. Glass jars work exceptionally well for storage as they don’t absorb flavors and allow us to see the creamer’s consistency at a peek.
Temperature consistency matters for maintaining quality, so we should place the container toward the back of the refrigerator where temperatures remain most stable. Avoid storing near the door where frequent opening causes temperature fluctuations.
Freezer Options
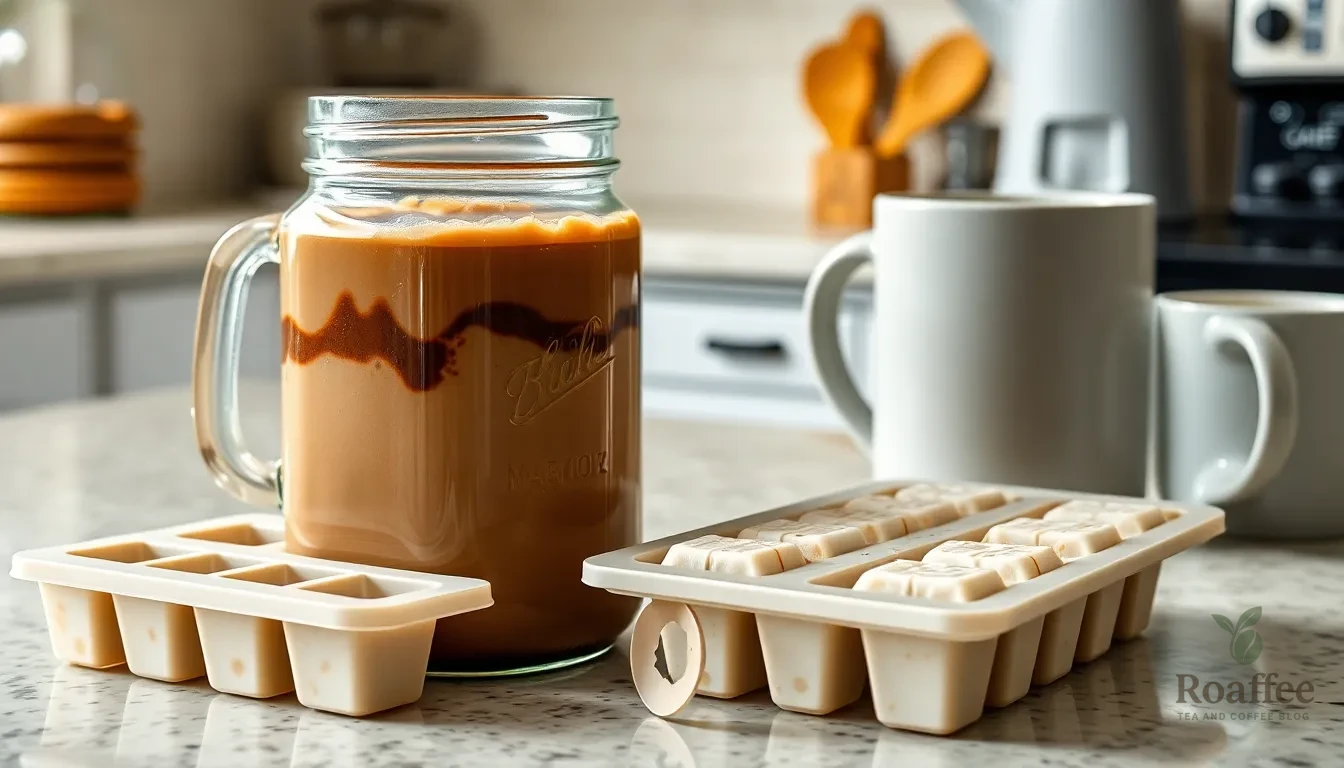
For longer storage and convenient portion control, we can freeze the mocha coffee creamer in silicone ice cube trays or muffin cups. This method extends the creamer’s life significantly beyond the standard refrigerator storage period.
Once the cubes freeze completely, transfer them to a freezer bag for organized storage and easy access. Each cube typically contains about 1-2 tablespoons of creamer, making portion control simple and precise.
We can use the frozen cubes directly to chill our coffee or gently reheat them in a mug before adding to hot coffee. Keep in mind that adding frozen creamer cubes directly to hot coffee will cool the beverage, so warming them first maintains our desired coffee temperature.
| Storage Method | Duration | Container Type | Usage Notes |
|---|---|---|---|
| Refrigerator | 1-2 weeks | Airtight jar/container | Shake before use |
| Freezer cubes | 2-3 months | Silicone trays → freezer bags | Warm before use or use to chill coffee |
Make-Ahead Tips
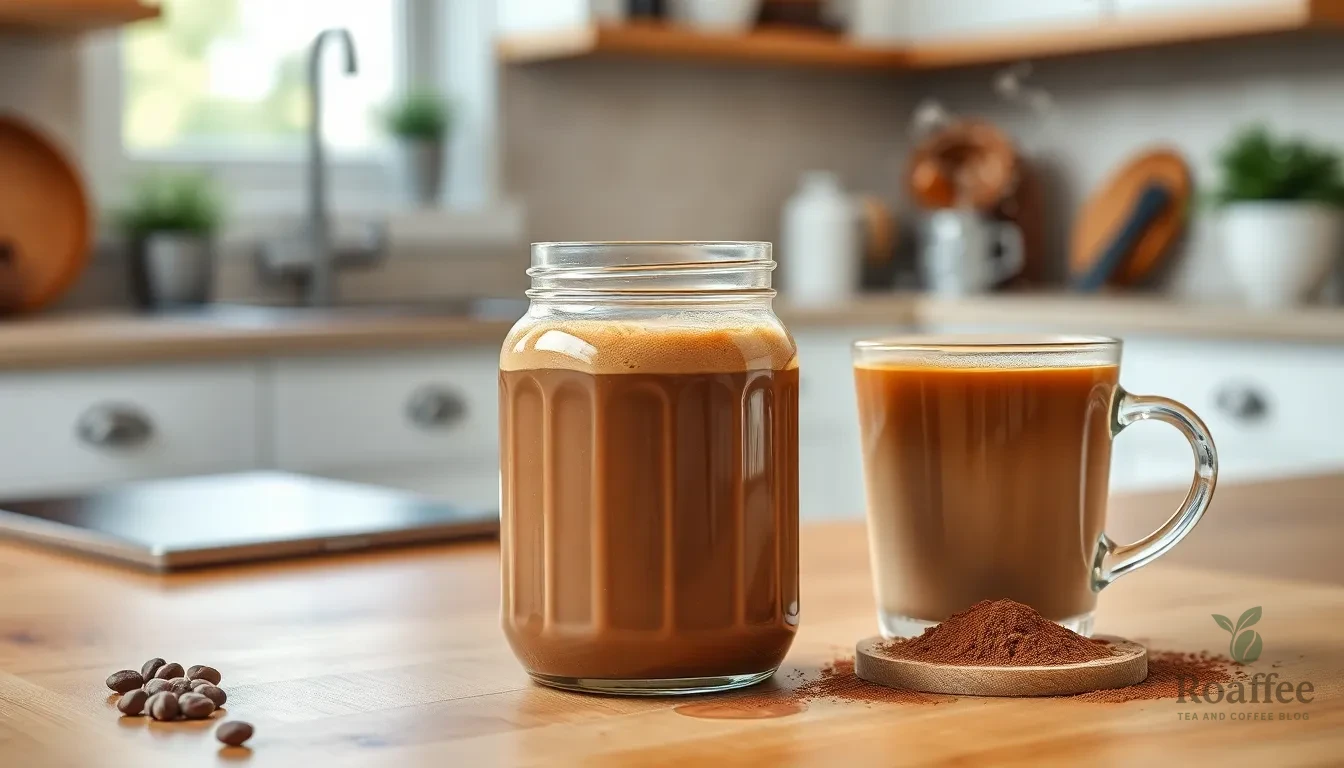
We find that preparing our mocha coffee creamer in advance saves precious time during busy mornings. The creamer can be made up to one week ahead of time when stored properly in an airtight container in the refrigerator. Some versions using heavy cream or condensed milk may last up to two weeks if properly sealed and refrigerated according to our testing.
Batch Preparation Strategy
Preparing a large batch allows us to enjoy our homemade creamer throughout the week without daily preparation. We recommend doubling or tripling the recipe to maximize efficiency. The cocoa powder and extracts naturally settle over time, so we always shake or stir the container before each use to ensure the best flavor distribution.
Storage Guidelines
| Storage Method | Duration | Best Practices |
|---|---|---|
| Refrigerated (airtight container) | 1-2 weeks | Shake before each use |
| Frozen (ice cube trays) | 2-3 months | Thaw cubes as needed |
| Daily use portion | 3-4 days | Keep separate small container |
Optimal Usage Techniques
We transfer our cooled creamer to a jar and seal it immediately after preparation. For coffee lovers who prefer lattes, we heat the creamer and coffee together for a richer experience. The creamer can be added directly to both hot and cold coffee, making it versatile for different brewing preferences.
Quality Maintenance
Our homemade creamer maintains its peak flavor when stored at consistent refrigerator temperatures. We avoid leaving the container at room temperature for extended periods to prevent spoilage. The natural settling of cocoa powder is normal and actually indicates the absence of artificial stabilizers found in commercial creamers.
Flavor Variations
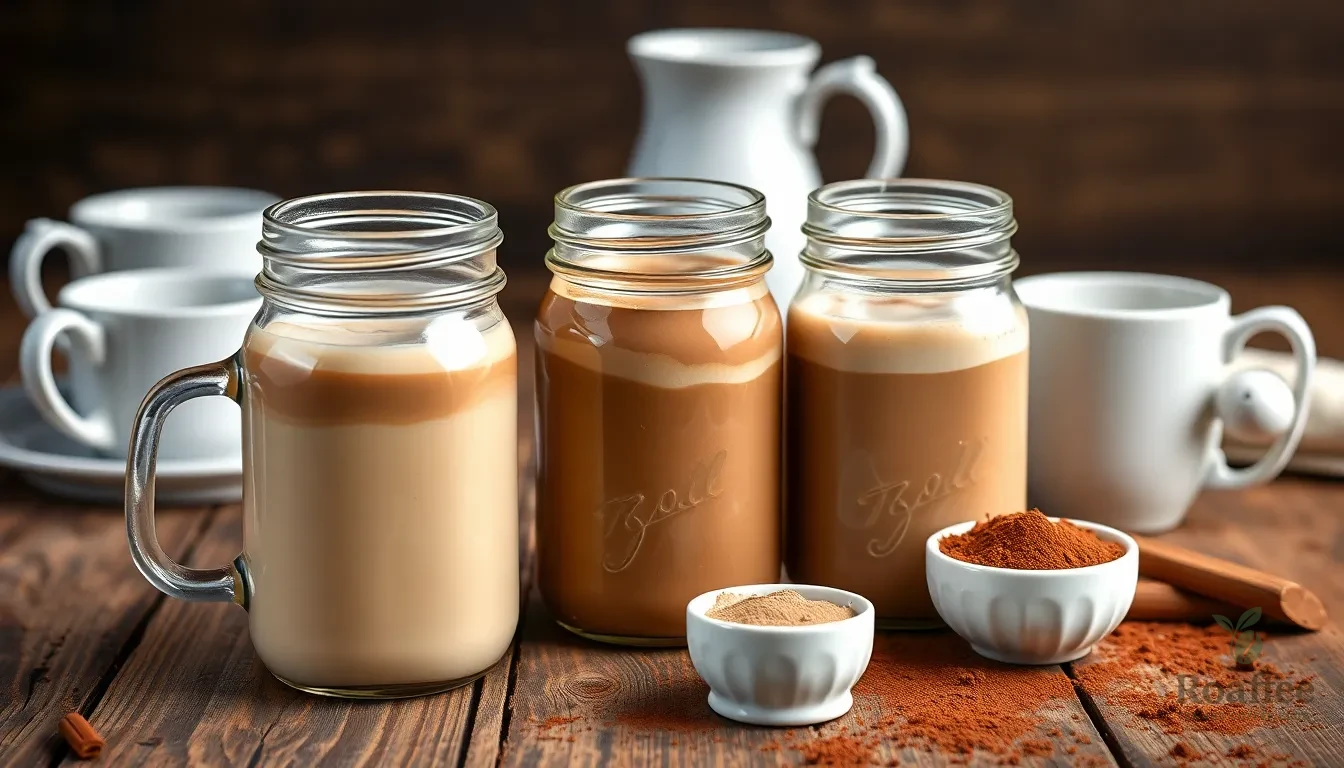
Transform your basic mocha coffee creamer into exciting new flavors that cater to different taste preferences and dietary needs. We’ve crafted three popular variations that allow you to customize your creamer experience.
Vanilla Mocha Creamer
Ingredients:
- 2 cups heavy whipping cream
- 1 cup sugar
- 2 teaspoons vanilla extract (or vanilla bean paste)
- 2 cups whole milk
- 1 cup cocoa powder
Instructions:
- Whisk together sugar and cocoa powder with milk and cream in a saucepan
- Heat gently until sugar dissolves while stirring frequently
- Remove from heat and stir in vanilla extract
- Cool completely before transferring to storage container
- Refrigerate for up to 2 weeks and shake well before each use
The vanilla enhancement creates a smoother mocha profile with sweet aromatic notes that complement the chocolate beautifully. We recommend using vanilla bean paste for deeper flavor complexity that elevates your morning coffee routine.
Spiced Mocha Creamer
Ingredients:
- 2 cups heavy whipping cream
- 1 cup sugar
- 1 tablespoon cinnamon
- 1 teaspoon vanilla extract
- 1 teaspoon almond extract
- 2 cups whole milk
- 1 cup cocoa powder
- Optional: 1/4 teaspoon nutmeg or pumpkin spice
Instructions:
- Combine sugar, cocoa powder, and cinnamon in a saucepan with milk and cream
- Heat mixture gently until sugar dissolves completely
- Remove from heat and whisk in vanilla and almond extracts
- Add nutmeg or pumpkin spice if desired for seasonal variation
- Cool thoroughly before storing in refrigerator
This warm spiced variation delivers cozy flavors reminiscent of strudel or pumpkin mocha drinks. The cinnamon adds warmth while almond extract provides subtle nutty undertones that create a sophisticated flavor profile.
Sugar-Free Option
Ingredients:
- 2 cups heavy whipping cream
- 1 cup erythritol or stevia (to taste)
- 1 tablespoon vanilla extract
- 2 cups unsweetened almond milk
- 1 cup unsweetened cocoa powder
Instructions:
- Whisk together sugar substitute and cocoa powder with almond milk and cream
- Heat gently while stirring until sweetener dissolves completely
- Remove from heat and blend in vanilla extract
- Use immersion blender to ensure smooth consistency
- Cool and refrigerate for up to 2 weeks
We designed this sugar-free version to reduce carbs and calories without sacrificing the creamy mocha flavor you crave. The unsweetened almond milk provides a lighter base while erythritol maintains sweetness without blood sugar spikes.
Troubleshooting Tips
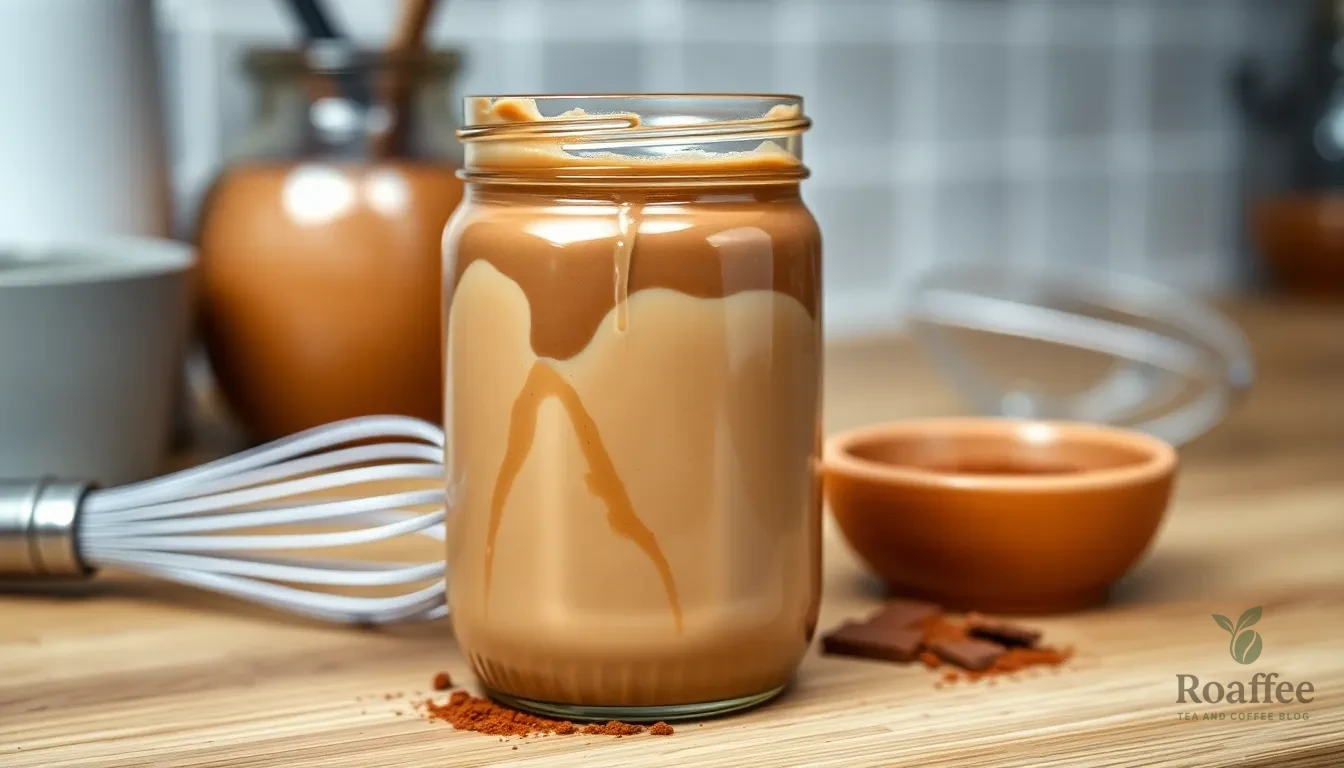
Even the best homemade mocha coffee creamer can present challenges. We’ve compiled the most common issues and their answers to help you perfect your creamer every time.
Separation and Settling Issues
Cocoa powder naturally settles to the bottom of your creamer container. This separation is completely normal and happens because cocoa particles are heavier than the liquid ingredients. We recommend shaking or stirring your creamer vigorously before each use to redistribute the cocoa powder evenly. Store your container in a spot where you’ll remember to shake it each time you reach for it.
Sweetness Balance Problems
Finding the perfect sweetness level requires some experimentation. Your creamer might taste too sweet if you’ve added too much condensed milk or brown sugar. Start with smaller amounts and gradually increase until you reach your desired taste. For overly sweet creamer, dilute it with additional milk or cream. When your creamer tastes bland, add more sweetened condensed milk or a tablespoon of brown sugar at a time.
Milk Choice Complications
Different milk types produce varying results in your mocha creamer. Full-fat dairy milk and heavy cream create the richest flavor and smoothest texture. Non-dairy alternatives like almond milk or oat milk work well but may create a thinner consistency. Plant-based milks can sometimes cause slight separation, so extra stirring becomes necessary. We suggest testing different milk combinations to find your preferred balance of richness and dietary needs.
Storage and Freshness Concerns
Homemade creamer has a shorter shelf life than store-bought versions. Keep your creamer refrigerated at all times and use it within 1-2 weeks for optimal freshness. Watch for signs of spoilage like sour smell, unusual texture, or visible mold. Label your container with the preparation date to track freshness. Temperature fluctuations can affect your creamer’s quality, so store it in the main body of your refrigerator rather than the door.
Temperature Integration Issues
Adding cold creamer to hot coffee can cool your drink too much. We recommend warming your creamer slightly before adding it to hot coffee for the best temperature balance. Pour the creamer slowly while stirring to prevent temperature shock that can cause curdling. For iced coffee drinks, cold creamer integrates perfectly without any temperature adjustments needed.
Texture and Consistency Problems
Lumpy creamer usually results from inadequate mixing during preparation. Whisk your ingredients thoroughly while heating to ensure smooth integration. If lumps form after storage, strain your creamer through a fine-mesh sieve or blend it briefly with an immersion blender. Thin consistency can be improved by adding more heavy cream or reducing the milk content in your next batch.
Conclusion
Creating your own mocha coffee creamer transforms every cup into a café-quality experience. We’ve shown you how simple ingredients and basic kitchen tools can produce a rich creamy blend that rivals any store-bought option.
The beauty of this recipe lies in its flexibility. Whether you prefer the classic version or want to experiment with vanilla spiced or sugar-free variations the choice is yours. You control the sweetness the intensity and the ingredients that go into your daily coffee ritual.
With proper storage techniques and our troubleshooting tips you’ll never have to settle for artificial flavors again. Your homemade mocha creamer will stay fresh for weeks and can be prepared in advance for ultimate convenience.
Start brewing your first batch today and discover why homemade always tastes better than store-bought alternatives.
Frequently Asked Questions
What ingredients do I need for homemade mocha coffee creamer?
You’ll need strong brewed coffee, instant coffee granules, cocoa powder, chocolate syrup, vanilla extract, milk, heavy cream, sweetened condensed milk, brown sugar, and a pinch of salt. These ingredients combine to create the perfect balance of rich chocolate and robust coffee flavor in your homemade creamer.
How long does homemade mocha coffee creamer last?
When stored properly in an airtight container in the refrigerator, homemade mocha coffee creamer stays fresh for 1-2 weeks. For longer storage, you can freeze it in silicone ice cube trays for 2-3 months. Always shake or stir before use since cocoa powder tends to settle.
What kitchen equipment do I need to make mocha coffee creamer?
You only need basic kitchen tools: a medium saucepan for heating ingredients, a whisk for smooth consistency, and an airtight container for storage. Optional equipment includes a handheld frother or steam wand if you want to create frothy coffee drinks with enhanced texture.
How much mocha coffee creamer should I use per cup of coffee?
Start with 1-2 tablespoons of homemade mocha coffee creamer per 8 oz cup of coffee. You can adjust the amount based on your taste preferences. The beauty of homemade creamer is that you can experiment with different amounts to find your ideal flavor profile.
Can I make different flavor variations of mocha coffee creamer?
Yes! Popular variations include Vanilla Mocha Creamer with extra vanilla extract, Spiced Mocha Creamer with cinnamon and nutmeg, and Sugar-Free Options using alternative sweeteners. Each variation maintains the chocolate-coffee base while adding unique flavor profiles to suit different preferences.
Why does my mocha coffee creamer separate or settle?
Cocoa powder naturally settles over time, which is normal. Always shake or stir your creamer well before each use to redistribute the ingredients. If you notice separation, it’s usually due to temperature differences or ingredient settling, not spoilage.
Can I prepare mocha coffee creamer in advance?
Absolutely! You can prepare the creamer up to one week in advance and store it in the refrigerator. Consider making larger batches by doubling or tripling the recipe for convenience. This make-ahead approach saves time during busy mornings while ensuring fresh flavor.
How do I properly store homemade mocha coffee creamer?
Store your creamer in an airtight container in the refrigerator at consistent temperatures. For frozen storage, use silicone ice cube trays and transfer cubes to freezer bags. Maintain proper refrigerator temperatures and always check for freshness before use.
