We’ve all been there – standing in our kitchen at 6 AM desperately craving that perfect cup of coffee. While fancy espresso machines cost hundreds of dollars the humble moka pot delivers rich concentrated coffee that rivals any café for just a fraction of the price. This iconic Italian brewing method has been perfecting morning routines since 1933.
The moka pot’s genius lies in its simplicity. Steam pressure forces hot water through finely ground coffee creating a bold aromatic brew that’s stronger than drip coffee but smoother than espresso. We love how this stovetop wonder transforms ordinary coffee grounds into liquid gold in just minutes.
Whether you’re a coffee novice or a seasoned barista mastering the moka pot technique will revolutionize your home brewing game. Once you nail the perfect water-to-coffee ratio and timing you’ll wonder why you ever settled for weak drip coffee or expensive coffee shop visits.
Equipment Needed
We need minimal equipment to brew exceptional moka pot coffee at home. The moka pot stands as our primary tool, and we recommend selecting one based on your household’s coffee consumption needs.
Moka Pot: We suggest choosing from reputable brands like Bialetti, Grosche, or Primula. These manufacturers offer various sizes to accommodate different brewing requirements.
| Moka Pot Size | Cups Produced | Best For |
|---|---|---|
| 1-cup | 1 espresso-style serving | Single person |
| 3-cup | 3 espresso-style servings | 1-2 people |
| 6-cup | 6 espresso-style servings | 2-4 people |
| 9-cup | 9 espresso-style servings | 4-6 people |
| 12-cup | 12 espresso-style servings | Large households |
Coffee Grinder: We need a burr grinder or blade grinder capable of producing medium-fine grounds. The consistency of our grind directly impacts extraction quality and flavor balance.
Kitchen Scale: We use a digital scale for precise measurements. Accuracy ensures consistent results every brewing session.
Heat Source: We can use any stovetop burner including gas, electric, or induction. Some moka pots require exact compatibility with induction cooktops.
Timer: We track brewing time using a kitchen timer or smartphone to prevent over-extraction and bitter flavors.
Coffee Beans: We select freshly roasted beans within 2-4 weeks of their roast date. Medium to dark roasts work exceptionally well with moka pot brewing methods.
Filtered Water: We use filtered or bottled water to avoid mineral buildup and off-flavors that can interfere with our coffee’s taste profile.
Serving Cups: We prepare small espresso cups or regular coffee mugs depending on how we plan to enjoy our concentrated brew.
Ingredients
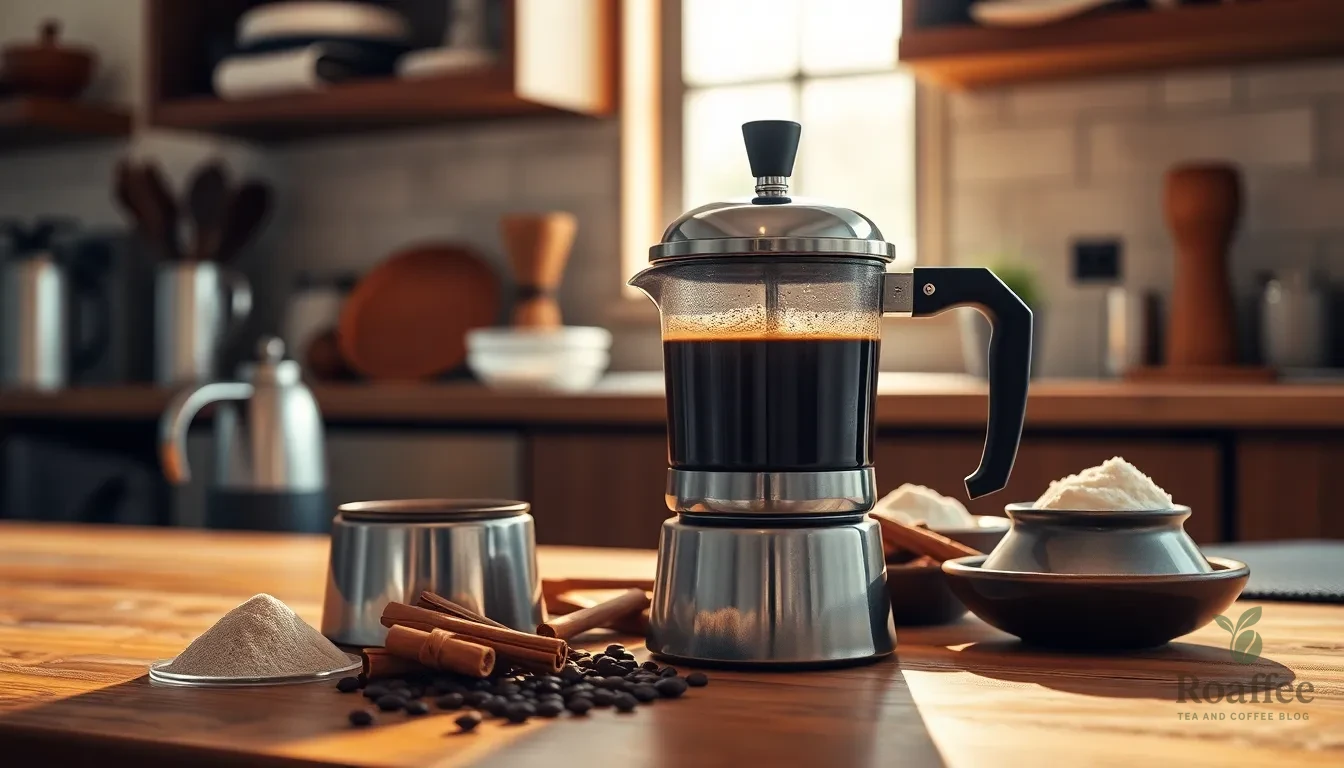
We need only a few essential ingredients to brew exceptional moka pot coffee at home. The beauty of this brewing method lies in its simplicity and the quality of ingredients we choose.
Basic Moka Pot Coffee
- 145-150g room temperature water (for a 3-cup pot)
- 18g medium-fine ground coffee (do not pack down)
Cuban Coffee Variation
- 1 cup water
- 3-4 tablespoons finely ground Cuban coffee
- 2 tablespoons demerara sugar
Cinnamon Moka Pot Coffee
- Full basket of coffee grounds (size depends on your pot)
- ⅓ teaspoon ground cinnamon
- 1 cup water (adjust to pot size)
- 1 teaspoon pure vanilla extract (optional)
Water quality significantly impacts our final brew. We recommend using filtered water to avoid any off-flavors that might interfere with the coffee’s natural characteristics. Room temperature water works best for the standard brewing method as it allows for proper extraction timing.
Coffee grind consistency matters tremendously for optimal extraction. We want medium-fine grounds that feel similar to coarse sand between our fingers. Avoid packing the coffee grounds down in the filter basket as this can lead to over-extraction and bitter flavors.
Fresh coffee beans produce the most flavorful results. We suggest using beans roasted within two weeks of brewing for maximum aroma and taste. Dark to medium-dark roasts work exceptionally well in moka pots due to their bold flavors that complement the brewing method’s intensity.
Sugar selection for the Cuban variation enhances the traditional espumita foam. Demerara sugar provides the authentic sweetness and helps create the characteristic light brown paste that defines proper Cuban coffee preparation.
Preparing Your Moka Pot
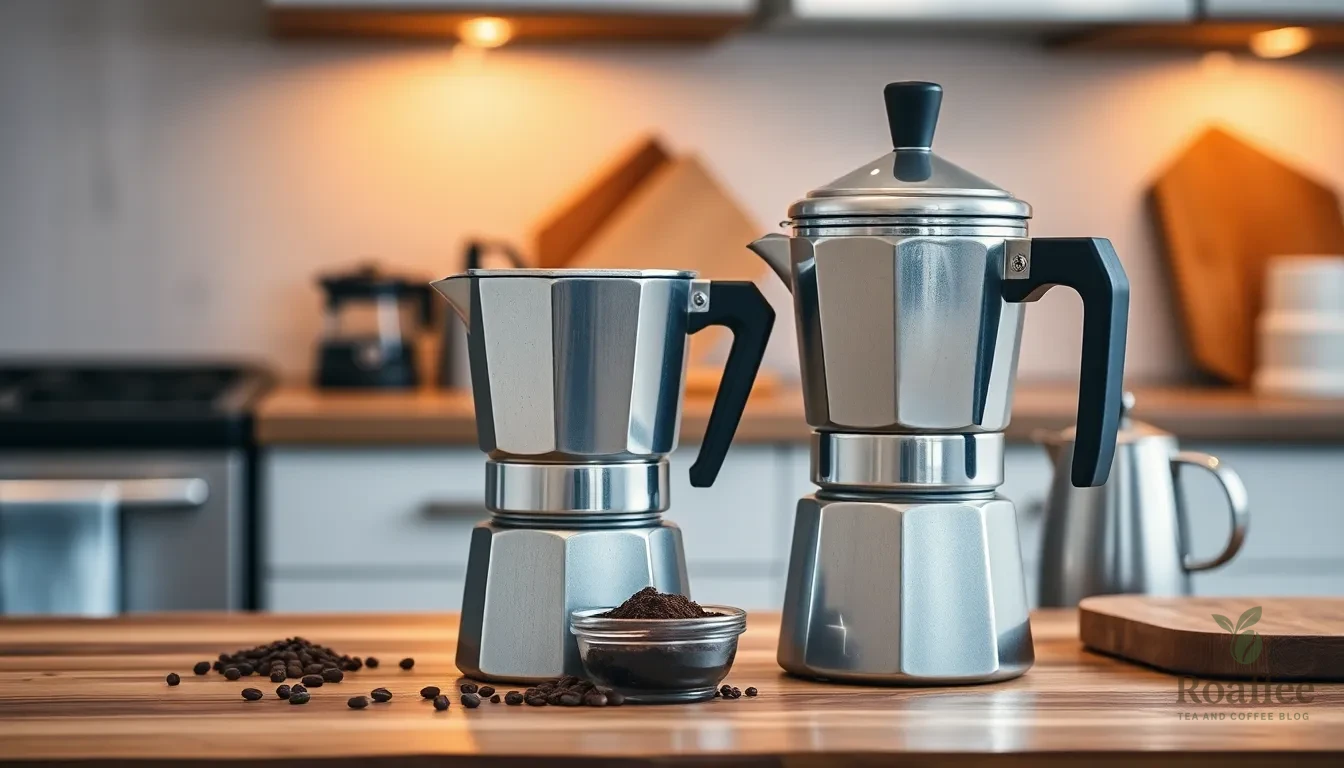
Now that we have our equipment and ingredients ready, let’s walk through the essential preparation steps. Proper preparation ensures we extract the best flavors from our coffee beans and maintain our moka pot’s longevity.
Cleaning the Moka Pot
We must thoroughly clean our moka pot after each use to prevent old coffee oils and residues from affecting the taste of our next brew. Disassemble all three parts completely and rinse each component with hot water only. Avoid using soap as it can linger inside the pot and alter the flavor of our coffee.
Make sure to dry all parts completely before reassembling to prevent oxidation and maintain the longevity of our pot. Water droplets left behind can cause unwanted metallic flavors and potentially damage the aluminum or steel components over time.
Assembling the Components
Our moka pot consists of three essential parts that work together to create the perfect brew. The bottom boiler holds our water, the filter basket contains our coffee grounds, and the top chamber collects our finished coffee.
| Component | Purpose | Key Point |
|---|---|---|
| Bottom boiler | Holds water for brewing | Fill just below safety valve |
| Filter basket | Contains coffee grounds | Don’t pack grounds tightly |
| Top chamber | Collects brewed coffee | Screw on firmly but not overly tight |
Start by inserting the filter basket into the boiler and fill it with our medium-fine coffee grounds. Distribute the grounds evenly without pressing them down tightly to avoid blocking water flow. Wipe the rim of the boiler clean to ensure a proper seal between the components.
Screw the top chamber onto the boiler firmly but not overly tight. Over-tightening can damage the threads and make future disassembly difficult. For extra brewing precision, some coffee enthusiasts place a wet Aeropress filter under the gasket to improve seal and filtration, though this step remains optional for most home brewers.
Instructions
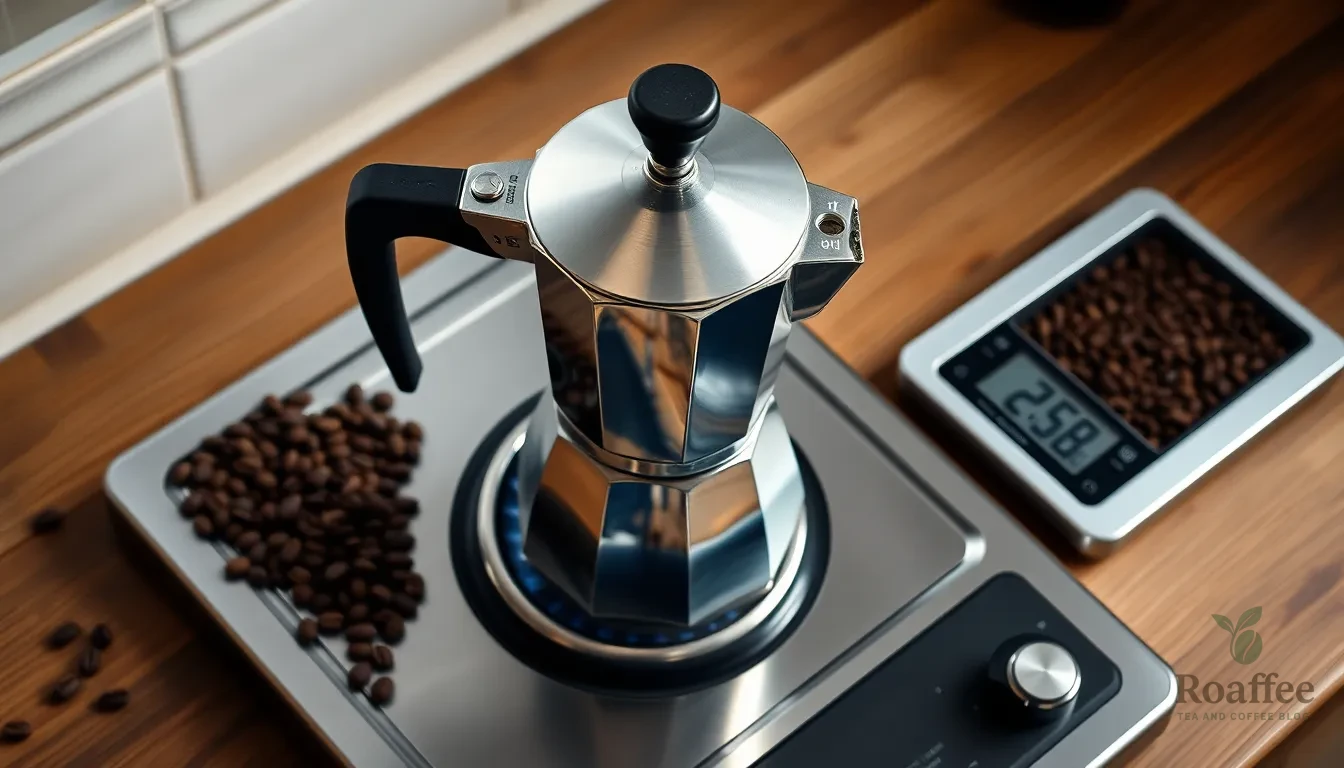
Now that we have our moka pot properly cleaned and assembled, let’s walk through the brewing process step by step. These instructions will guide you through each stage to create the perfect moka pot coffee.
Grinding the Coffee
We start by grinding our coffee beans to the perfect consistency for moka pot brewing. The grind should be fine similar to espresso but not as fine as powdered coffee. Our coffee grounds need to provide enough resistance to build pressure while allowing water to flow through without blocking the filter.
We measure approximately 20 grams of coffee for a 3-cup moka pot using our digital scale for accuracy. The grind should feel slightly coarser than what we’d use for espresso machines but much finer than our typical drip coffee grounds. This exact grind size ensures proper extraction while preventing the grounds from slipping through the filter basket.
Adding Water to the Bottom Chamber
We fill the bottom chamber with water up to the safety valve or designated fill line. For a 3-cup moka pot we use around 200ml of water. Using hot or warm water between 30-40°C speeds up the brewing process and helps maintain consistent extraction temperature.
We avoid overfilling the chamber as excess water can cause leakage and affect the pressure seal. The water level should never exceed the safety valve which serves as our guide for proper filling. Cold water works too but extends the brewing time and may result in over-extraction.
Filling the Filter Basket
We place the filter basket inside the bottom chamber and fill it with our ground coffee. The coffee should be leveled evenly without tamping or pressing down the grounds. We distribute the coffee naturally allowing it to settle into the basket.
We ensure no coffee grounds remain on the rim of the filter basket or bottom chamber. Clean surfaces guarantee a tight seal between the components. The coffee should fill the basket completely but not overflow onto the threading area.
Assembling the Moka Pot
We screw the top chamber tightly onto the bottom chamber ensuring the filter basket sits correctly in place. The gasket and filter plate must create a complete pressure seal for proper brewing. We check that all components align properly before tightening.
We place the assembled moka pot on medium to low heat on our stovetop. The heat source should match the size of our moka pot’s base for even heating. We keep the handle away from direct heat to prevent damage and maintain a safe grip during brewing.
| Assembly Component | Purpose | Key Tip |
|---|---|---|
| Bottom Chamber | Holds water and generates steam | Fill to safety valve only |
| Filter Basket | Contains coffee grounds | Level grounds without tamping |
| Top Chamber | Collects brewed coffee | Ensure tight seal with gasket |
| Heat Setting | Controls brewing speed | Use medium to low heat |
Brewing Process
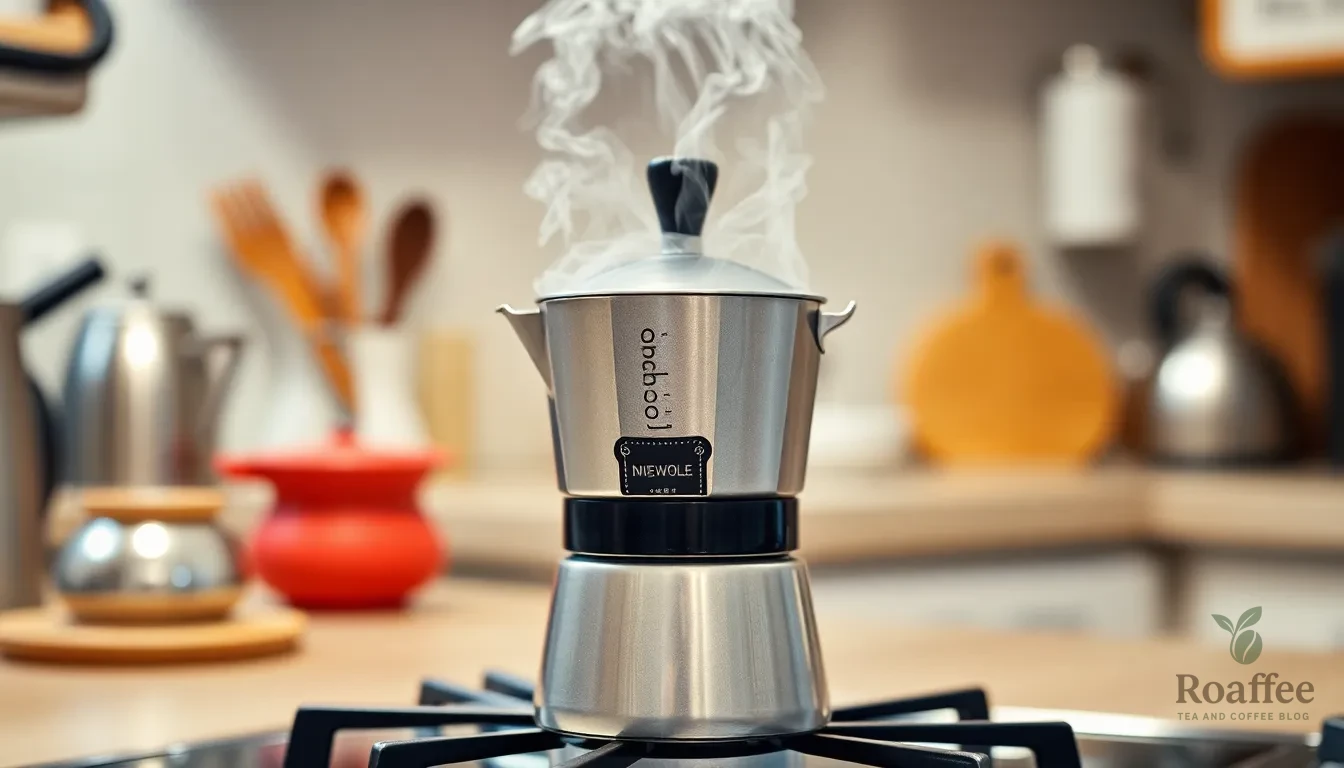
We’ve reached the most critical phase where precision and timing transform our prepared moka pot into a rich, aromatic cup of coffee. The brewing process requires careful attention to heat management and visual cues to achieve optimal extraction.
Placing on Heat Source
We position the assembled moka pot on our stovetop over medium to moderate heat, ensuring it sits centered on the burner. Heat distribution remains even when we avoid direct contact between the plastic handle and the heat source. We keep the lid open during the initial brewing phase to monitor the coffee flow effectively.
Our heat setting plays a crucial role in extraction quality. We maintain moderate temperatures to prevent violent spurting while ensuring adequate pressure builds within the bottom chamber. The heated water we added earlier speeds up the brewing process and eliminates potential metallic tastes that can occur with cold water starts.
Monitoring the Brewing
We observe the brewing progression as pressure from boiling water pushes water upward through the coffee grounds. Brewed coffee begins flowing into the upper chamber after several minutes of heating. The stream should appear steady and methodical rather than erratic or violent.
We adjust our heat source based on the coffee flow characteristics. Violent spurting indicates excessive heat requiring immediate reduction. Slow and weak flow suggests insufficient heat that needs gentle increases. When coffee reaches approximately half the top chamber capacity, we close the lid to maintain optimal temperature and pressure.
Recognizing When It’s Done
We listen for the distinctive gurgling or bubbling sound that signals water exhaustion and brewing completion. This auditory cue indicates the brewing cycle has finished and coffee output slows dramatically or stops entirely. The coffee stream color also lightens noticeably at the end of the brewing process.
We immediately remove the pot from heat upon hearing these completion signals to prevent burning the coffee. The final step involves stirring the brewed coffee in the top chamber to homogenize concentration between the stronger initial pours and lighter final portions. This stirring ensures consistent flavor throughout our serving.
Serving and Enjoying
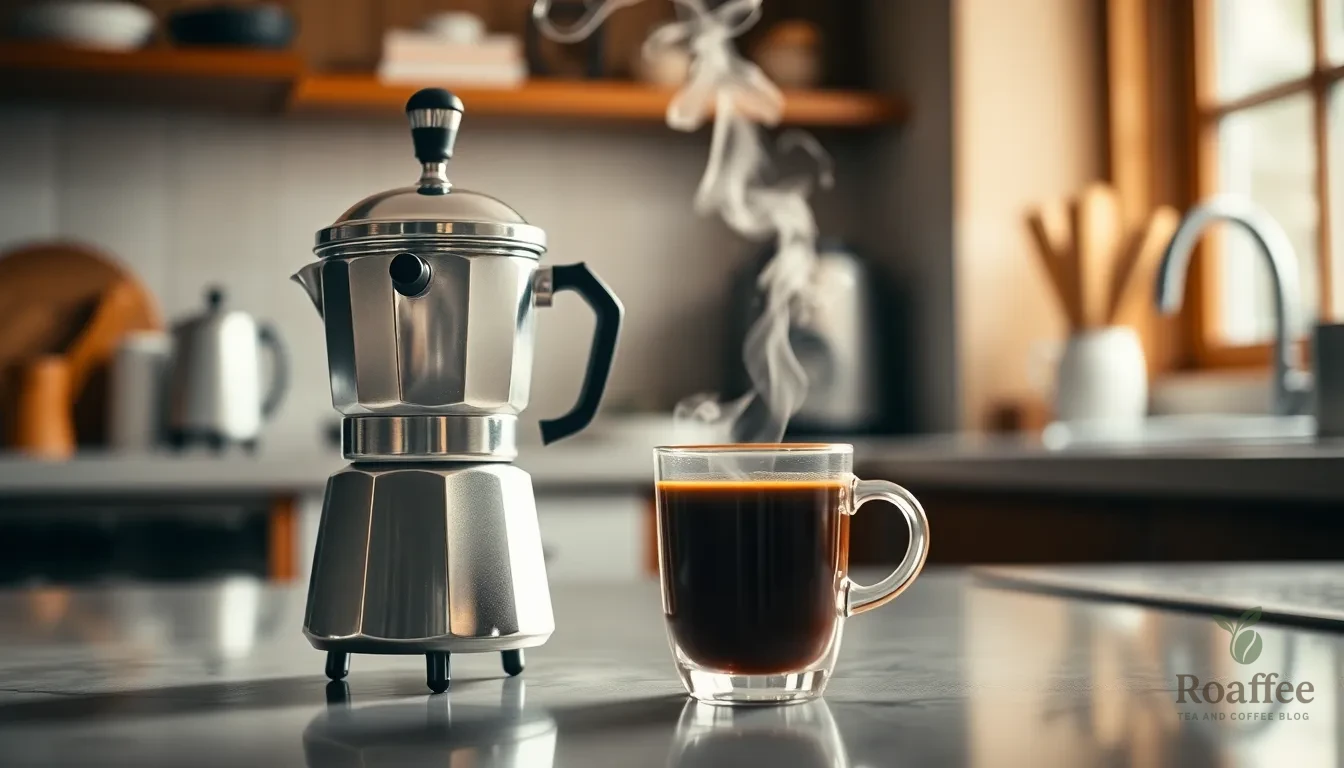
After mastering the brewing process, we need to focus on proper serving techniques to preserve the rich flavors we’ve carefully extracted. The final steps of handling and serving our moka pot coffee are crucial for delivering the best possible taste experience.
Removing from Heat
We must remove the moka pot from heat immediately once we hear the gurgling sound or see the coffee stream change to a lighter color. This critical timing prevents overheating that can introduce bitter or burnt flavors to our carefully brewed coffee. The moment we notice bubbling or “blonding” in the coffee stream, we should act quickly to stop the extraction process.
Running cold water on the base of the moka pot provides an effective way to cool it rapidly and halt the brewing process completely. This technique helps us avoid the residual heat that can continue cooking the coffee even after removing it from the burner. We should handle the hot moka pot with extreme caution, as it becomes very hot during the brewing process and can cause burns if touched directly.
Serving Suggestions
We should serve the coffee immediately once brewing is finished to capture the optimal flavor profile. Allowing the coffee to sit in the pot can develop rancid or metallic flavors that diminish the quality of our brew. Our moka pot coffee delivers a rich, espresso-like intensity that works perfectly for drinking black or as a foundation for milk-based beverages.
For those who prefer a lighter drink, we can add a splash of hot water to mellow the acidity and bitterness while maintaining the coffee’s distinctive character. This adjustment allows us to customize the strength according to our taste preferences without compromising the brewing process.
Creating milk drinks like lattes or cappuccinos becomes simple with our concentrated moka pot coffee as the base. We can froth milk separately using a French press or milk frother to achieve the creamy texture that complements the bold coffee flavors. The strong extraction from our moka pot provides the perfect foundation for these café-style beverages at home.
Our moka pot coffee offers versatility in serving options while maintaining its authentic Italian brewing tradition. The concentrated nature of this brewing method delivers consistent results that satisfy both coffee purists and those who enjoy experimenting with different serving styles.
Tips for Perfect Moka Pot Coffee
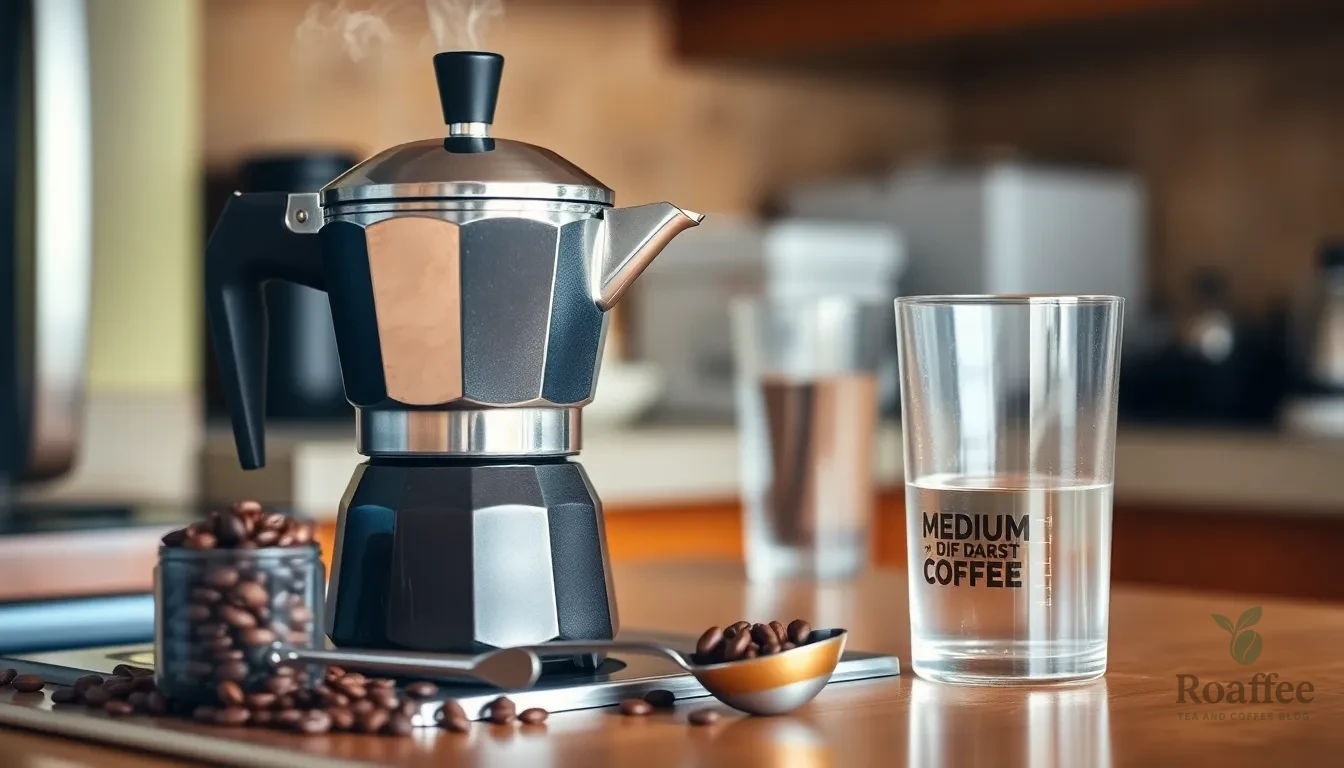
Mastering the moka pot technique requires attention to several key factors that dramatically impact your coffee’s flavor profile. We’ll explore the essential elements that separate exceptional moka pot coffee from mediocre brews.
Choosing the Right Coffee Beans
Fresh quality beans serve as the foundation for exceptional moka pot coffee. We recommend selecting medium to dark roast beans that complement the moka pot’s concentrated brewing style. Beans ground specifically for espresso or moka pot applications yield the best results due to their optimal extraction characteristics.
Avoid overly oily beans that can clog the filter basket during brewing. Dark roasts typically work better than light roasts because they withstand the moka pot’s intense heat without developing overly acidic flavors. Store your beans in an airtight container away from light and heat to preserve their freshness and flavor compounds.
Water Temperature and Quality
Water quality directly affects your coffee’s final taste profile. We always use filtered or bottled water to eliminate chlorine and mineral impurities that can create off flavors in your brew. Tap water often contains chemicals that interfere with proper extraction and can leave metallic aftertastes.
Preheating your water before adding it to the bottom chamber reduces extraction time and prevents bitterness. Hot or boiling water shortens the brewing cycle and minimizes the risk of burnt flavors developing in your coffee grounds. Never allow water to boil inside the moka pot itself as this overheats the coffee grounds and creates harsh bitter compounds.
Heat Control Techniques
Low to medium heat provides the optimal brewing environment for moka pot coffee. We start every brewing session on low heat to allow gentle pressure buildup and controlled extraction. High heat burns the coffee grounds and creates acrid flavors that overwhelm the natural coffee characteristics.
Keep flames from wrapping around the sides of your moka pot to prevent overheating the metal components. Once coffee begins flowing from the upper spout we reduce the heat further to maintain steady pressure without rushing the extraction process. Remove the pot from heat immediately when the coffee stream turns light colored or “blondes” to prevent over extraction and preserve the coffee’s natural sweetness.
Troubleshooting Common Issues
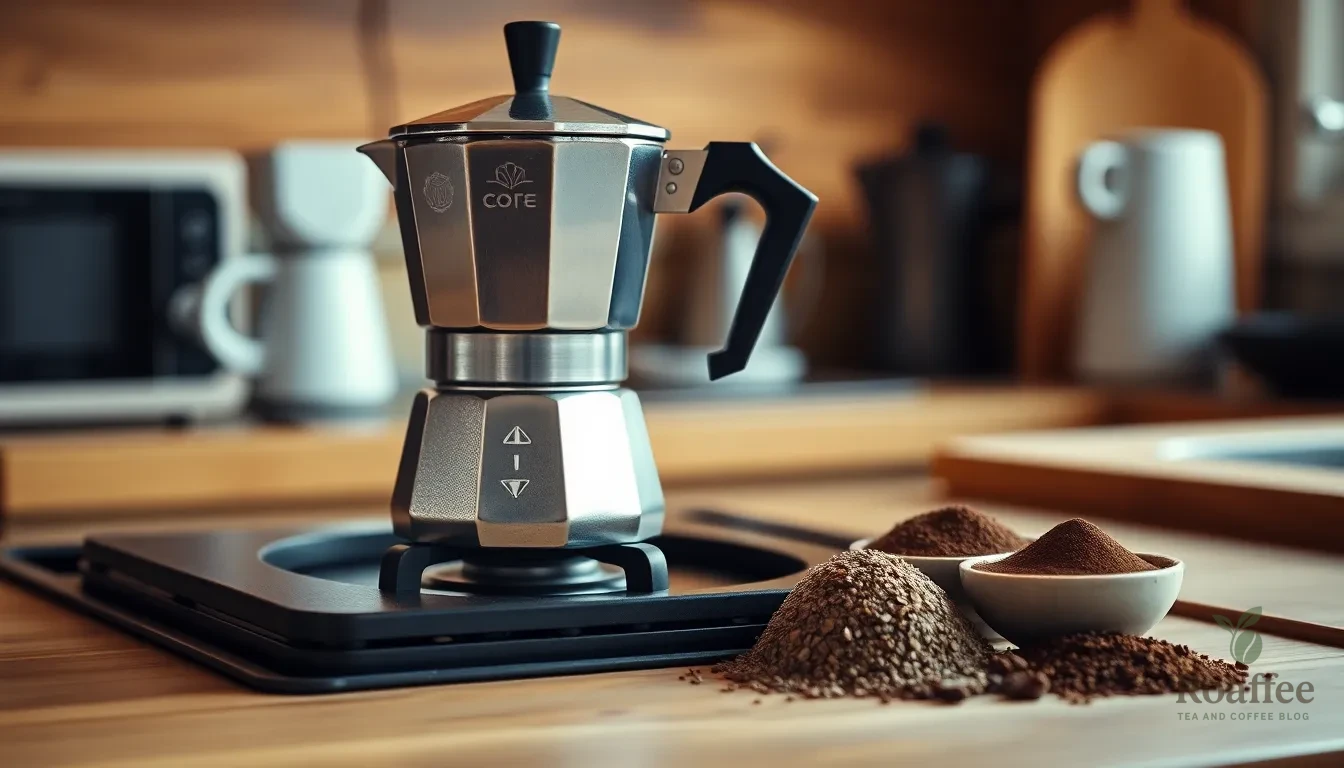
Even experienced coffee enthusiasts encounter brewing challenges with their moka pot. We’ve identified the most common problems and their answers to help you perfect your coffee-making technique.
Bitter or Over-Extracted Coffee
Over-extraction creates harsh, bitter flavors that mask the coffee’s natural characteristics. We find this issue typically stems from grinding your beans too fine, which creates excessive resistance and prolongs extraction time. Switching to a coarser grind similar to V60 consistency often resolves this problem immediately.
High heat levels also contribute to bitter coffee by causing the water to boil too vigorously. We recommend using low to medium heat throughout the brewing process to maintain optimal extraction temperature. The brewing time should last approximately 4-5 minutes from start to finish.
Stale or over-roasted beans can intensify bitterness regardless of brewing technique. We suggest using freshly roasted beans within 2-4 weeks of their roast date for the best flavor profile. Dark roasts work well with moka pots, but avoid beans that appear overly oily or shiny.
Weak or Under-Extracted Coffee
Under-extraction produces weak, sour coffee that lacks body and depth. We notice this problem most often occurs when the grind size is too coarse, preventing proper water contact with the coffee grounds. Adjusting to a finer grind similar to espresso consistency typically improves extraction.
Water temperature plays a crucial role in extraction efficiency. We recommend preheating your water to 195-205°F before adding it to the bottom chamber. Cold water requires more energy to heat up, which can lead to uneven extraction patterns.
Insufficient coffee quantity relative to water volume creates weak results. We use a 1:12 coffee to water ratio by weight, which translates to approximately 20-22 grams of coffee for 235-264 grams of water. This ratio ensures balanced extraction without overwhelming the brewing mechanism.
Gurgling Sounds
Gurgling indicates water boiling too vigorously in the bottom chamber. We recognize this sound as a warning sign that the heat level needs immediate adjustment. Reducing the heat to low prevents water vapor from mixing improperly with the coffee during extraction.
The gurgling sound typically occurs when steam pressure builds up too quickly. We control this by maintaining consistent low heat throughout the brewing process rather than starting with high heat. This approach allows for gradual pressure buildup and steady coffee flow.
Proper heat management eliminates most gurgling issues while improving overall coffee quality. We monitor the brewing process closely and adjust heat levels as needed to maintain smooth, consistent extraction without excessive bubbling or agitation.
| Issue | Primary Cause | Solution |
|---|---|---|
| Bitter Coffee | Too fine grind, excessive heat | Use coarser grind, reduce heat |
| Weak Coffee | Too coarse grind, low water temperature | Use finer grind, preheat water to 195-205°F |
| Gurgling Sounds | Water boiling too vigorously | Reduce heat to low, maintain consistent temperature |
Cleaning and Maintenance
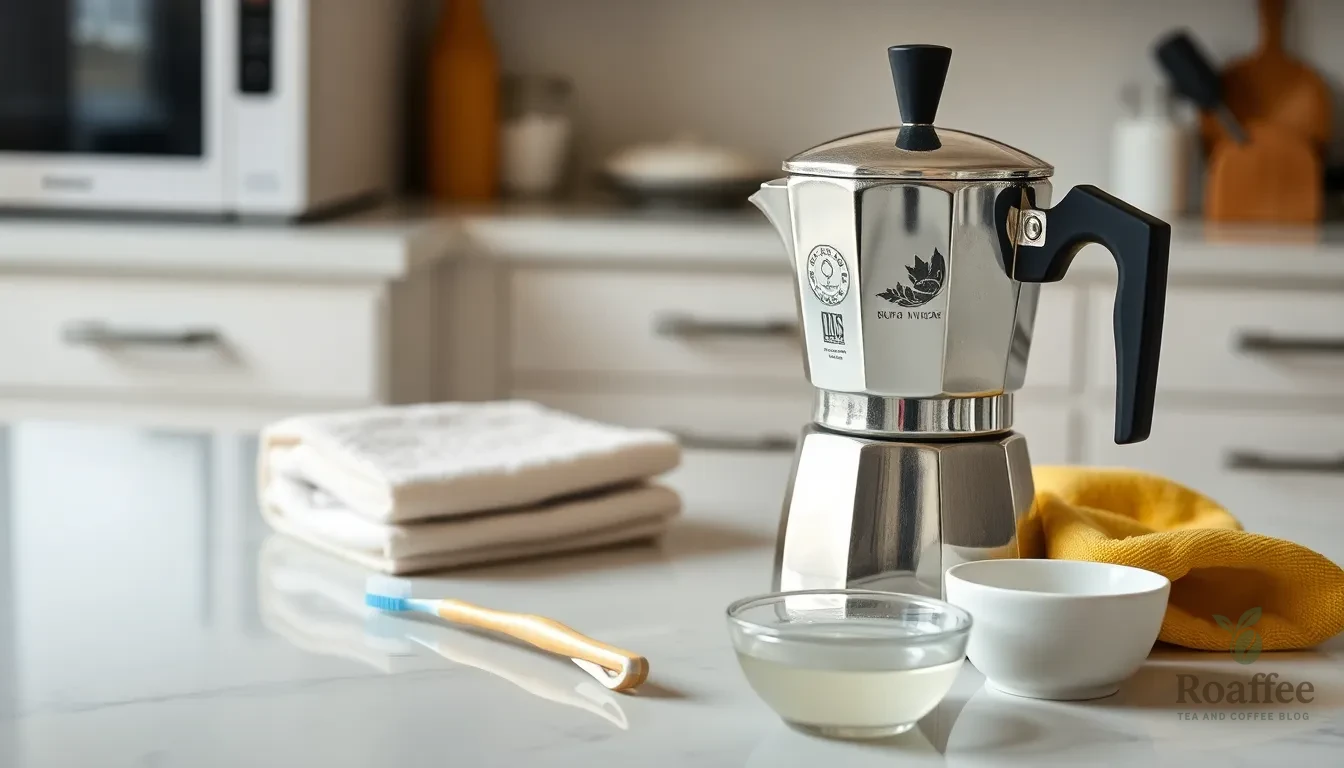
Proper cleaning and maintenance extend your moka pot’s lifespan while ensuring every cup delivers the rich flavors you expect. We’ll guide you through the essential cleaning steps to keep your moka pot in optimal condition.
Post-Brewing Cleanup
After each use, we recommend letting your moka pot cool completely before disassembling. Remove wet coffee grounds promptly to prevent mold growth and maintain the pot’s integrity. Hot water rinses work best for daily cleaning since soap can alter the metal and affect future brews.
Disassemble all three components and rinse each part thoroughly under hot running water. Use a soft sponge or toothbrush to gently clean crevices without scratching the surface. Avoid abrasive scrubbers that can damage the metal finish and create areas where coffee oils accumulate.
Pay special attention to the filter basket’s holes and the bottom chamber’s threading. These areas collect the most residue and require careful cleaning to maintain proper water flow. Dry all components completely before reassembling to prevent water spots and potential corrosion.
Deep Cleaning Your Moka Pot
Monthly deep cleaning removes mineral buildup that affects taste and brewing performance. We recommend soaking the bottom chamber and filter parts in a 1:1 solution of water and white vinegar for 15-20 minutes. The rubber gasket should not be soaked in vinegar as it can deteriorate the material.
Gently scrub all parts with a soft brush to remove stubborn residue without scratching the metal surfaces. Rinse thoroughly under running water to eliminate any vinegar taste that could affect your next brew. Areas with hard water require more frequent descaling, potentially every few weeks.
| Cleaning Schedule | Task | Frequency |
|---|---|---|
| Daily | Hot water rinse | After each use |
| Weekly | Deep component cleaning | Once per week |
| Monthly | Vinegar descaling | Every 30 days |
| Hard water areas | Descaling | Every 2 weeks |
Run a complete brew cycle with only water after deep cleaning to flush out any remaining vinegar taste. This water cycle ensures your next coffee brew maintains its intended flavor profile. Before first use of a new moka pot, wash all parts with mild soap and warm water, then run one or two water-only cycles to eliminate manufacturing residues.
Store your clean moka pot disassembled in a dry location to prevent moisture buildup between uses. This simple storage practice prevents the rubber gasket from developing odors and maintains the threading’s smooth operation for years of reliable brewing.
Storage Tips
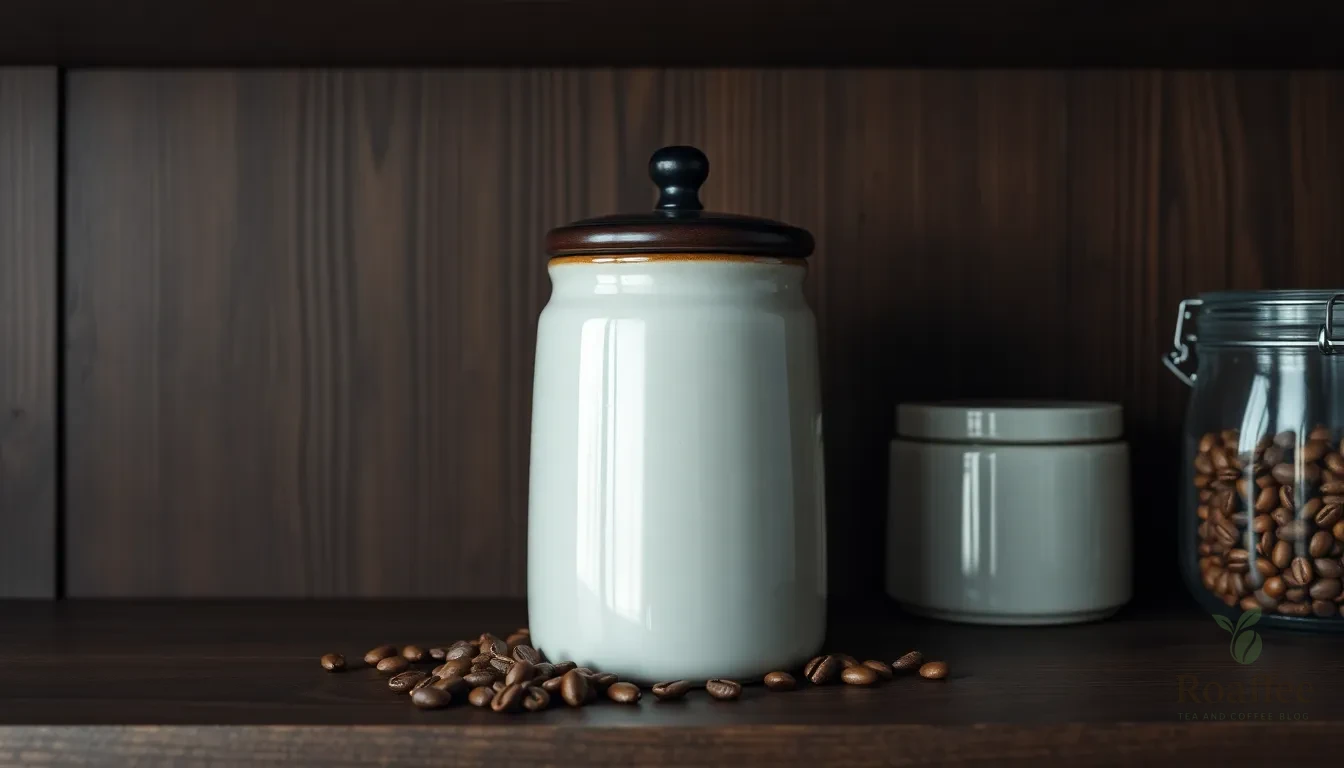
Proper storage of our coffee beans and grounds directly impacts the quality of every cup we brew with our moka pot. We must store coffee in airtight containers made of ceramic, glass, or non-reactive metal to preserve freshness and prevent oxidation. These materials protect our coffee from exposure to air while maintaining the oils and compounds that create rich flavor.
Heat sources pose a important threat to coffee quality. We should keep our coffee containers away from ovens, sunny walls, and other heat sources that can degrade flavor compounds. Light exposure also breaks down the delicate oils in coffee beans, which makes dark pantries or cupboards ideal storage locations.
Moisture represents another enemy of fresh coffee. We avoid refrigeration since temperature fluctuations create condensation that damages our beans and grounds. Room temperature storage in a dry environment maintains coffee integrity far better than cold storage methods.
Strong odors easily penetrate coffee and alter its taste profile. We store our coffee away from spices, cleaning products, and other aromatic items that might contaminate the beans. Coffee acts like a sponge for surrounding odors, making isolated storage essential for pure flavor.
| Storage Factor | Recommended Practice | Duration |
|---|---|---|
| Container Type | Ceramic, glass, or non-reactive metal | Until coffee is consumed |
| Temperature | Room temperature | Constant |
| Light Exposure | Dark pantry or cupboard | Continuous |
| Moisture Level | Dry environment | Ongoing |
Prepackaged coffee with one-way valves offers excellent freshness protection. These valves release gases from roasted beans without letting air enter the package. We can keep these bags in their original packaging until opened, then transfer remaining coffee to our airtight containers.
Grinding timing significantly affects storage needs. We achieve the best results by grinding coffee just before brewing since ground coffee loses freshness much faster than whole beans. Whole beans maintain quality for weeks when stored properly, while ground coffee begins losing flavor within hours of grinding.
Our storage system should prioritize quick access to frequently used coffee while protecting backup supplies. We rotate our stock using older coffee first to ensure we always brew with the freshest possible beans. This rotation system prevents waste and guarantees consistently delicious moka pot coffee.
Conclusion
We’ve covered everything you need to transform your moka pot into a reliable coffee companion. From selecting the right equipment to mastering heat control and troubleshooting common issues the path to exceptional moka pot coffee is now clear.
Remember that consistency comes with practice. Each brewing session teaches you something new about your exact moka pot and preferred coffee profile. Don’t get discouraged if your first few attempts aren’t perfect – even experienced baristas needed time to master this technique.
The investment in quality beans proper storage and regular maintenance will pay dividends in every cup. Your moka pot can deliver café-quality coffee for years when you follow these guidelines and develop your personal brewing rhythm.
Frequently Asked Questions
What is a moka pot and how does it work?
A moka pot is an affordable coffee brewing device that uses steam pressure to extract flavor from finely ground coffee. Water in the bottom chamber heats up, creating steam pressure that pushes water through the coffee grounds and into the top chamber, producing a rich, concentrated coffee similar to café-quality beverages.
What size moka pot should I choose?
Select a moka pot based on your household’s coffee consumption. Options range from 1-cup to 12-cup sizes. Consider how many people drink coffee regularly and whether you prefer multiple small servings or one large batch. The “cup” measurement refers to espresso-sized portions, not standard coffee mugs.
What coffee grind size works best for moka pot brewing?
Use a medium-fine grind consistency for optimal moka pot brewing. The grind should be finer than drip coffee but coarser than espresso. Consistency is crucial – invest in a quality coffee grinder to achieve uniform particle size, which ensures even extraction and prevents over or under-extraction.
How much coffee and water should I use?
For a basic brew, use approximately 18g of medium-fine ground coffee with 145-150g of room temperature water. For a 3-cup moka pot, use about 20 grams of coffee. Fill the bottom chamber with water up to the safety valve, and level the coffee grounds in the filter basket without tamping.
Why does my moka pot coffee taste bitter?
Bitter coffee typically results from over-extraction caused by excessive heat, too fine a grind, or brewing for too long. Use medium to low heat, ensure proper grind consistency, and remove the pot from heat immediately when you hear gurgling sounds or notice the coffee stream becoming lighter in color.
How do I clean and maintain my moka pot?
Clean your moka pot after each use with hot water only – avoid soap as it can alter flavors. Disassemble all components, remove coffee grounds promptly, and rinse thoroughly. Perform monthly deep cleaning with vinegar solution to remove mineral buildup. Store in a dry place to prevent moisture accumulation.
What type of coffee beans work best for moka pot brewing?
Medium to dark roast coffee beans work best for moka pot brewing. Avoid overly oily beans that can clog the filter. Choose freshly roasted beans and grind them just before brewing to preserve flavor. Dark roasts complement the moka pot’s bold brewing style and concentrated extraction method.
How do I know when my moka pot coffee is ready?
Listen for a gurgling sound and watch for the coffee stream to become lighter in color or start sputtering. These are indicators that brewing is complete. Remove the pot from heat immediately to prevent over-extraction and bitterness. The entire process typically takes 4-6 minutes on medium heat.
Can I make different coffee variations with a moka pot?
Yes, moka pot coffee serves as an excellent base for various drinks. You can create Cuban coffee by adding sugar during brewing, make cinnamon moka pot coffee with ground cinnamon, or use the concentrated coffee as a base for lattes and cappuccinos by adding steamed milk.
What water should I use for moka pot brewing?
Use filtered or bottled water to avoid off-flavors from chlorine or minerals in tap water. Water quality significantly impacts the final taste of your coffee. Room temperature water works best, though some brewers prefer preheating the water slightly to reduce brewing time and prevent metallic tastes.
