We’ve all watched Saiki K obsess over his beloved coffee jelly and wondered what makes this wobbly dessert so irresistible. This iconic Japanese treat has captured hearts worldwide thanks to the psychic protagonist’s unwavering dedication to its perfect balance of bitter coffee and silky smooth texture.
Coffee jelly isn’t just a dessert – it’s a delightful experience that transforms your regular coffee into something extraordinary. The combination of rich coffee flavor with the satisfying bounce of gelatin creates a unique texture that’s both refreshing and indulgent. Whether you’re serving it at room temperature or chilled it delivers that perfect coffee fix in dessert form.
We’re excited to share this authentic recipe that’ll help you recreate Saiki’s favorite treat right in your own kitchen. With just a few simple ingredients and minimal prep time you’ll understand why this psychic powerhouse can’t get enough of this wobbly wonder.
What Is Saiki K Coffee Jelly
Coffee jelly represents a beloved Japanese dessert that gained widespread recognition through the anime series “The Disastrous Life of Saiki K.” We witness the protagonist’s obsessive love for this wobbly treat throughout the show as he devours countless servings with pure bliss. The dessert consists of strong coffee transformed into a gel-like consistency using unflavored gelatin powder.
Traditional coffee jelly combines bitter coffee with sweetened condensed milk or simple syrup to create a balanced flavor profile. We find this dessert particularly appealing because it offers a unique textural experience that regular coffee cannot provide. The gelatin creates a bouncy yet smooth consistency that melts gently on the tongue.
Japanese cafes typically serve coffee jelly in clear glasses topped with whipped cream or vanilla ice cream. We appreciate how the transparent appearance showcases the rich amber color of the coffee while maintaining its elegant presentation. The dessert requires minimal ingredients yet delivers maximum satisfaction for coffee enthusiasts.
Coffee jelly originated in Japan during the Taisho period and has remained a staple in Japanese cuisine ever since. We recognize its popularity extends beyond anime culture as many Japanese restaurants and convenience stores offer their own versions. The dessert provides a refreshing alternative to hot coffee during warm weather while maintaining the beloved coffee flavor profile.
Ingredients
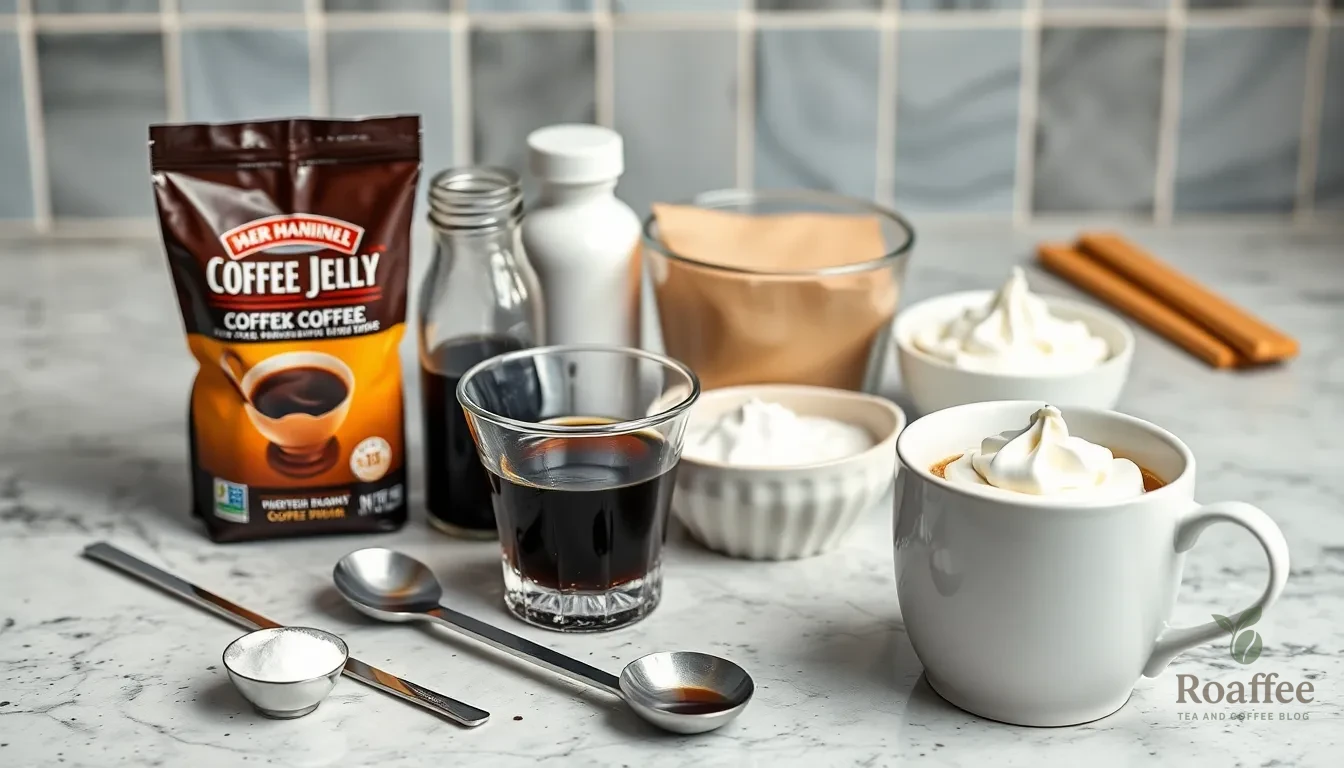
We’ve organized our coffee jelly recipe into two simple sections to help you prepare this delightful dessert. Our ingredient list focuses on achieving the perfect balance of rich coffee flavor and smooth gelatin texture.
For the Coffee Jelly
- Gelatin powder (flavorless): 8-10 grams (or 2 envelopes of 0.25 oz each)
- Brewed black coffee: 1 to 1.25 cups of strong coffee made with drip cone, French press, moka pot, or espresso
- Sugar: 1 to 3 tablespoons depending on sweetness preference
- Water: For dissolving gelatin and sugar (use hot water if brewing coffee separately)
- Agar agar powder can substitute gelatin for a vegan version (about 1/2 tbsp agar per 1 tbsp gelatin)
- Instant coffee works as an acceptable alternative to freshly brewed coffee
- Coconut sugar or monk fruit sweetener can replace regular sugar
For the Whipped Cream (Optional)
- Heavy whipping cream: 1/4 cup
- Powdered sugar: 1 tablespoon
Equipment Needed
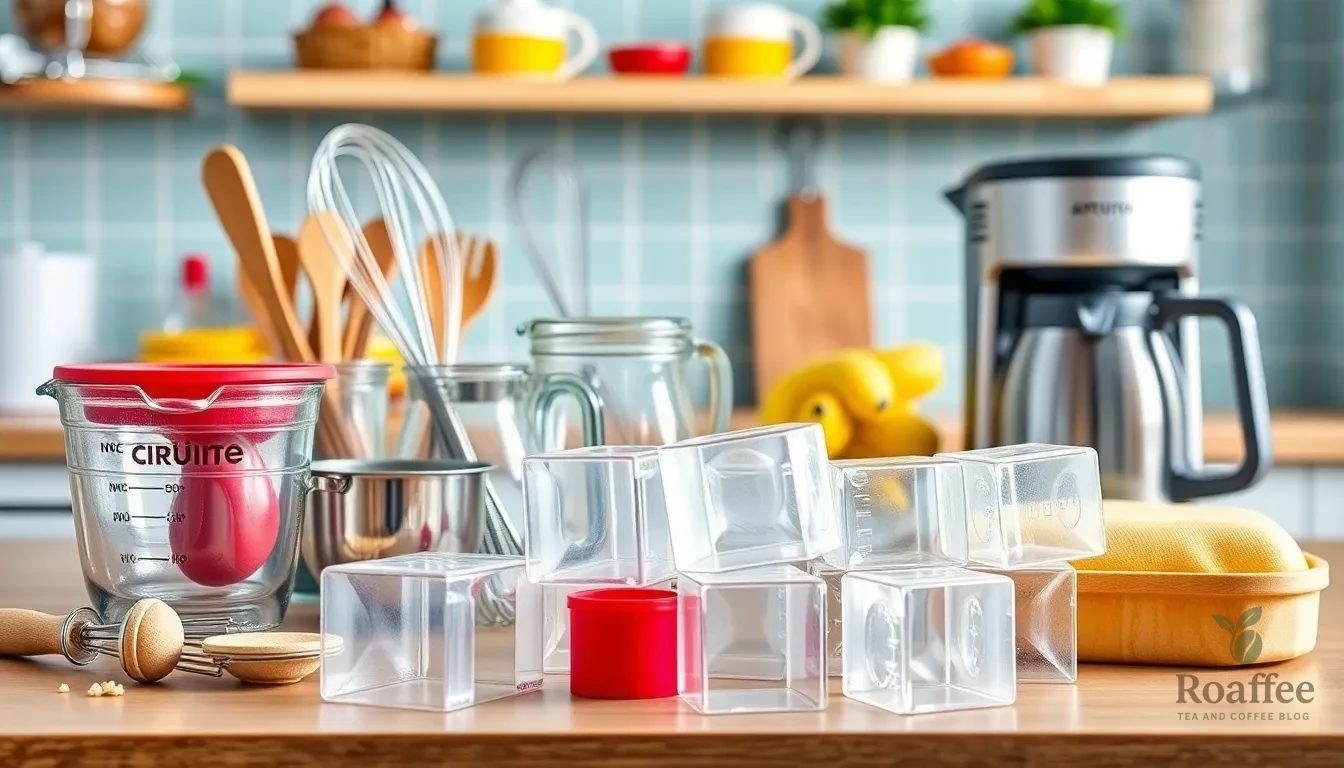
Creating the perfect Saiki K coffee jelly requires exact tools to achieve that smooth, bouncy texture we all love from the anime. We recommend gathering these essential items before starting your coffee jelly adventure.
Measuring tools form the foundation of our equipment list. We need accurate measuring spoons and cups to ensure proper ratios between gelatin and coffee. Precision matters when creating the ideal consistency that matches Saiki’s favorite dessert.
Mixing equipment helps us combine ingredients seamlessly. A whisk or sturdy spoon works perfectly for stirring the gelatin mixture and eliminating lumps. We want smooth incorporation to avoid any grainy texture in our final product.
Brewing equipment varies based on your preferred coffee preparation method. A saucepan works well for heating water and dissolving ingredients. Coffee enthusiasts can use drip cone makers, moka pots, French presses, or espresso machines to create that strong coffee base the recipe demands.
Molding containers shape our coffee jelly into those iconic cubes or desired forms. Small individual molds create perfect single servings, while a rectangular pan allows us to cut uniform pieces later. Clear glass containers showcase the beautiful amber color that makes this dessert so visually appealing.
Storage equipment ensures proper setting and preservation. Our refrigerator provides the essential cooling environment needed for gelatin to set properly over 4-5 hours. This chilling process transforms liquid coffee into that distinctive bouncy texture.
Optional specialty equipment can enhance the experience for dedicated fans. Coffee jelly makers, as featured in the anime, offer authentic preparation methods. These specialized tools aren’t necessary but add authenticity to the cooking process for true Saiki K enthusiasts.
Instructions
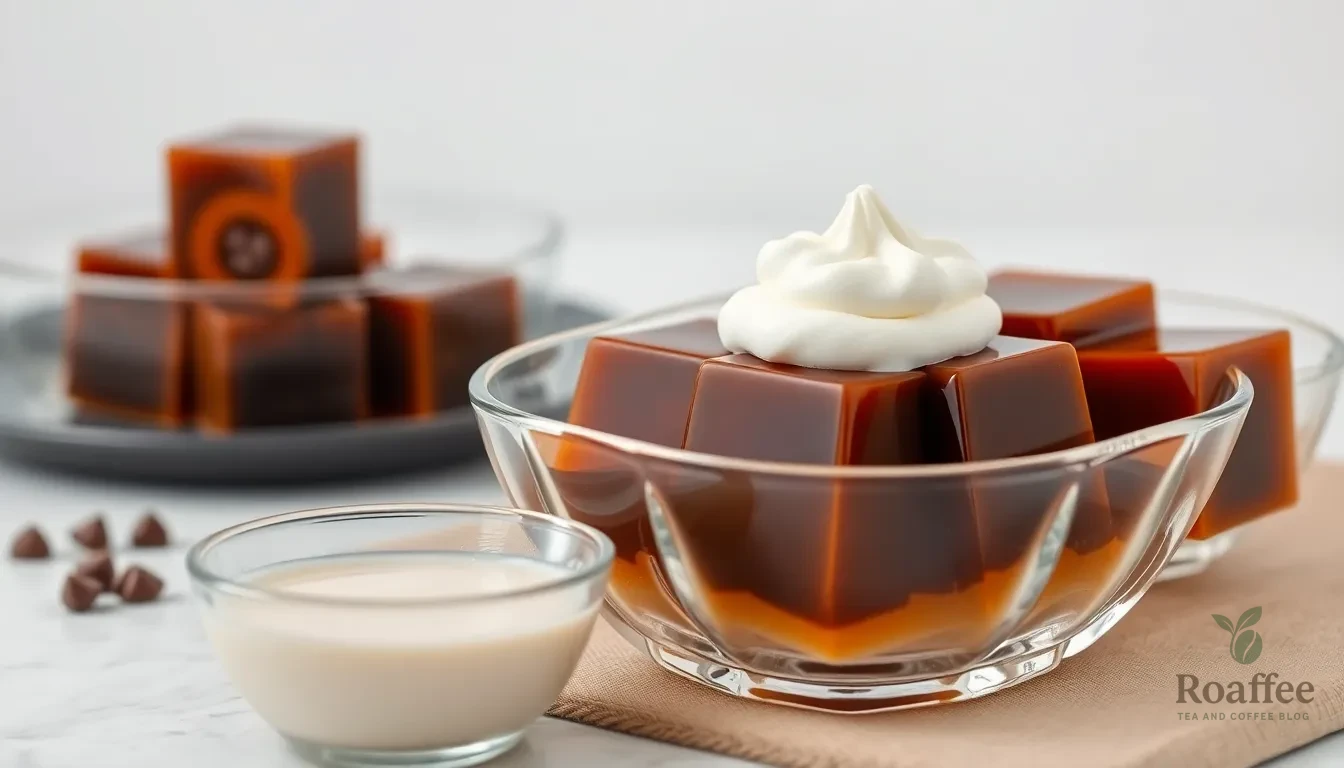
Creating the perfect Saiki K coffee jelly requires careful attention to timing and temperature to achieve that signature bouncy texture. We’ll guide you through each step to ensure your coffee jelly turns out exactly like the beloved dessert from the anime.
Prep the Coffee
We start by heating our brewed black coffee with sugar in a saucepan over medium heat until it begins to simmer. Stir the mixture continuously to dissolve the sugar completely and prevent any grittiness in the final product. Remove the saucepan from heat once the sugar has fully dissolved and allow the coffee to cool for about 10 minutes to room temperature. This cooling step prevents the hot coffee from breaking down the gelatin structure when we combine them later.
Dissolve the Gelatin
We mix the gelatin powder with ¼ cup of water in a small bowl and let it sit for a few minutes to soften and bloom. The gelatin will absorb the water and become spongy in texture. Add the softened gelatin mixture to our warm coffee and stir thoroughly until the gelatin dissolves completely. Let the mixture sit for a few minutes and stir again to ensure no lumps remain in the liquid.
Combine and Set
We pour the coffee gelatin mixture into an 8×8-inch baking dish or individual molds for serving. Place the dish in the refrigerator for at least 4 hours without disturbing it to achieve the perfect jelly texture. Avoid moving or mixing the jelly during this setting time as it will disrupt the gel formation. Once fully set, we cut the jelly into ½-inch cubes if using a large dish. For individual molds, briefly dip the mold base in warm water to loosen the jelly before inverting it onto a serving plate.
Prepare Toppings
We enhance our coffee jelly with traditional toppings like whipped cream, condensed milk, or vanilla ice cream. To make fresh whipped cream, we whip heavy cream with a little powdered sugar until soft peaks form. Pipe or spoon the topping over the coffee jelly cubes just before serving to maintain the cream’s texture and prevent it from deflating. The contrast between the bitter coffee jelly and sweet cream creates the perfect balance that makes this dessert so irresistible.
Directions for Serving

After our coffee jelly has set perfectly in the refrigerator, we need to prepare it for the ultimate presentation that would make Saiki K himself proud. The traditional serving method involves cutting the jelly into elegant half-inch cubes if we’ve set it in a shallow dish or carefully removing it from individual molds.
When unmolding our coffee jelly from shaped containers, we dip the bottom of each mold briefly in warm water to loosen the gelatin without melting it. This technique ensures our jelly maintains its perfect wobble texture while releasing cleanly from the mold.
We arrange the coffee jelly cubes or molded pieces in clear glasses or decorative bowls to showcase their beautiful amber color. The transparent presentation allows the rich coffee hue to shine through and creates an appetizing visual appeal that mimics the anime’s aesthetic.
For the classic topping combination, we generously dollop whipped cream or drizzle sweetened condensed milk over the coffee jelly. The contrast between the bitter coffee flavor and sweet creamy topping creates the perfect balance that makes this dessert so beloved. Some variations include adding a scoop of vanilla ice cream for extra indulgence.
We can enhance the presentation with a fresh mint sprig as garnish, which adds a pop of color and subtle aroma that complements the coffee notes. The mint also provides a refreshing element that brightens the overall flavor profile.
Temperature plays a crucial role in our serving technique. We serve the coffee jelly well-chilled directly from the refrigerator to maintain its firm yet bouncy texture. Room temperature serving can cause the gelatin to become too soft and lose its characteristic jiggle.
For special occasions or anime-themed gatherings, we can create fun presentations using character-themed molds or arranging the jelly in patterns that reference the show. The versatility of coffee jelly allows us to be creative while maintaining the authentic taste that captures Saiki K’s obsession with this delightful dessert.
Make-Ahead Instructions
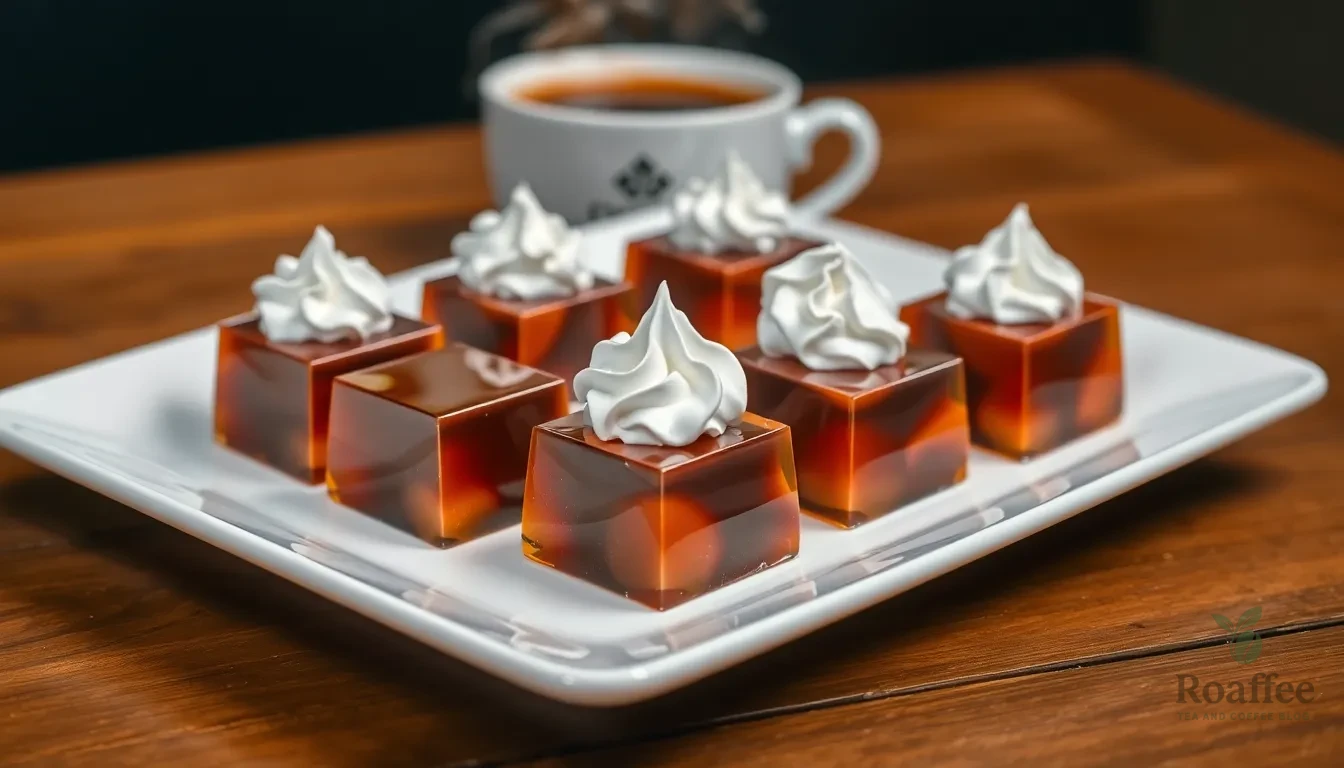
We love that coffee jelly makes an excellent make-ahead dessert perfect for busy schedules or entertaining guests. The gelatin base allows us to prepare this treat up to three days in advance while maintaining its signature bouncy texture.
Advance Preparation Timeline:
| Timeline | Task | Storage Method |
|---|---|---|
| 3 days ahead | Prepare complete coffee jelly | Refrigerate covered |
| 2 days ahead | Brew coffee and dissolve gelatin | Store mixture in refrigerator |
| 1 day ahead | Cut into cubes and prepare toppings | Store separately in airtight containers |
| Same day | Assemble and serve | Serve immediately |
We recommend preparing the coffee jelly mixture completely and allowing it to set in the refrigerator for optimal results. Once set, we can cut the jelly into cubes and store them in an airtight container for up to three days. The cubes maintain their structure beautifully when stored properly in the refrigerator.
Our whipped cream topping can be prepared up to 24 hours in advance and stored in the refrigerator. We suggest keeping it in a covered bowl to prevent it from absorbing other refrigerator odors. The cream will hold its texture perfectly when properly stored.
We find that brewing the coffee base ahead of time actually enhances the flavor profile. Strong coffee can be prepared and stored in the refrigerator for up to two days before combining with the gelatin. This approach allows the coffee to develop deeper notes while remaining fresh for the jelly preparation.
For optimal texture, we avoid freezing coffee jelly as it compromises the smooth gel consistency. The refrigerator provides the ideal environment for maintaining the dessert’s signature wobble that makes it so appealing to Saiki K fans.
Storage Tips
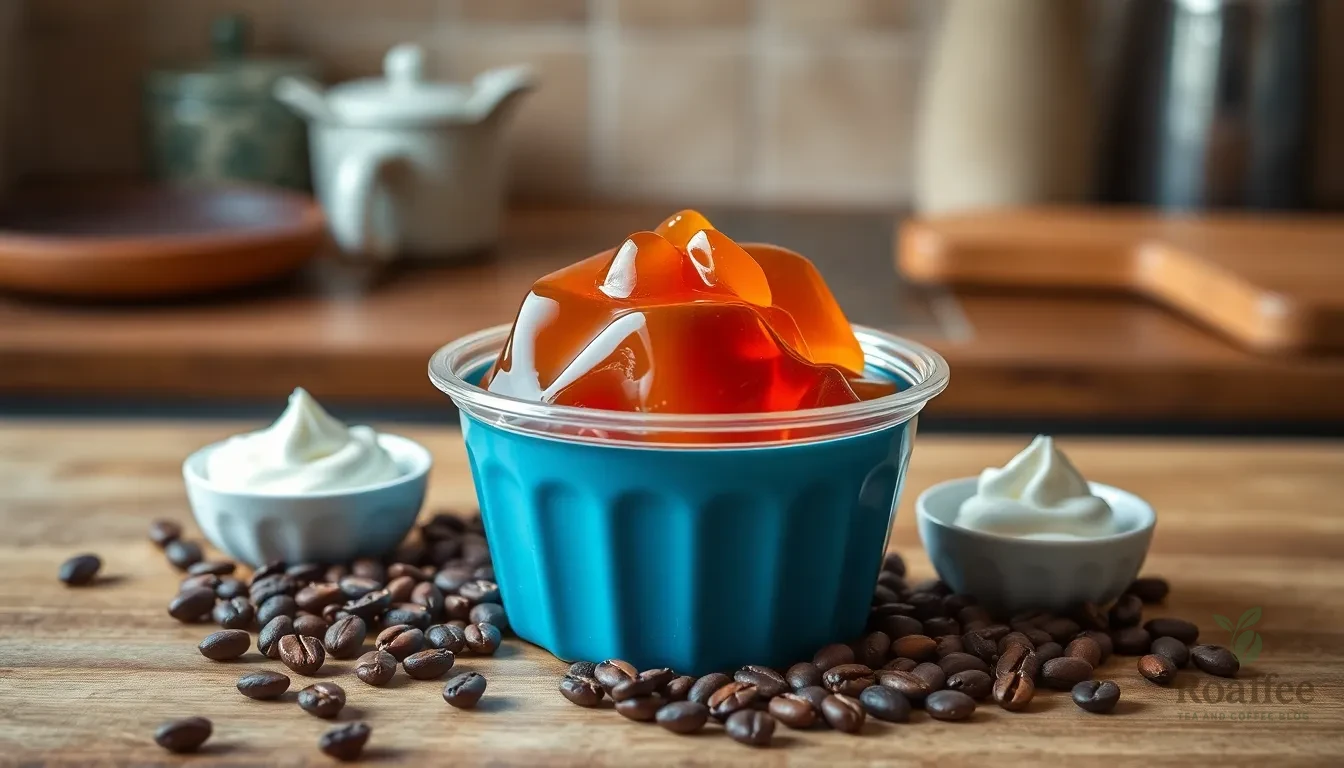
We recommend storing your leftover coffee jelly separately from any toppings to maintain the best texture and flavor. The jelly should be kept in an airtight container in the refrigerator where it will stay fresh for up to one week.
| Storage Method | Duration | Container Type |
|---|---|---|
| Refrigerated | Up to 1 week | Airtight container |
| Room temperature | Not recommended | N/A |
| Frozen | Not recommended | N/A |
Never reheat the coffee jelly as heat will completely ruin the delicate gelatin texture that makes this dessert so appealing. The jelly relies on its cool temperature to maintain that signature bouncy consistency that Saiki K loves so much.
Avoid freezing the coffee jelly at all costs. Ice crystals form during the freezing process and destroy the smooth gel texture permanently. Once frozen coffee jelly thaws it becomes watery and loses its structural integrity.
We suggest preparing the coffee jelly ahead of time since it actually benefits from extended chilling. The flavors meld beautifully when the jelly sits in the refrigerator overnight. Store toppings like whipped cream and sweetened condensed milk in separate containers to prevent them from breaking down or affecting the jelly’s texture.
Remove any surface bubbles before placing the jelly in the refrigerator. These bubbles can create an uneven surface texture that affects both appearance and mouthfeel. A gentle tap on the counter or careful removal with a spoon ensures your finished jelly has that perfect smooth top.
Keep the storage containers away from strong-smelling foods in your refrigerator. Coffee jelly can absorb odors which will compromise its clean coffee flavor profile.
Variations and Customizations

We love how adaptable coffee jelly can be to suit different tastes and dietary needs. The beauty of this dessert lies in its simple base that welcomes creative modifications.
Sweetness Adjustments
We recommend adjusting the sugar content based on your preference and chosen toppings. Traditional coffee jelly uses regular granulated sugar, but we’ve found that coconut sugar adds a subtle caramel note that complements the coffee beautifully. Palm sugar creates a deeper, more complex sweetness that pairs wonderfully with the bitter coffee notes.
Monk fruit sweetener works excellently as a low-calorie alternative without compromising the jelly’s texture. We suggest reducing the sugar amount if you plan to serve with sweet toppings like whipped cream or sweetened condensed milk. This balance prevents the dessert from becoming overly sweet while maintaining that authentic coffee jelly experience.
| Sweetener Type | Ratio to Sugar | Flavor Profile |
|---|---|---|
| Coconut Sugar | 1:1 | Subtle caramel notes |
| Palm Sugar | 1:1 | Deep, complex sweetness |
| Monk Fruit | 1:3 | Clean, no aftertaste |
Coffee Strength Options
We find that coffee strength dramatically affects both the flavor and appearance of your jelly. Strong coffee creates a dark, intensely bitter jelly with deep amber color that mirrors Saiki K’s preferred intensity. Weaker coffee results in a lighter, more translucent jelly with gentler coffee notes.
Espresso shots diluted with water provide the most concentrated flavor, while French press coffee offers a fuller body with subtle oils that enhance the jelly’s richness. Pour-over methods create clean, bright coffee flavors that translate beautifully into the gelatin base. We recommend using freshly ground coffee beans for the best flavor development.
Decaf coffee works perfectly for those sensitive to caffeine while maintaining the authentic coffee taste. The key is using high-quality beans regardless of your brewing method to ensure the final jelly captures that signature coffee essence.
Dairy-Free Alternatives
We’ve perfected several dairy-free options that maintain the classic coffee jelly experience. Agar agar serves as an excellent vegan substitute for gelatin, creating a slightly firmer texture that holds beautifully when cut into cubes. This seaweed-based gelling agent works particularly well for those following plant-based diets.
Coconut cream whips into a luxurious topping that rivals traditional heavy cream, adding tropical undertones that complement the coffee’s bitterness. Other plant-based creams like oat cream or cashew cream provide neutral flavors that won’t overpower the coffee notes.
We recommend chilling your coconut cream overnight before whipping to achieve the best texture. These dairy-free alternatives ensure everyone can enjoy this beloved dessert while maintaining the authentic creamy finish that makes coffee jelly so special.
Troubleshooting Common Issues

Even experienced bakers sometimes encounter challenges when making coffee jelly. We’ve compiled answers to the most common problems that can occur during the preparation process.
Gelatin Not Setting Properly
When your coffee jelly remains liquid after the recommended chilling time, the issue typically stems from improper gelatin preparation. We recommend checking that you fully dissolved the gelatin in the hot coffee mixture, as undissolved gelatin particles cannot create the proper gel structure. The coffee temperature must reach at least 160°F when you add the bloomed gelatin to ensure complete activation.
Precise measurements also play a crucial role in achieving the perfect set. Too much liquid or insufficient gelatin weakens the jelly’s structure, preventing it from firming properly. We suggest using exactly 1 tablespoon of gelatin powder for every 2 cups of liquid for optimal results.
Eliminating Unwanted Bubbles
Foam and bubbles can create an unappetizing appearance in your finished coffee jelly. We address this issue by skimming the surface of the coffee mixture immediately after combining it with the dissolved gelatin. Using a spoon or fine mesh strainer, gently remove any foam that forms on top before pouring the mixture into molds.
Temperature control prevents bubble formation as well. Allow the coffee mixture to cool for 10 minutes at room temperature before refrigerating to minimize condensation that can create air pockets in the final product.
Balancing Flavor Profile
Coffee jelly that tastes too bitter or overly sweet requires adjustment before adding the gelatin. We recommend tasting the warm coffee and sugar mixture to achieve your preferred flavor balance. Remember that the sweetness becomes less pronounced once the jelly sets and chills, so slightly oversweetening the warm mixture often produces the ideal final taste.
The strength of your brewed coffee significantly impacts the final flavor. We suggest using a medium to dark roast coffee and brewing it slightly stronger than you would for drinking to ensure the coffee flavor remains prominent after dilution with other ingredients.
Achieving Ideal Texture
Jelly that sets too firm or remains too soft requires gelatin quantity adjustments. We increase the gelatin by half a teaspoon for firmer results or reduce it by the same amount for a softer texture. Environmental factors like altitude and humidity can affect gelatin performance, so minor modifications may be necessary based on your location.
| Texture Issue | Gelatin Adjustment | Result |
|---|---|---|
| Too firm | Reduce by 0.5 tsp | Softer, more delicate jelly |
| Too soft | Increase by 0.5 tsp | Firmer, more stable jelly |
| Perfect consistency | Use exact recipe amounts | Ideal bouncy texture |
Working with Agar Agar Substitutions
Vegan bakers using agar agar instead of gelatin may encounter different setting behaviors. Agar requires boiling to activate properly and creates a firmer texture than traditional gelatin. We recommend using 1 teaspoon of agar agar powder for every 2 cups of liquid and bringing the mixture to a full boil for 2 minutes before removing from heat.
The setting time for agar agar differs as well, typically requiring only 1 to 2 hours at room temperature compared to gelatin’s 4 hour refrigeration requirement. We suggest monitoring the texture closely when using this plant based alternative to achieve your desired consistency.
Conclusion
Now you’re ready to create your own authentic Saiki K coffee jelly that captures the essence of this beloved anime dessert. With our comprehensive guide covering everything from basic preparation to advanced troubleshooting you’ll have all the tools needed for success.
Whether you’re making it for fellow anime fans or simply exploring Japanese desserts this recipe delivers that perfect balance of rich coffee flavor and satisfying gelatin texture. The beauty of coffee jelly lies in its simplicity and versatility – you can customize it to match your taste preferences while maintaining its classic appeal.
So grab your ingredients and start brewing because there’s nothing quite like enjoying a homemade coffee jelly that would make even Saiki himself proud. Your kitchen adventure into Japanese dessert culture starts now!
Frequently Asked Questions
What is coffee jelly and why is it popular in anime?
Coffee jelly is a Japanese dessert made from strong coffee transformed into a gel-like consistency using gelatin. It gained popularity through the anime “Saiki K,” where the main character has a strong affection for it. The dessert combines rich coffee flavor with gelatin’s unique bouncy texture, creating a delightful experience that regular coffee cannot provide.
What ingredients do I need to make Saiki K coffee jelly?
The basic ingredients include flavorless gelatin powder, brewed black coffee, sugar, and water. For vegan alternatives, you can substitute agar agar for gelatin and use coconut sugar or monk fruit sweetener. Optional toppings include whipped cream made from heavy whipping cream and powdered sugar, or sweetened condensed milk.
How long does coffee jelly take to set?
Coffee jelly needs to be refrigerated for at least four hours to set properly. For best results, allow it to chill overnight. The setting time ensures the jelly achieves its signature bouncy texture that makes it so appealing to fans of the anime.
Can I make coffee jelly ahead of time?
Yes, coffee jelly can be prepared up to three days in advance while maintaining its bouncy texture. Store it covered in the refrigerator, and prepare toppings separately. The flavor actually improves when made ahead, as the coffee base develops a richer taste profile over time.
How should I store leftover coffee jelly?
Store leftover coffee jelly in an airtight container in the refrigerator for up to one week. Keep it separate from toppings and away from strong-smelling foods. Never freeze or reheat coffee jelly, as this will ruin its delicate gel texture and smooth consistency.
What are the best toppings for coffee jelly?
Traditional toppings include whipped cream, sweetened condensed milk, or vanilla ice cream. These sweet toppings create a delightful contrast with the bitter coffee jelly. For presentation, consider garnishing with fresh mint leaves for added visual appeal and aroma, especially when serving in clear glasses.
Can I make vegan coffee jelly?
Yes, you can make vegan coffee jelly by substituting agar agar for regular gelatin. Use coconut cream instead of dairy-based toppings and plant-based sweeteners. Agar agar sets differently than gelatin, so follow specific measurements and be aware that setting times may vary slightly.
Why didn’t my coffee jelly set properly?
Common issues include improper gelatin dissolution, incorrect measurements, or temperature problems. Ensure gelatin is completely dissolved in warm water before mixing with coffee. Use precise measurements and allow the coffee to cool to room temperature before combining. If using agar agar, follow different preparation guidelines.


